

Events are one of the most efficient promotion instruments. They increase your visibility and bring new customers and partners. One way or another, they bring you profit. Besides that, you can make lots of posts about it in your social media: before the event, during its duration, and after it is finished.
If your company does events (like concerts, shows, conferences, etc.), you can include timetable functionality on your website just from the very beginning. There are lots of WordPress entertainment themes, containing built-in timetables or schedules. But what if you decided to set an event spontaneously? How to create a good-looking and convenient timetable? Plugins are here to help.
There are dozens of extensions that make it easier to create schedules on your WordPress website, such as “Timetable and Event Schedule” from MotoPress, “EasyTimetable” or “Theater”. I’m using the first one because it is entirely free and easy to maintain.
In this guide, I’ll lead you through “Timetable and Event Schedule” plugin installation and customization process. Follow me, and I’ll show you how deep the rabbit hole goes.

Installation and activation
There are three ways to download a plugin to the WordPress website. They are equal for every extension, both free and paid.
First: download a plugin to your computer and then upload it directly to the htdocs/wp-content folder via the FTP service (like FileZilla). In that case, you will need to unzip the downloaded file. This method is the most complicated of all.
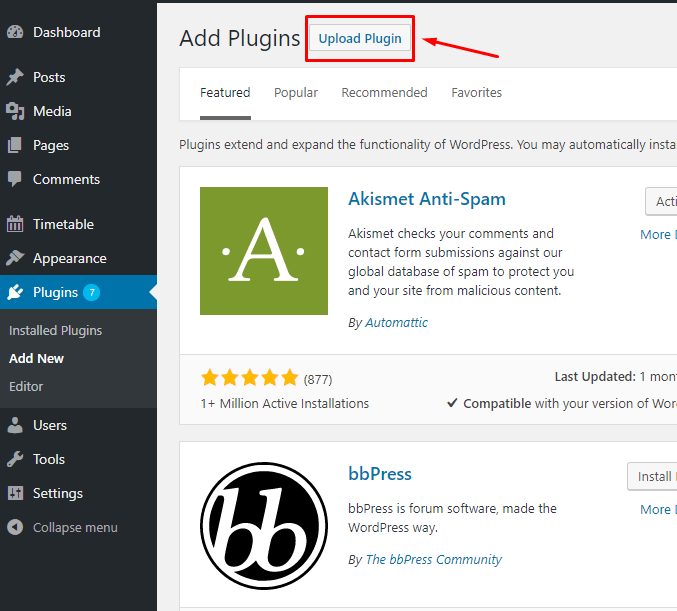
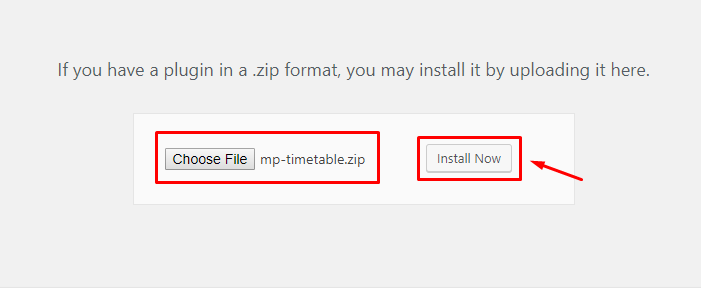
Second: upload the downloaded plugin folder from the administrative dashboard of your website. You have to go to the Plugins > Add new and hit the “Upload Plugin” button. Then choose the downloaded file and press “Install Now”. Pay attention – you don’t need to unzip the plugin file if you download it from the dashboard.


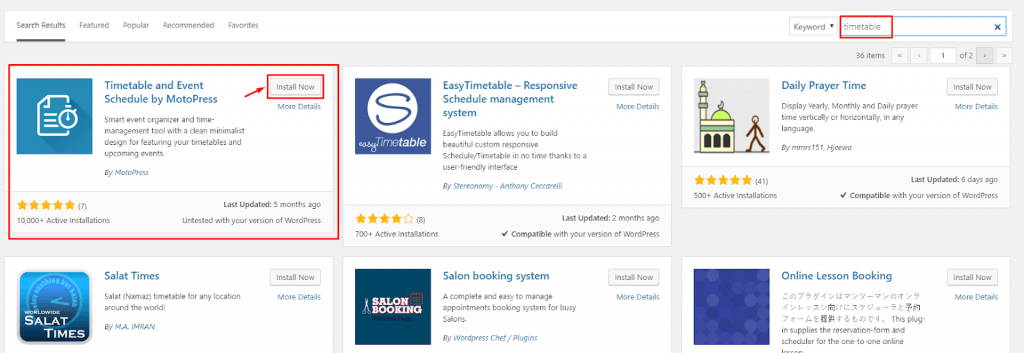
Third: install it without downloading, directly from the administrative dashboard plugins page. It is the easiest way to get a plugin, so it was my choice. Go to the Plugins > Add New. Type word “timetable” in the bar at the right corner of the page. The plugin I used will appear first in the row. Click on the “Install” button, and that’s that.

No matter how you installed the plugin, it will appear in the plugins list. Go to Plugins > Installed Plugins, find the “Timetable and Event Schedule” and press “Activate”. When the extension is activated, you will see an extra “Timetable” tab in your dashboard menu.


Your first timetable
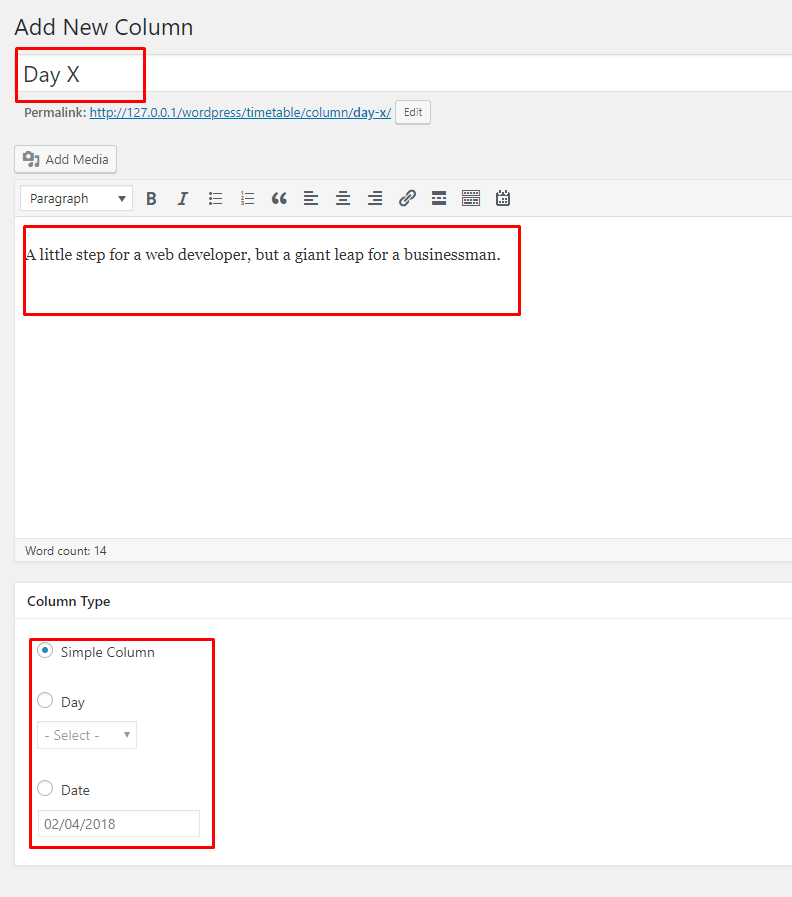
Everything is ready now to create a timetable for your event. Every timetable looks like, well, a table. It has rows, that present a list of little events that will happen and columns, showing different days of one event or a number of events. Let’s start creating a column. Go to the Timetable > Add column. Type columns name, description and choose a type of column. After hitting the “Publish” button, this column will appear on your website as it was a page.

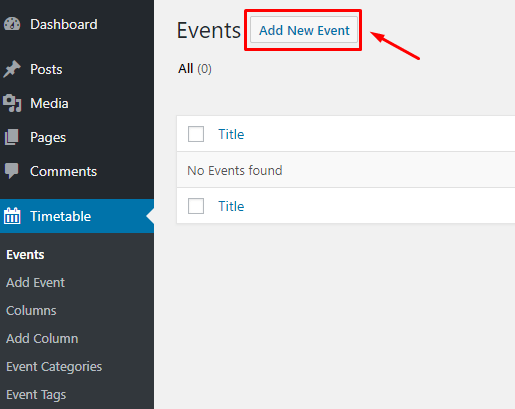
Now, let’s add some activities to that column. Go to Timetable tab and hit “Add New Event” button at the top of the page.

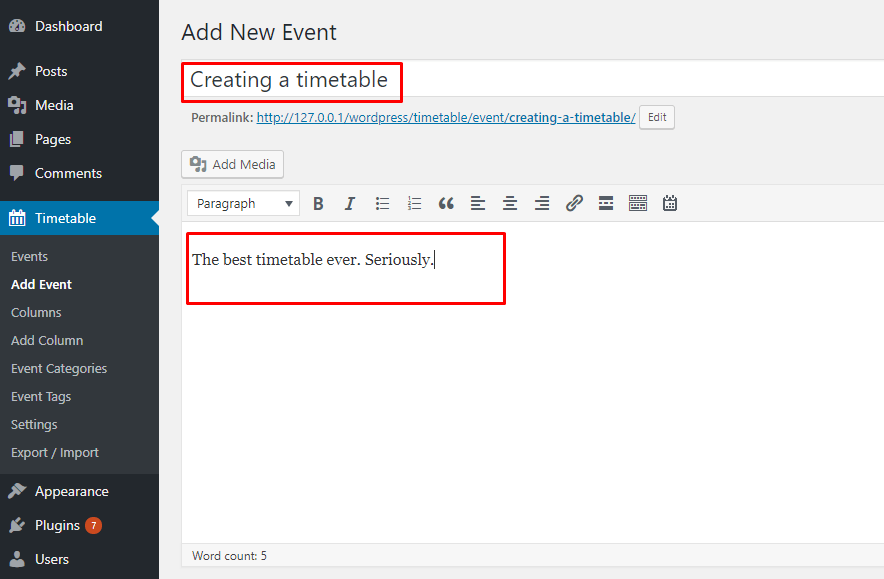
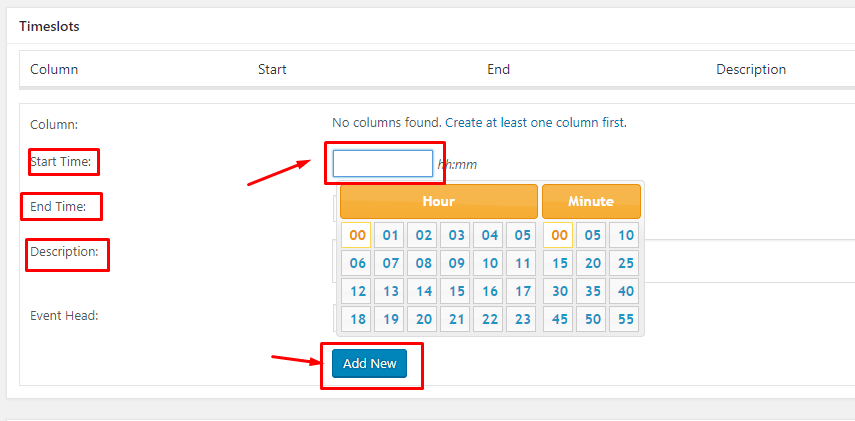
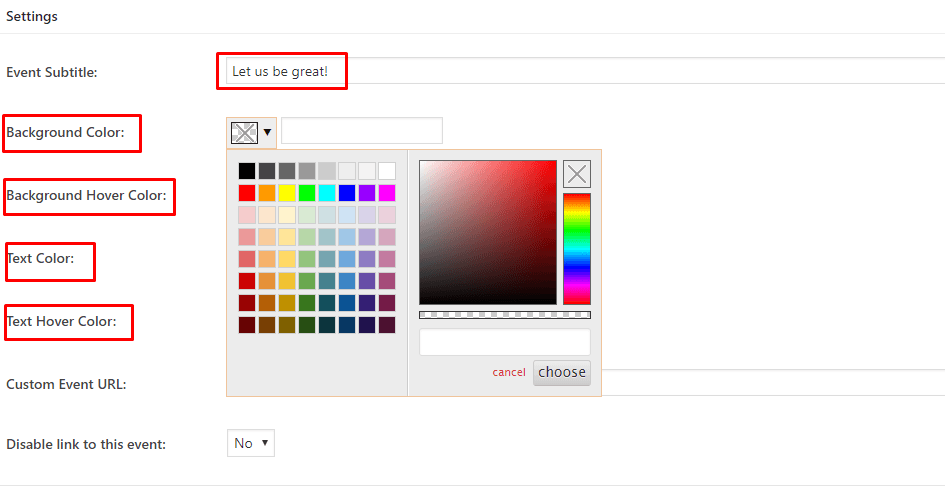
Give your timetable a name, write a short description and start filling in the timeslots. After setting time and describing the activity, press “Add new”. All the created activities will be shown in the timeline on the top.


Additional settings allow you to choose background and text color if you’d like to.
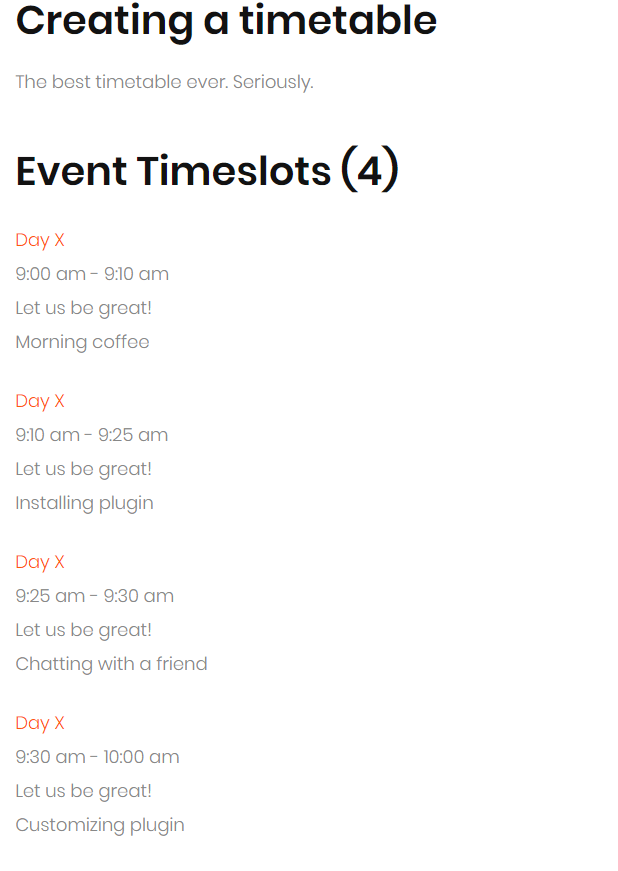
When you are finished, press the “Publish” button. On the website, your timetable will look like that.


Fine-tuning
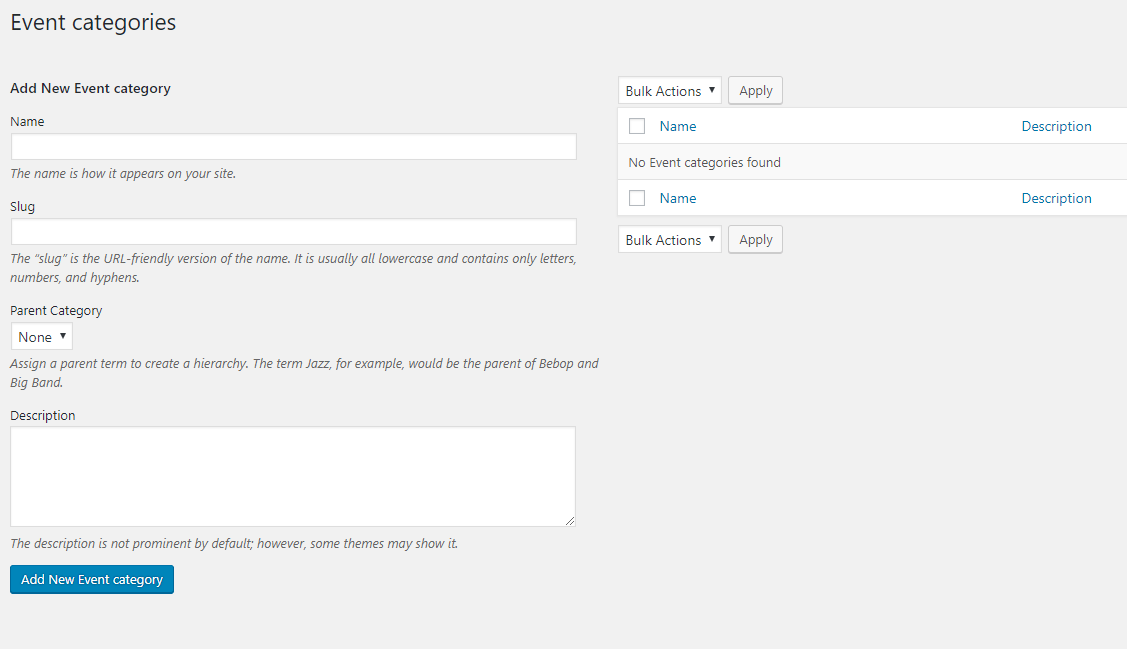
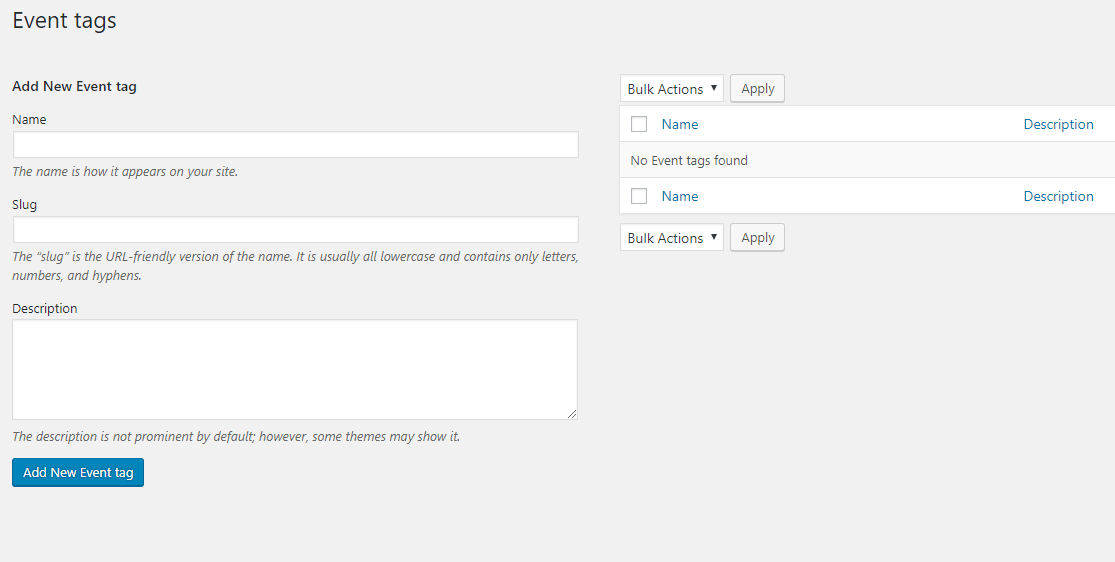
Event categories and tags
Creating both categories and tags makes it easier for your visitors to find a concrete event. That makes visiting your website more pleasant and handy, and if the user likes something, he will use it on and on. Obviously, you won’t need it if your company presents only one event.


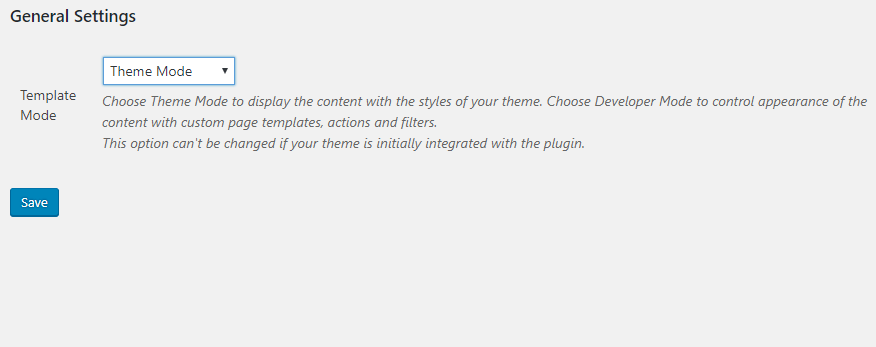
Settings
This tab allows you to choose how the created timeline will be displayed on your website. It could be designed according to your current template style or customized with settings on the event creation page.


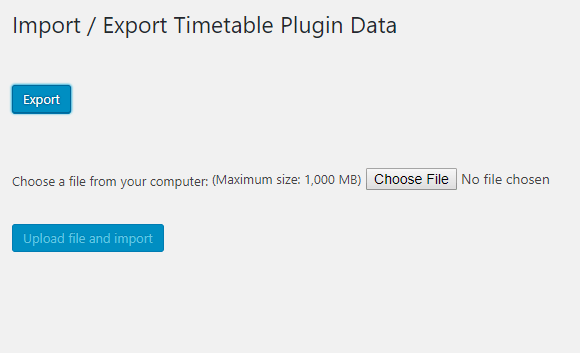
Export / Import
The last tab gives you an option of exporting your timetable to your computer or importing a schedule created in .xml format. This will come in handy if you want to display ready-made timetable.

Good luck with setting a fantastic event!
Read Also
Free WordPress Timeline Plugin: Display Your History in a ‘Timely’ Manner
Build a Vertical Timeline Archives Page Using Bootstrap
Building a WordPress Website Brick by Brick
How to Add a Back-to-Top Button to Your WordPress Website?
Top 15 Fresh TemplateMonster Website Templates 2018 [March Edition]