Lesson 10: Adding the WooCommerce Store to Your Website. Editing eCommerce Pages with Elementor
Lesson 10: Adding the WooCommerce Store to Your Website. Editing eCommerce Pages with Elementor
This lesson is a part of the How to Build & Maintain Elementor WordPress Website? course.
Hi, everyone!
In Lesson 9 we’ve checked the list of plugins that will help you build a fast website. Now let’s see how we can edit a WooCommerce store using a JetWooBuilder plugin.

Let's roll.
If you ever had to deal with WooCommerce the biggest pain you could experience is the inevitability of a single product page layout. As a rule, it’s limited by theme’s styles but anyways resembles this.
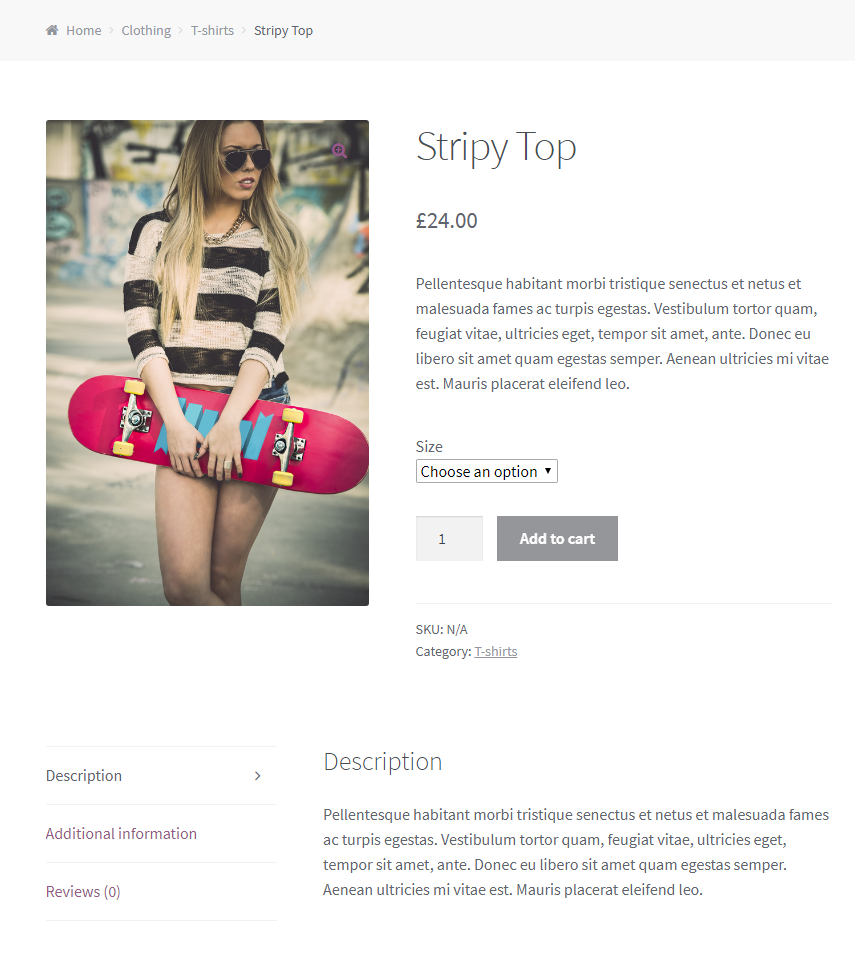
So if you wanted to change the layout you had to edit the template file, but for guys who know a thing about coding, this could be a real pain in the ass.
Still there are some plugins that can temporarily relieve this pain, but unfortunately, this won’t last long.
Most notable examples are WooCommerce Customizer, WooCommerce Product Page Templates.
Due to Elementor builder and Zemez, we have a plugin that helps you build an unlimited number of product page templates that can be used either all at once (in different products), or one by one and its name is JetWoo Builder.

Why should you use JetWoo Builder?
In case you’re fond of classic single product page layout, you’re welcome to use to the dawn of times, but if you’re someone like me who wants to have a custom single product page layout, that can be filled with widgets and pieces of info this plugin is a must-have in your inventory.
Good news is that it costs only $15, this means that you can have any Elementor builder compatible theme without having to worry if it had cool WooCommerce pages or not.Since the market is oversaturated with various digital products, building your own marketplace can be a great money and time investment.
So let’s imagine you want to build a WooCommerce-based online marketplace of digital products and you need to create a custom layout (since the classical Woo is not that good for digital products).
How to Create a New Template?
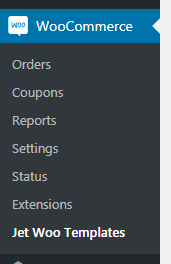
Ok then. Right after you purchase and install the JetWoo Builder plugin you will find a new menu item inside the WooCommerce submenu.
Jet Woo Templates is the place where you can store and build custom page layouts. Inside you will find two buttons one of them allows building a new template from scratch, while the second allows modifying an existing template.
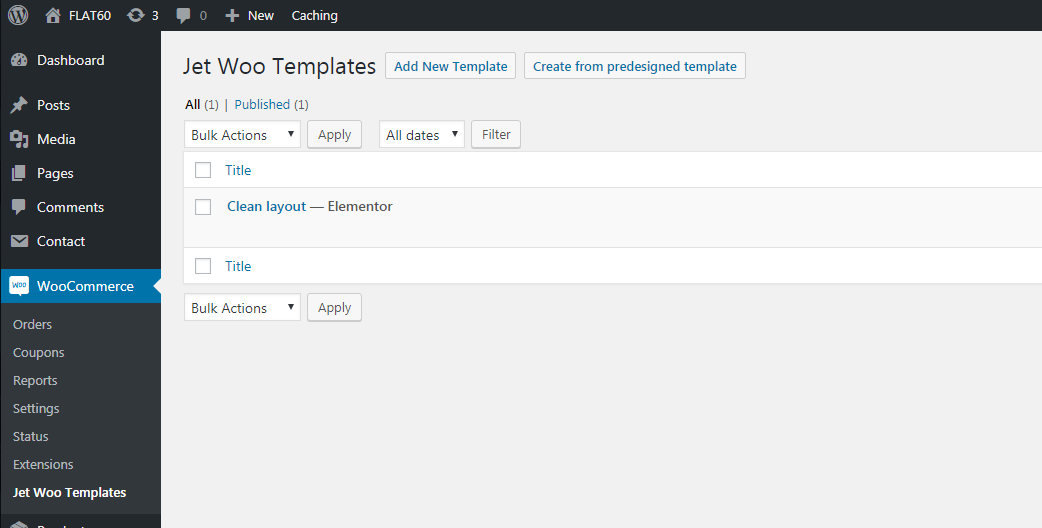
In your case, you’ll have to create a new template, since there won’t be any existing ones.
As you can see I’ve already created one and called it Clean layout.
Now let’s see how we can create a custom product page template step-by-step.
As an example, I’ve chosen the simplest product from TemplateMonster marketplace a set of vector illustrations and right now I’ll show you how to create a nice product page for this digital product.
Click Add New Template button.

Now you need to name it and set its visibility status, just like you do it with any other page or post.
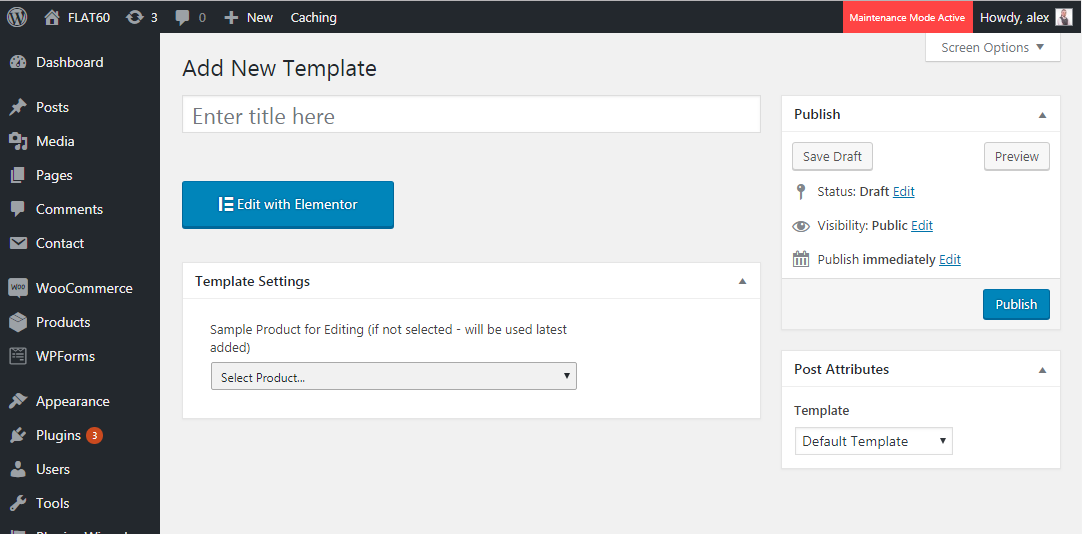
When you do it hit the button Edit with Elementor and it will start loading.

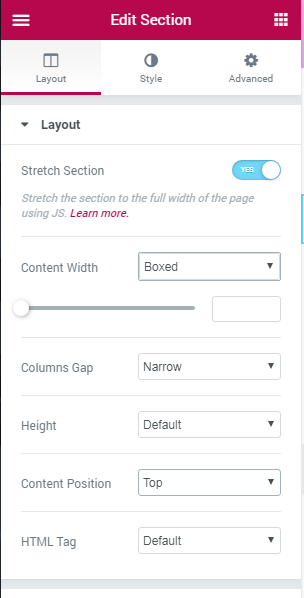
When the editor loads we need to add a new section. I’m going to use one column layout.
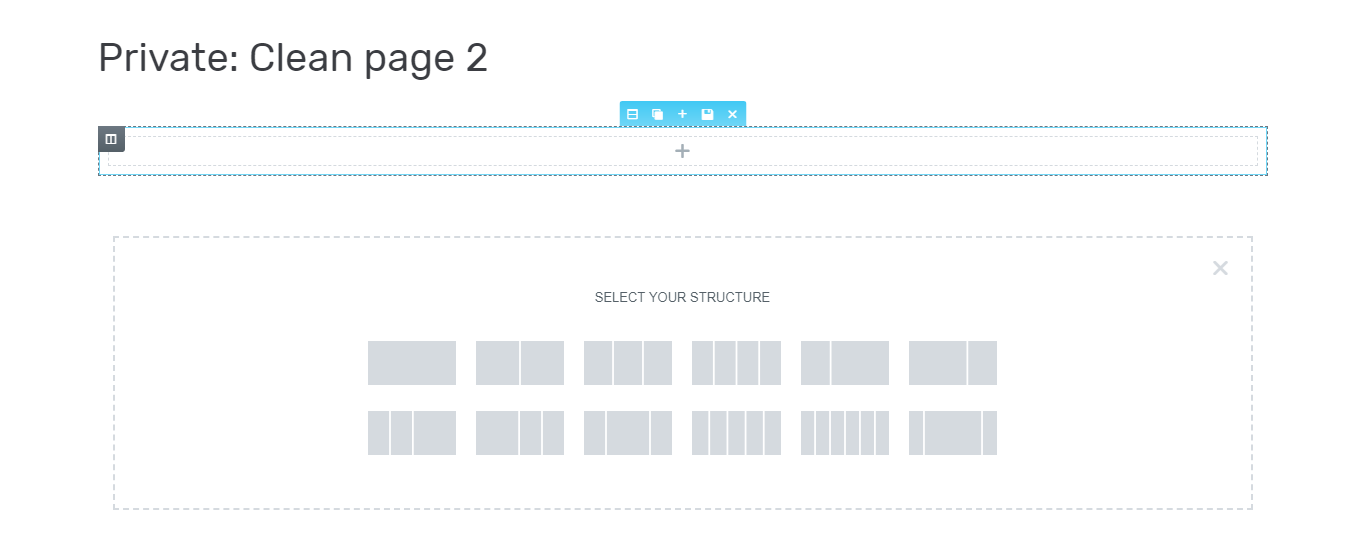
For this section, I’ll use the following settings.
Now I’m going to add Columns widget to the section.
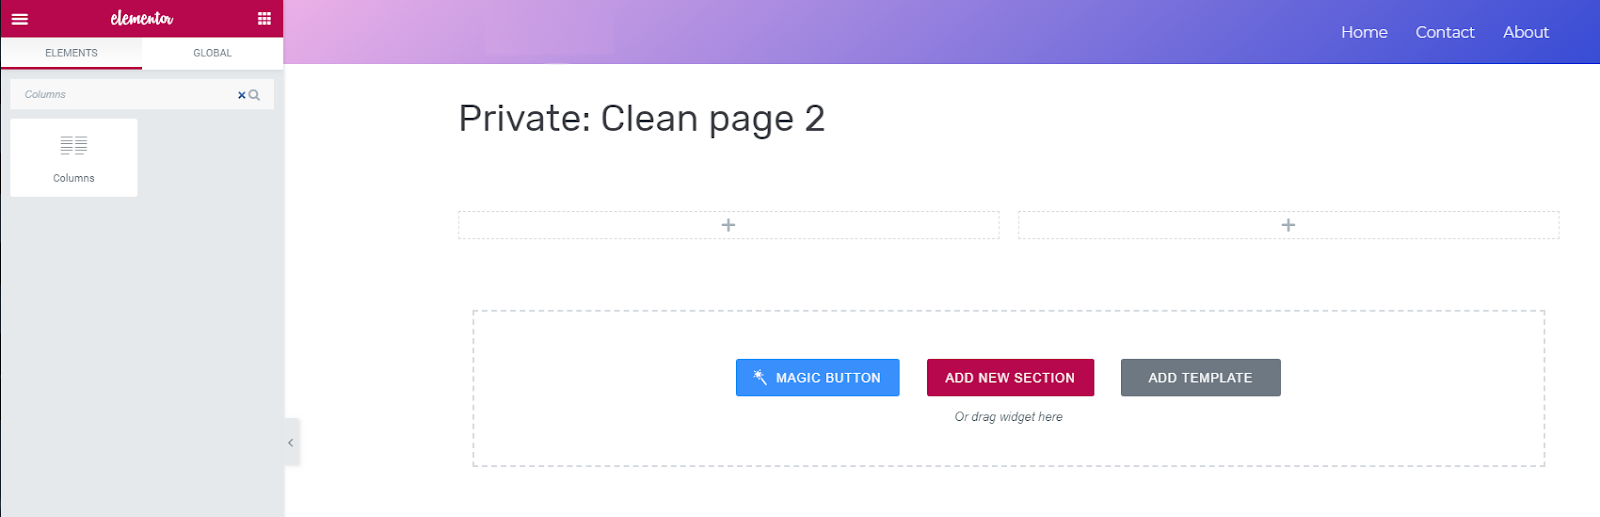
The left column will contain some product information, the right one will have a product image.
To the left column I’m going to add the following widget one after another:
- Heading
- Spacer
- Icon
- Heading
- Spacer
- Single price
- Single Add to Cart
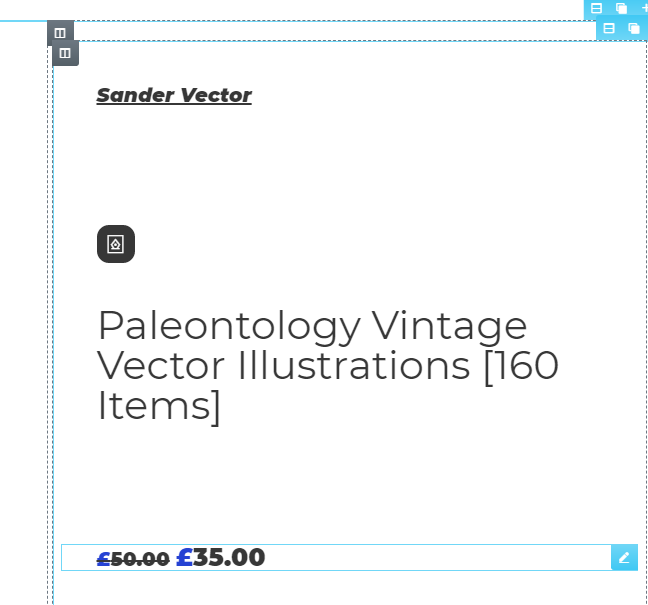
When you’re done, you’ll get something like this
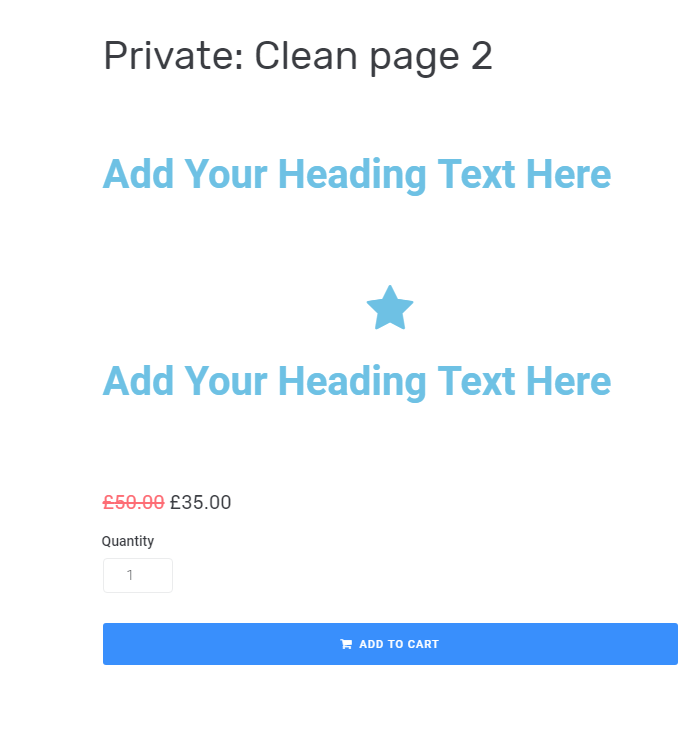
Looks really ugly, but I’m going to tweak some styles to make it look nice. Let’s move on.
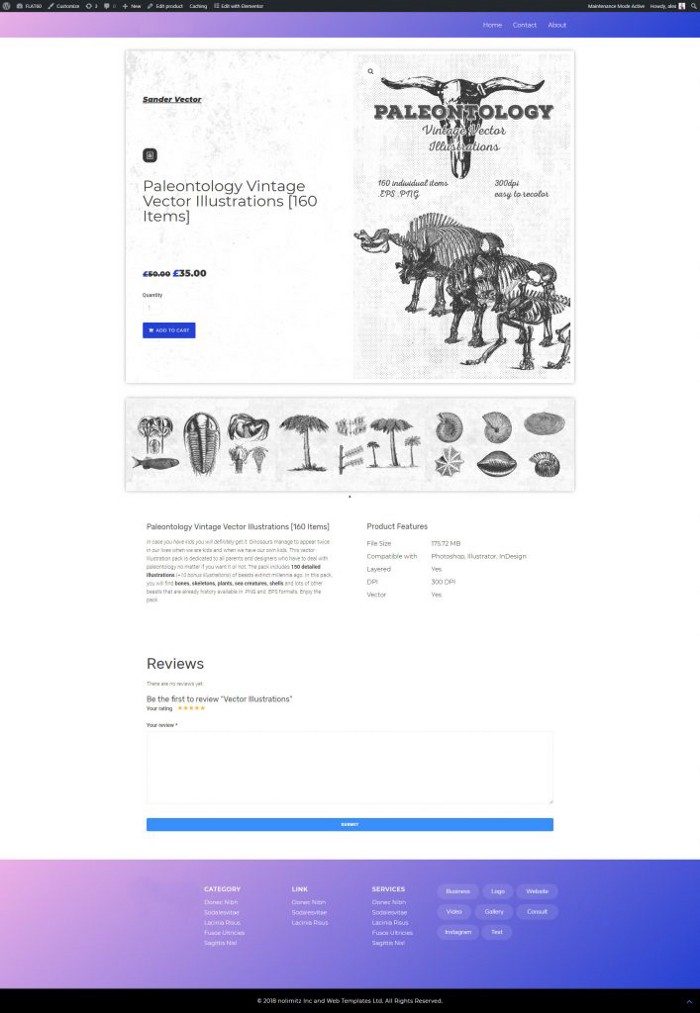
Since I’m using a real product from our marketplace I’m going to use all its details in this demo.
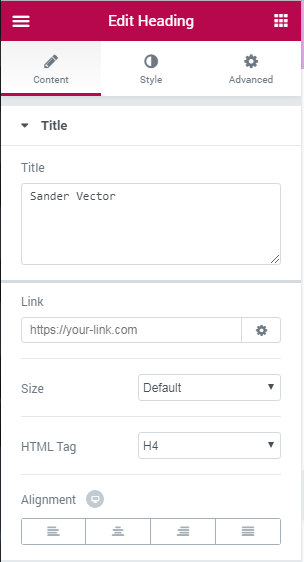
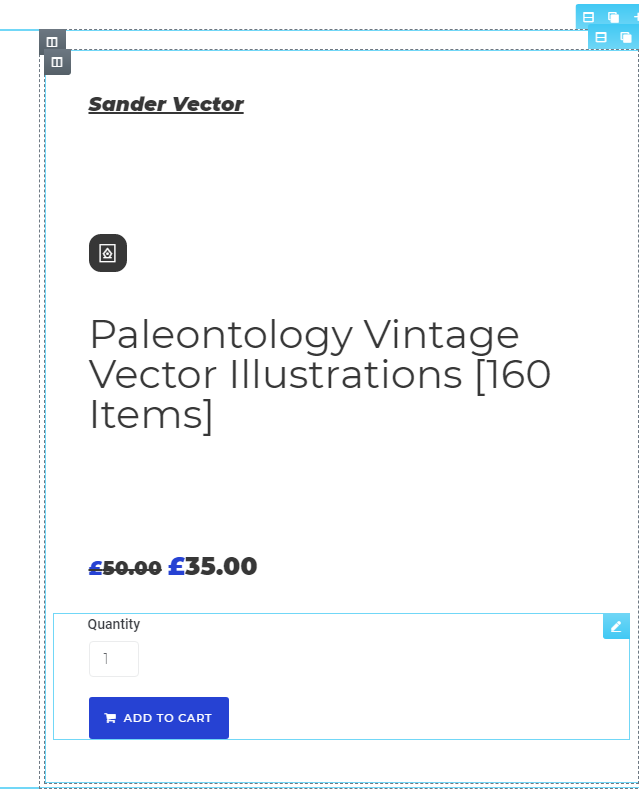
- The first Heading in this column will be the name of the vendor - Sander Vector.
- Spacer - 50px height (in tablet & mobile versions its height will be 1px).
- For the Icon I’ll use the files_vector icon, it looks like a pen tool.
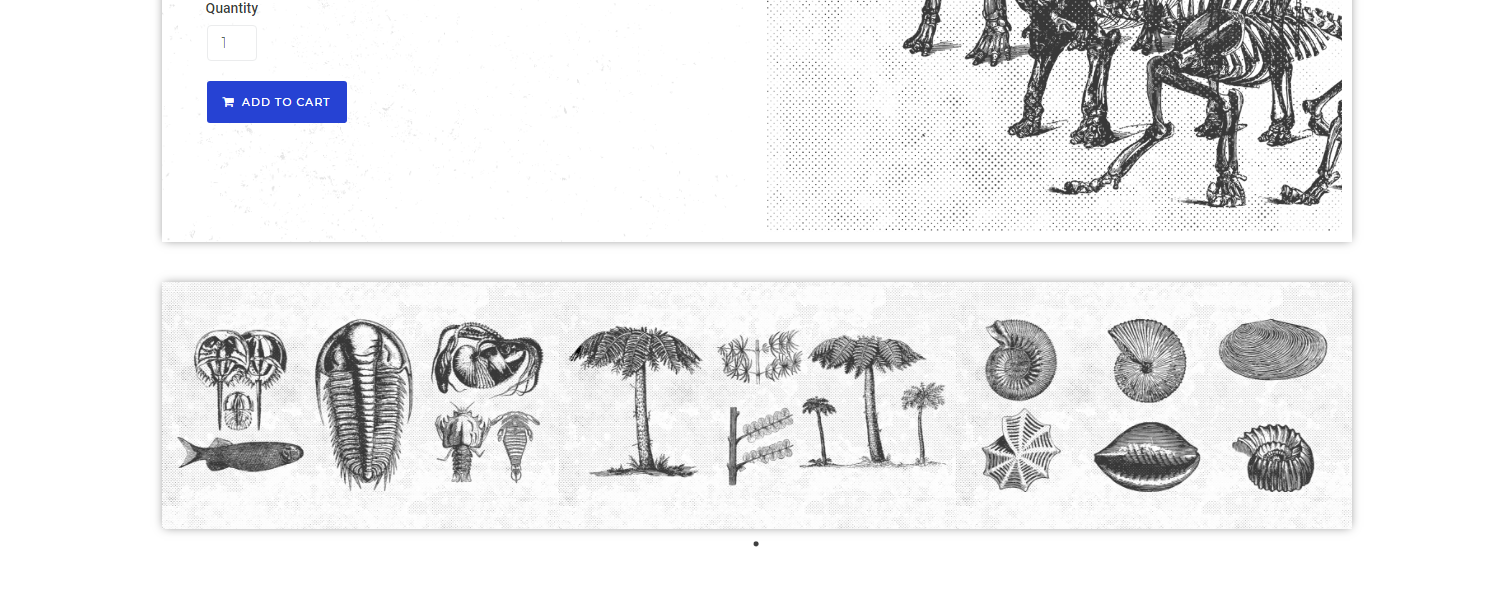
- The second Heading will be the name of the product - Paleontology Vintage Vector Illustrations [160 Items]
- Spacer - 50px height (in tablet & mobile versions its height will be 1px).
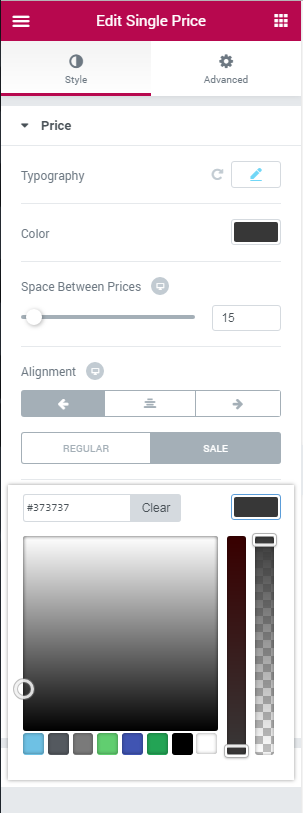
- Single Price widget will show the pricing options you’ve specified while you were adding a product, mine were: £50 regular price, £35 sale price.
- Single Add to Cart widget will assign the product id automatically to any product this template will be used for.
Now let’s have a look at the setting of each of these widgets.
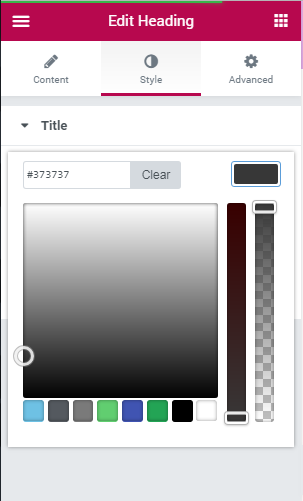
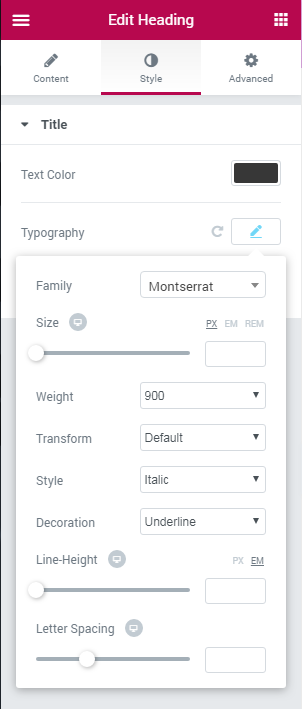
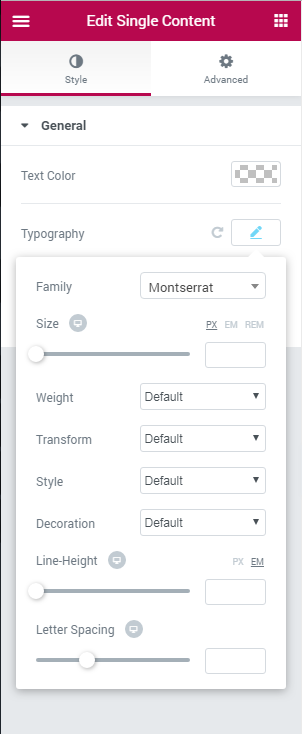
Heading
- In the field, Title write the headline

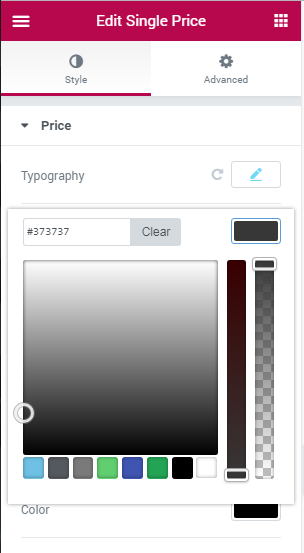
- I'll use color #373737

- The font face is Montserrat, weight 900, style - Italic

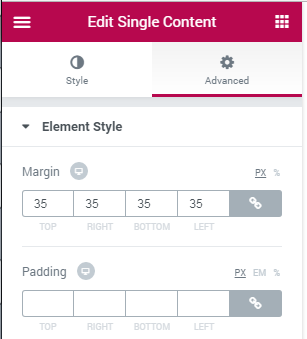
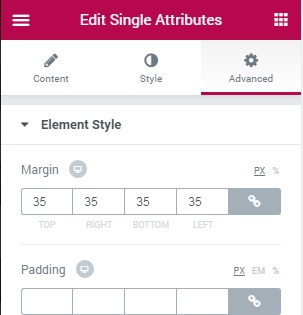
- I'll add 35px margins from all sides

- Result


Spacer
Nothing special here, add any height you feel to be ok, I’m fine with 50px.
![]()
Icon


- Result

Heading


- Result

Spacer
Nothing special here, add any height you feel to be ok, I’m fine with 50px.
![]()
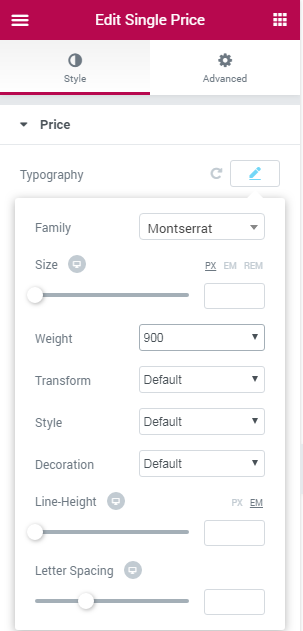
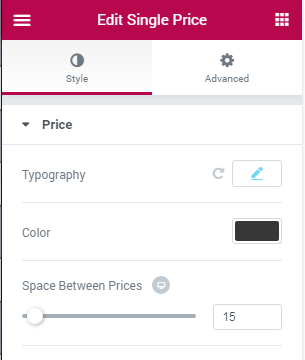
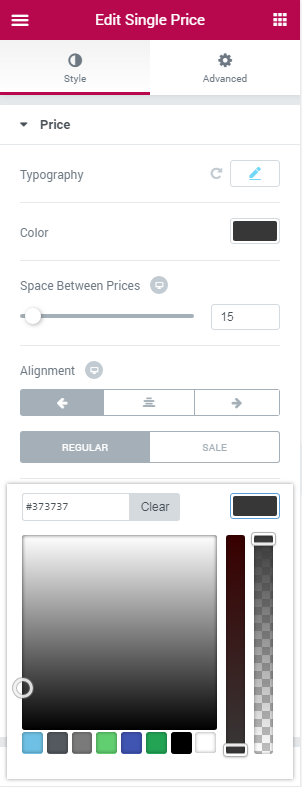
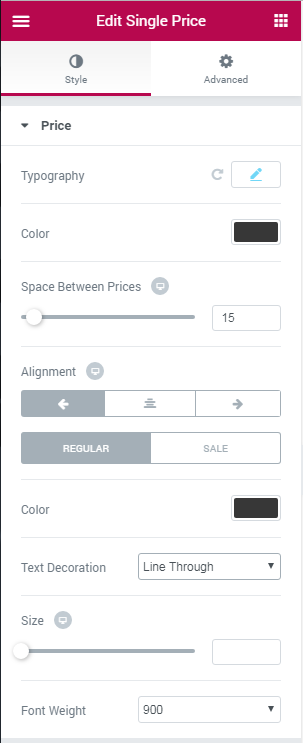
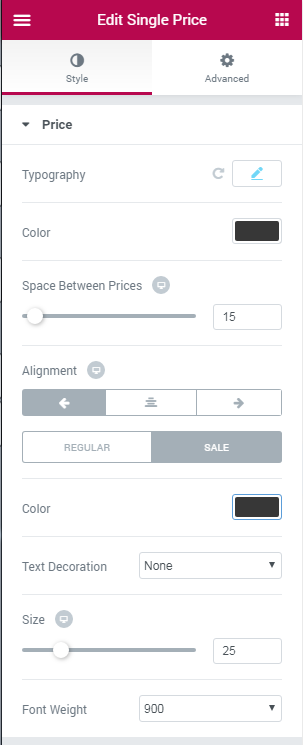
Single Price


- Result

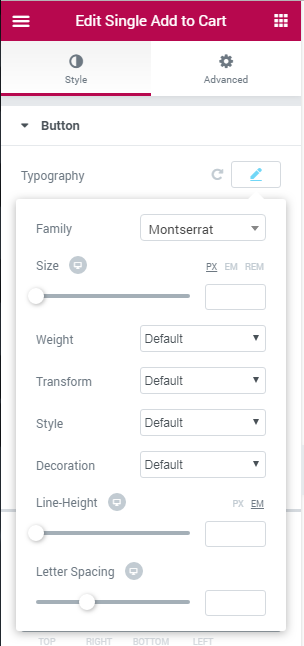
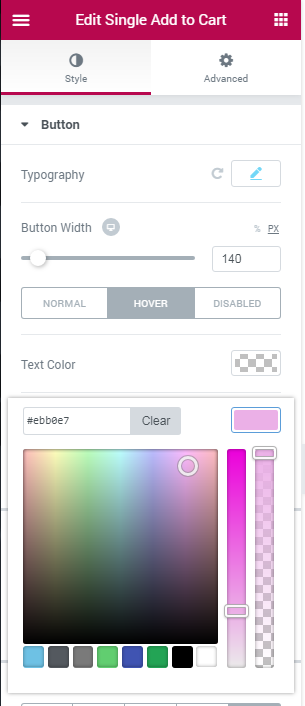
Single Add to Cart


- Result


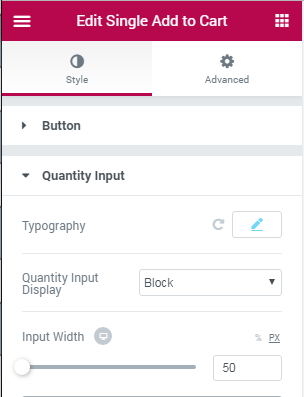
Single Add to Cart widget will assign the product id (automatically) to any product this template will be used for.
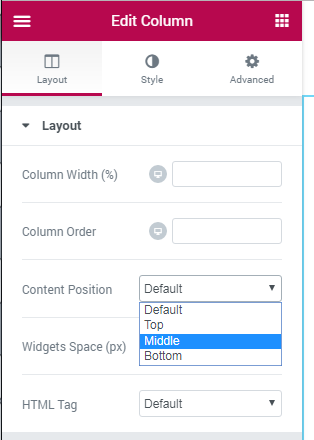
Now let’s apply some modification to the column.
First of all, I’m going to change the content position to the middle of the column.
Now let’s switch to the Style tab. There I’m going to add a background image that will correspond to the product image. I’ve chosen the grunge texture with dust and scratches.
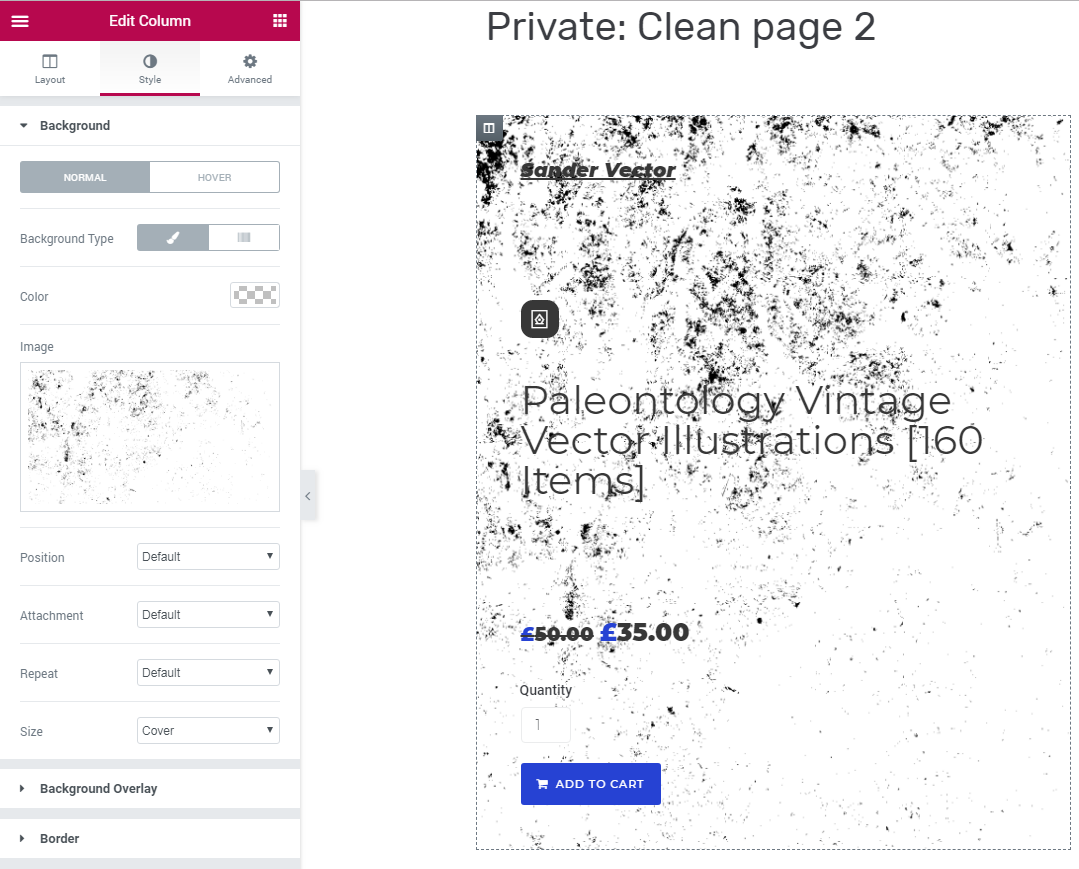
The Size value I’ve set to Cover but you can use Auto.
Looks to vivid, now let’s add an overlay that will cover this texture a little bit.

Now let’s move on to the right column.
JetWoo builder has a widget that can display your product’s image, it’s called Single Images.
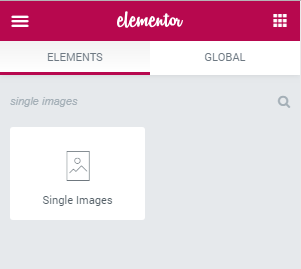
in case you’ve added a few images to the gallery
This widget will display all of them, this means that you can either add an Image widget or don’t add images to the product gallery.
Since we’re building a universal single product page, I’ll remove images from the product gallery so they won’t spoil the looks of my page, now let’s add Single Images widget to the right column.
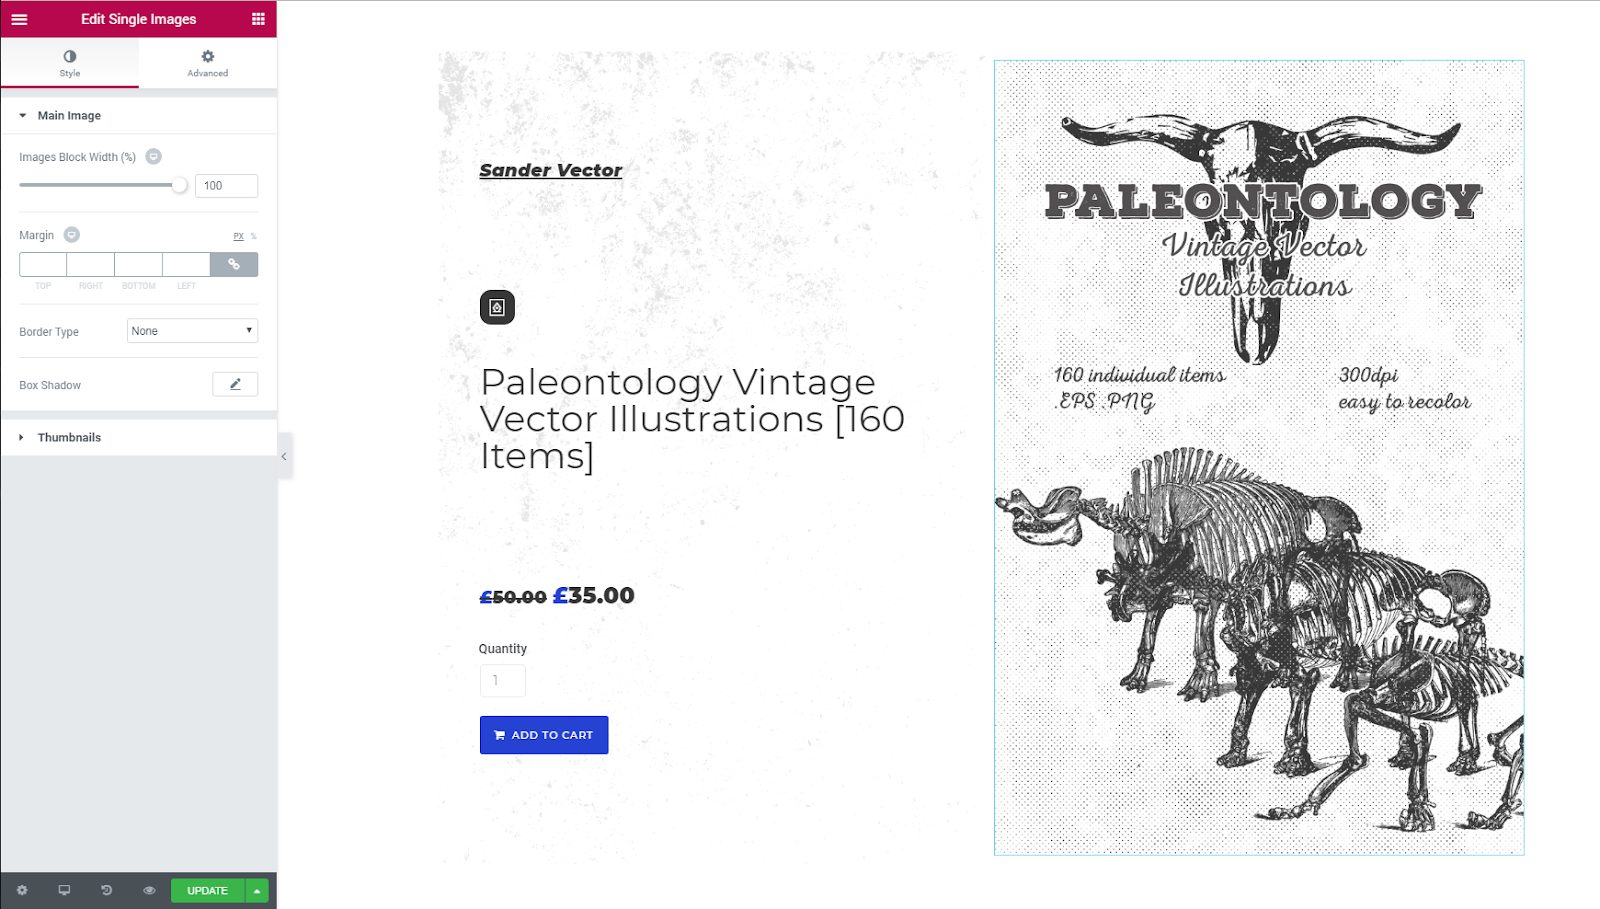
This widget will immediately load product image and it will appear in our column.
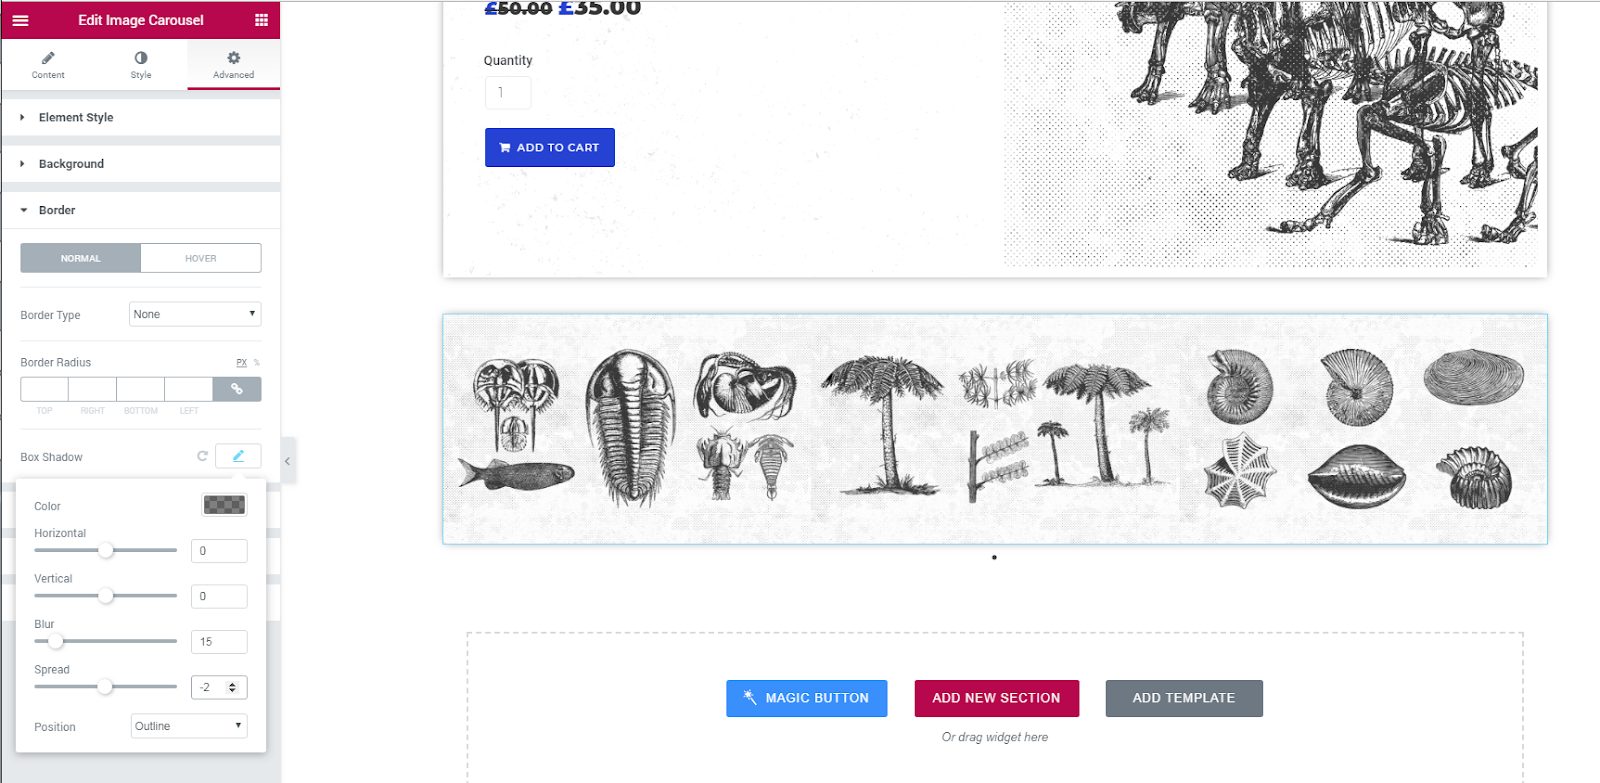
To highlight visually this section I’d like to add some shadow, to do it we need to go to the Column’s Style tab.
There you need to find the Border section and alter some setting within Box Shadow.
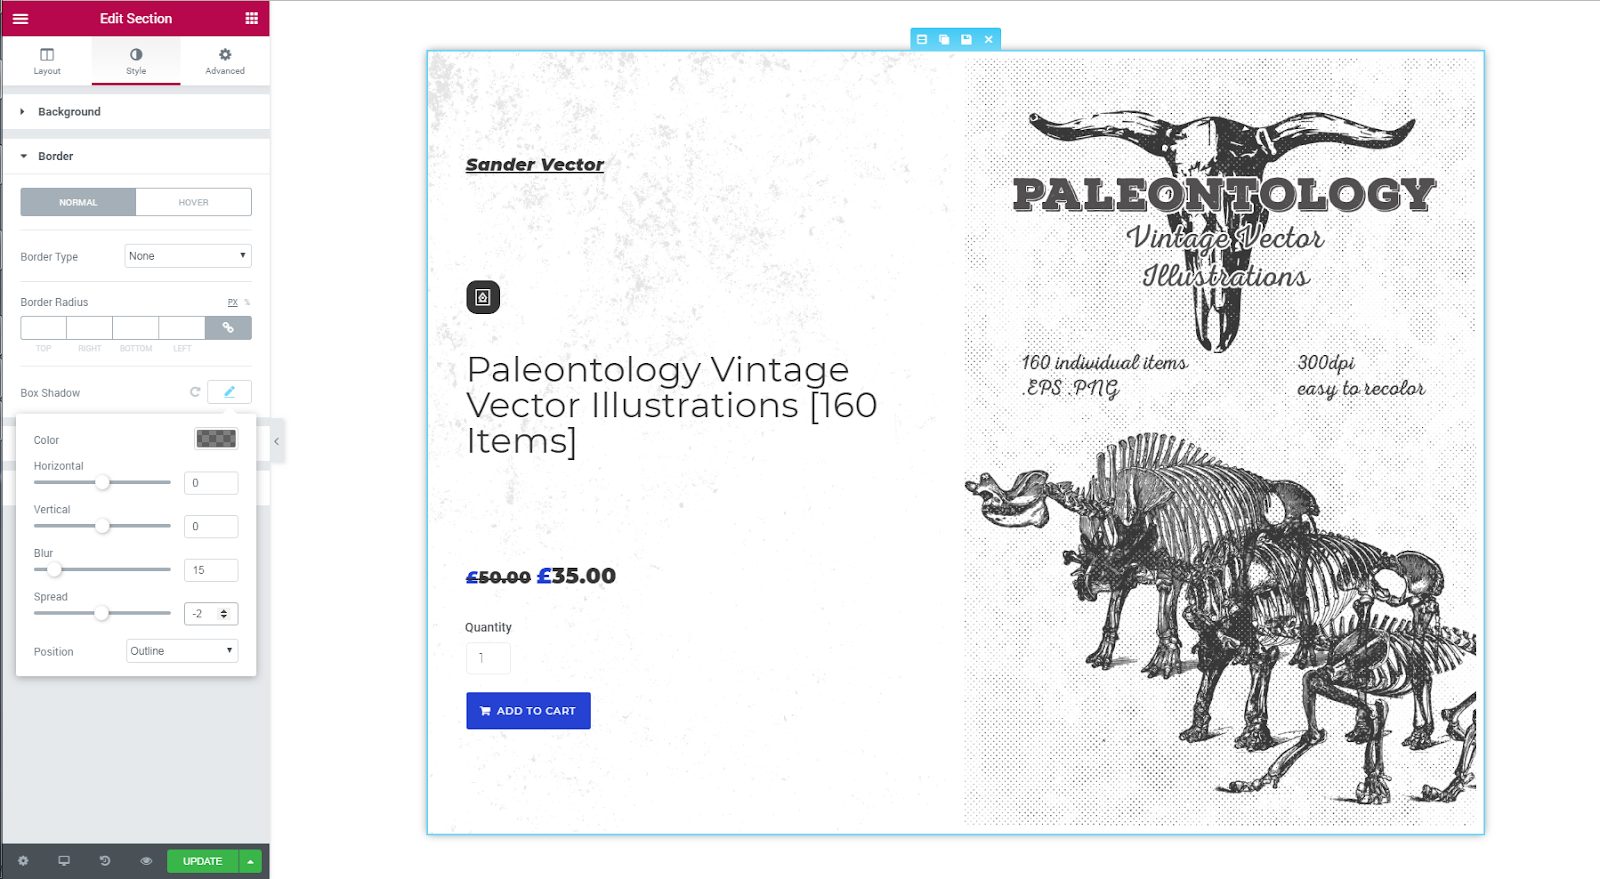
Now let’s preview the changes.
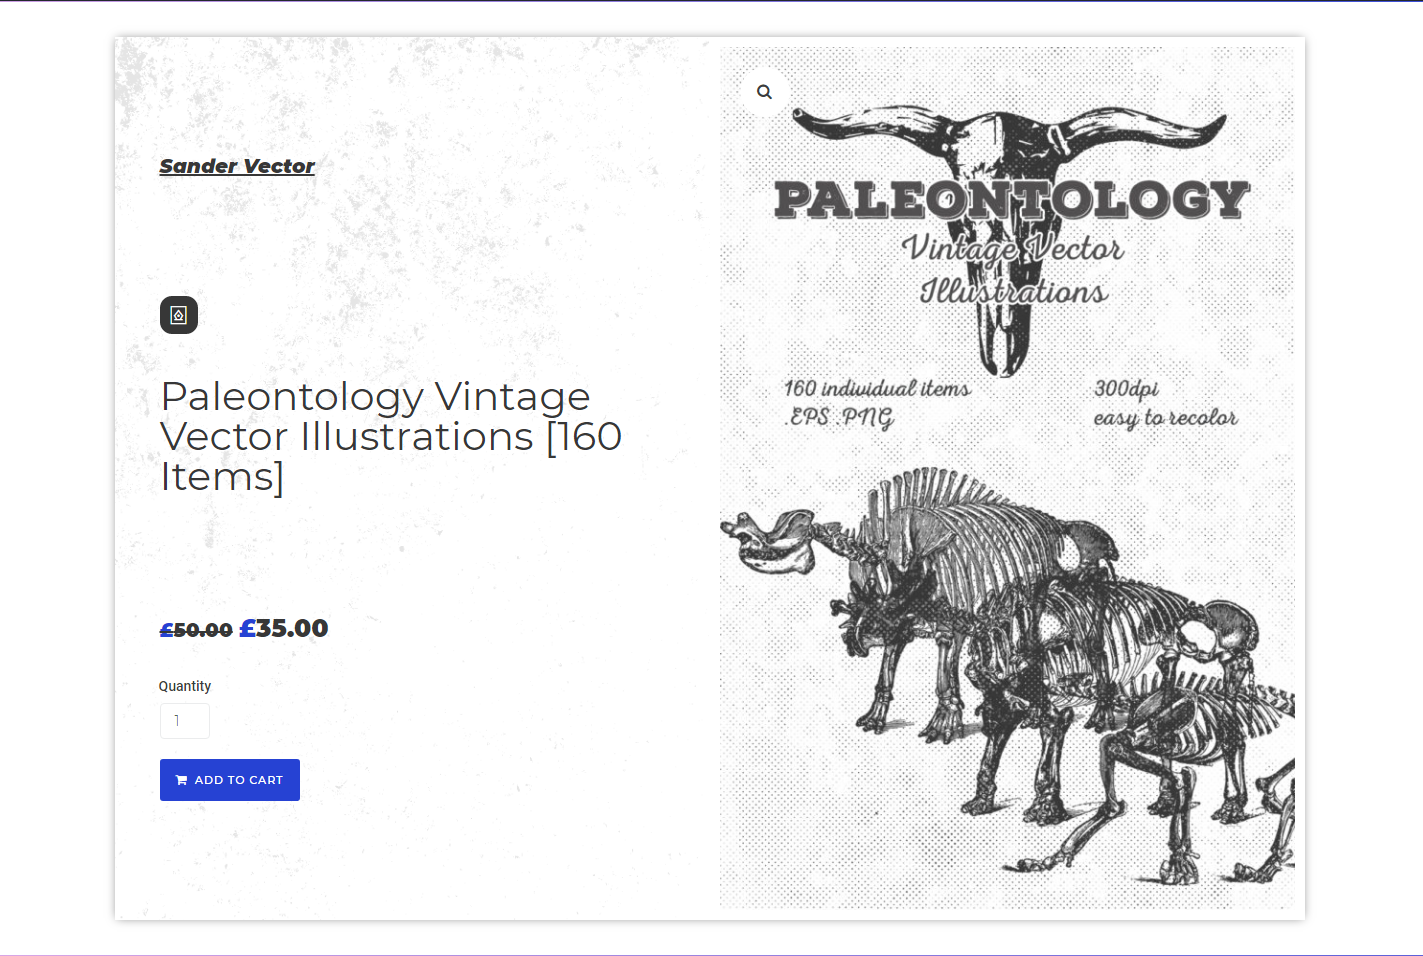
Looks nice.
As you can see both columns have equal width, but you can easily resize then by dragging the middle either to the left or to the right.
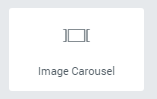
Now I’m going to add an image gallery right under this section, for this purpose I’ll use Image Carousel widget.
In order to separate columns and gallery. I’ll insert the Spacer widget setting the height to 20px.
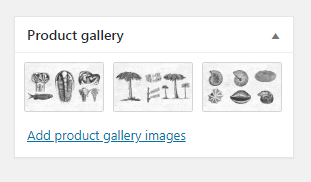
Since I’ve removed all images from the product gallery.
I’ll have to add those images manually, now let’s add the widget to the section, it will look like this.

In the Content settings, you can alter this carousel anyhow you want.
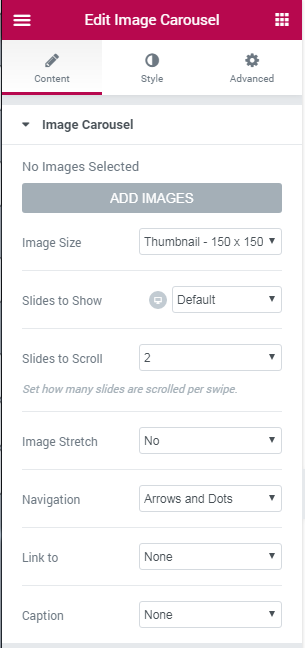
But first of all, we need to add some images.
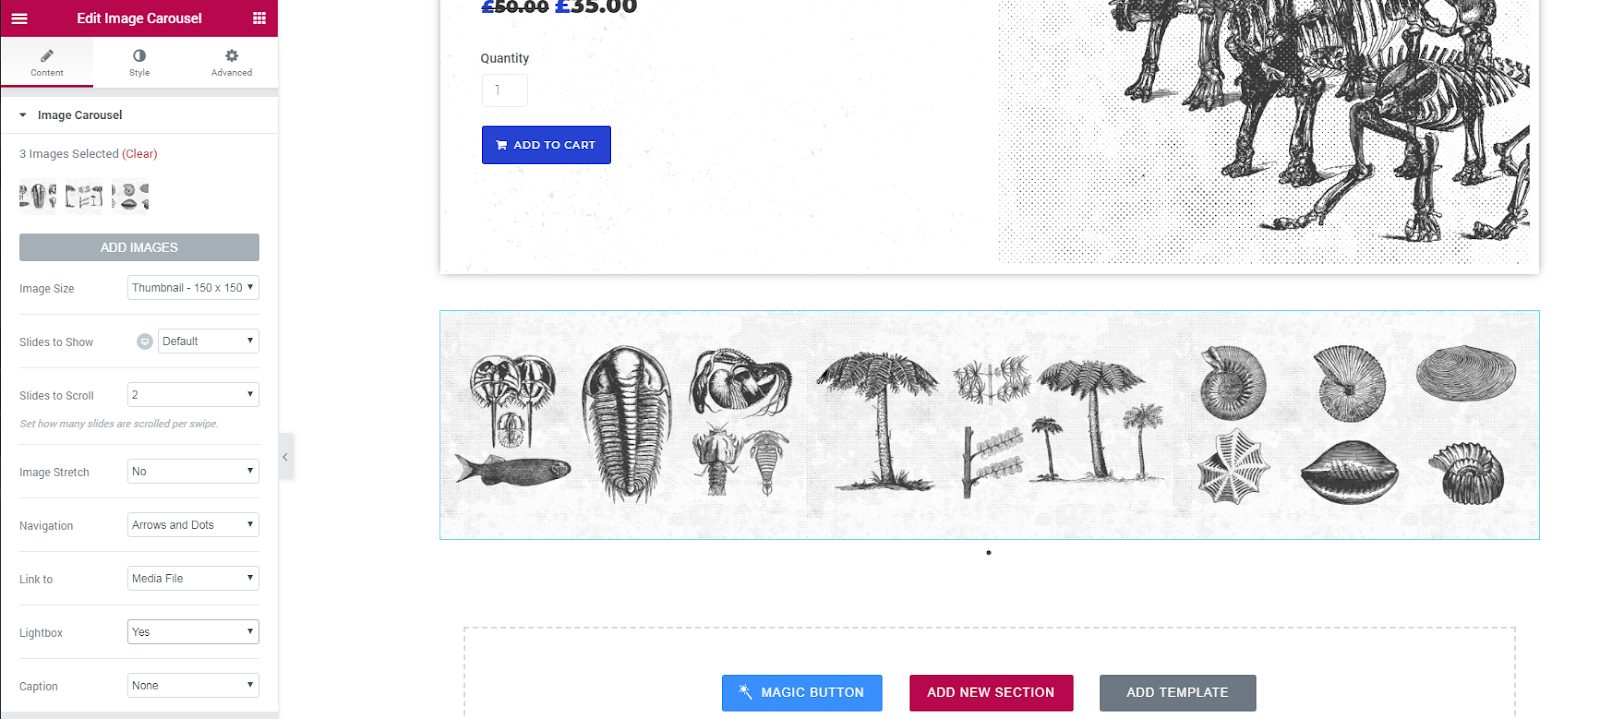
Now I’m going to copy the box-shadow styles from the section above, to add the same shadow.
Let’s preview the result.
Both shadows look the same. Since we’ve enabled the lightbox in the carousel, each of these images will enlarge on click.

Let’s move on.
Now we need to add product features section and description blocks. This time I’ll use the two-column section.

But before we continue we need to add several custom product attributes, you can create product attributes in the product data section. For this product I’ve created the following attributes:
- File size
- Compatible with
- Layered
- DPI
- Vector

Now let’s add another two widgets.
He left column will contain a Single Content widget.
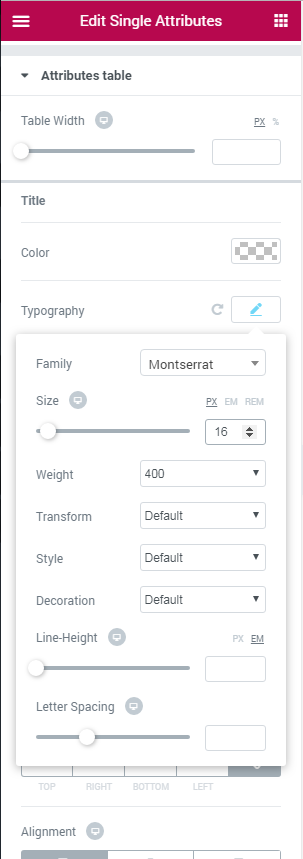
The right one - Single Attributes.

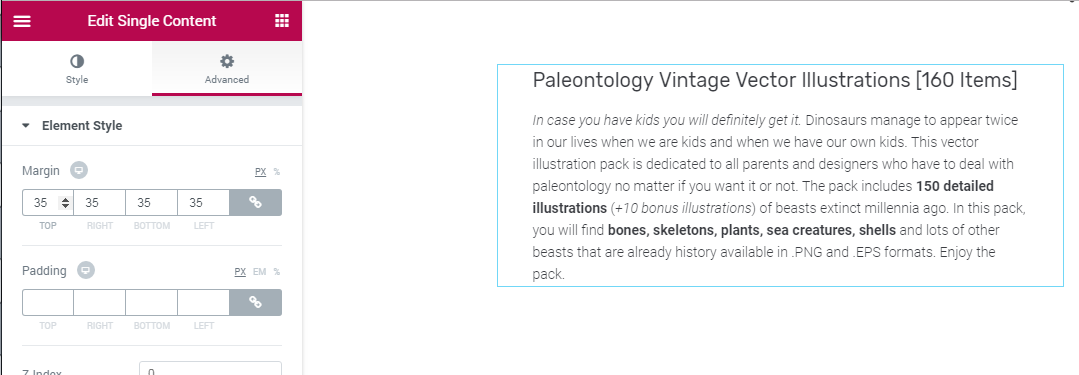
For the content widget, I’m going to add the following settings


- Result

Now let’s add product attributes, at first it will look like an ugly table.
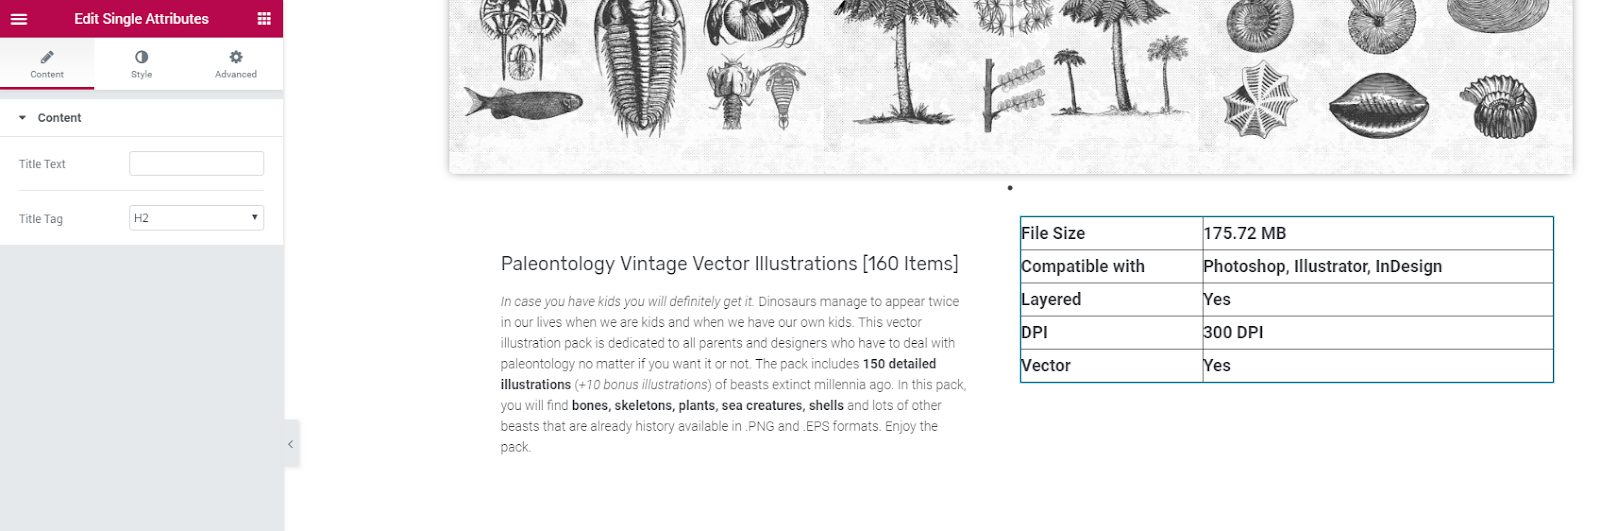
Which is why we need to tweak some styles.


- Result


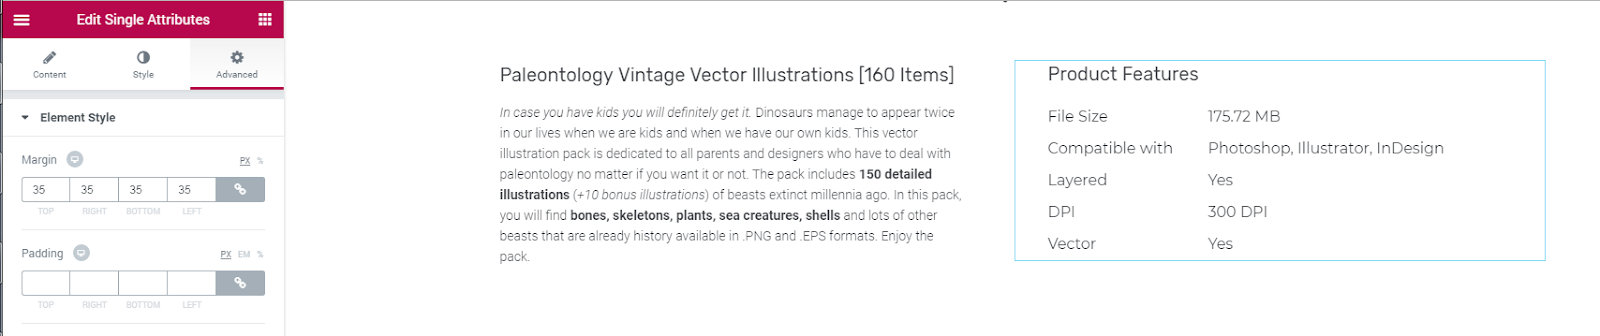
Now let’s preview the result.
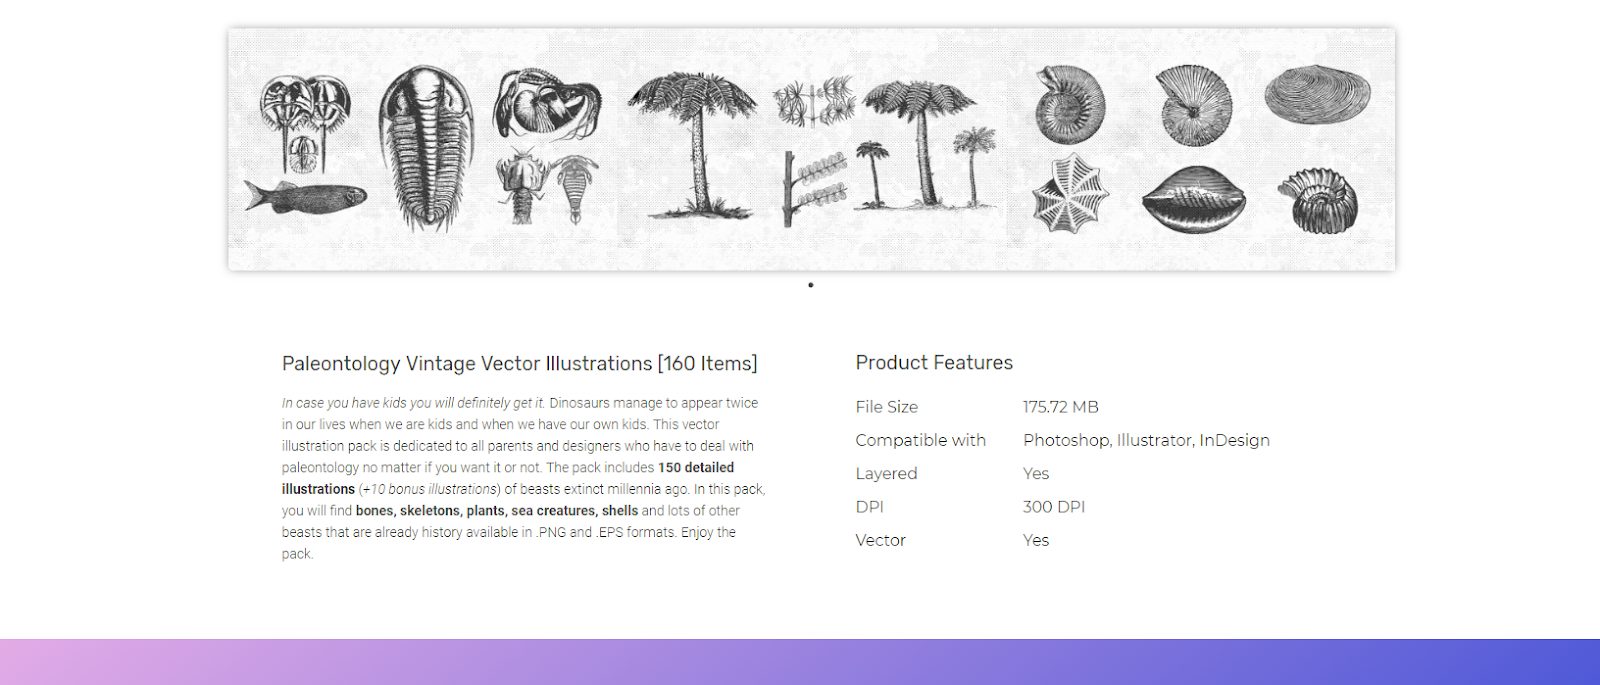
Looks nice, right.
The final touch is going to be the reviews section, but it will be preceded by the spacer 20px high.
Let’s use the Single Reviews Form widget.

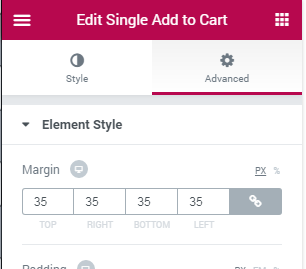
For this section I’m going to set only custom margin, all other settings will remain default.
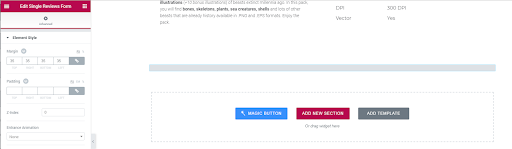
The grey horizontal line is the reviews widget itself.
Now let’s see what we’ve got on the front-end.

Overall it looks ok, but the blue button.
This is the final result of a custom single product page. Overall I’m quite satisfied with the look of this page.
As always the customization process was really enjoyable and quick due to amazing Elementor builder.
Don’t forget to share examples of product pages that you have built with Elementor.
Additional information
End of the lesson.