

Building your own website may be a real pain in the ass. Especially, if you are new to web-development. We’ve all been there, but I’ve got you covered! Today I’ll take one of our themes and show you how you can easily customize it for your needs, be attentive and follow me.
As an example, we will use and modify the Builderry - Construction Company WordPress Theme.


This theme was carefully tailored by our team of dedicated designers for the construction companies. To show you how cool the customization process is, we will turn this into a development studio website theme.
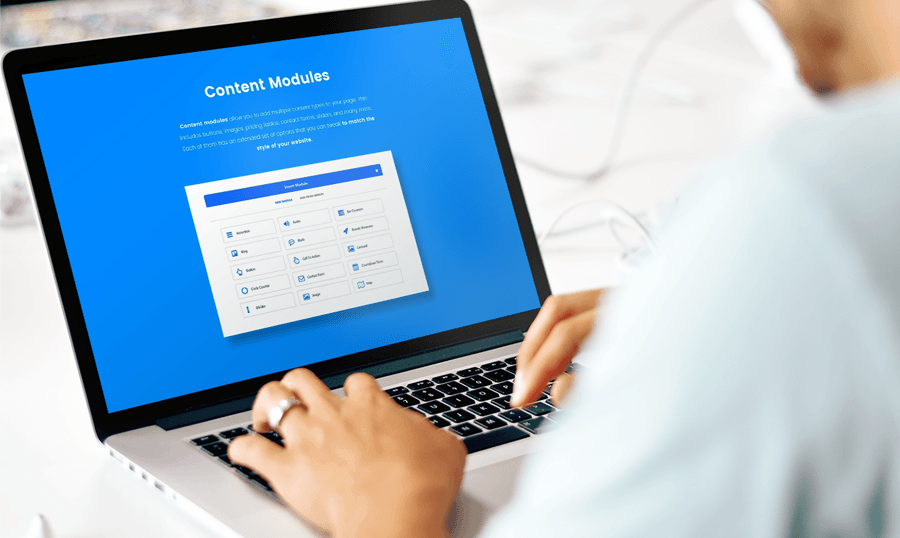
What’s great about this theme is that it is based on Cherry Framework 5 and has a built-in Power Builder to make the customization process faster and easier to do.

Power builder is a very useful tool for changing your website appearance without touching a single line of code.
A brief review of my idea:


I wanna build a website for a project called ‘Startup Express’. The main idea behind my imaginable project is to make it possible for young developers, designers and just talented people to connect with each other and start a project together.
‘Startup Express’ will require a website with a completely different look.
Your customization journey begins!


Right after the purchase of our theme, you will receive a link to the documentation page with all the detailed instructions on how to install and activate it.
In order to access the Power Builder just go to ‘Pages’ > ‘All Pages’. We are going to edit the front page of our website, so let’s choose the ‘Home’ page from the list.
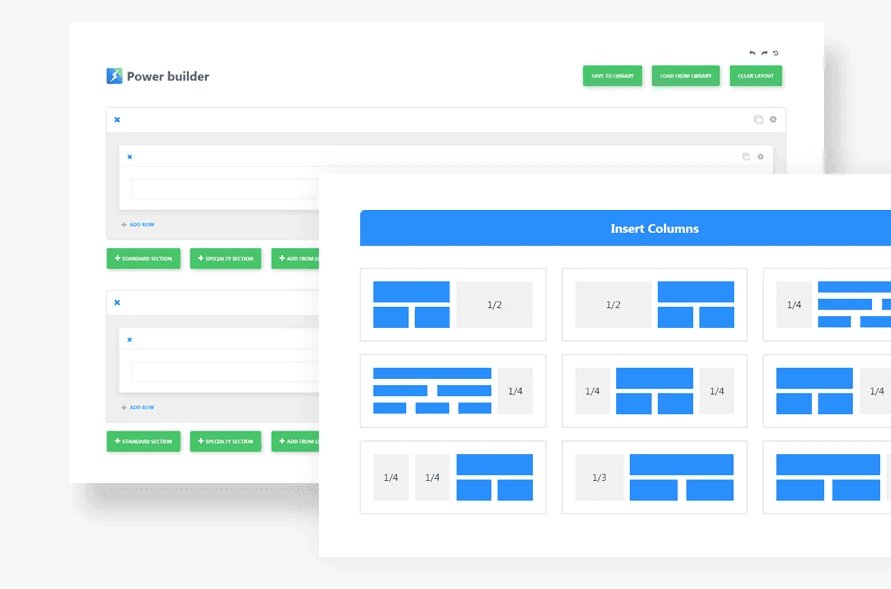
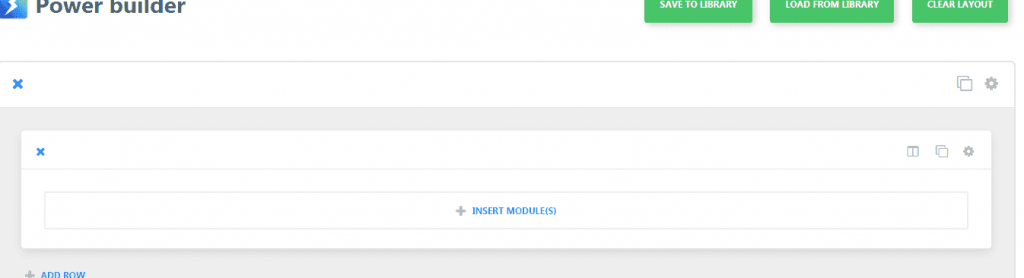
Here is how the builder working area looks like:

So basically, you can remove and add any elements to the page with the drag & drop method. Pretty simple, right?
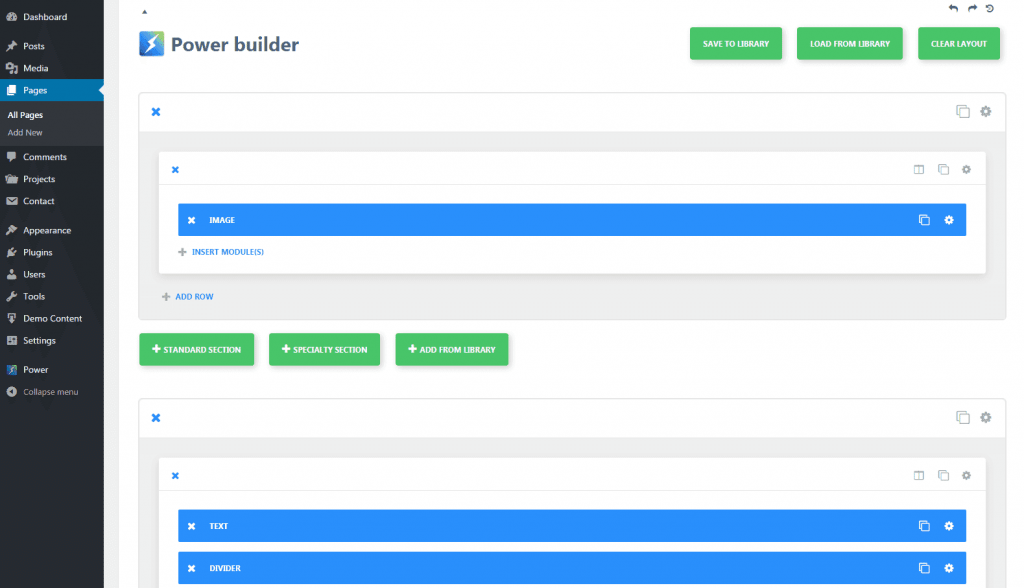
First of all, I cleaned up the area on our home page. You can do the same, just go ahead and remove all the elements from the working area. We will build the page from the scratch by adding the modules that we actually need, not just switching the default ones around.
How about a cool picture on the top?
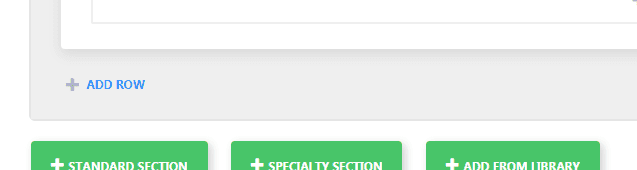
I cleaned everything up on my end and I hope you did as well. If so, we can proceed and add a row now.

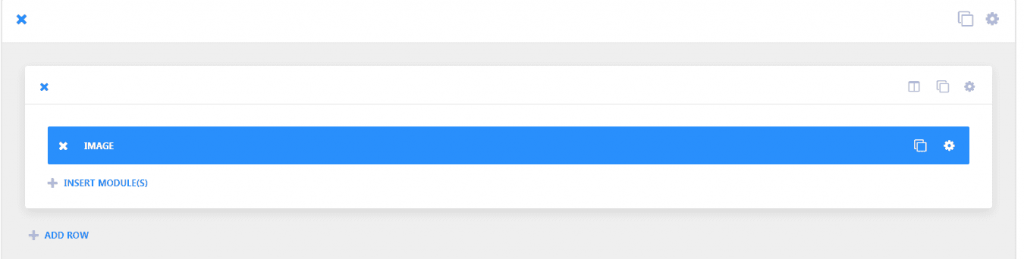
Then click on ‘Insert Module(s)’ and choose whatever you wanna add. I decided that I want to have a static image with the logo on the top of the page. So I click ‘Insert Module(s)’ and select the ‘Image’ module.

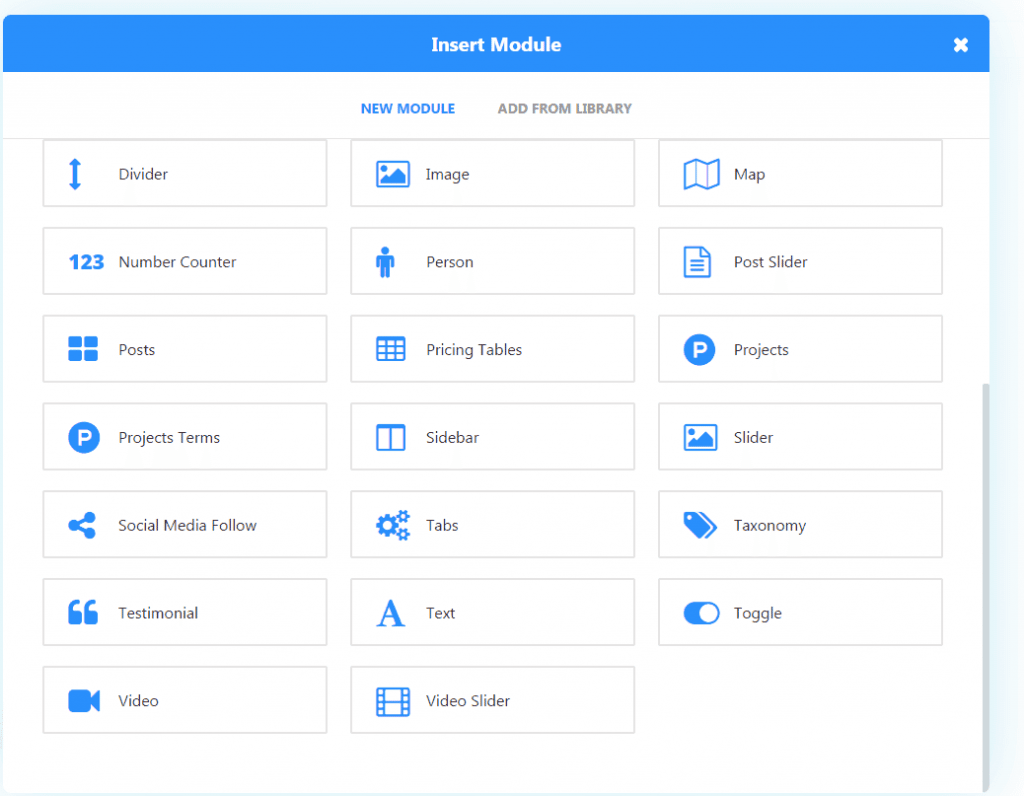

The module appears on the list and now we can customize it.

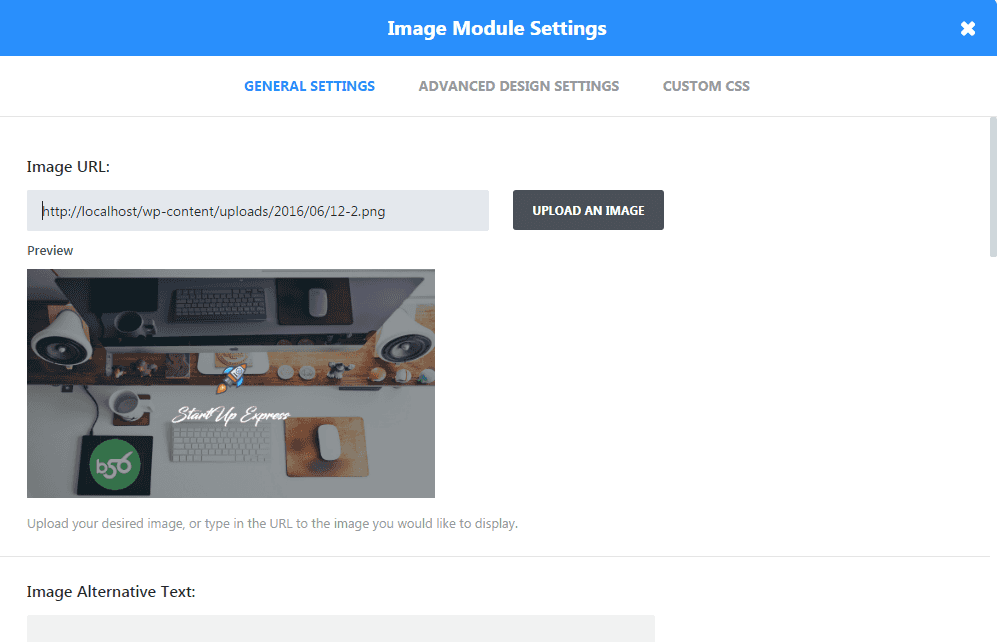

Once you selected the picture you want to use on the top, you have plenty of options to fool around with. You can insert a link into this image, change the way it appears on the screen, etc.
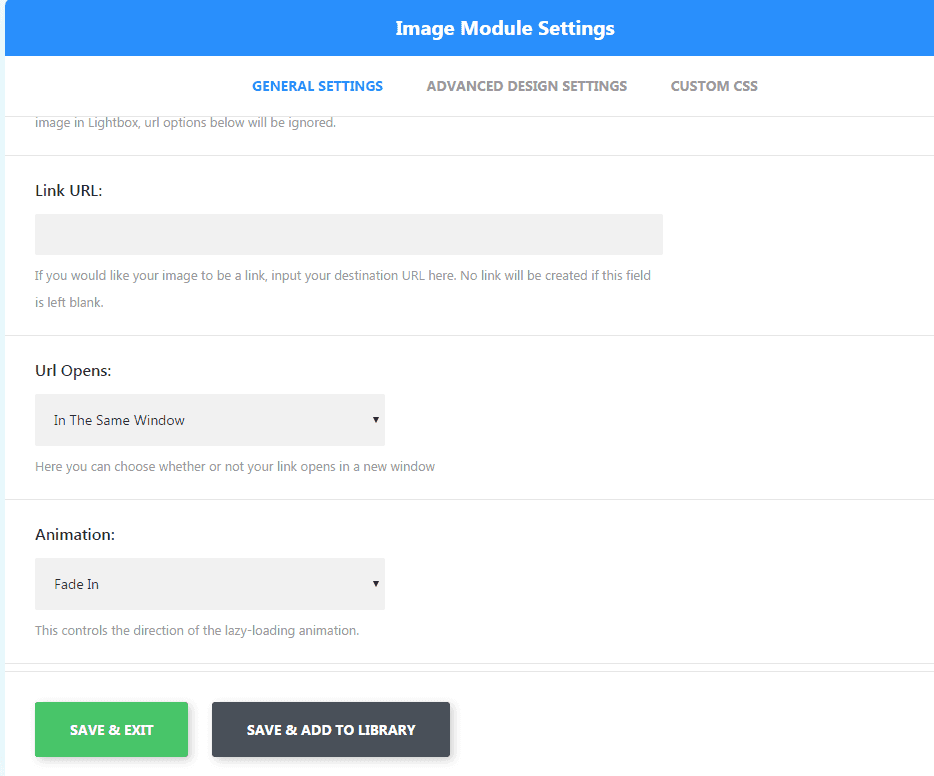

I decided to keep it simple, I am not linking this image, it will be just a cute image showcasing the logo and spirit of our project. I also selected the ‘Fade In’ animation style, I think it looks better that way.
Project description block
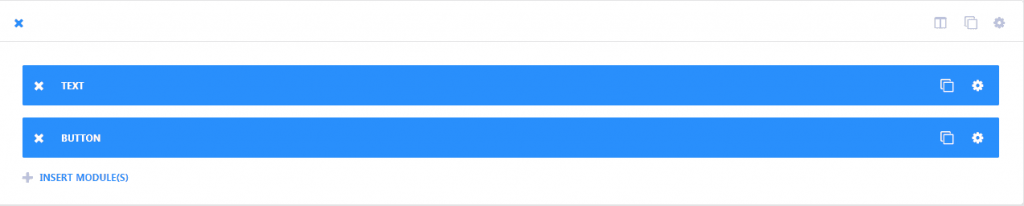
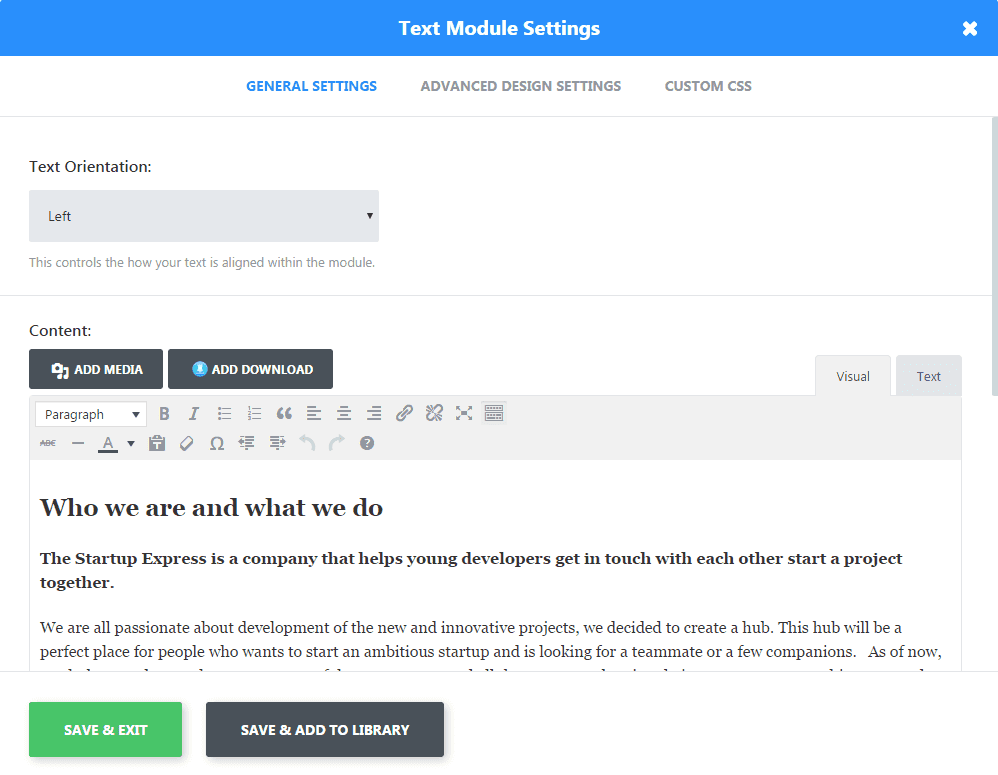
What’s next? I think we should explain to the visitor what is my project about and what goals I am keeping in mind. In order to do that, we should add the ‘Text’ and ‘Button’ modules.

I filled in the text and placed it on the left, so customers wouldn’t have problems reading the text on the picture I selected.

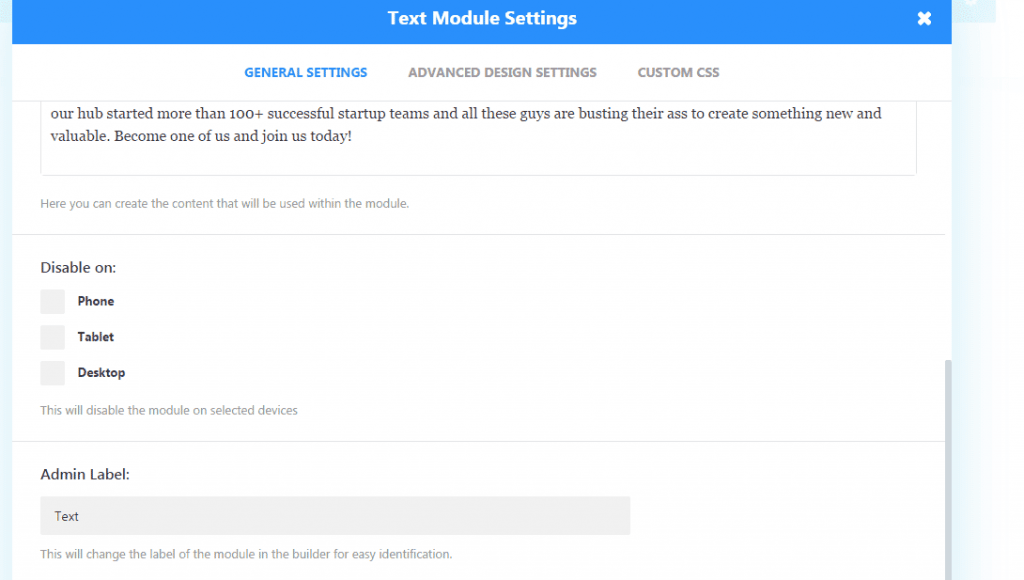
I would like to note one of my favorite features of this builder. While customizing each module, you will have a possibility to decide if you want this particular module to be displayed or hidden on one of the versions of your websites. Isn’t that cool?


Now you can hide a module on the tablet, phone or desktop version of your website in a single click!

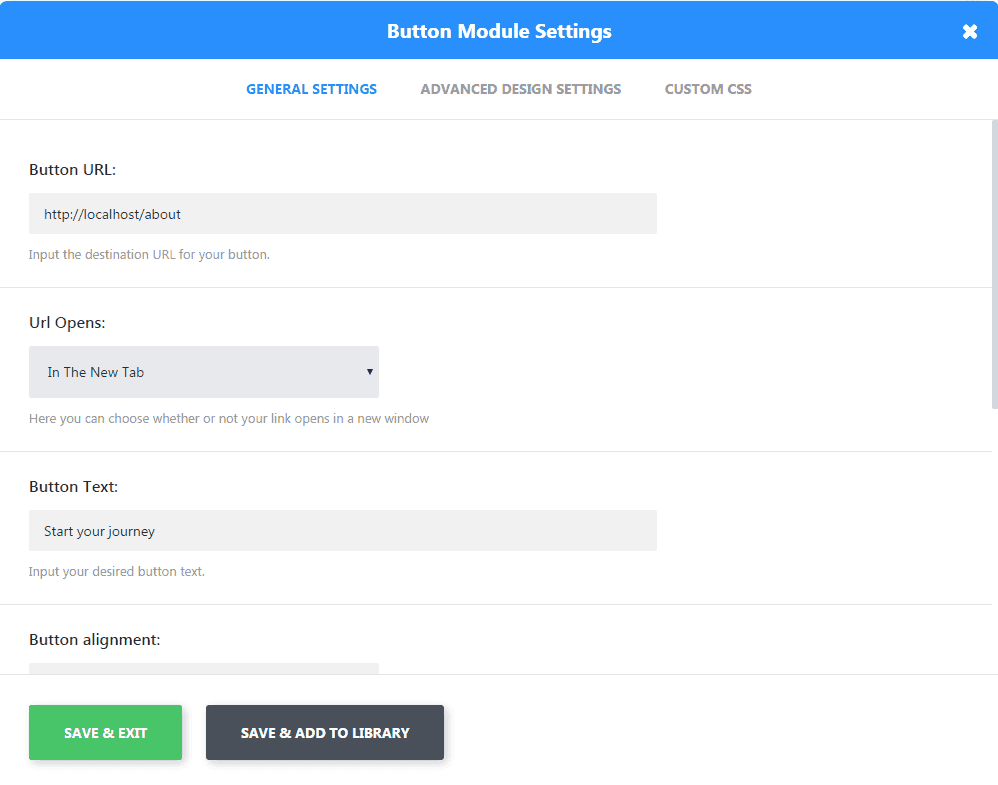
I also want to add a button giving customer a possibility to get in touch with us right away and start working with us. Button customization is very simple. I’ve filled in the text that will be displayed on the button, selected the alignment option, chosen the link to be opened in the new tab by the click and that’s it, ready to go!

Sharing our office location
‘Startup Express’ has its headquarters in New York and we are happy to share the office location with our website visitors, so the next module on the home page will be the Google Map module.
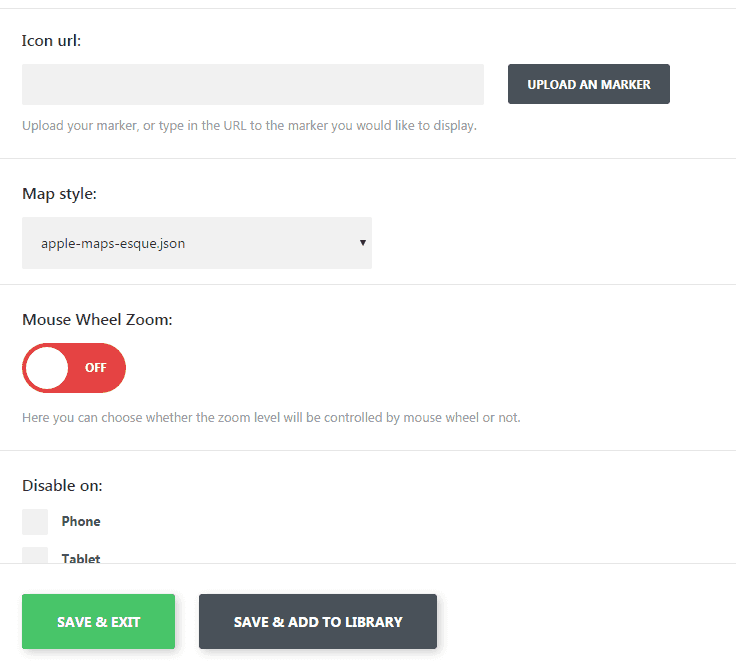
To be able to use the Google Maps integration, you will have to obtain the Google Maps API key here. Then go to the ‘Power Builder’ in the WP admin and fill in the key.


Now we can add the Google Maps module and be sure that everything will be working correctly on our end.


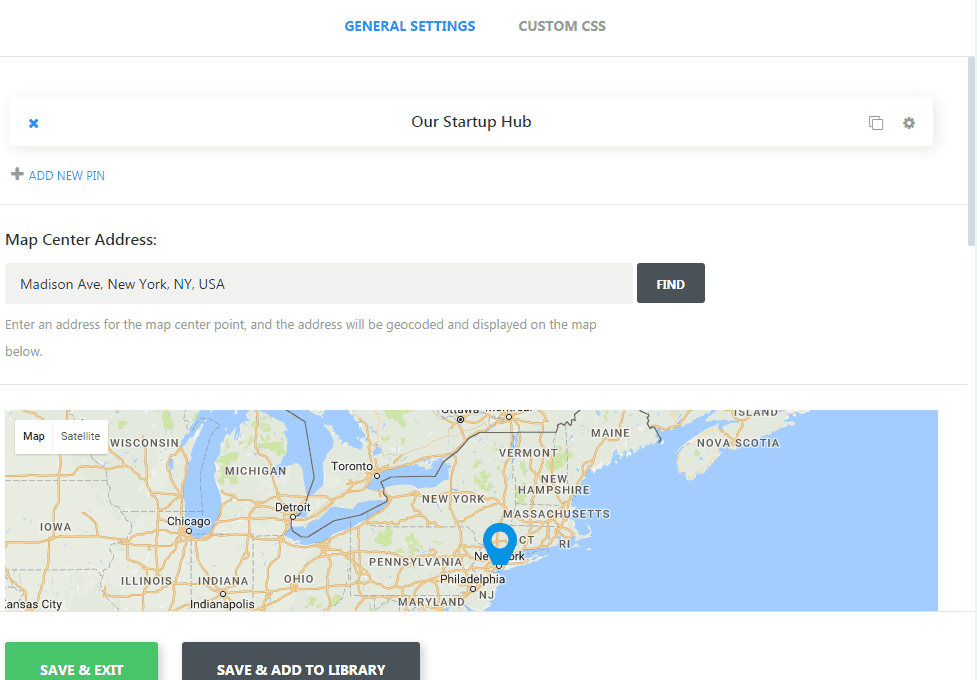

I filled in the address and also decided that I don’t want the map zoom to be controlled by the mouse wheel. It’s up to you if you want to use this option, but as for me, I find it really annoying.

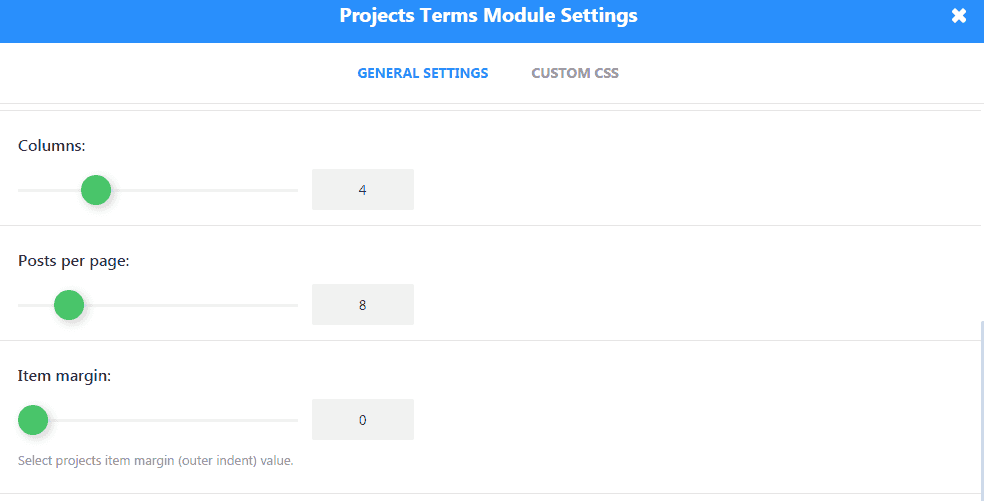
Setting up the projects showcase
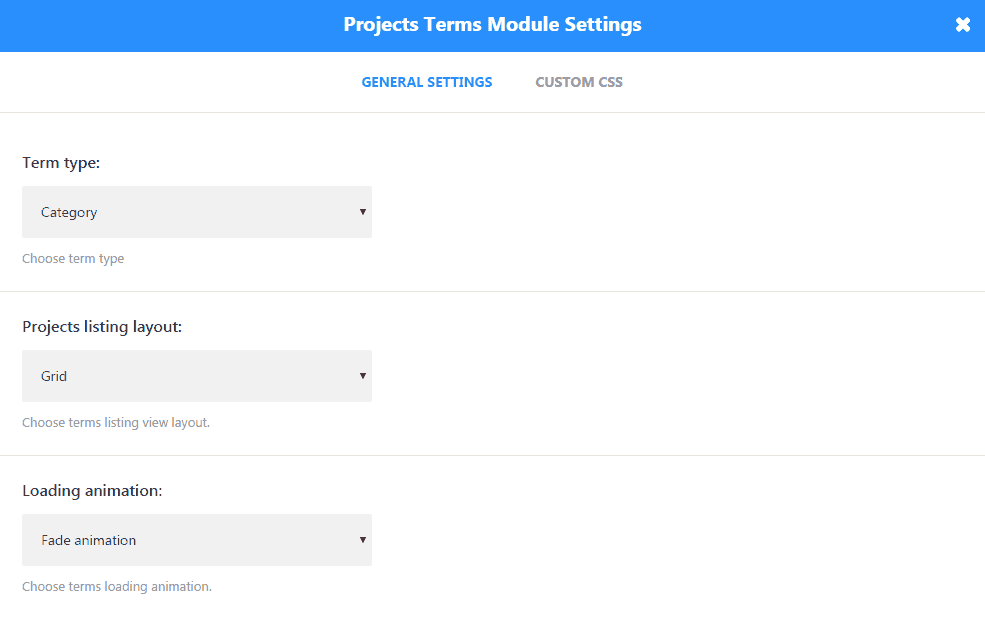
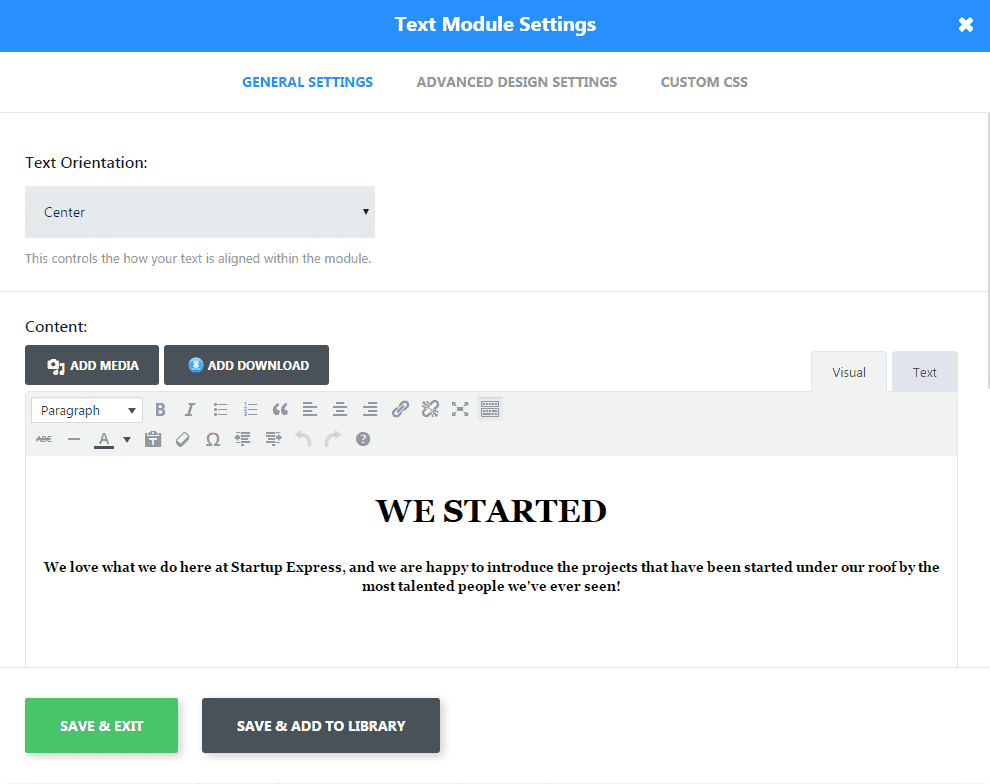
It’s time to showcase the projects that have been started on the ‘Startup Express’ platform. ‘Project Terms’ module comes handy in this situation. But right above this module, it will be great to add the ‘Text’ module’ and give your website visitor a brief explanation of what is this block of your page presenting.


All the projects on my website are included into one of the eight categories. Since there is plenty of projects listed on the website, it will be much better to display those eight categories and the customer will go from there.
By the way, you will also be able to display the projects by certain tags with the help of the ‘Project Terms’ module, so displaying the categories is just my decision.


I filled in the text and centered it. Made it bold and defined the ‘We started’ line as a Heading.

That is all for now, dealing with Power Builder is over. Don’t you agree that it was quite easy?


The finish line is close, we are almost done
While logged in your admin panel, go to your website and click on ‘Customization button’.

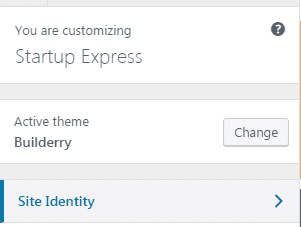


Here you will be able to change the color scheme, customize your header and footer area. All these minor changes will make your theme look completed and well-thought-out.
Today we learned how to customize your template using the Power Builder. We did not touch a line of code, but we changed the appearance of our website completely and got it ready for our ‘Startup Express’ company. Here is the result I’ve got:


As you can see, changing your WordPress website appearance quite easy. And even if you get a ready-made solution, you will be capable of switching and adding the elements on your web page.
Don't miss our Power Builder overview on YouTube!

In case you do not want to stay on your own with your theme customization issues, feel free to use our Service Center and our dedicated experts will help you out!