


- Clone Plugin Installation
- Clone Plugin Options
- Creating a Package
- Moving Your Website to a New Host
- The Trick You Need to Know
- Read Also
It looks as though you’ve played around enough on your localhost and now it’s time to duplicate your WordPress site, moving it to a better place.
If you think that it’s hard work, don’t worry as moving your WordPress site will take no more than 20 minutes of your time.
Let’s begin.
Clone Plugin Installation
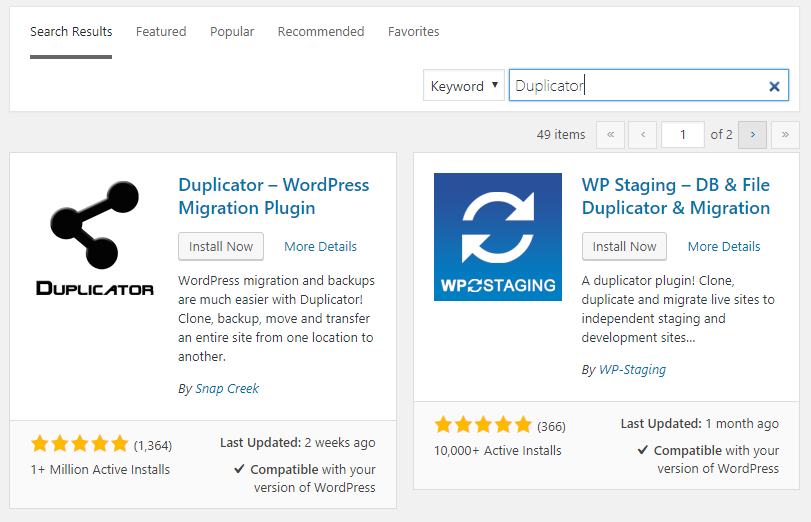
First of all, open the Plugins section in your WordPress admin and hit the button Add New


Now enter the name of the plugin into the search field; it’s Duplicator
And here’s the WordPress Duplicator plugin you need.


After it’s activated, Duplicator plugin settings will appear in the menu.
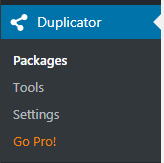

As you can see there’s nothing scary. Let’s move on.
Clone Plugin Options
This plugin was developed to help you move your website from one location to another. Also, Duplicator can create automatic backups of your site.
Some hosting providers, especially the cheap-medium price range, do not create automatic backups, and that’s a really bad thing. For example, sometimes users corrupt their sites, and if they don’t have a copy, what do you think their reaction would be?
Unfortunately, there’s a thing with Duplicator- the free version doesn’t allow you to create automatic backups, but I do not think it’s a problem, because you can create as many backup packages as you need.
Creating a Package
Before you start making any changes to your website, either through the installation of third-party plugins or editing source code, you need to create a new backup package.
Hit the Packages item in the Duplicator menu, and this is what you will see.
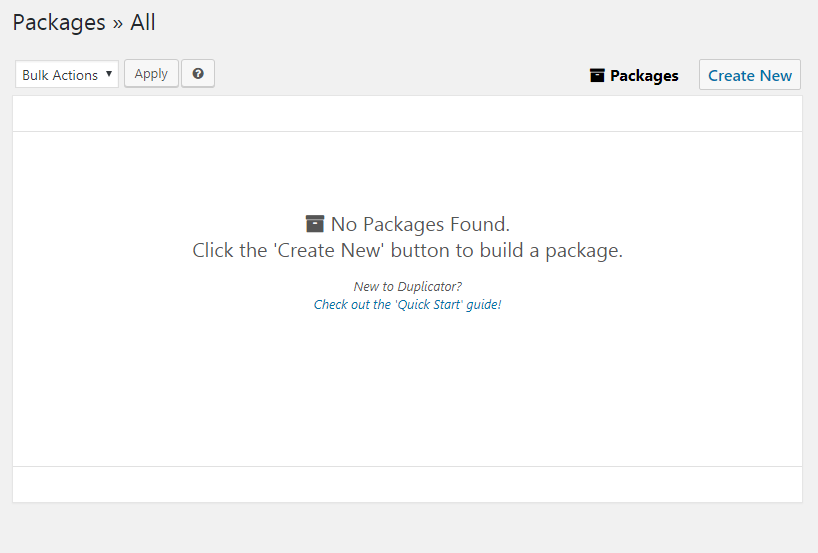

There are no packages, yet.
Now hit the button Create New, and let some magic happen.
To be clear, the whole backup process has only four steps:
- Click Duplicator >> Packages >> Create New
- Enter the package name
- Click Next
- When the scanner finishes its job, click Build.
Funny, but when I tried to create a package I received an error. Luckily it was not an issue with the plugin, but my hosting account.
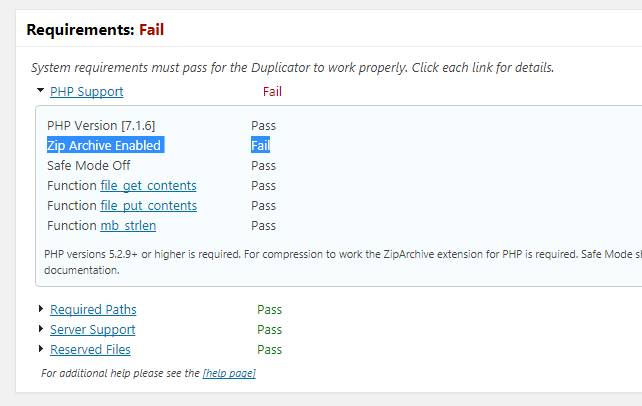

If you’re using GoDaddy hosting you are about to experience the same issue. Now I’ll show you how to fix this and finally create a package.
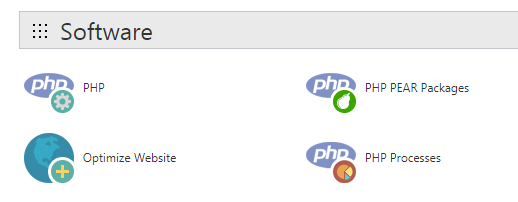
In my case ZIP archiving was not enabled on my account. To enable it, I [and you] need to log into the Cpanel.
Under the Software section, there’s an icon labeled PHP PEAR Packages, hit it.
When you’re there, enter zip into the search field and press Go


Next page will show you an Archive_Zip (0.1.2) module that you need to install.


If you see this:
.......done: 19,606 bytes
install ok: channel://pear.php.net/Archive_Zip-0.1.2
Congratulations, you’ve done everything correctly.
But there’s one more thing you need to do. Go back to the home page of your CPanel, in the same section Software, where there’s an item PHP Processes.

On the next page you need to click on the button Kill Processes.
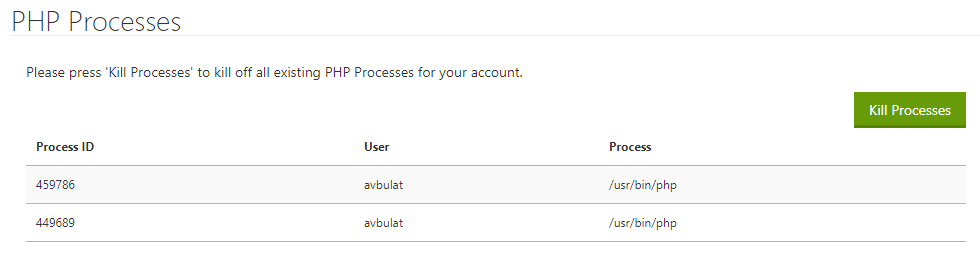

Don’t worry, this will not literally “kill” anything, this tool will restart the PHP processes on your hosting account.
Press Kill Processes and let’s get back to the site’s admin, and create a package.
Here’s what you need to do:
- Click Packages >> Create New.
- Enter the name of the package, if you skip that step, the package will have the current date as a name.
- Click Next.
- When the scanner finishes its job, click Build.
Now you have the backup of your website, and you can do any manipulations you need.
Moving Your Website to a New Host
When your package is ready you will get two files: installer.php and archive.zip
This process also entails a few simple steps, such as:
- Open your CPanel on a new host.
- Use file manager or FTP to upload these two files to the directory where you want to have your website /public_html/your-wp-directory/ for example.
- Now open a new tab and browse to this URL https://yourdomain.com/your-wp-directory/installer.php
- On Step 1 >> Click the button Next.
- On Step 2 >> Enter your database credentials, if you don’t have any you need to create one >> test connection >> click Next. Please note, if this database were assigned to some other website it would be overwritten. It is recommended that you create an empty database. How you create a database can be found in the documentation of your hosting provider, or ask their chat operator.
- On Step 3 >> Click the button Next.
- On Step 4 >> Login remove installer files.
- Done, your site has been migrated.
The Trick You Need to Know
To ease the whole website-building process there’s a small trick you need to know. Most hosting accounts allow you to create subdomains. Basically this would be a separate website hosted within a single account.
So when you create a subdomain you can call it sandbox.yourdomain.com and practise there. This will help you avoid stressful situations if something goes wrong. After applying all the necessary changes you can duplicate your WordPress site and move the whole package from sandbox to its final destination.
If you have any questions, you’re free to mention them in the comments section. In the event you have nothing to move, we have a huge selection of WordPress themes that will fit any business niche; you’re welcome to check them out.
Read Also
How To Choose The Best WordPress Plugins For Your Site
MalcolmY Freelance Designer Portfolio Free WordPress Theme
Creating a WordPress Navigation for your Theme
How to Create Redirects with WordPress
Why Do Web Professionals Choose WordPress For Their Clients?