

So you need to create a WordPress gallery on your website, right? The good news is, there is nothing complicated about it. This CMS has a powerful family of plugins that facilitates all processes including gallery creation. Therefore, you can learn to create one even without any knowledge of coding.
One of the easiest ways to create a WordPress photo gallery is to use Envira Gallery Plugin. This product stands out from the rest with its substantial advantages that make it one of the most desirable gallery related products on the WordPress marketplace.
If you download this plugin, you will benefit from:
- a rich collection of beautiful pre-built gallery templates
- an opportunity to organize images in albums, choose album covers and set tags
- integration with social media profiles and share buttons
- works protection with the help of watermarks and passwords
- slideshow plugin
- full-screen lightbox mode
- the ability to add YouTube, Vimeo, and Wistia videos to the galleries
In addition, you will be able to add WooCommerce functionality and transform your gallery into an online store. The drag-and-drop nature of this tool makes it possible to create a WordPress image gallery in just a few steps!
Although everything seems to be fairly easy, it’s still best to check out this guideline on how to create a gallery on WordPress. Shall we start? 🙂

Step 1. Download the Plugin
To create a photo gallery on WordPress, you should download the Envira Gallery Plugin first. You can do it from the official plugin’s website or from the WordPress catalog of plugins and add-ons.

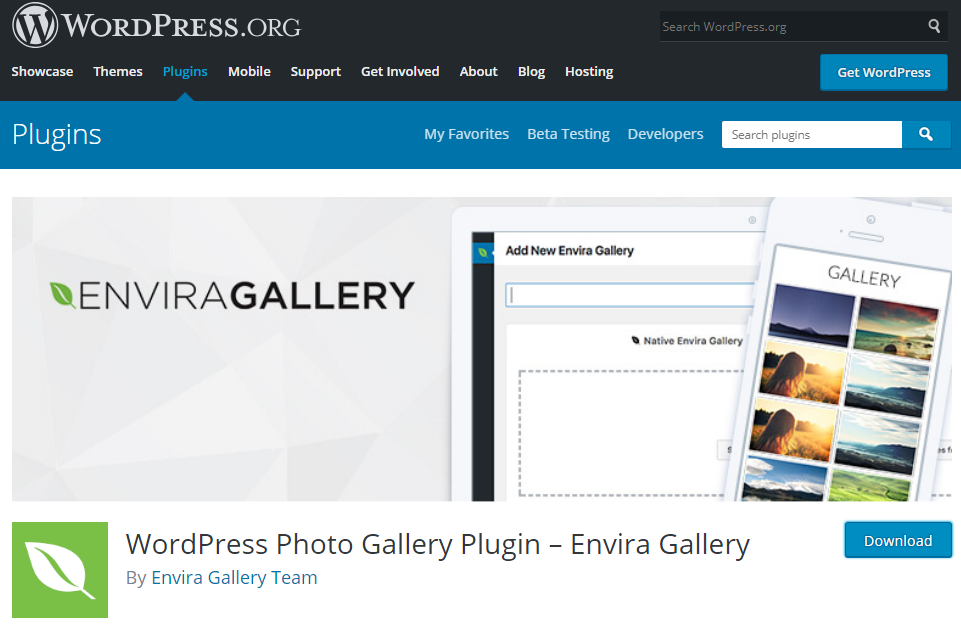
The plugin is free.
Step 2. Install the Plugin
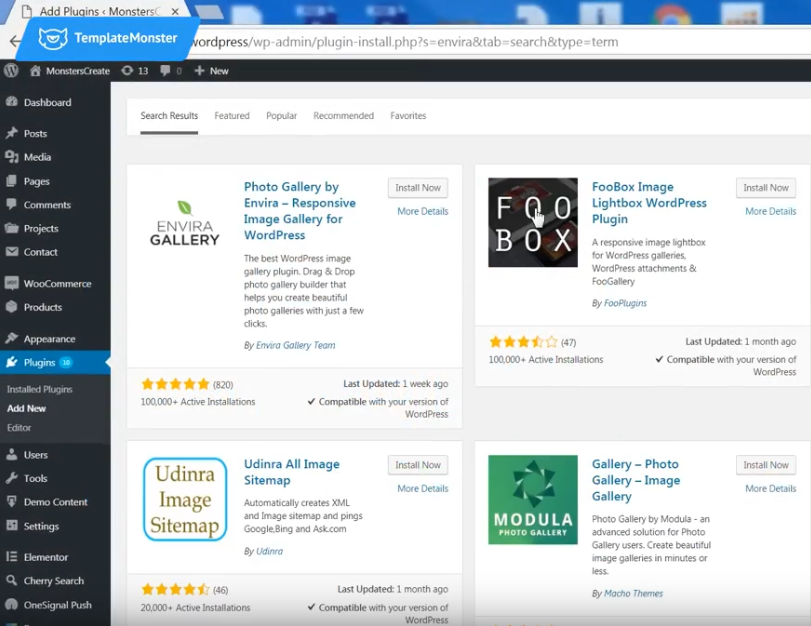
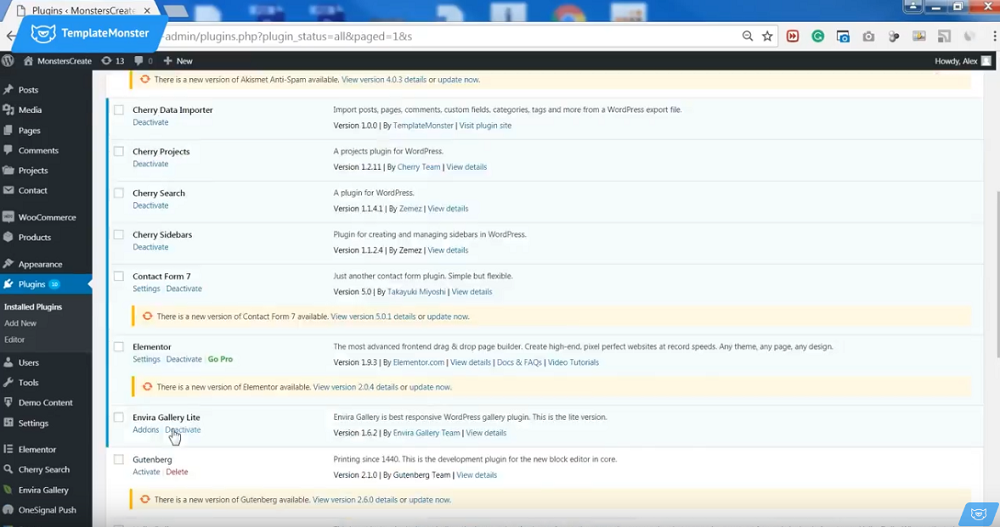
After you download the plugin, go to the admin panel > Plugins. There, you will see the Photo Gallery by Envira plugin. Click on the Install Now button.

Usually, the installation process lasts no longer than 1 minute. Afterward, click on the Activate button.

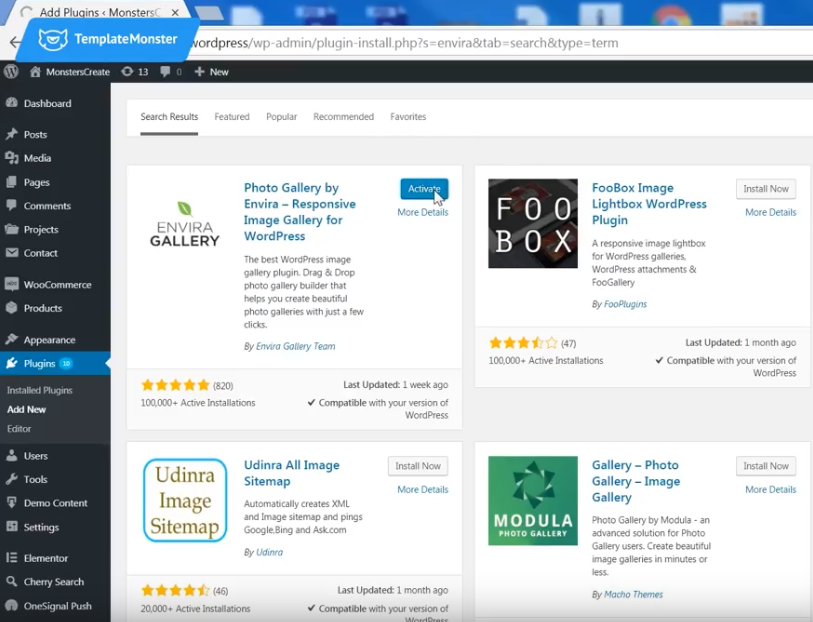
After activation, the Envira Gallery button will appear in the Dashboard.

Step 3. Add a New Gallery and Upload the Files
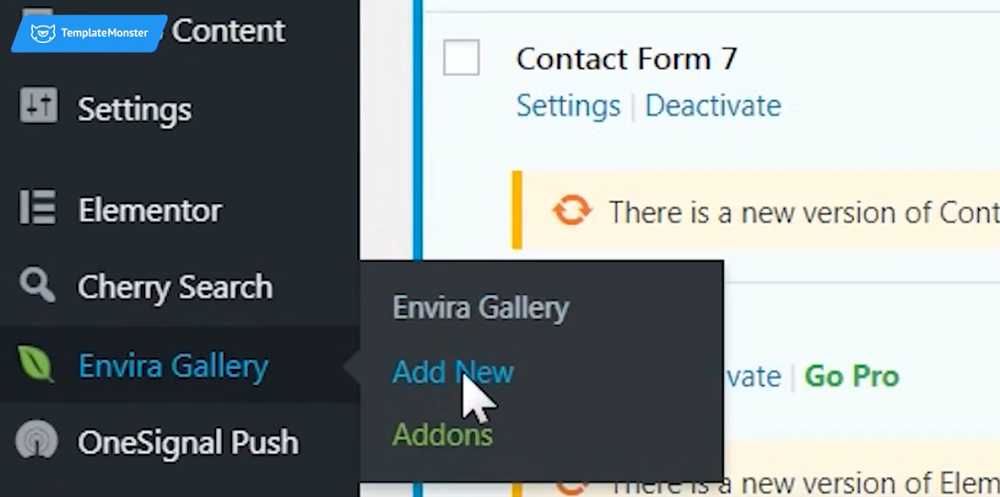
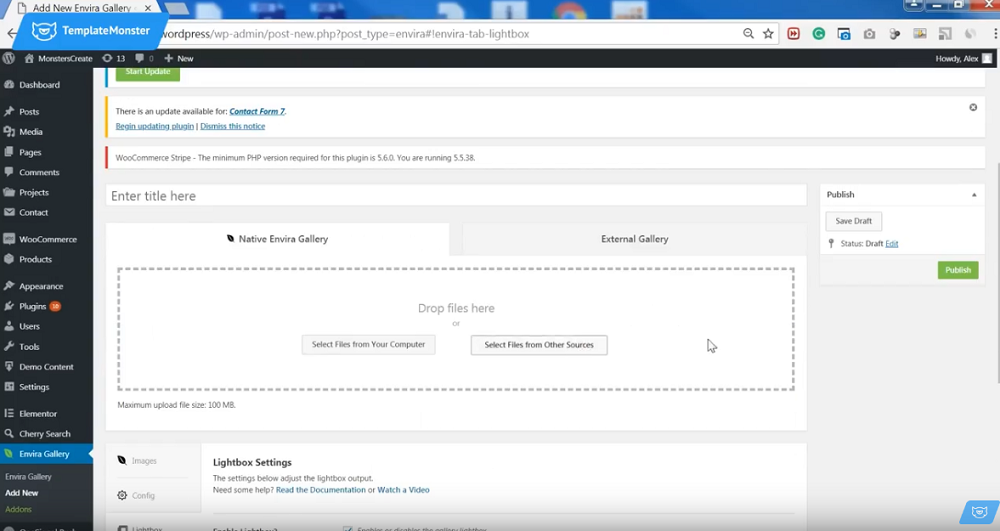
When you click on the Envira Gallery in your Dashboard, you will see the Add New button. Click on it to create an image gallery in WordPress.

You will see this window. So, you can start copying and pasting files from your computer or any other sources. Below the window, you will see the images that your gallery currently includes. As you see, it’s possible to download not only images but also videos.

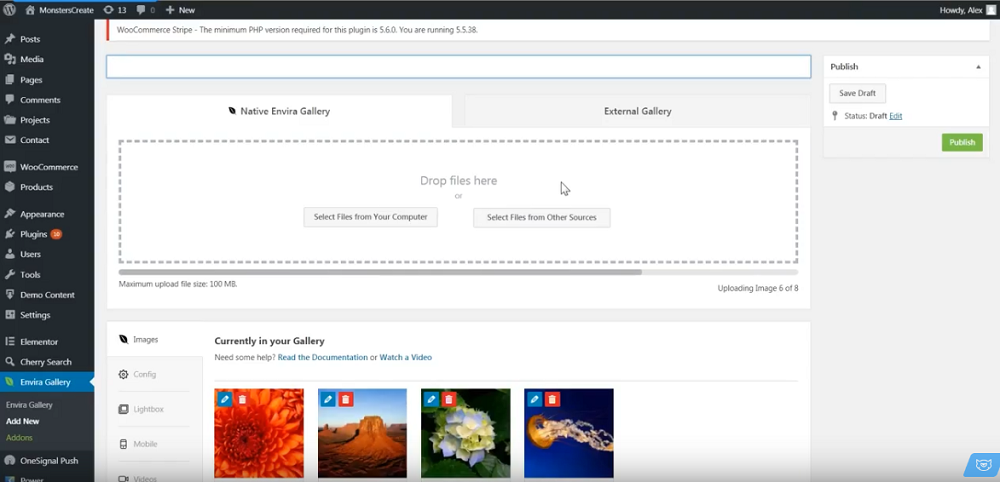
While in this area, you can change the position of the images in a few clicks. Plus, you can delete the elements easily.
Step 4. Edit the Uploaded Files
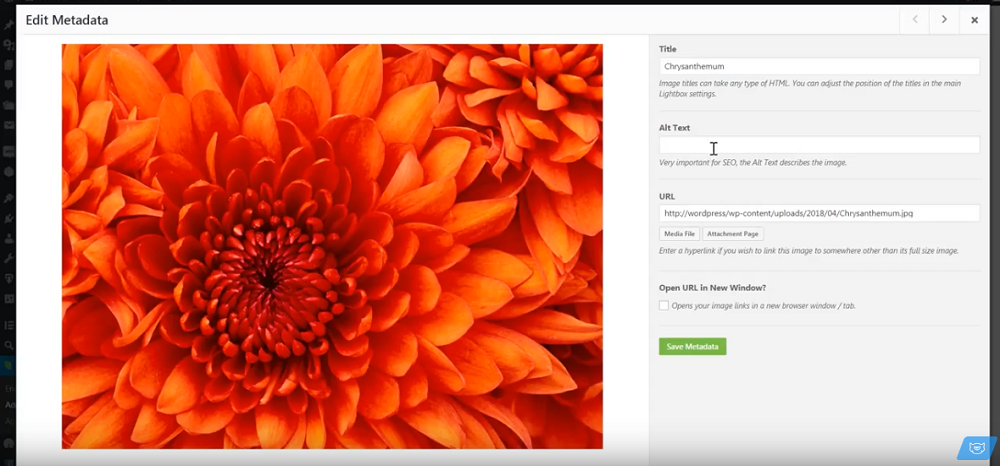
If you click on an image, you can add metadata: title, Alt text, and URLs. These components give extra information about the image. In addition, this information is important for SEO as you can set tags, for instance.

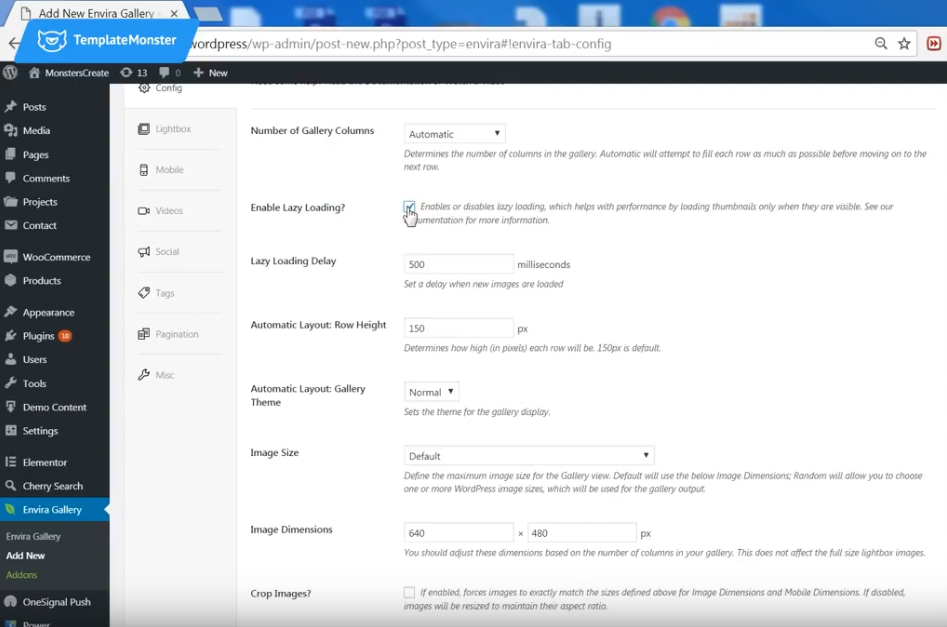
Step 5. Modify the Gallery and Lightbox Settings
You can change the look of your WP image gallery in the Gallery Settings. There, you can organize the files in columns, enable Lazy Loading effect, change the row height, and the images size and dimensions. Moreover, you can change the gallery theme.

Furthermore, you can enable and modify Lightbox.

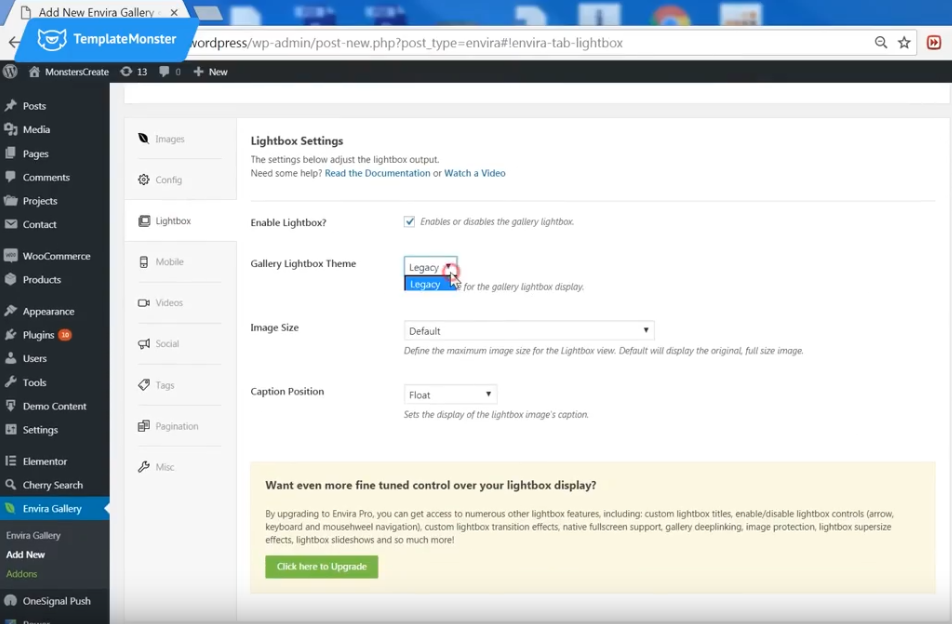
Lightbox is an analog to the shopping cart where the visitors of your website can store the images they like. There, they can familiarize themselves with your work without being rushed.
Step 6. Add a Gallery to Your Website
After you upload all your files, don’t forget to give a title to your gallery.

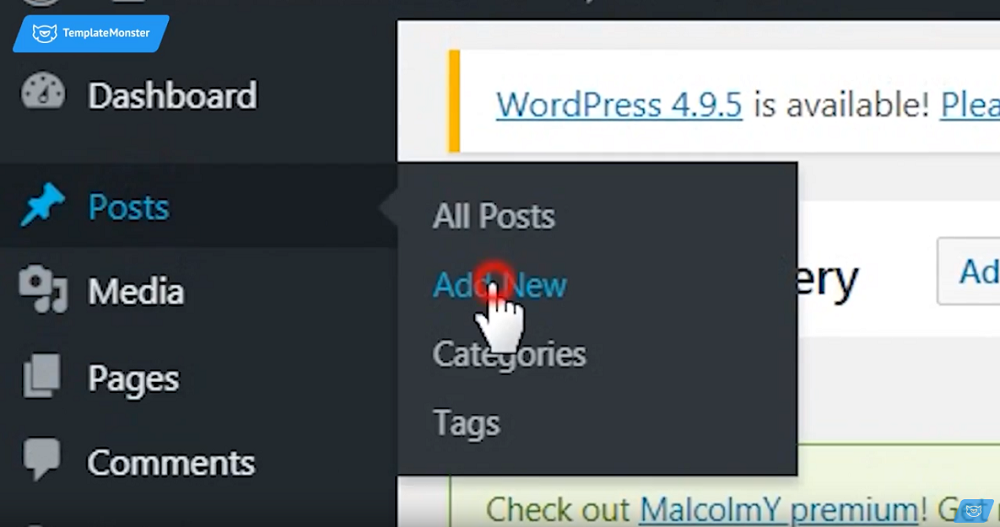
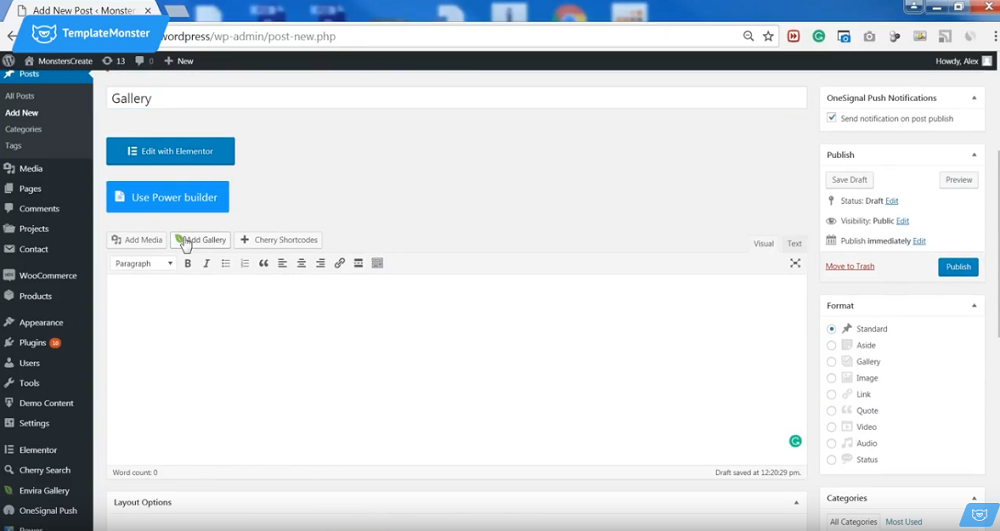
The next step lies in creating a WordPress gallery page. So, click on the Posts button – the very first button in your Dashboard – and choose the Add New option.
Then, add a title (on the picture below, the title is Gallery) and click on the Add Gallery button.
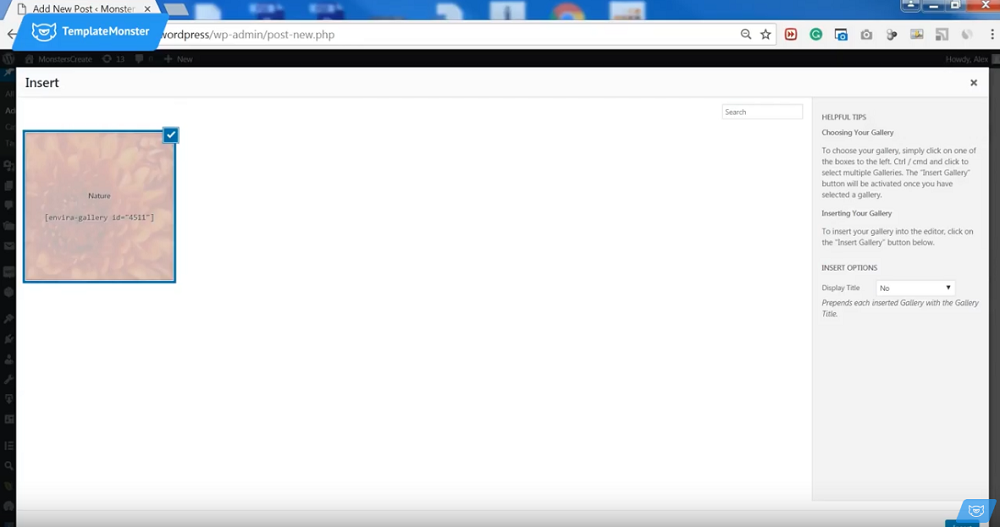
“Insert” the desired gallery.
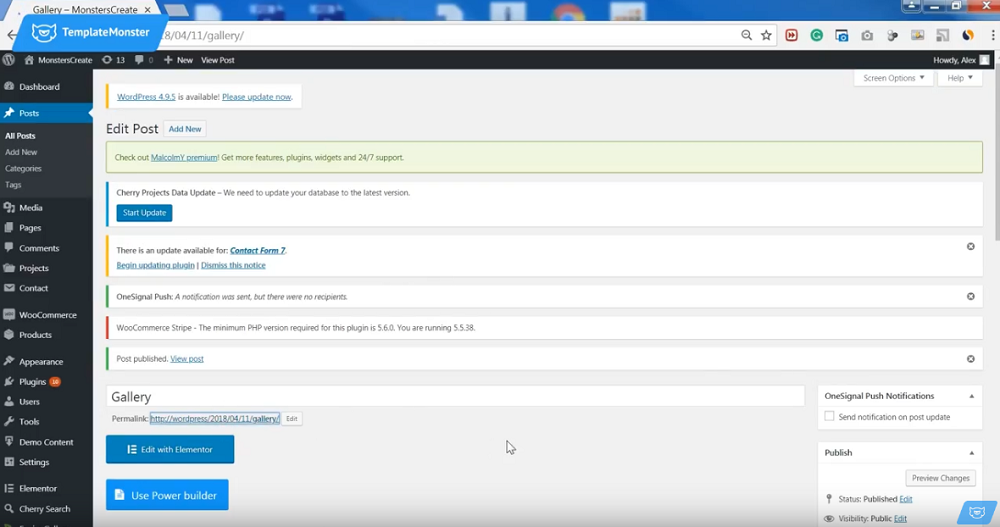
Now, enjoy the result by clicking on the permalink 🙂
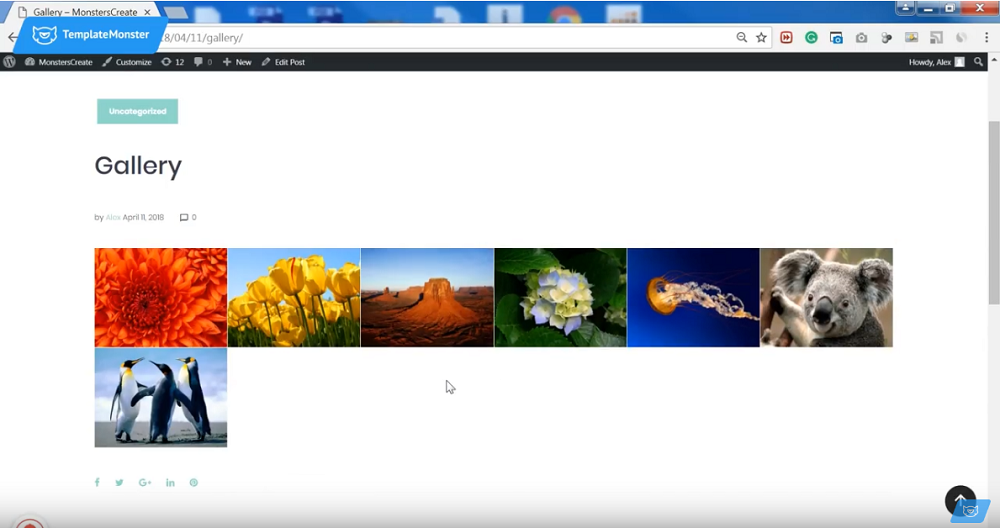
By the end of the process, you will get something like this:

For the record, you can always return to the Dashboard and make changes to your gallery.
This was the last step and I hope that you figured out how to easily add a gallery to WordPress! Stay tuned for more handy guidelines 🙂


Read Also
Best WordPress Photo Gallery Themes For 2018
Masonry Gallery Layout. How to Implement It to Your Elementor Website?
Create Justified Gallery Layout with Elementor – Elementor Tutorial
Collection of Free Portfolio & Gallery WordPress Plugins