Lesson 6: Creating & Editing a Page
This lesson is a part of the How to Build & Maintain Elementor WordPress Website? course.
Hi, everyone!
On Lesson 5 we’ve checked the Monstroid2 installation process.
Let's roll.
Let’s see how we can create and edit a new page.
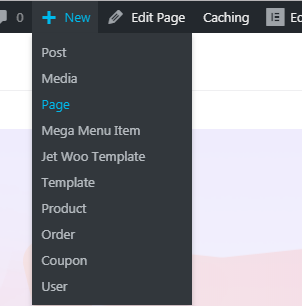
In the toolbar, you need to press New >> Page
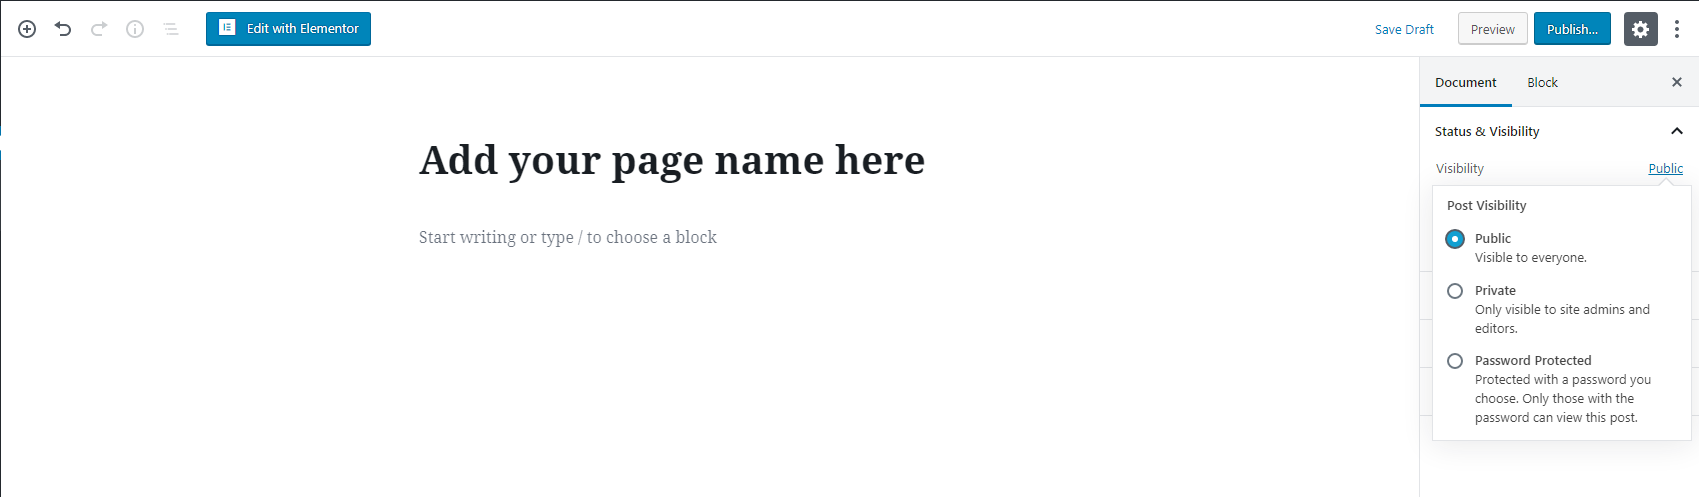
When the editor opens you need to add page title and change visibility status to Private.
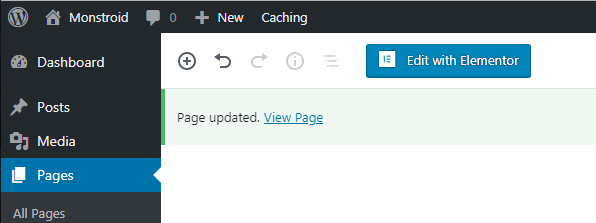
Then click on the Update button, wait till the notification Page updated to appear, and then click on the Edit with Elementor button.
When the Elementor editor loads you will note that your page title is located in three different places: the breadcrumb content area, the breadcrumb title and the page title. You can the page title from the Elementor builder by accessing the Page Settings, just push the gear icon in the bottom left corner.
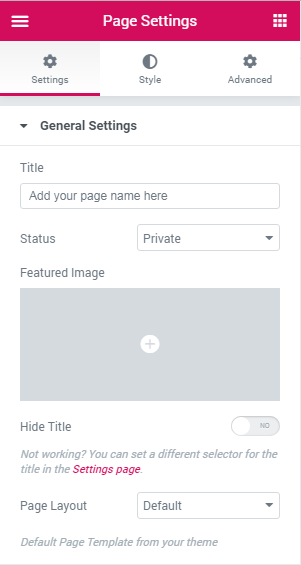
As you can see, here you can change your page title, change the visibility of the same page, add featured image, hide title and change the page layout.
As for the page layouts, there are four options available, check the image below.
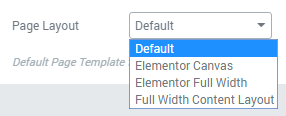
Use the Canvas layout when you want to get rid of header and footer. Basically, you will get a blank page. As a rule, custom error pages have a canvas layout.
As for the full-width layout, it’s pretty clear your content will be stretched for the whole width of a page.
Now let’s check how we can edit page content.
Elementor pages are made of sections and elements.
A section is a structural part of the page that is filled with elements.
Element is a piece of content or a widget or some functionality provided by Elementor builder that you may utilize on your website.
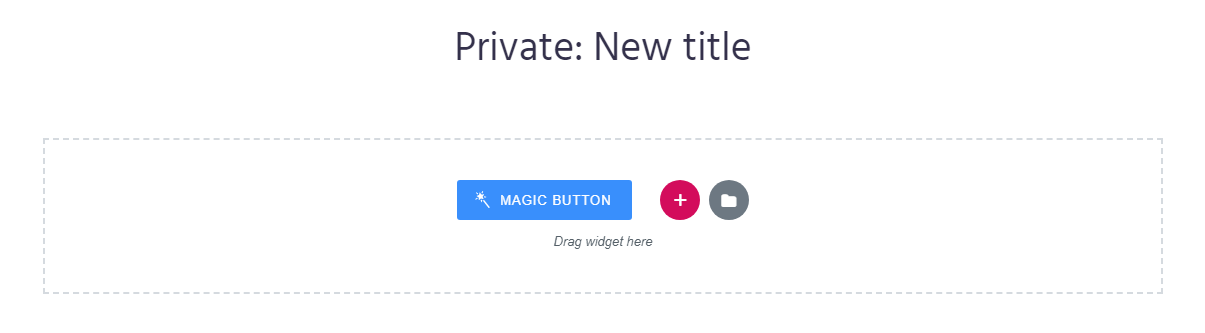
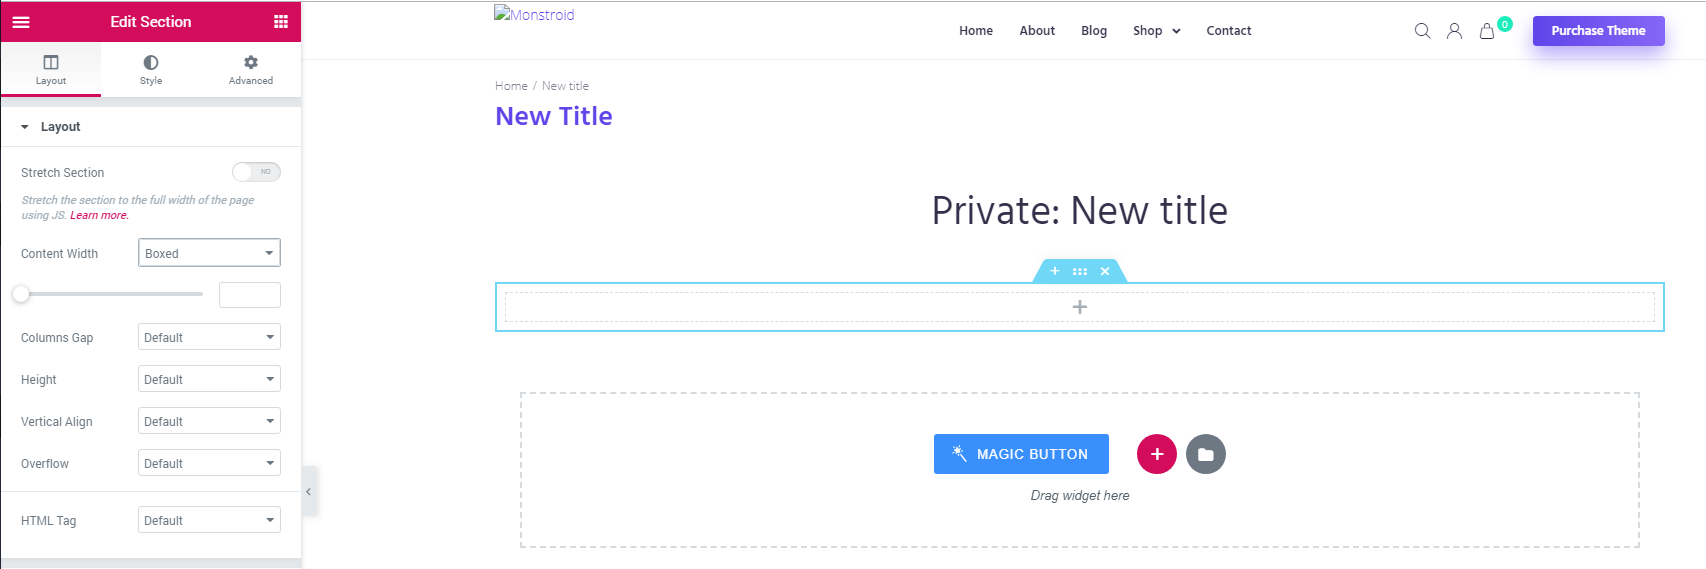
When you start editing a new page you need to hit a red cross to add a new section.
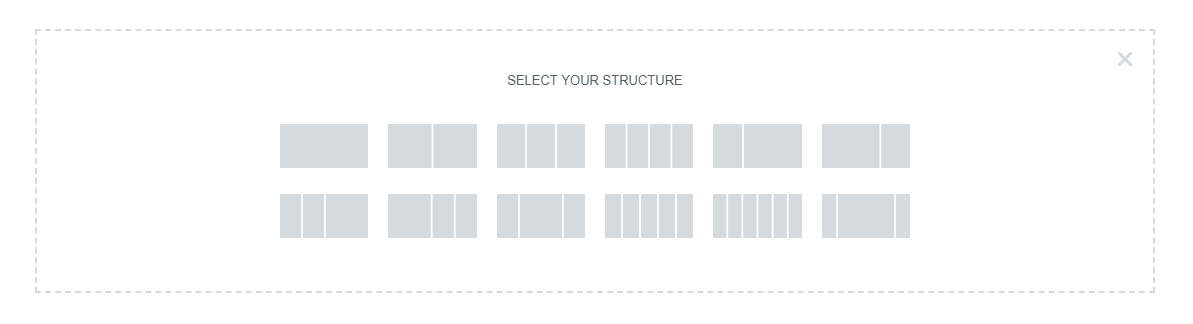
Next, you need to choose a number of columns your section will have, I’ll opt for 1 column, we can easily add another column later (if needed).
Now we have a new section that we can fill with various elements.
As you can see the layout type is boxed, it means that this section will not be stretched for the full width of a screen.
To add some element to this section you need to press this icon
![]()
It’s located on top of the Elementor menu. This icon will open elements list
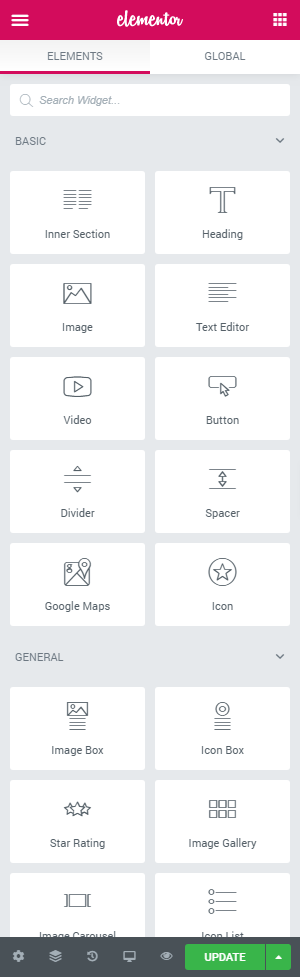
Since Elementor is a drag’n’drop builder you can drag any of these elements into the section and customize it further.
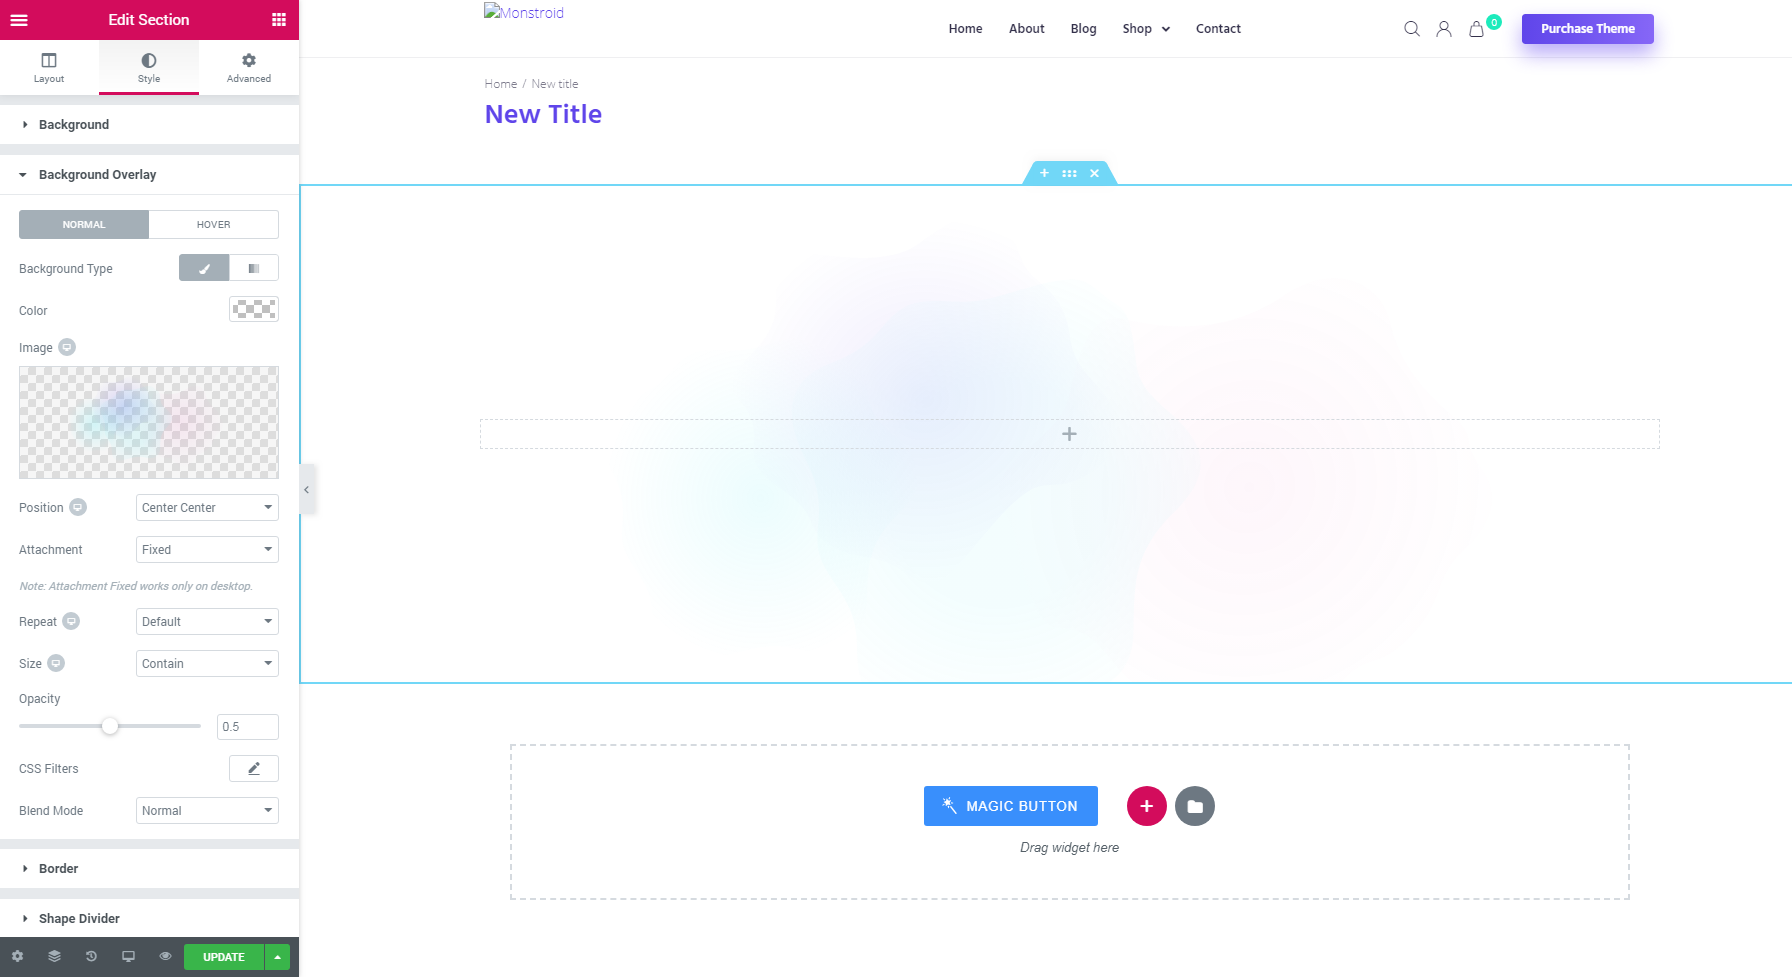
First of all, let’s add a background image to this section.
- Click on the dots on top of the section;
- Open the Layout tab and set the following values:
- Height >> Min Height;
- Minimum Height >> 500 px.
- Open the Style tab;
- Open Background section and click on Background type Classic;
- Open Background Overlay and click on Background type Classic;
- Now choose an image;
- And finally set the following values:
- Position >> Center Center;
- Attachment >> Fixed;
- Repeat >> No-repeat;
- Size >> Contain.
This looks quite boring, but we’re here to make it look awesome 🙂
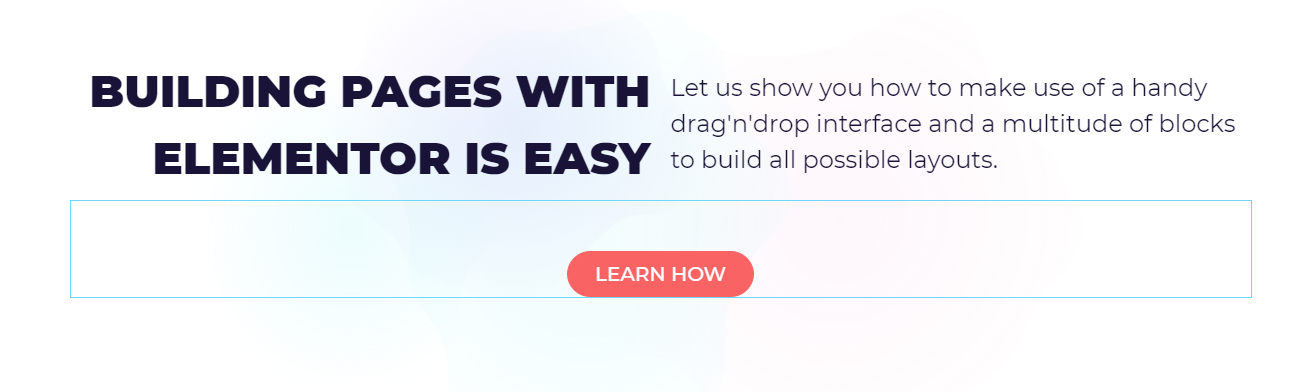
Let’s make a hero area, that will consist of two columns, the right one will have a page title, left column will include some slogan and right under there will be a call-to-action button.
Let’s roll.
- Add an Inner section element to your section, this will result in two columns inside your section.

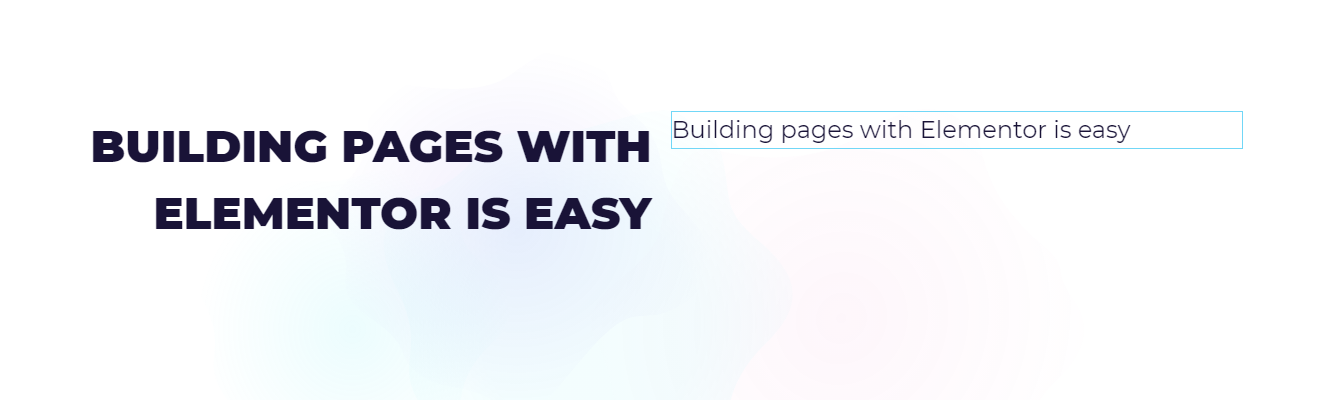
- Use the Heading element, and drag it over to the left column. If you dropped it into the right spot you will see this

- Change the text of the title, by typing it in the corresponding field;
- I’ll use the right alignment;
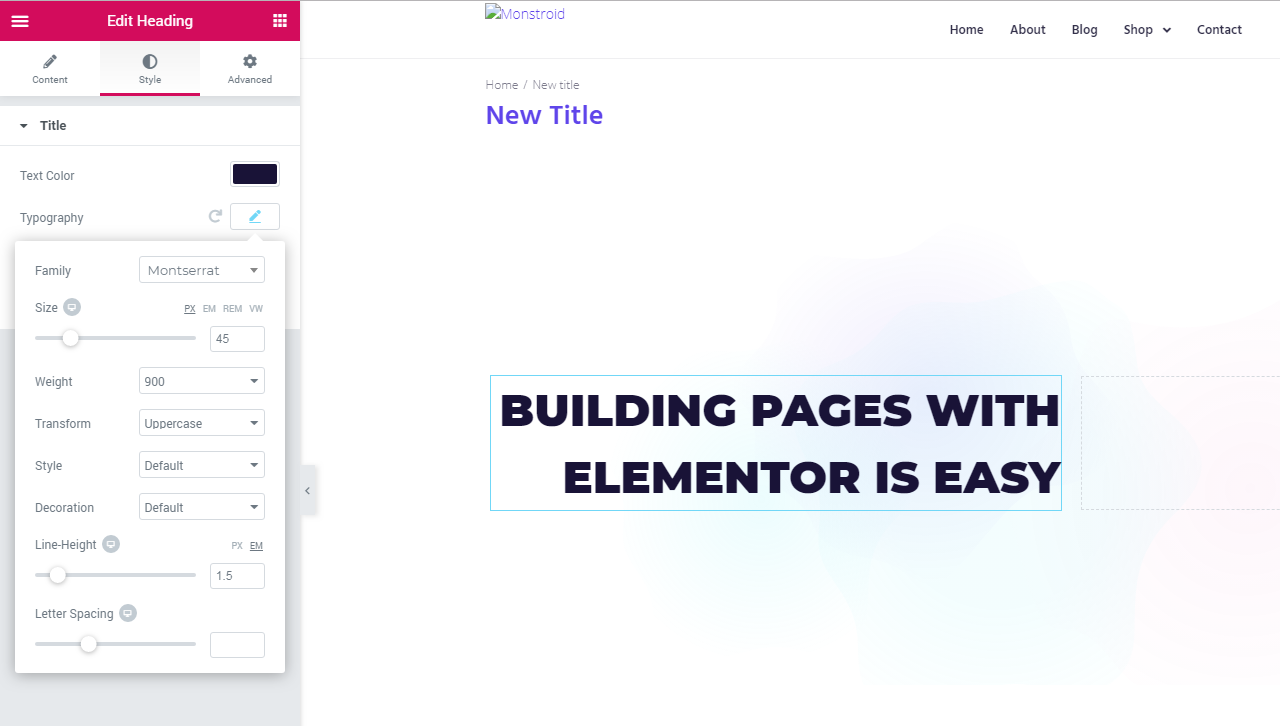
- Now switch to the Style tab;
- Change the title Color to your preference, I’ll use #191337;
- Typography >> Montserrat;
- Size >> 45;
- Weight >> 900;
- Transform >> Uppercase;
- Line-Height >> 1.5.
- Result


Now let’s edit the right column. The good thing about Element is that you can right-click any element or section and make use of some extra options
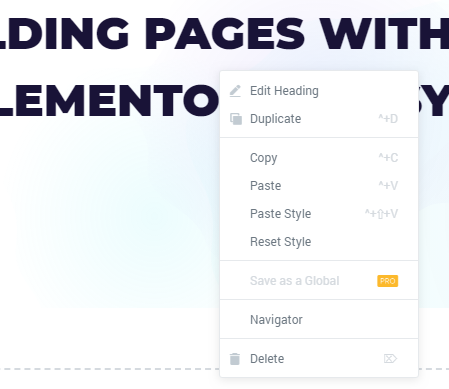
I’ll just duplicate this title and will drag it over to the right column, and will adjust some styles.
- I’ll use the left alignment;
- Now let’s switch to the Style tab;
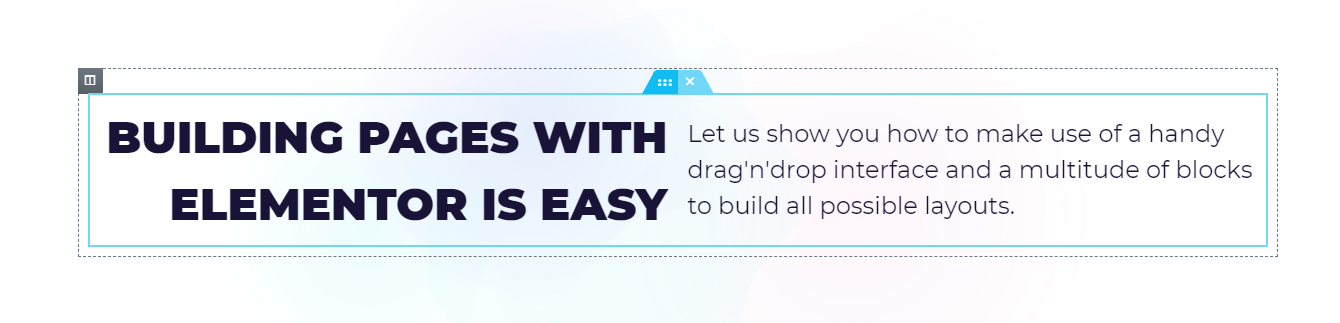
As you can see both elements are aligned vertically, so how can we change this? On the Layout tab of the Inner section, we need to alter value Vertical Align to Middle. And then both titles will look like this:
Now let’s add a button under this section. Go to the elements list and drag the button under the Inner section. You should get something looking like this

Now let’s tweak the button styles:
- Click on the button;
- On the Content tab change the following values:
- Text >> Learn how;
- Alignment >> Center;
- Size >> Small.
- Go to Style tab:
- Typography:
- Family >> Montserrat;
- Size >> 20;
- Transform >> Uppercase.
- Normal:
- Text Color >> #ffffff;
- Background Color >> #f96364;
- Border Type >> Solid;
- Width >> 1-1-1-1;
- Color >> #f96364;
- Border Radius >> 50-50-50-50.
- Hover:
- Text Color >> #f96364;
- Background Color >> #ffffff;
- Hover Animation >> Pop;
- Border Type >> Solid;
- Color >> #f96364.
- Typography:
- Go to the Advanced tab:
- Margin >> 50-0-0-0.
- Result

Since users will visit your website using a multitude of devices we need to adjust all blocks to the Table and Smartphone layouts.
Luckily with Elementor, it’s not that difficult. At the bottom of the Elementor menu, there’s a responsive mode switch
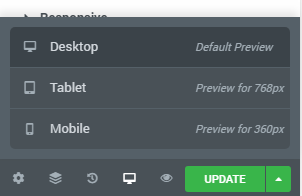
Use it enter the Tablet mode. This is what you will see
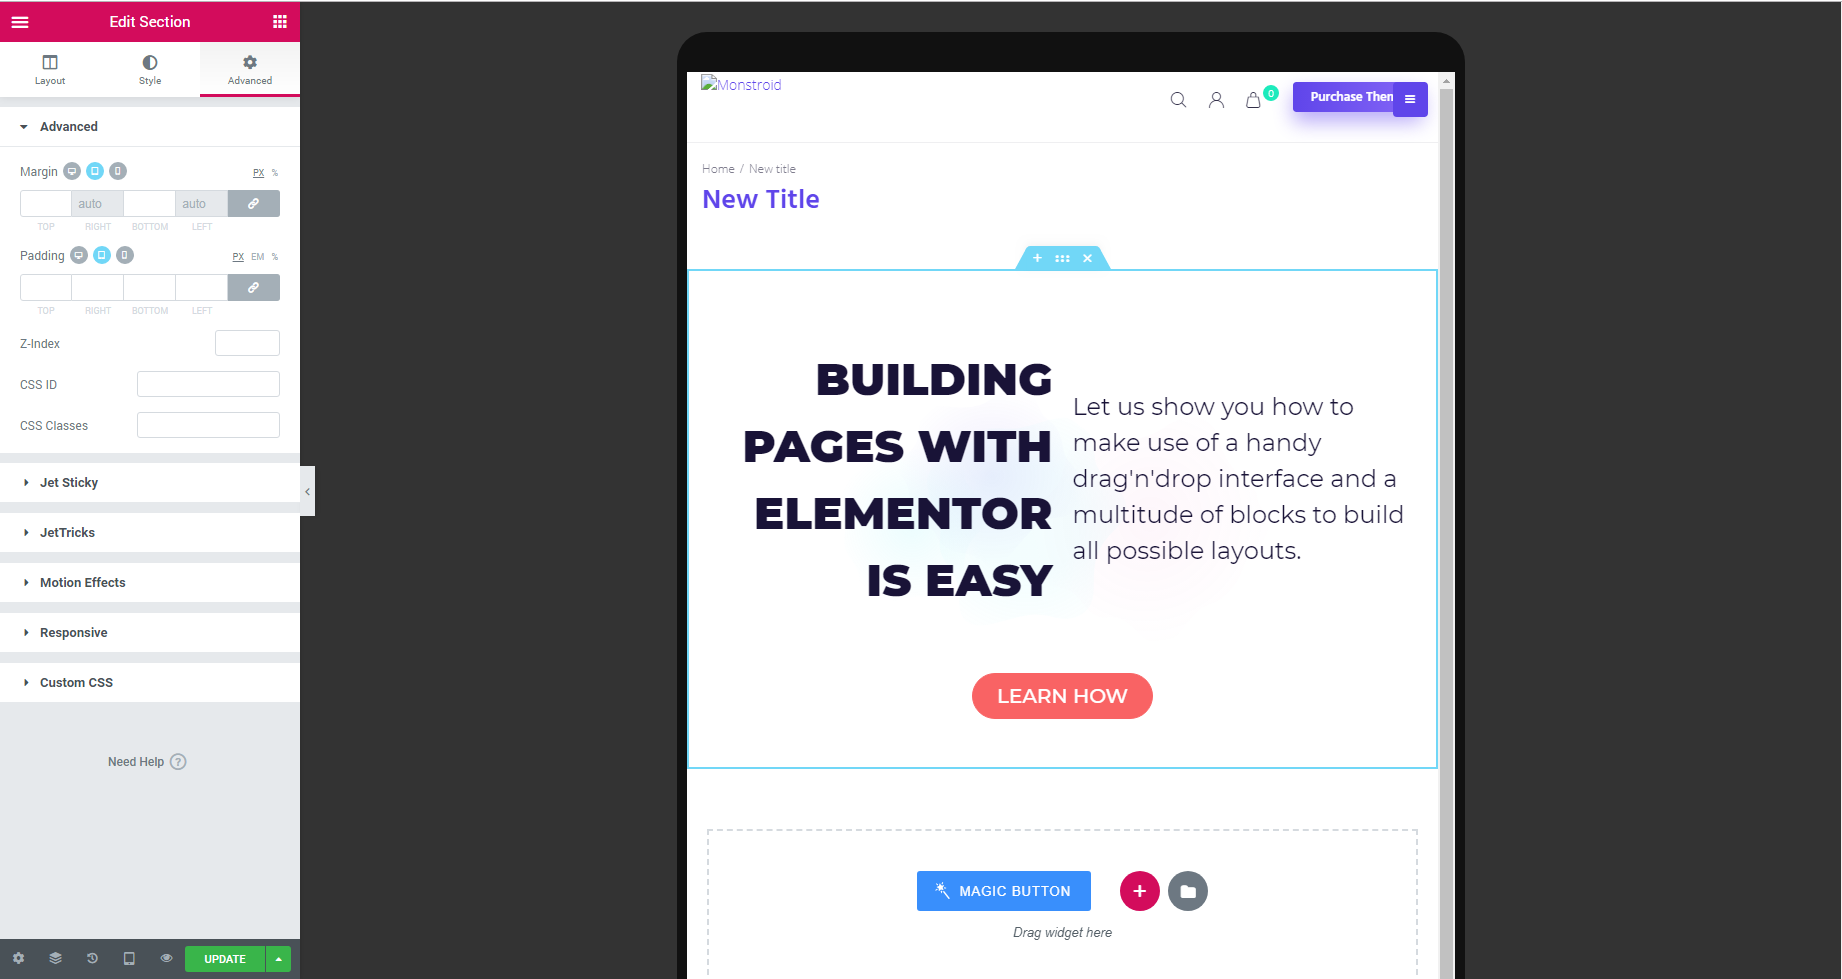
As you can see all elements look quite big for the tablet layout, this is why you’re recommended to reduce the font size, especially on the mobile layout >>

Feel free to compare the following image with the one above.
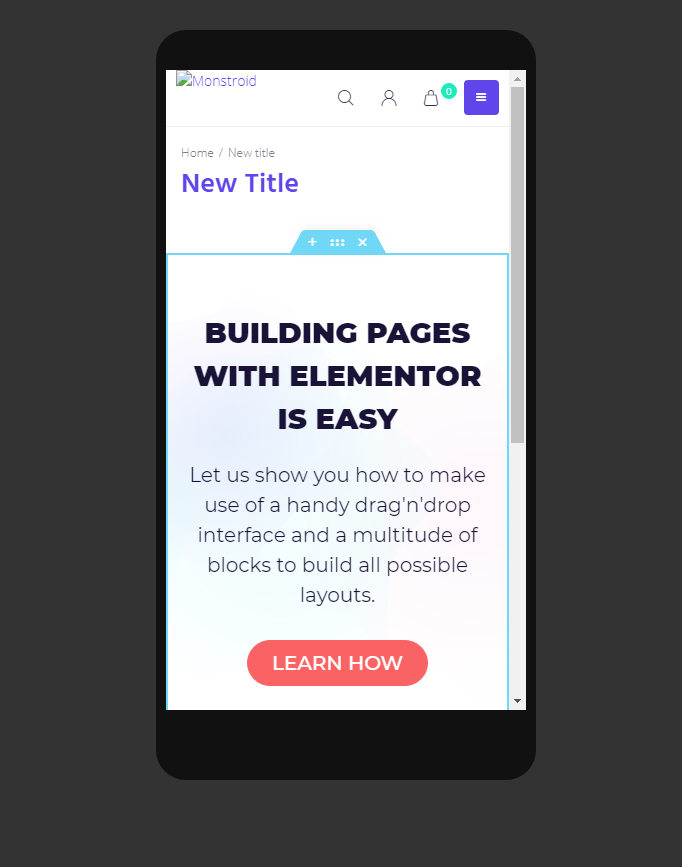
To fit in both titles into the mobile screen I’ve set the following values for the fonts.
Left column: alignment centered, font size - 30.
Right column: alignment centered, font size - 20.
This was a basic set of customization options you need to know in order to be able to edit most of the elements.
I hope you’ve already seen this blue button
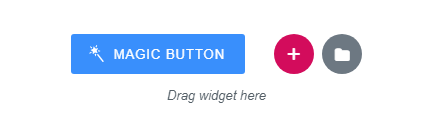
In Monstroid2 WordPress theme the Magic button stands for the access to the gallery of all sections and pages and includes all skins of this theme.
Currently, there are 55 skins + main skin using the Magic button you can use any page or section from any of these skins on your website, it’s like your private library of awesome predesigned Elementor sections, just pick any and add it to your newly created page. This is what it looks like:
You can check all Monstroid2 skins from your dashboard, and exactly from the Monstroid2 menu
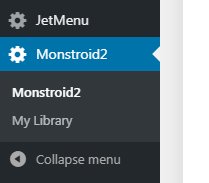
And then click on the Skins
Through the Plugins section, you’ll be able to access the collection of Jet plugins that can extend vastly the functionality of your website.
Let’s get back to the Magic button.
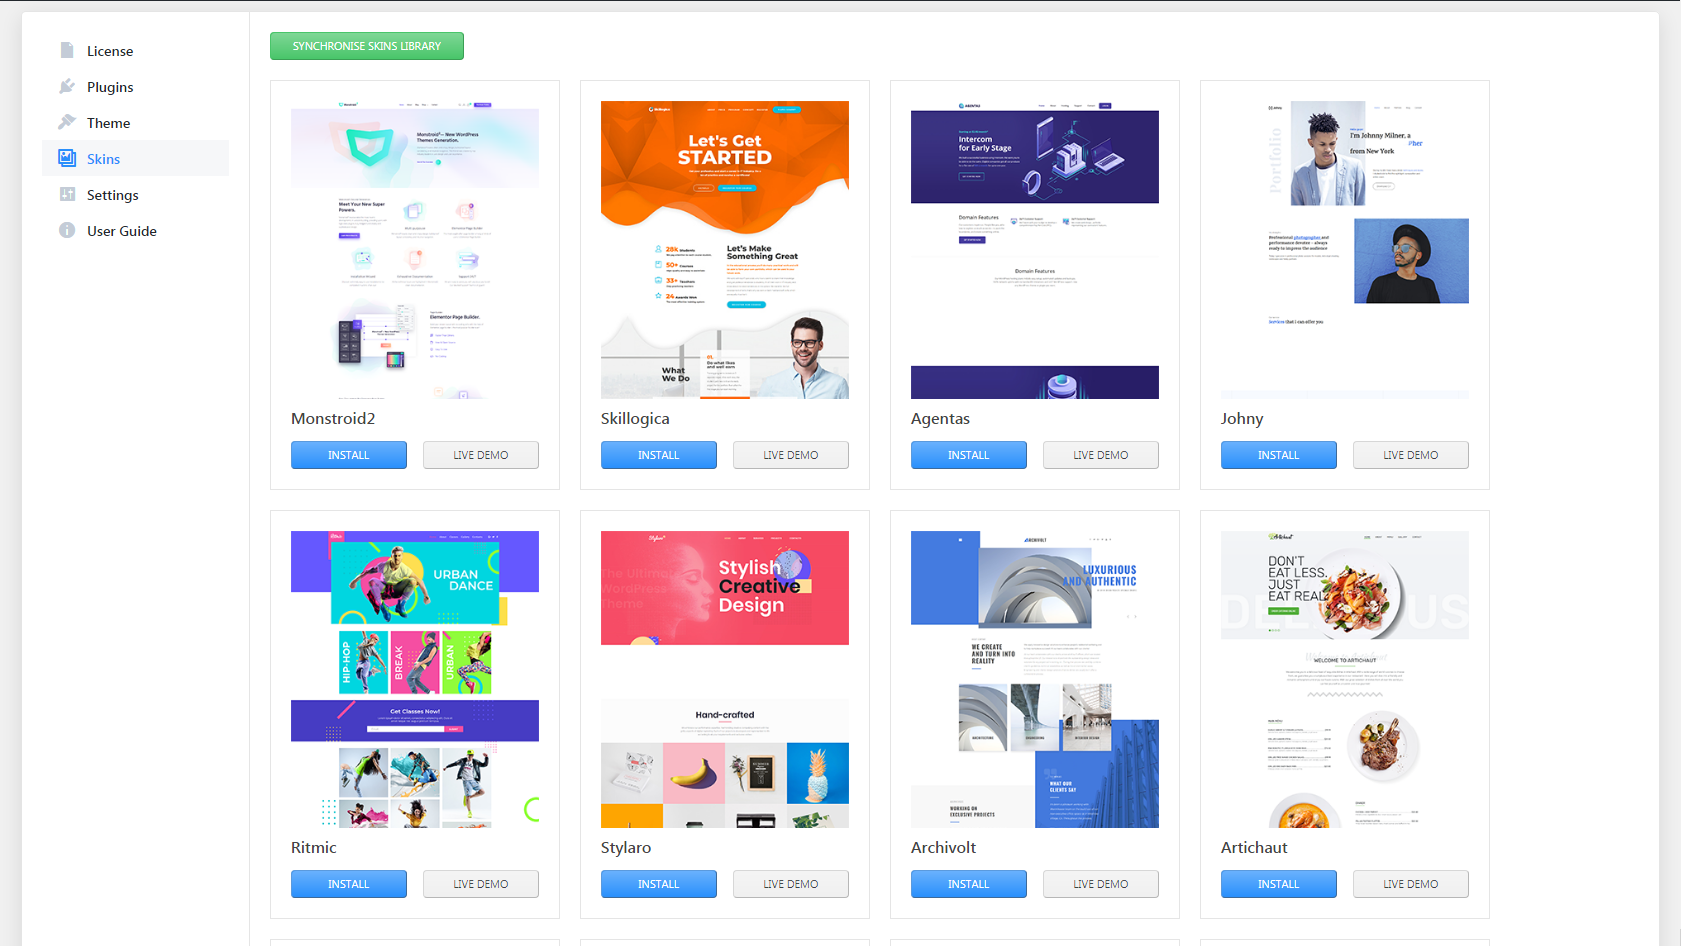
When you cliсk on it there will appear a pop-up window with all those sections and pages

You can use the navigation on top, and on the left side to check types of pages, and section available. To preview any item click on the lens icon.
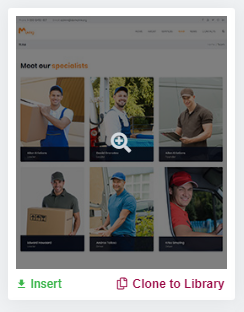
If you’re satisfied with the page layout and it’s section, press on the Insert link to add all sections and elements of this page to your newly created page.
Additional information
Elementor From A to Z: Sheer Selection Of “How To” Tutorials
End of the lesson.