How to Customize Your Template [Part 3]
- Theme customization
- Plugins FAQ
- Must have WordPress plugins
- Setting up necessary plugins
- Creating necessary pages
- Must have pages (the structure of pages)
- How to create pages?
- How to add page to the menu?
- Cherry Framework Options
- Changing logo and site name
In the previous segment we told you how to install the WordPress engine and WordPress themes. Now it’s time to customize your future website.
Do you know which are the most important items in every website? Those would be the plugins. WordPress Plugins allow easy modification, customization, and enhancement of a WordPress site. Instead of changing the core programming of WordPress, you can add functionality with the help of a basic set of plugins.
But what is a plugin? It’s a small program, or a set of functions, written in the PHP scripting language. Those functions add sets of features/services/functionalities to the WordPress site. At WordPress codex you can find a variety of plugins for your site. Finding a plugin that actually works is quite easy; try surfing through the dazzling web design blogs that are all over the web. Now, let’s see exactly which plugins should be incorporated right away into your site.
Must-have Set of Plugins
SEO is an important ingredient for any well-optimized site. Letting the search engines know what your article is about is almost as important as a good link building campaign. With WordPress SEO by Yoast you don’t have to worry about your posts and pages not being indexed. You also don’t need to resubmit your sitemap or ping your content. That is done automatically.
The so-called CDNs (stands for Content Delivery Networks) are becoming ever more popular these days. And there’s a good reason! Attaching your WordPress blog to one of those enables you to take care of HTML, CSS and JavaScript optimization. Plus your blog is loaded in its entirety depending on the visitor’s location. All of this makes for reduced server requests and better loading times.
Browser caching saves all of the scripts and images to your browser so that they don’t have to be loaded with every visit.
Akismet checks the comments on your site against spam messages. This is also one of the best, yet simplest to use, plugins.
Plugin Installation
Now we have a list of necessary plugins, it’s time to have them installed. WordPress is a CMS developed for humans, making all customizations intuitive, thus simple to repeat after reading the tutorial. So let’s install the plugins we’ve chosen:
You can add a plugin using the built-in plugin installer:
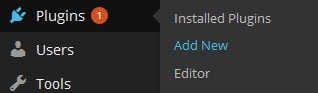
- Go to Plugins> Add New.

- Under Search, type in the name of the WordPress Plugin or descriptive keyword, author, or tag in the search form or click a tag link below the search form.

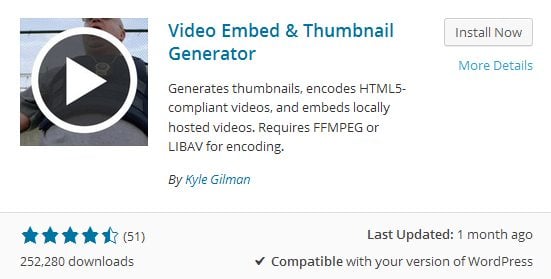
- Find the WordPress Plugin you wish to install.
- Click More Details for more information about the Plugin and instructions you may wish to print or save to help setup the Plugin.
- Click Install Now to install the WordPress Plugin.

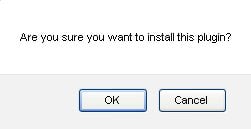
- A popup window will ask you to confirm your wish to install the Plugin.

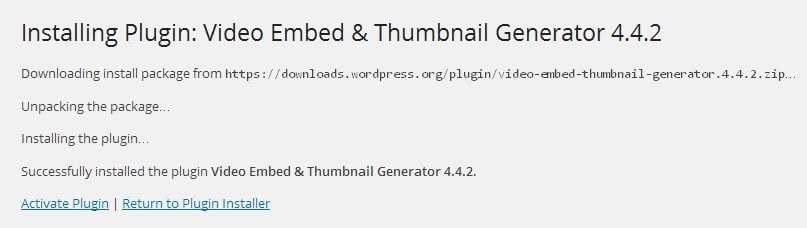
- Click OK to continue the installation. The resulting installation screen will list the installation as successful or note any problems during the install.

- If successful, click Activate Plugin to enable it, or Return to Plugin Installer for further actions.


You can also find a number of effective plugins at MonsterPost Blog. Check out several round-ups:
- 15 Best Free WordPress Backup Plugins
- 10 WordPress SMM Plugins to Improve Your Social Reach
- Collection of Free Portfolio & Gallery WordPress Plugins
- Document Manager WordPress Plugins to Organize Your Workflow
- The Ten Best WordPress Navigation Menu Plugins for Your Website
Structure of pages
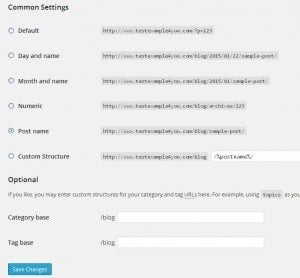
I hope by now you have already installed everything we have discussed. But before you start creating pages, you have to choose a proper permalink structure. For that you need to go to Settings > Permalinks.
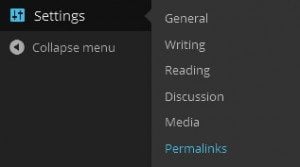
Choose the field “Post name” (the most recommended structure) and press “Save Changes”.
When you have the theme installed, you need to create several pages that are a “must” for any website. The theme offers you about 18 pages created by default, but you actually need only 5 of them: Services, Testimonials, About, Contacts, Home. You can delete the rest. To do that:
Go to “Pages” and check all extra pages but the 5 mentioned above. Click “Move to Trash” in the menu above and press “Apply”.

The next step is to customize all of those pages. First of all, let’s change the logo on the website.
Go to Appearance>Customize.
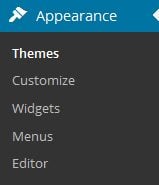
In the menu on the left, find “Site Title and Tagline” press “Select Logo” button and find the .jpeg file with your own logo. If you don’t have such a file you can switch to a text mode.
![]()
Find two fields – “Site Title” and “Tagline” – customize them as well.
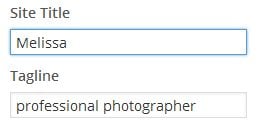
That’s how we change the logo.
![]()
Now let’s change the slider on the Homepage. The theme is loaded with 6 standard images by default; you can delete them or add some more pictures. So, you need to go to “Slides”>”Add New”.
Here you can see the slides already installed. At the top of the page click “Add New” button.
![]()
In the “Title” field write the name of the image you would like to add.
At the right side click “Set Featured Image” > “Upload Image” and find the picture you want to add.
In the “Caption” field enter the text you want to be displayed with the image.

Press “Publish”
After that you can see this image in a slider on the Homepage.

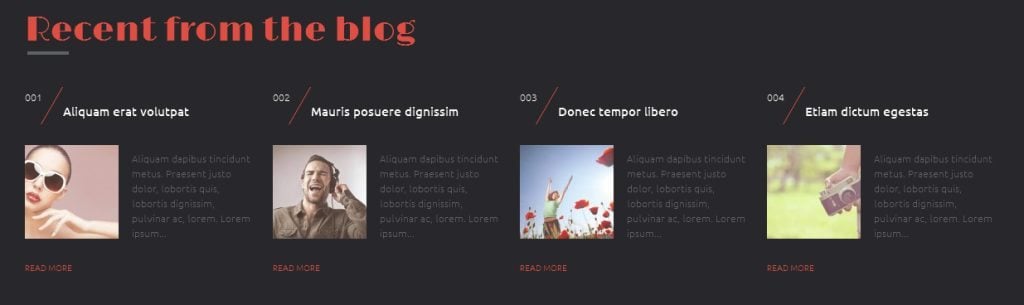
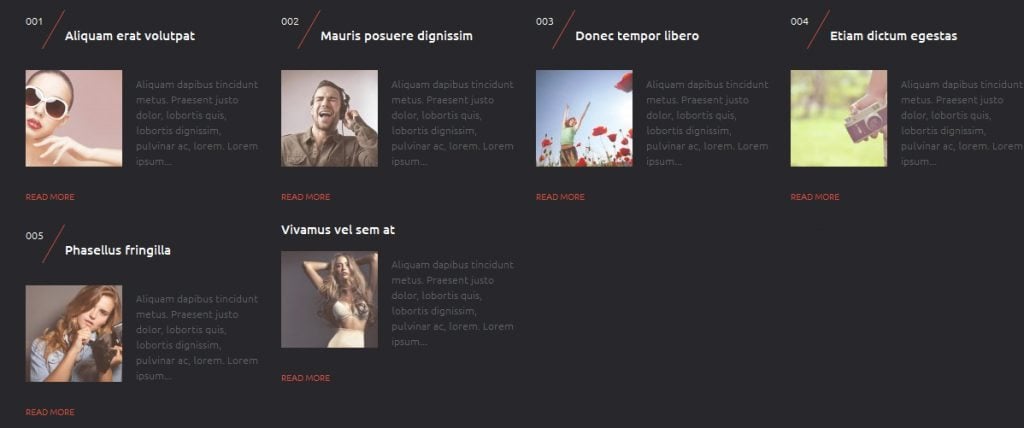
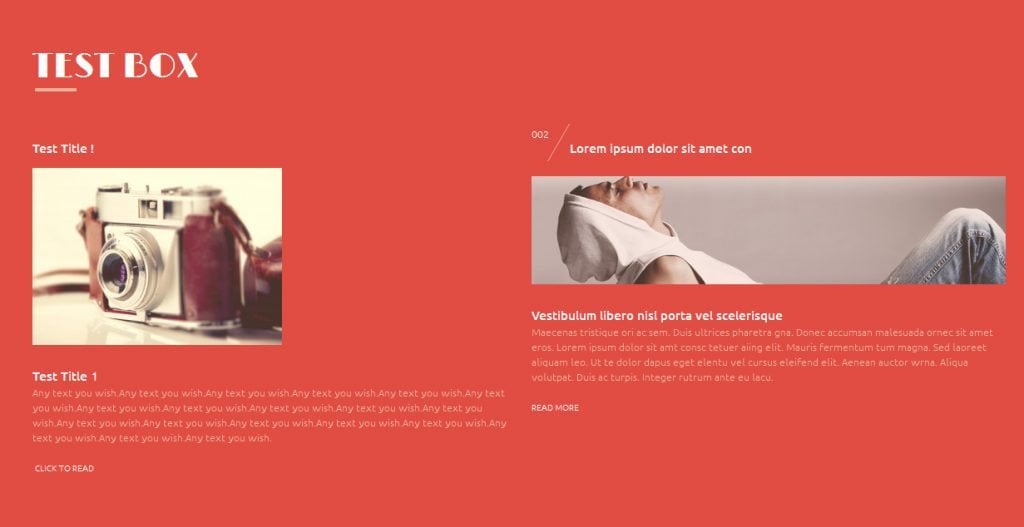
Now let’s take a look at how to customize the next section on the homepage that is called “Recent from the blog”.
First of all, let’s change the title. Go to Pages>All Pages>Home
Enter the name you like. For example: “Latest News”. Press “Update” to apply changes.
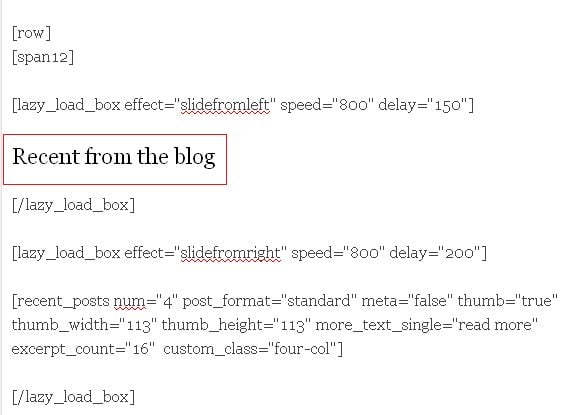
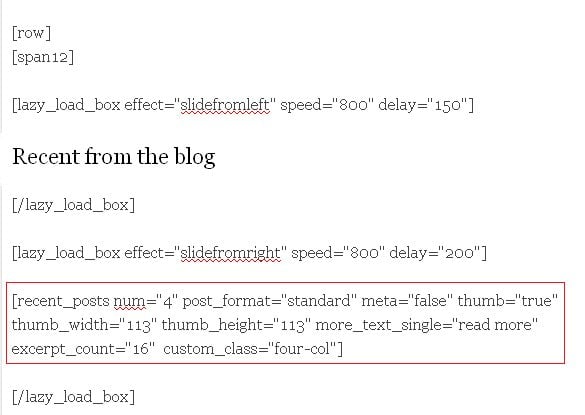
You can also change the number of the posts displayed in this block. Find the code that says recent_posts num=”4″ and change the number to the one you like, let’s try #6.
After that, the block will look slightly different.
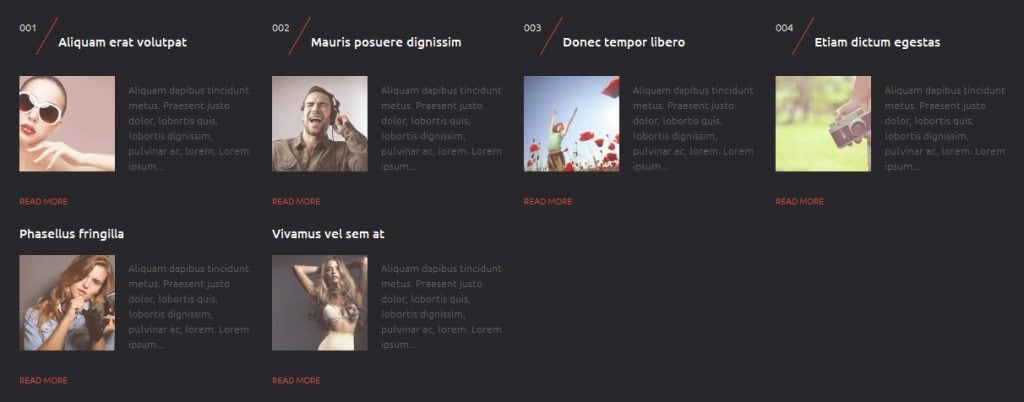
As you see, the first four posts feature numbers 001, 002, etc., unlike the posts we’ve just added. Let’s change that.
First of all go to Posts>All Posts and find the post you want to customize. At this point you have to change the settings of the editor. At the top of the page you’ll find a dropdown menu that says “Screen Options”.
Check the option that says “Custom fields”.

The menu will appear below the content block. Find post-index and enter the number in the Value block, for example, 005 and press “Add Custom Field”. Reload the homepage.
If this part creates any problem for you, you can always delete the fields and show the posts without the numbers.
Let’s move on to the section “My exhibitions”.
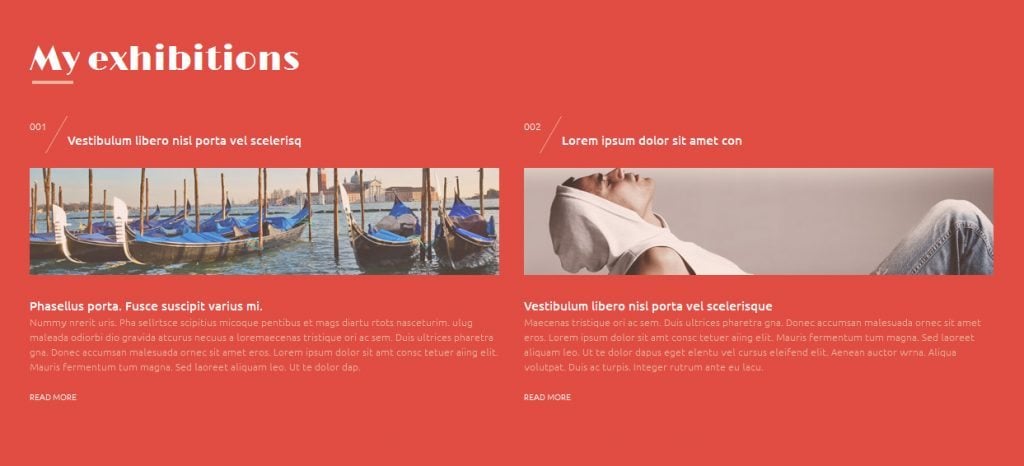
Here you can place the most popular posts you have on your blog. To customize this section go to Pages>All Pages>Home. Change the title of the block. The next is the code [ title_box title="Vestibulum libero nisl porta vel scelerisq" subtitle="001" ]. It contains the name and the number of the post (you can remove it if necessary). The same rule works for the images.
The next is the text below the picture. You can write a short description or copy/paste the content from the post.
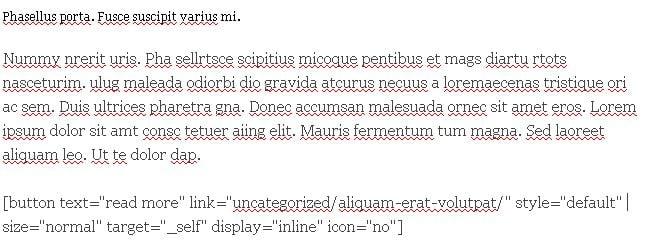
Now let’s deal with the code.
button text="read more" – this part shows the text that will be displayed on the button under the description, you can leave it the same or change.
link="uncategorized/aliquam-erat-volutpat/ - here you should change the category and title of the post you want to add.
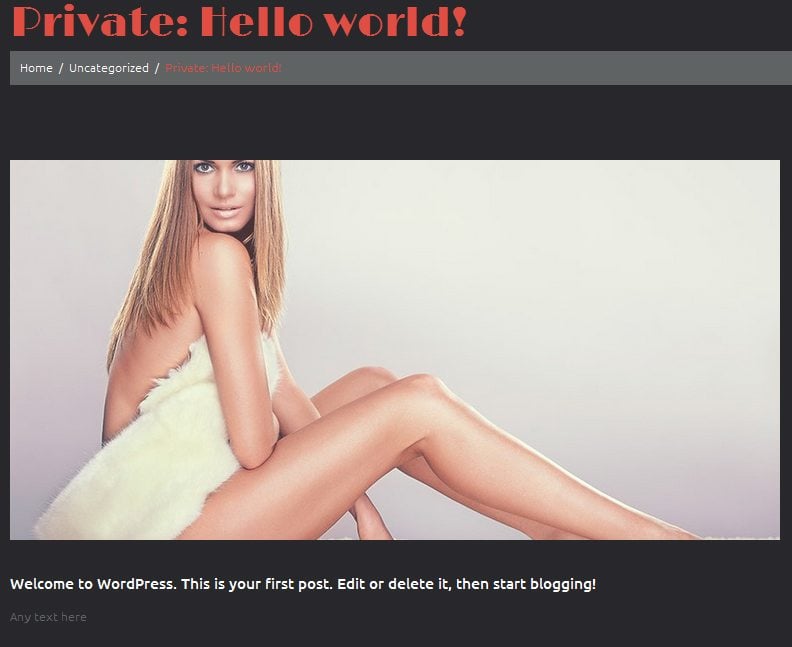
After clicking the button below you will be redirected to the new post you’ve added.
Let’s customize the Featured Photos block. Change the name as we did with the previous blocks. Now we will customize the code .
posts_grid type="portfolio" – means that the photos are taken from “Portfolio” section. Leave this field unchanged.
columns="4" rows="1" – shows the number of rows and columns in the block. Let’s change it this code to - columns="6" rows="2"
order_by="date" – makes the images ordered by date. Change this tag with, for example, “name”.
When you are done, reload the homepage.
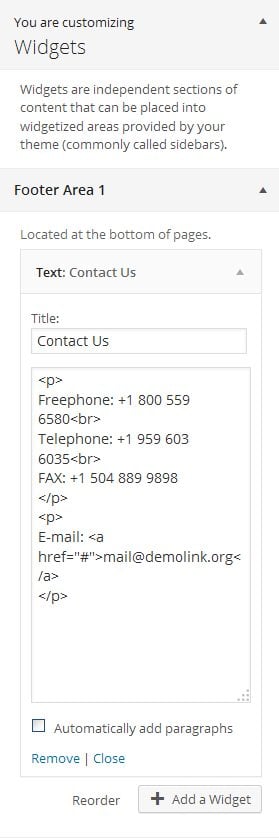
So we’ve reached the final part – the footer of the page.
Go to Appearance>Customize
A new page will come up, find “Widgets”. Here are two widgets: Footer Area1 and Footer Area2. In the first one you’ll find a contact form that you need to change. The second one is Locations widget.
Let’s add one more widget, for example, Calendar. Press “Add a Widget” button and find the equivalent name.
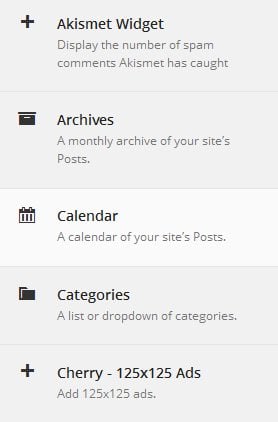
Enter the name of the new widget in the field and press “Save and Publish” button at the top of the page.
More information is available in our tutorial <iframe width="560" height="315" src="https://www.youtube.com/embed/0sV-qzJcXyg" frameborder="0" allowfullscreen></iframe>
The next is “About Page”
This part us pretty easy, all you have to change is the content and the pictures. Customize the code in [] the same way as with Homepage.
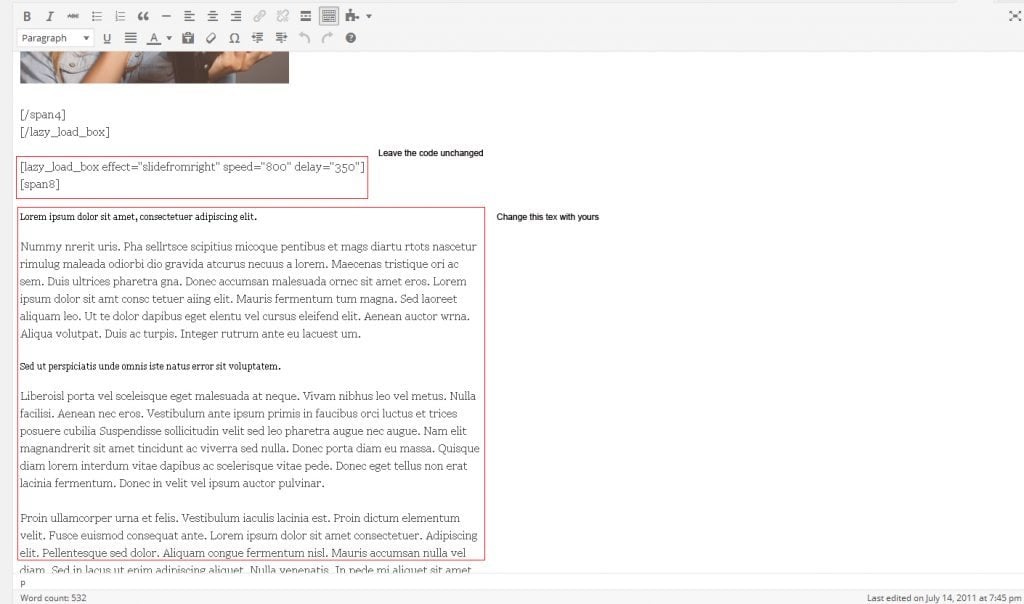
The same rule works for the “Services” page. Keep the code unchanged and enter your text.
The next page is “Testimonials”, let’s take a look at how to change them:
Go to “Testimonial” > “Testimonial”.
Here you see four posts that go with the theme by default.
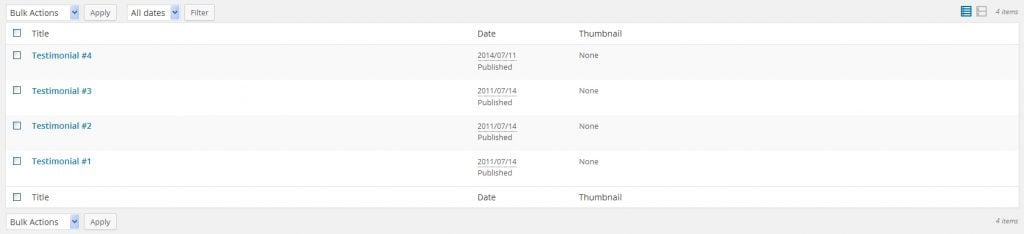
You can delete these testimonials. Just check them and choose “Move to trash” in the menu above.
Now let’s create a new testimonial and add it to the website.
At the top of the “Testimonials” tab you can see an “Add New” button.
![]()
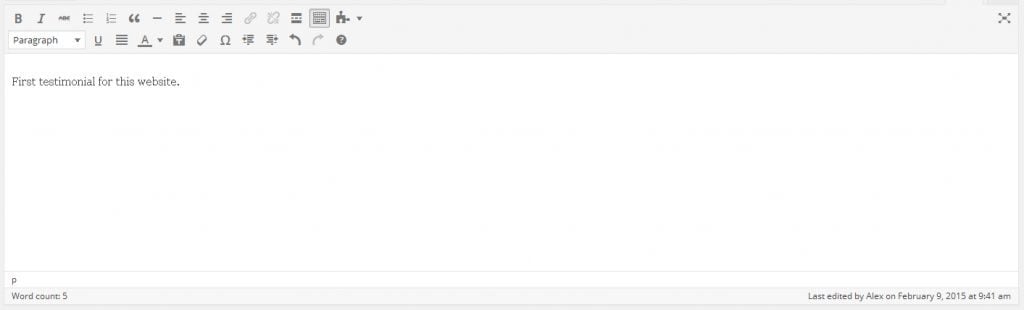
In the first field enter the title of the testimonial.

In the body field enter the text you want to add.
Enter author’s name

Enter author’s URL

Enter author’s email
 Input additional information about the author

Press “Publish” button
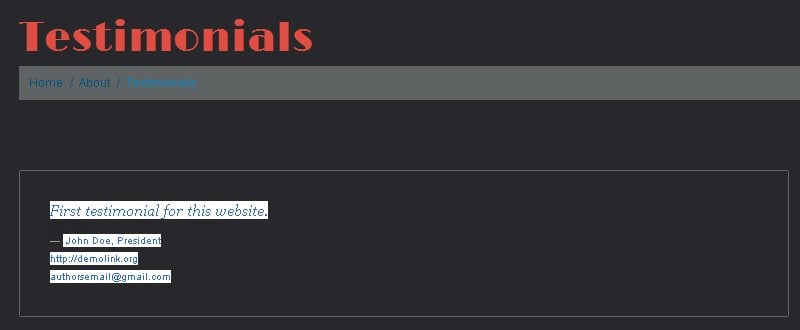
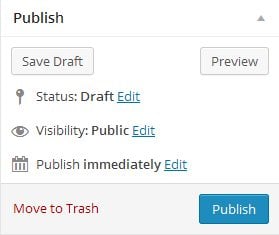 Now you can see your post on the page.
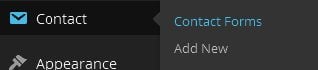
The final page – “Contacts”. Our Cherry Framework includes an inbuilt Contact Form 7. Let’s take a look at how to adjust it.
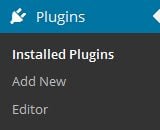
- Go to“Plugins” > “Installed Plugins”
 You can see that the plugin is already installed
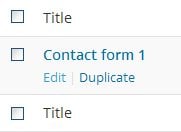
- Go to“Contacts”>“Contact Forms”

- Here you can find a contact form created by default, press “Edit”to customize it.

- Change the title of the contact form and press“Save”.

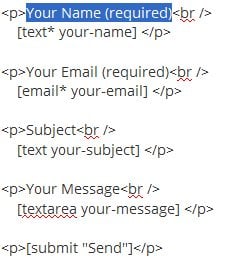
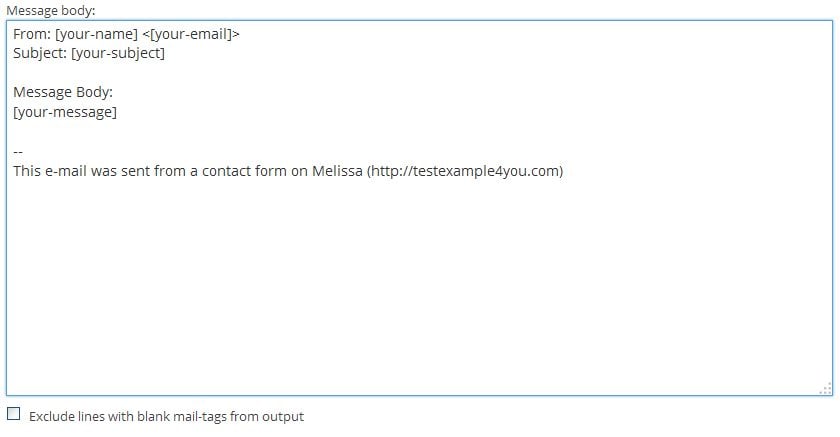
- In the Form field you can add any sections you like, between <p></p> tags.

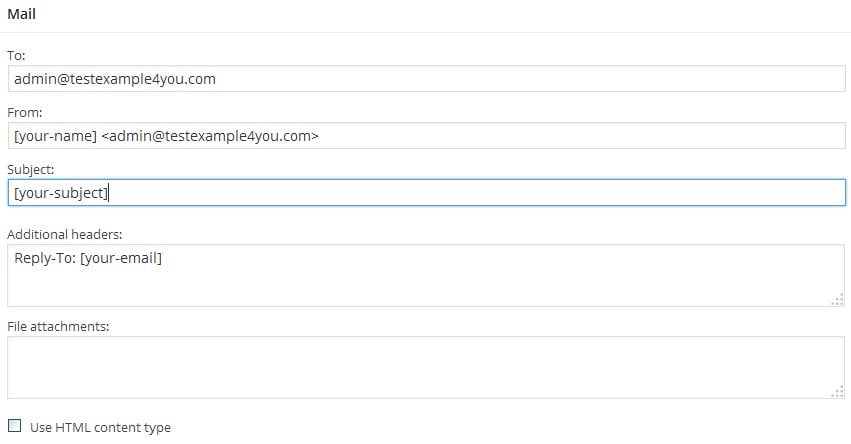
- In the Mail field you can also change the text in the fields.


- Copy the code of the Contact Form

- Go to “Pages”>”All Pages” open “Contacts” link
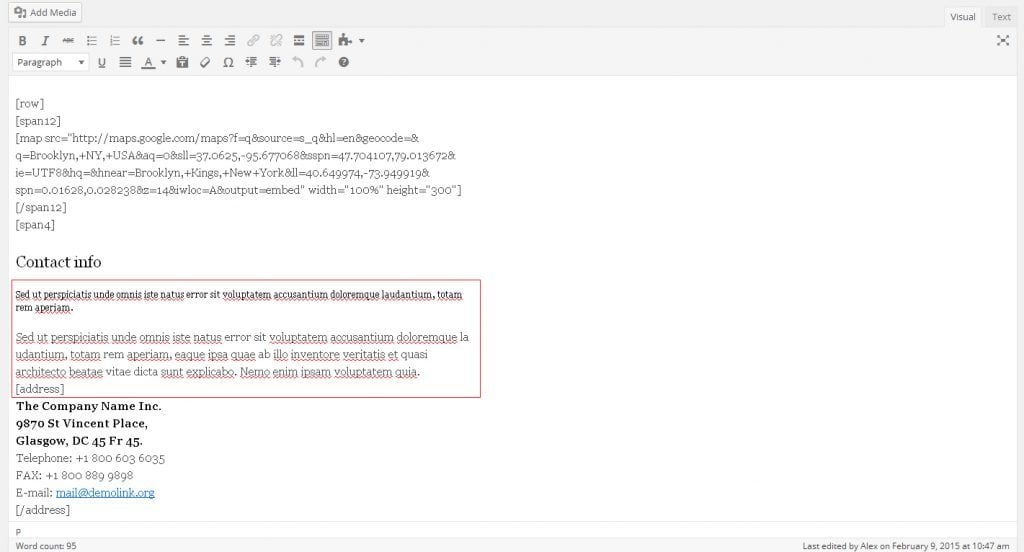
- Change the text below the Contact info

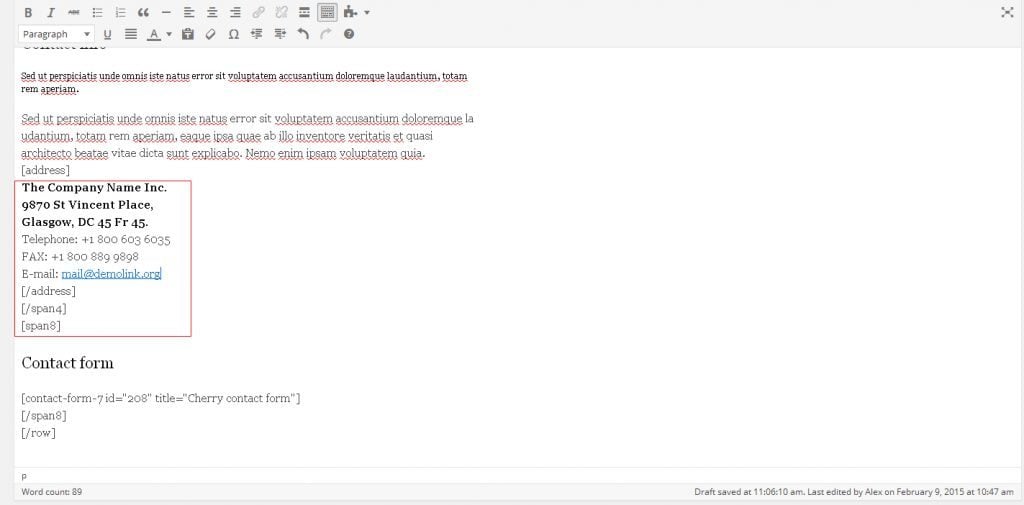
- Below you can see coordinates of the company. Enter address and phone numbers of your company. Leave the code in [] brackets unchanged.

- Under the Contact form there is a default code that you should replace with the one you’ve copied earlier.

 You can see that the plugin is already installed
If you still have any questions, check out our video tutorial
The next thing you have to do is to change Google map location. The principle of customization is pretty much the same. You will find all necessary information in our tutorial here
In WordPress, you can write either posts or Pages. When you're writing a regular blog entry, you write a post. Posts, in a default setup, appear in chronological order on your blog's home page. Pages are for content such as "About," "Contact," etc. Pages live outside of the normal blog chronology, and are often used to present timeless information about yourself or your site.
In general, Pages are very similar to Posts in that they both have Titles and Content and can use your WordPress Theme template files to maintain a consistent look throughout your site. Pages, though, have several key distinctions that make them quite different from Posts.
- Pages are for content that is less time-dependent than Posts.
- Pages can be organized into subpages.
- Pages can use different Page Templates
- Files, Template Tags and other PHP code.
- Pages may have a more complex array of readily available display adjustments when using sophisticated Themes with extensive customization.
- In essence, pages are for non-blog content. It is possible to remove all or most posts from a WordPress installation, and thus to create a standard non-blog website.
To create a new Page, log in to your WordPress account with sufficient admin privileges to create new articles. Select Pages > Add New to begin writing a new Page.
Pages structure
Just as there are subcategories within categories, your Pages can have subpages. These subpages will be featured under the Parent page.
How to create a subpage?
- Go to Administration> Pages > Add New.
- In the right menu “Page Attributes”, click the “Page Parent”. The drop-down menu contains a list of all the Pages already created on your site.
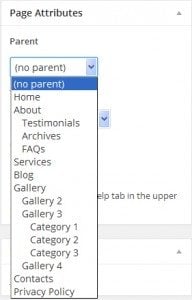
- Select the appropriate parent Page from the drop-down menu to make the current Page a child Page.
- Add content to the subpage.
- Click Publish when ready.
How to add a page to the site menu?
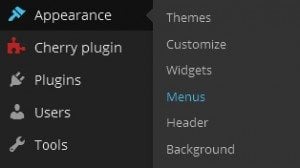
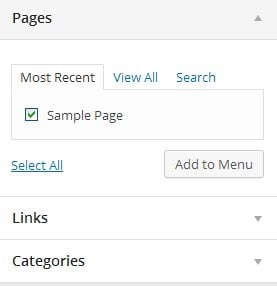
Now that you have already created the pages you need, you will probably want to add one of them to the site menu. This is pretty easy to fulfill. First, you need to enter your Dashboard > Appearance > Menus.
As you see the main window is divided into two parts - Pages and Menu Structure. In Menu Name blank space, enter the name of your menu and press “Create Menu”.
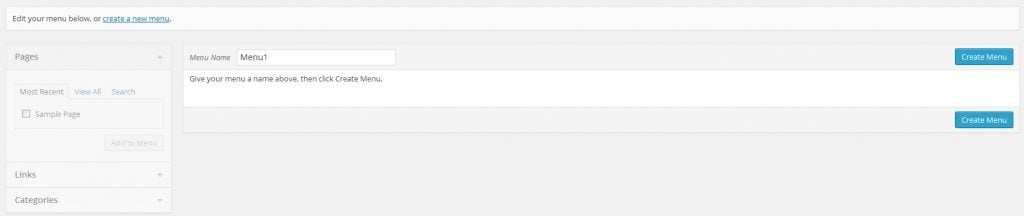
In the Pages you can see a list of already created pages, in the Menu – active items. To add a page, check “Sample Page” field and press Add to Menu button and Save menu.
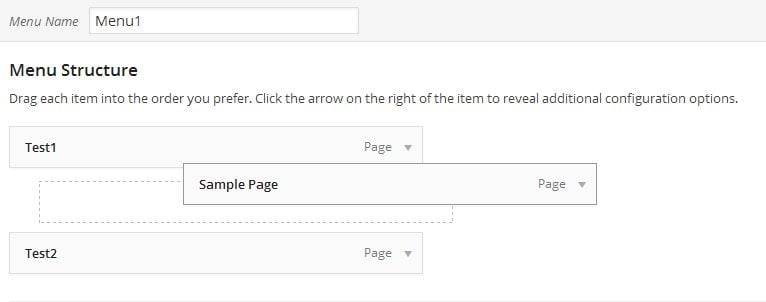
In the right section you will see the pages you’ve created. In “Navigation Label” field you can name your pages. Press “Save Menu” once more.
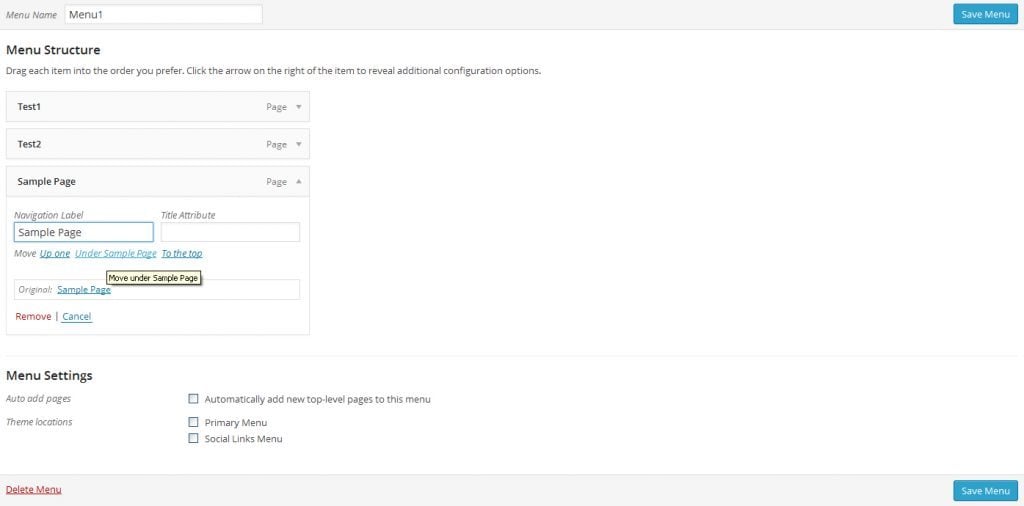
To change the order of menu items, drag-and-drop them.
Cherry Framework Options
In addition, in TemplateMonster's gallery you can find themes powered by Cherry framework that allows you to adjust your website, making all changes in the admin panel or visual editor. In this video you can preview all customization options that Cherry Framework provides for the user.
Creating necessary pages
Changing logo and site name
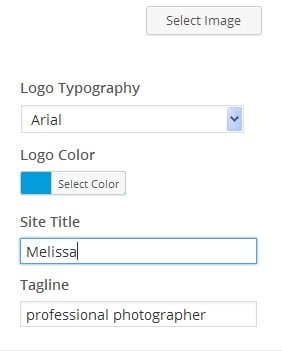
Now let’s change the name and logo of your website. This can be done in a few steps.
Dashboard > Themes > Customize> Site title & Tagline find Select Image. Here you can choose an image that will be your website’s logo.
![]()
To change the name of your site go to Dashboard > Themes > Customize. Visual customizer will open, find Site Title and change it.
In the following video tutorial you will find how to change the logo in your site based on Cherry Framework.
If you missed our previous tutorials, check them below.
Choosing Hosting and Domain Name for Your WordPress Website
How to Setup WordPress Engine and Install a Template?