Lesson 6: How to edit your HTML website with Novi builder?
- Uploading your theme to the novi builder
- Safety measures
- Creating and editing a page with novi builder
- Novi builder tutorials
For this lesson I’ll use Intense website template which is an amazing multipurpose HTML theme that can be used for any web project.
There’re tons of skins, child themes that can be easily altered anyhow you want in a handy drag’n’drop interface of the Novi builder.
BTW, Intense theme was recently updated and now you can get two Intense themes for the price of one! If you open the demo, you will see this:
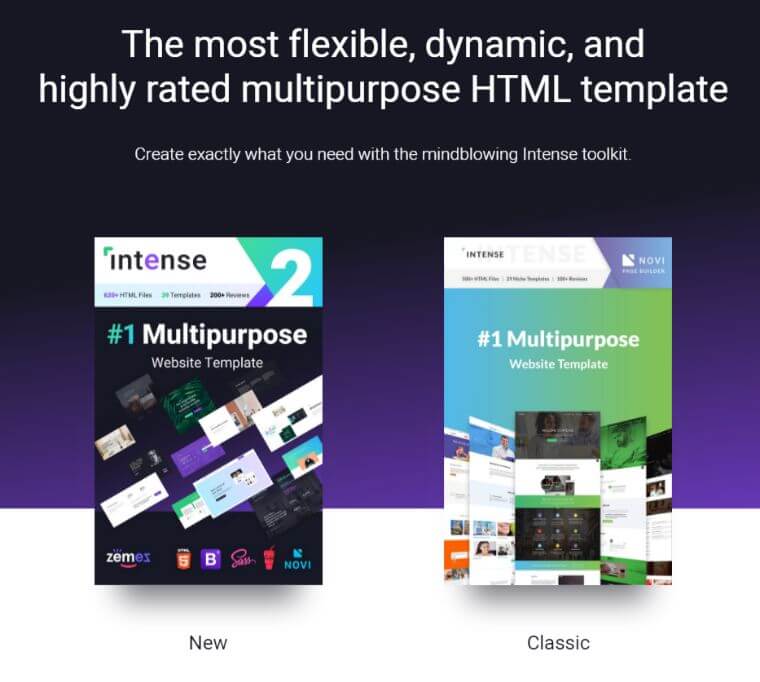
New Intense and Classic Intense, this means that when you purchase one template you will get two versions, the original and the renewed (which is an absolutely amazing).
Uploading your theme to the Novi builder
In order to perform this step you need to upload the Novi builder to your server. You will have to use FTP connection to make this happen, the procedure was described in the previous lesson.
Just as previously described you need to upload builder files into the /root directory of your server. To make sure that no other person will access your builder you must enable password protection.
Safety measures
- Safety settings switch
- Your password, "novi" by default.
- Option for enabling/disabling the user authorization.
- Option for enabling/disabling the demo mode.
- Field for entering a new password.
All changes will be applied only in case of entering the current password correctly.
To reset the password you need to open the file /builder/php/session.php
In the line $currentPassword = "password"; you need to clear or replace the variable with the one you prefer.
Creating and editing a page with Novi builder
The best thing you can get when using the Novi builder is the process of creating a new page.
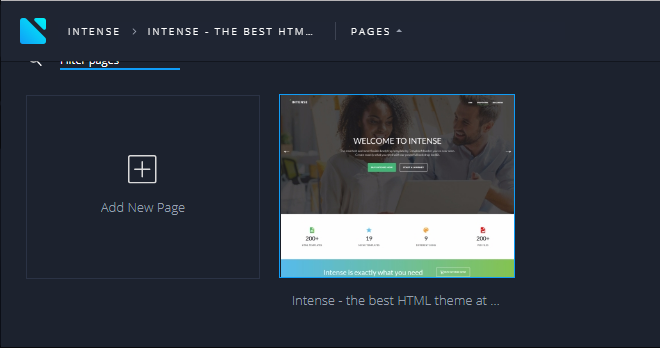
In the upper menu of the builder you need to click on the PAGES and then Add new page
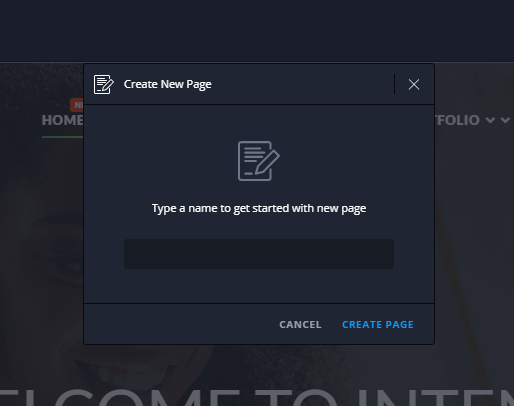
Then you need to give a name to your page
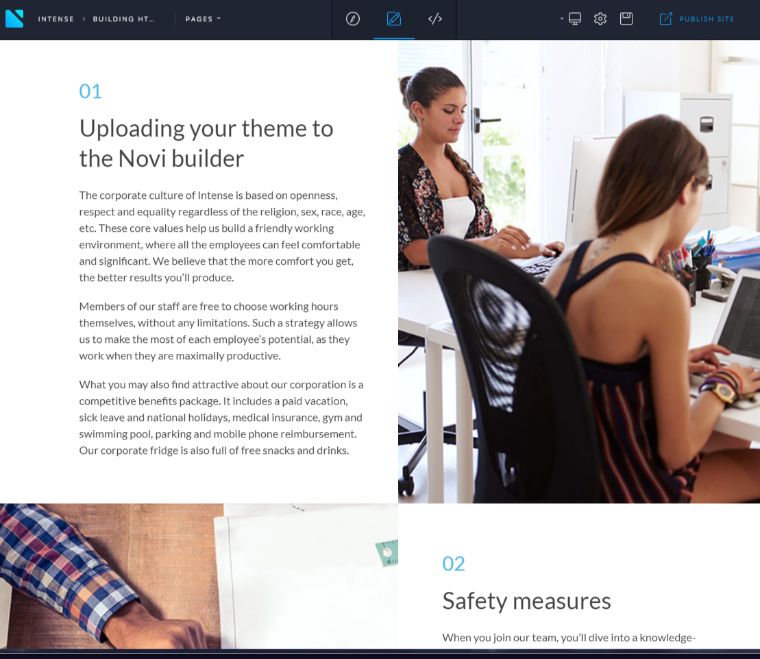
Right after that begins the most interesting process. The Intense template consists of a great number of blocks you can use them anyhow you want to build 100% unique pages.
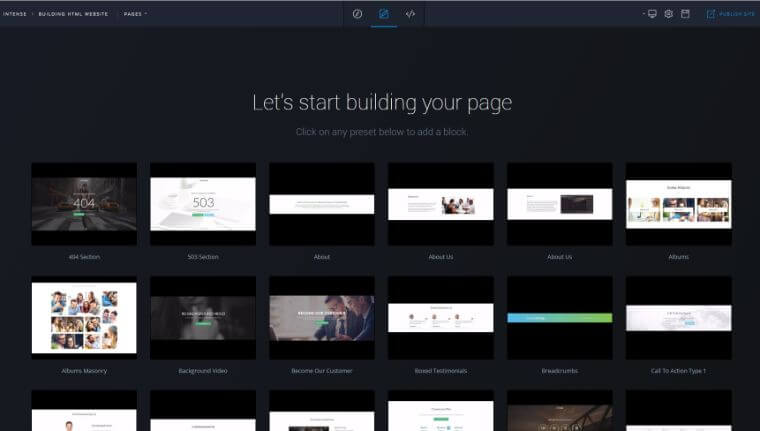
Just pick the block you like to start, further you’ll be able either to remove them or replace with some other.
Here’s a block that I’ve used
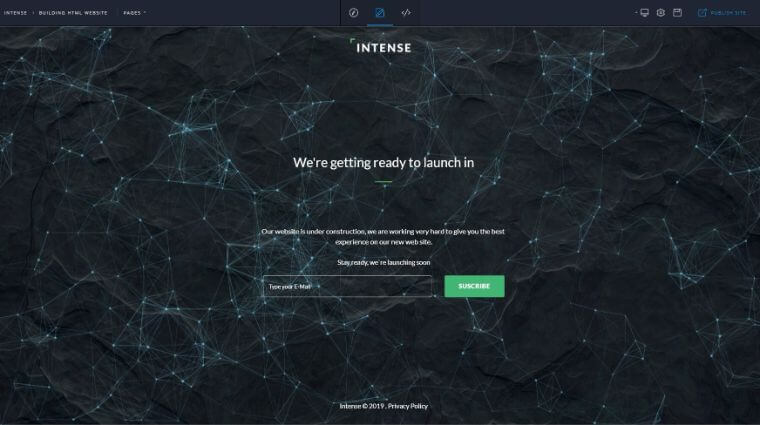
I love this background. Now I’ll make a few adjustments, I’ll make a landing page for this lesson.
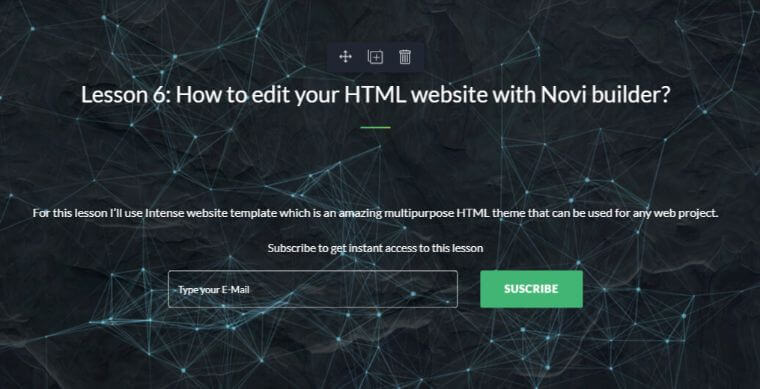
Anytime you hover some design elements on your page a set of buttons will appear.

To change any text just click on it and type your own. Like this:
Now let’s add some other block with a short plan of this lesson. I think I will use a block called Corporate Culture it contains 4 sections, that’s the number of parts that you will find in this lesson.
By default there’s quite a lot of text, so I will add a subheading and one line of text to describe the contents of the lesson part.
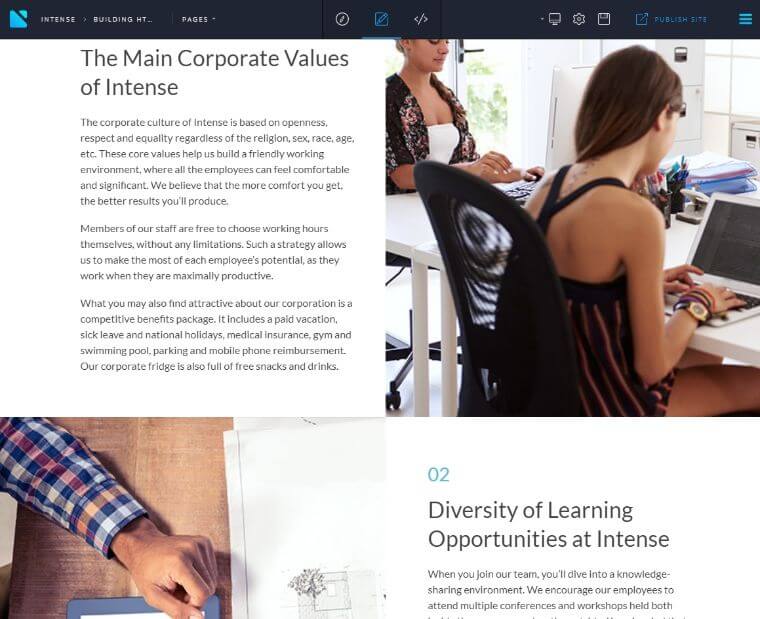
Here’re the first two subheadings
Also I will need some images to complement these section, I will borrow them from novibuilder.com website, or our blog.
Adding an image is quite easy, right click the image, and choose Source Code
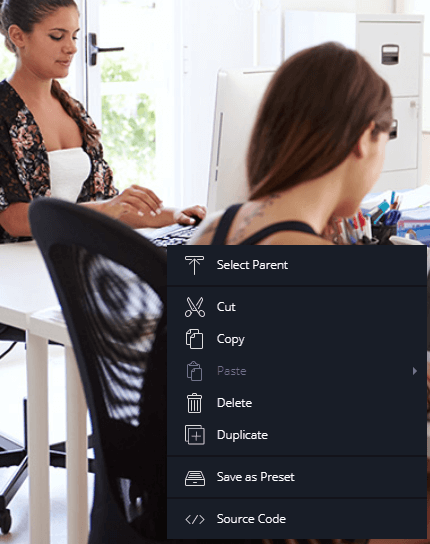
The editor will appear at the bottom of the page
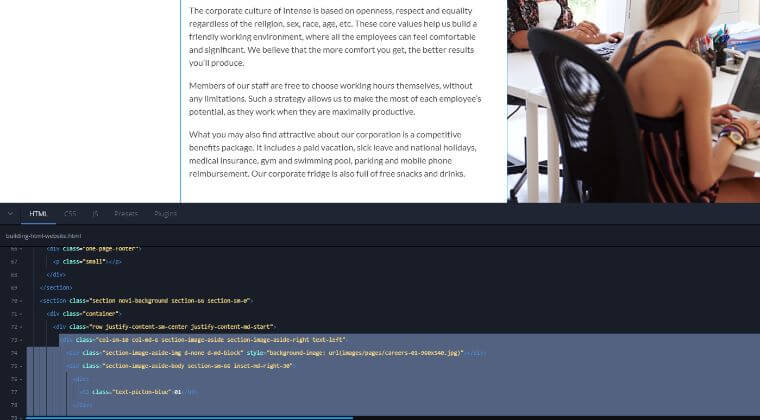
A necessary section will be highlighted. Now you need to replace the url value in the line style="background-image: url(images/pages/careers-01-960x540.jpg)" with the url of your image.
I think you understand what it means, you need to upload all the images you will use on your website into the folder images via FTP connection.
So I’ve downloaded 4 images from unsplash.com an now I’ll replace default images in this section.
First of all I’ve uploaded them to the server, and now I’ll replace the URL’s.

Default images were quite large and I decided to use another size - 973*291px. This is the final result:

Novi builder tutorials
Here you can check out some video tutorials released by the Novi team.
Full documentation of the Novi builder.
This tutorial is a part of the "How to Build and Maintain an HTML5 Website?" free course.