How to build a WordPress store with WooCommerce plugin

WordPress is no doubt the leading CMS, but what if you want to use it for a store? What plugin do you choose, how do you set it up and start selling? You will find all the answers in this guide!
You’ll Learn About:
- Why choose WooCommerce plugin?
- How to install WooCommerce
- What are the setup steps
- Products settings
- WooCommerce settings
1. Why choose WooCommerce?
There are numerous plugins for WordPress, which turn it into an online store like Jigoshop, WP eCommerce, or Ecwid. They all have numerous admirers. But only WooCommerce stands out with over 11 million downloads and extremely high reviews. I’ll tell you about the pros and cons of using WooCommerce on your WordPress site and show you how to operate it.
Advantages:
Free of charge
All the basic features of WooCommerce come for free, and launching it on your WordPress site won’t cost you an additional penny. Just install it and sell!
Choice of extensions
The WooCommerce community and team have created hundreds of extensions to make your online shop manager experience a delight.
Easy to master
The key to understanding the success of WooCommerce is the fact that everything is clear and to the point. What does an online shop owner need? Easy to create and manage products, statistics about what his store is up to and a database of customers. You name it - WooCommerce has it all.
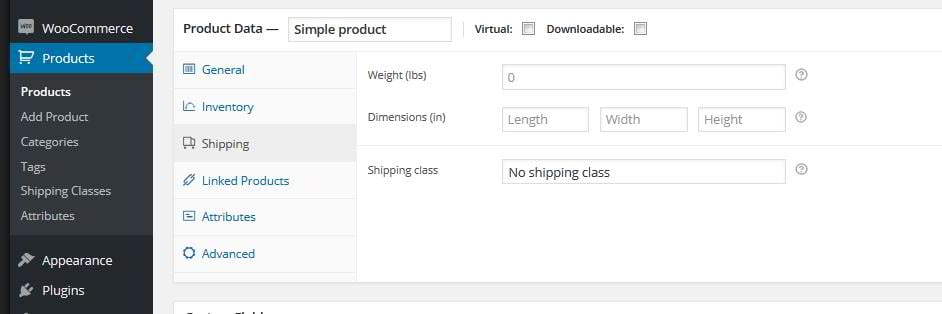
Say, you’re creating a product. All the needed settings are right there, on the same screen: set the time a product will be on sale, set its info and dimensions, if applicable, create a downloadable product. Basically, all the required store functionality is there out of the box. And if you want something extraordinary, there’s an extension for it.
Control is yours
As a hosting plan owner, you have full control over your site’s data, prices and security.
Ready-made designs choice
The choice of ready-made free and premium templates is immense and grows each day. Of course, it’s recommended that you get a theme designed for WooCommerce. Also take care to get it from a reliable vendor who knows how to develop templates specifically for this platform. Feel free to check the kinds of designs that can be created for this platform:
https://www.templatemonster.com/woocommerce-themes.php
http://www.woothemes.com/
The Ultimate Step-by-Step Guide To Your First Online Store [Free eBook]
Disadvantages:
Can be pricey
Even though all the basic functions, and a lot more, come with WooCommerce for free, sometimes the plugin you need can cost a lot. For example, the price for an average premium template is from $40 to $75, whereas some advanced payment gateway can cost up to $150. Also as WooCommerce is only a plugin for WordPress, there isn't as much variety in terms of extensions as for PrestaShop, OpenCart and Magento.
Not for large stores
While WooCommerce is great for running a small business, it isn’t a perfect fit for large volumes of orders and shipping. The main issue might be the fact that large numbers of SKUs (Stock Keeping Units) can slow your site down as it’s not as well optimized for such challenges as the leading eCommerce solutions.
Now that you know about pros and cons of WooCommerce, let’s get to its installation.
3. How to install WooCommerce
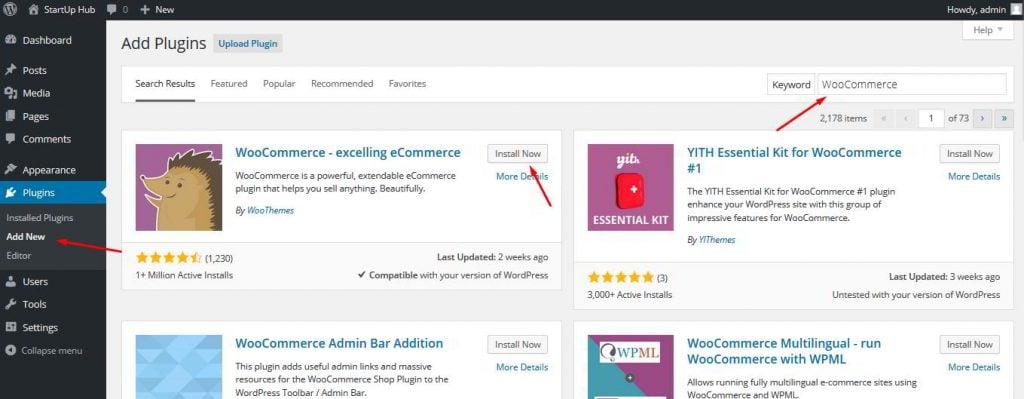
Very few things out there are easier than installing plugins for WordPress. So in order to make your WordPress blogging site into a powerful online store, you need to navigate to Plugins - Add new and search for WooCommerce. Click “Install now” to get the installation started.
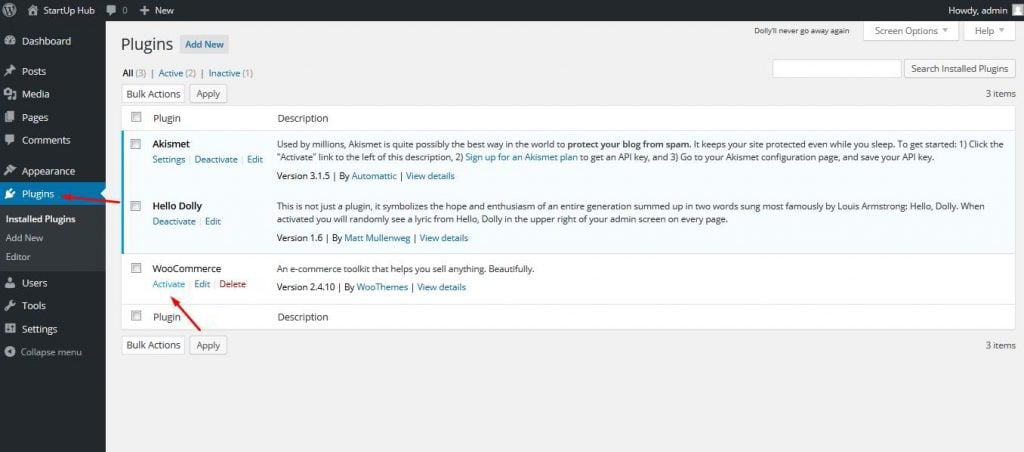
Now in the Plugins section of your admin dashboard, you can see the WooCommerce plugin. It can’t wait to be activated and show you some magic.
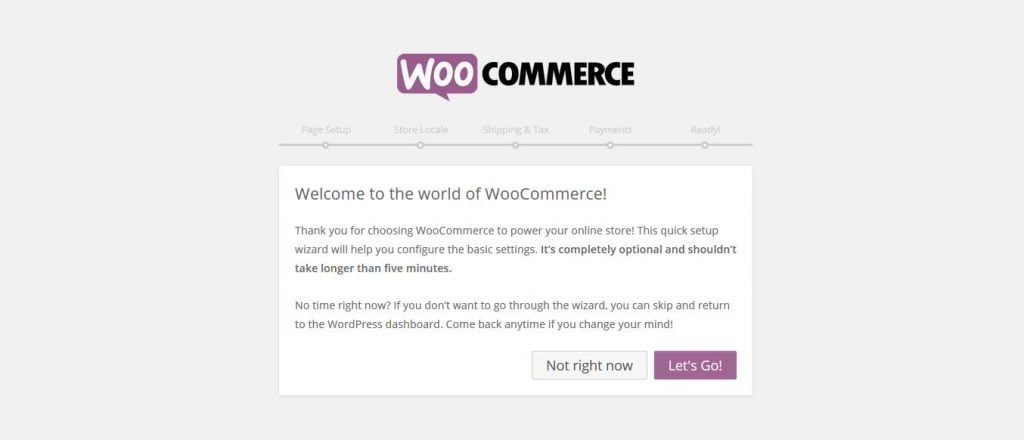
4. Setting up WooCommerce in 5 simple steps
Once activated, WooCommerce starts the setup wizard to help you configure all the required settings in several clicks. I recommend taking this route rather than doing it manually because it's a bit faster. If needed though, you can locate our instructions on deeper customization of WooCommerce here.
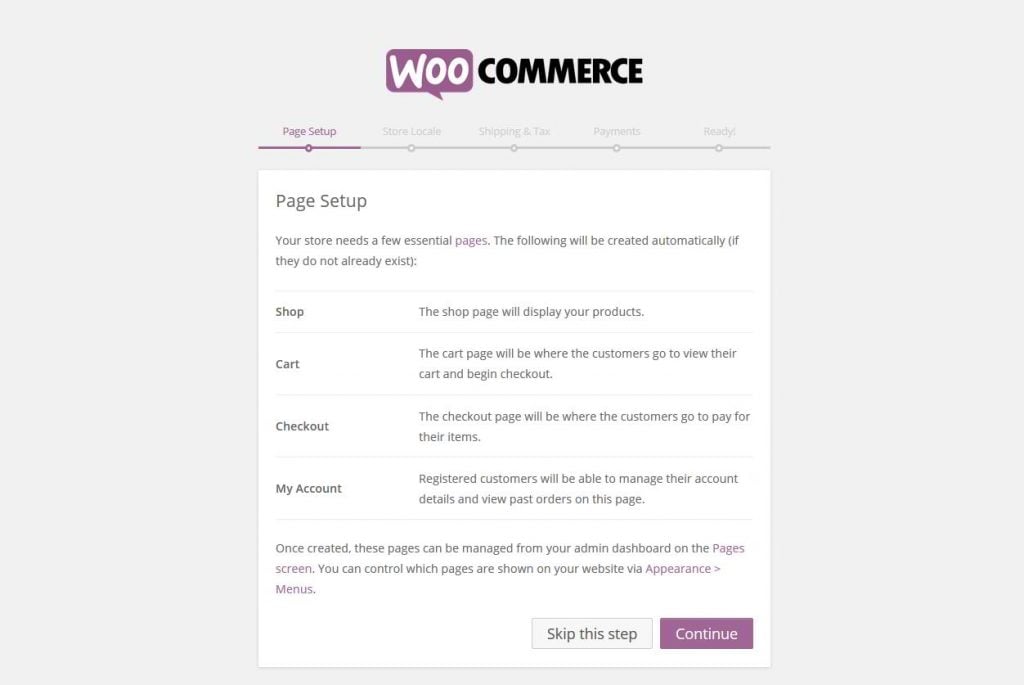
1. The first setup step is WooCommerce creating the default pages like My Account, Cart and Check Out. You can see the pages’ description below. You will be able to locate them later on in the Pages section of your Dashboard.
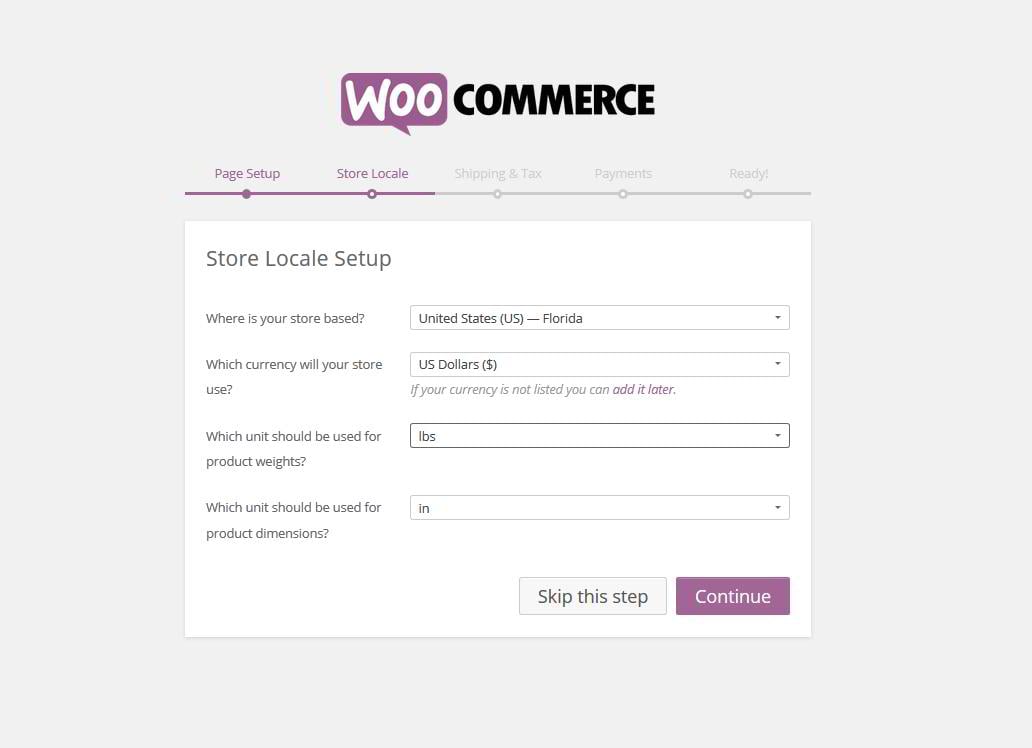
2. The next step is a biggie, as it’s where you define your location, currency and, most important, units to measure your products.
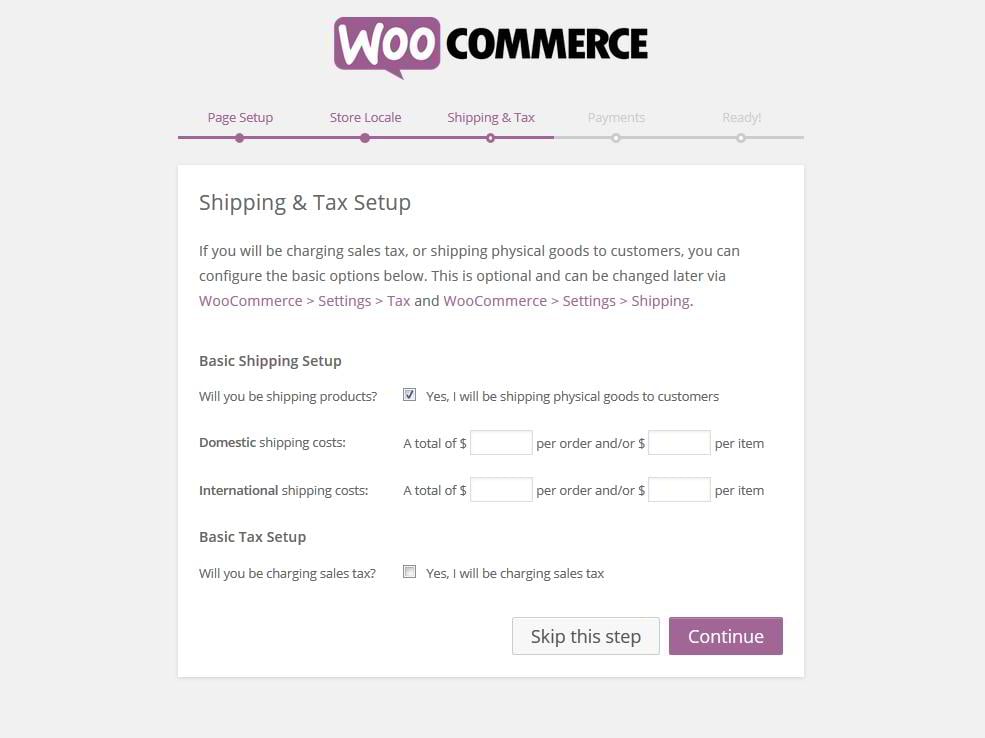
3. On the next step you get to set up taxes for your future products. However, feel free to skip it and get back to it later in your WooCommerce panel as described here:
https://docs.woothemes.com/document/setting-up-taxes-in-woocommerce/
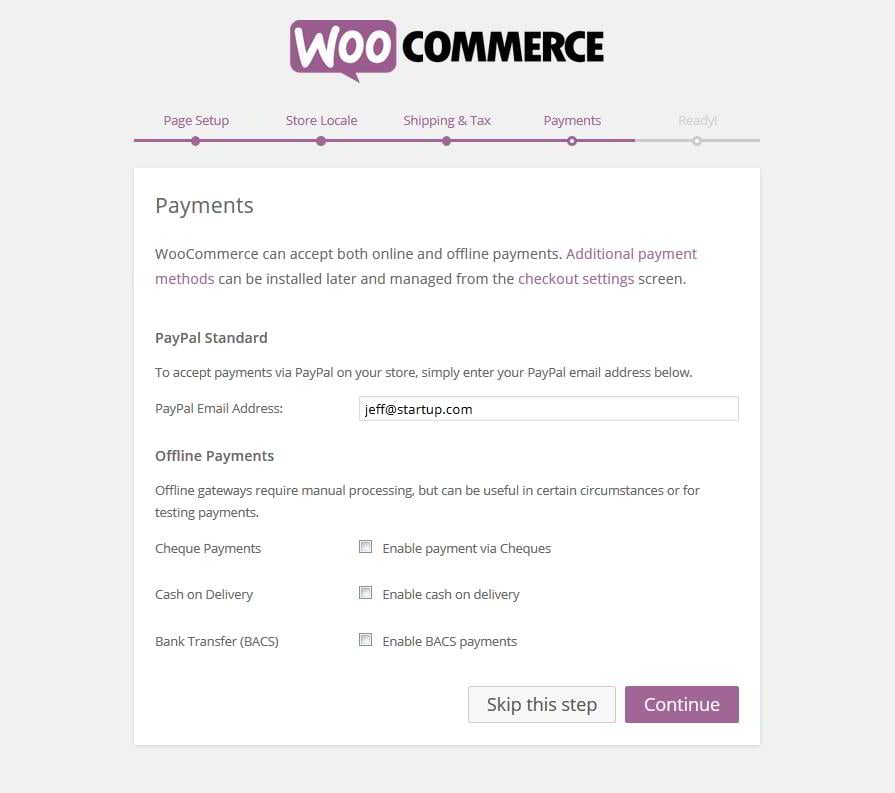
4. Next, you are given an opportunity to connect your WooCommerce site to your PayPal account. While we’re at it, there are five default payment options included in WooCommerce out of the box. Besides those, you can use a hundred more payment add-ons. Here you can read all of the details of Standard PayPal payments in WooCommerce.
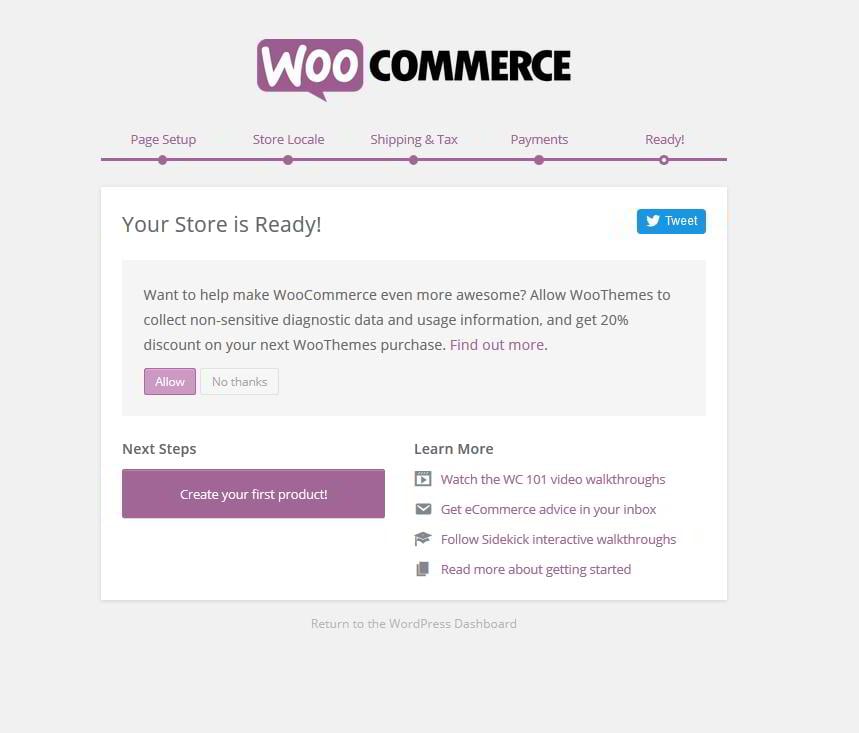
5. And you’re done! Click "Create your first product!" and let the fun begin.
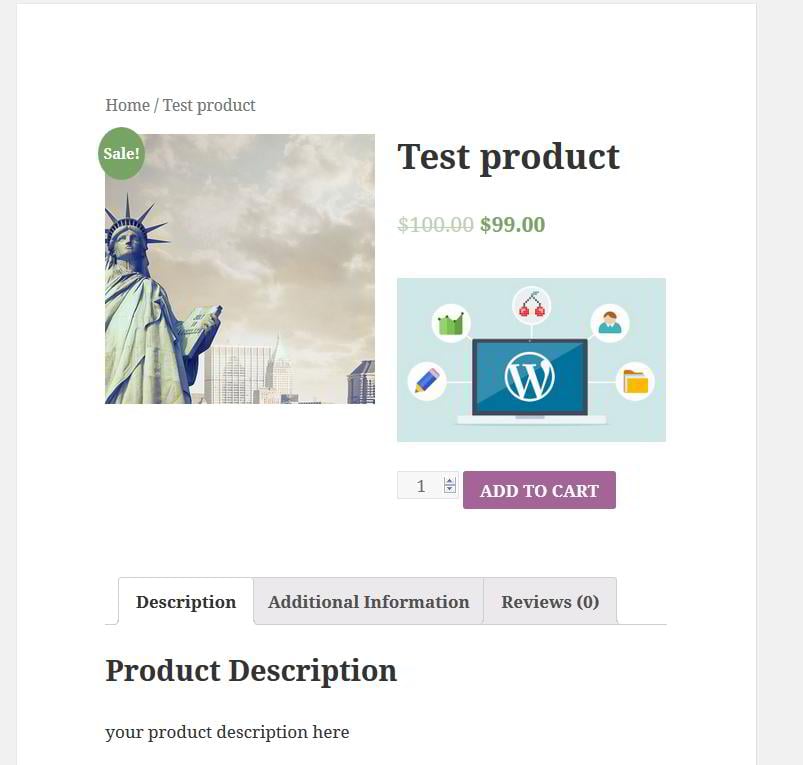
5. Products
Products are, of course, the most important feature of your WooCommerce store, and the WooCommerce team put a lot of thought into making this part of their plugin as efficient as possible. This is where you can set the product’s physical dimensions, dates for sales, put its status to “in stock” or “out of stock” etc. Feel free to check out this link to learn more about managing products in WooCommerce.
In order to display numerous products on a page, you need to create categories and assign products to them. Categories for products work in just the same way as they do for posts in WordPress, enabling you to see products assigned to a specific category following a link like www.your-domain.com/category-name. You can also connect and display products by Shipping Classes.
One more powerful tool that comes with WooCommerce is its shortcodes. A shortcode is a preset piece of text that calls to certain types of content and layouts, and displays them on your pages. You can check the list, which you’re free to use at any time on your WooCommerce site, here.
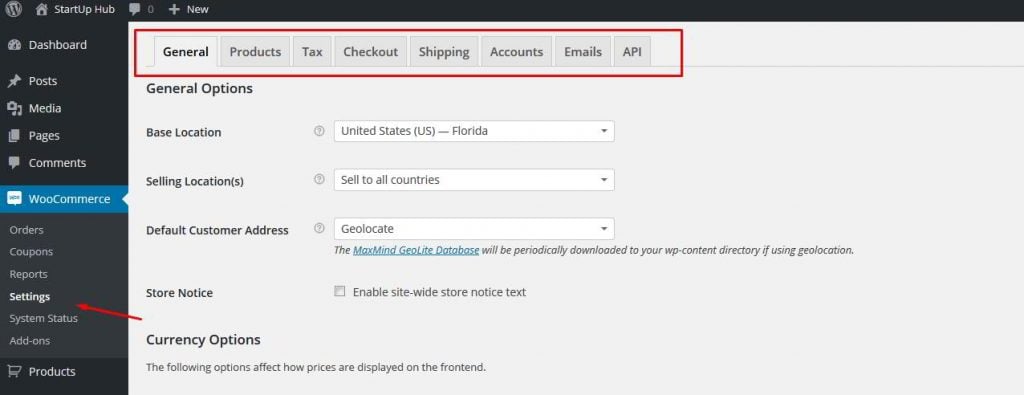
6. WooCommerce settings
The orders section is where you can see all of the orders your users made along with the orders’ details.
You can locate full WooCommerce documentation for them here.
Coupons:
Who doesn’t love coupons? Buying something at half price and using a one-time coupon code! What a way to make somebody's day! 🙂
In WooCommerce Coupons you can easily create coupons of your own that will apply to your products. Feel free to check detailed documentation on it here.
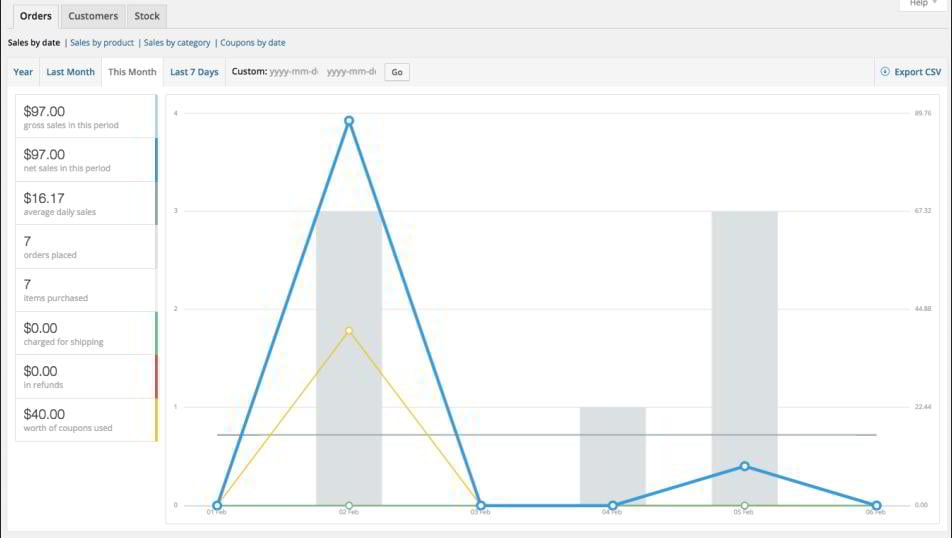
Reports:
WooCommerce Reports is where you get the detailed analysis of how your online business is doing. https://docs.woothemes.com/document/reports/
WooCommerce Settings is where your store’s heart is. That’s where you can change the settings you created during the WooCommerce quick start: e.g. currency, location, admin details, taxes, etc.
https://docs.woothemes.com/document/configuring-woocommerce-settings/
Lastly, WooCommerce Addons is where you go in search of needed extensions for your online shop.
You can now see that there’s nothing scary or hard in configuring and using WooCommerce. Try it and share your impressions with us. If you have valuable advice for WooCommerce newbies, feel free to share it below. We appreciate your comments.
Also, check out our WooCommerce compatible WordPress templates here and start selling on your with with ease.
Best Plugins for a New WordPress Site [Free eBook]

Jeff Bell
Jeff is a 20 year old Tech Support Operator at TemplateMonster. Helping our clients to edit and customize their sites every day, he knows what they need most and how to make it as easy as possible. More than one satisfied client already promised to call their child after him. Being a semi-professional high jumper in the past Jeff leaves no issue unresolved.