
Jeff Bell
Jeff is a 20 year old Tech Support Operator at TemplateMonster. Helping our clients to edit and customize their sites every day, he knows what they need most and how to make it as easy as possible. More than one satisfied client already promised to call their child after him. Being a semi-professional high jumper in the past Jeff leaves no issue unresolved.

Starting manual installation of a site’s engine might seem to be scary. But that’s not the case if you have us to help. We have got your back with our detailed tutorial on how to install Joomla manually.
You’ll Learn About:
- How to download Joomla engine
- How to create database and database user
- How to upload engine to your server
- How to proceed with installation
1. How to download Joomla engine
All modern hosting providers now offer Quick install service for the Joomla engine. You can check our guide on how to choose a perfect hosting provider here, but Quick install isn’t always the way to go. You might have a hosting service that doesn’t provide the Quick install feature.
Your Joomla theme might come with specific requirements for installation of the demo content. If the latter is the case, you basically do the same installation but with the files that your theme provider sent you. In both scenarios you’ll have to proceed with manual Joomla installation.
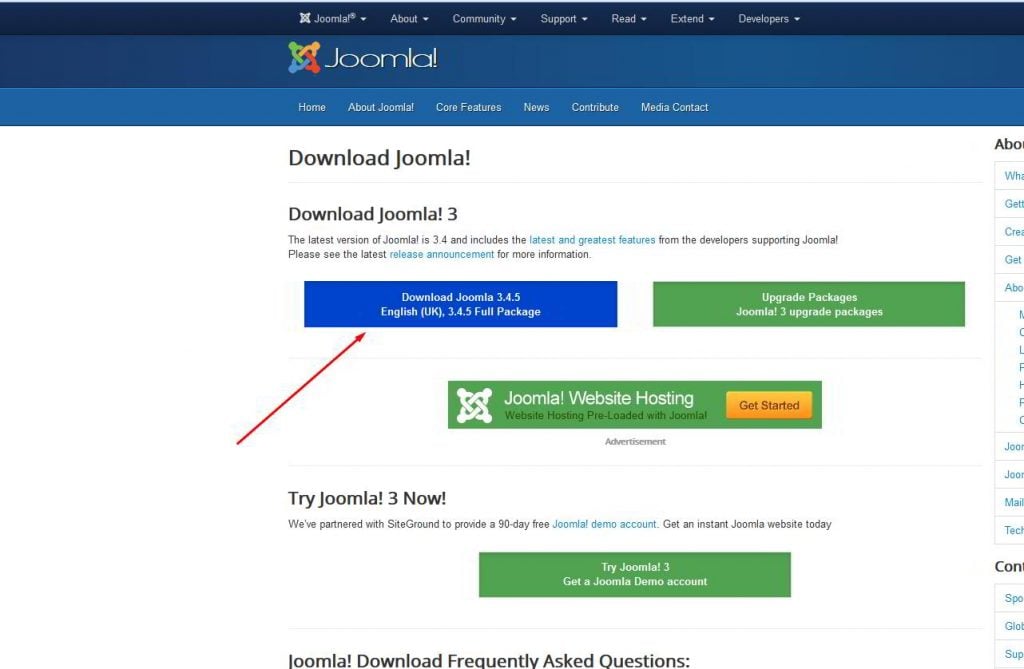
The first thing that needs to be done is to download the Joomla engine itself from here:
https://www.joomla.org/download.html
2. How to create database and database user
All the top CMS systems operate on MySQL databases. They are basically tables where all of the site information is stored. You need to open the MySQL Databases tool in your hosting control panel, create a database user and the database itself (order doesn’t really matter).
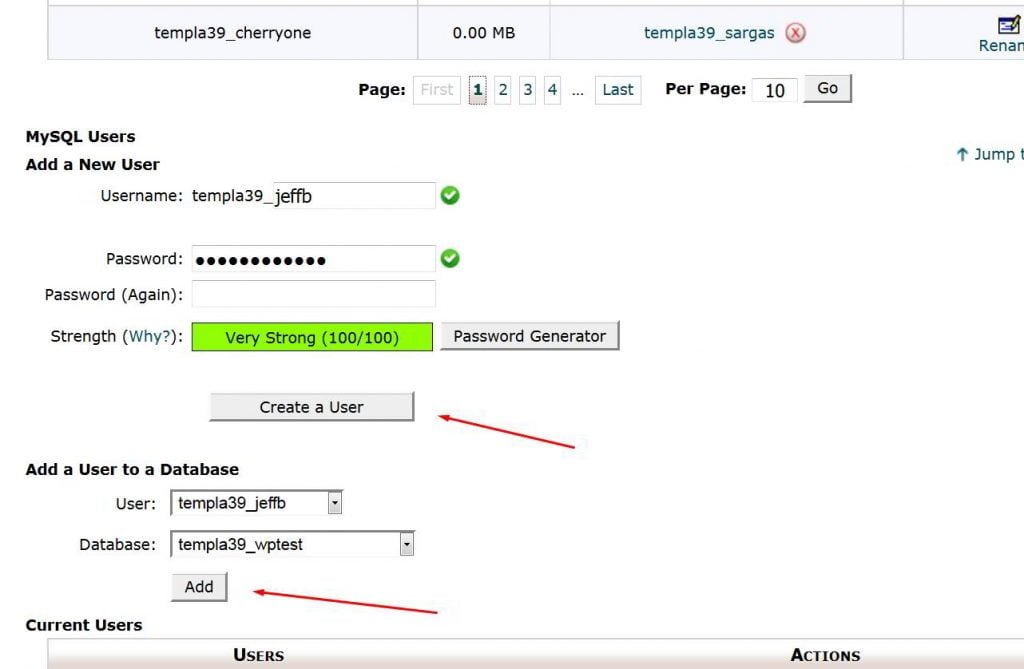
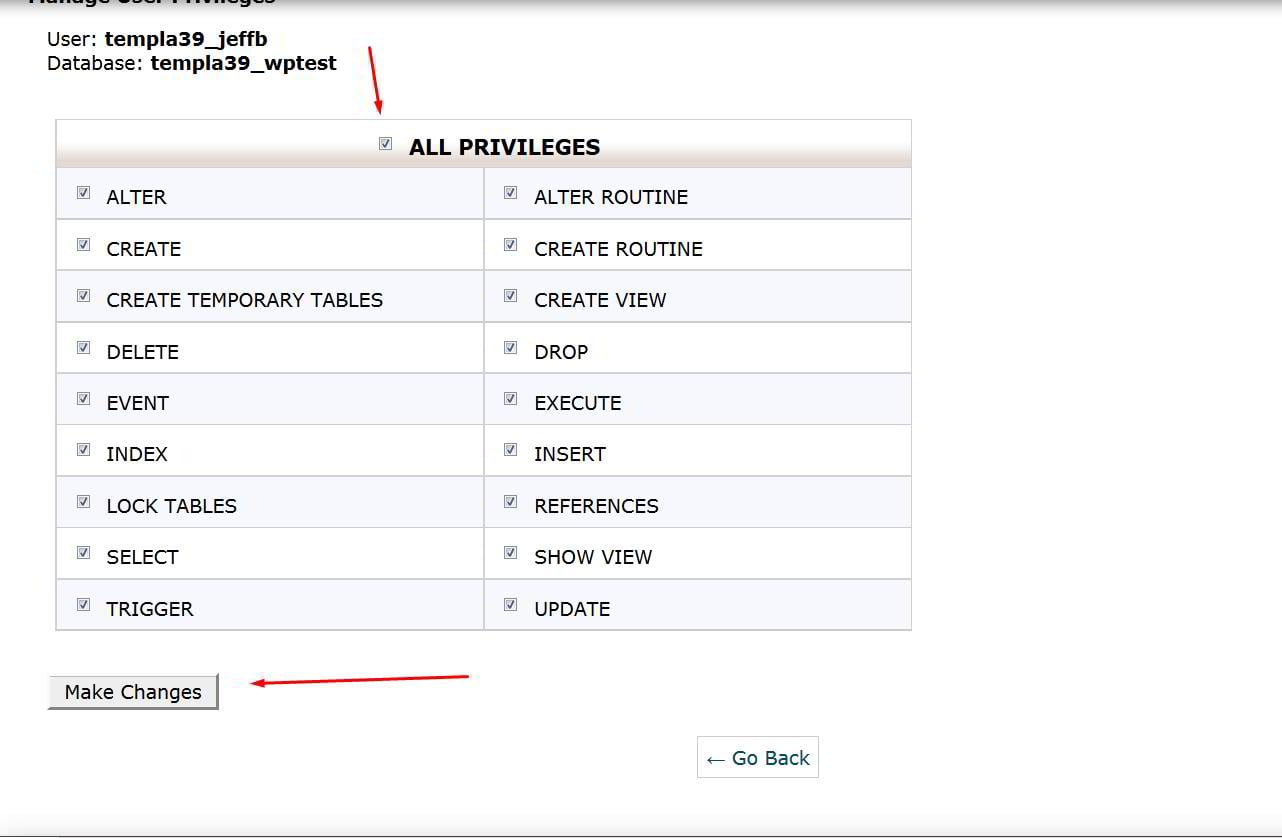
Assign the user you created to your database and make sure your user has all the privileges to operate there.
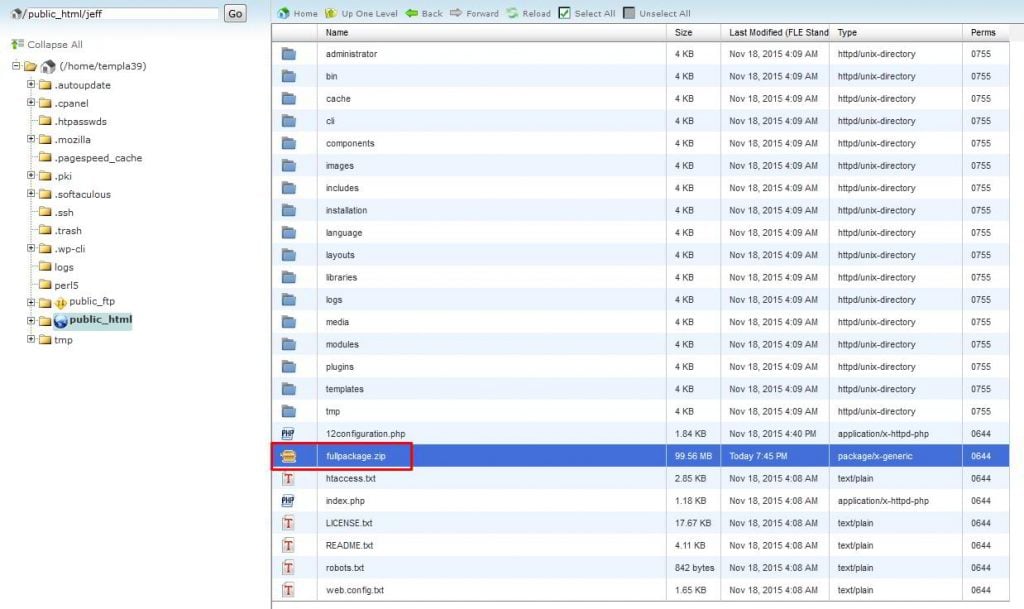
3. How to upload engine to your server
Now you need to upload the zip package with the Joomla engine to your site root folder and unzip it there.
4. How to proceed with installation
Type your domain name in the browser’s address bar to proceed with the first steps of your Joomla engine installation. That is where all the creativity begins.
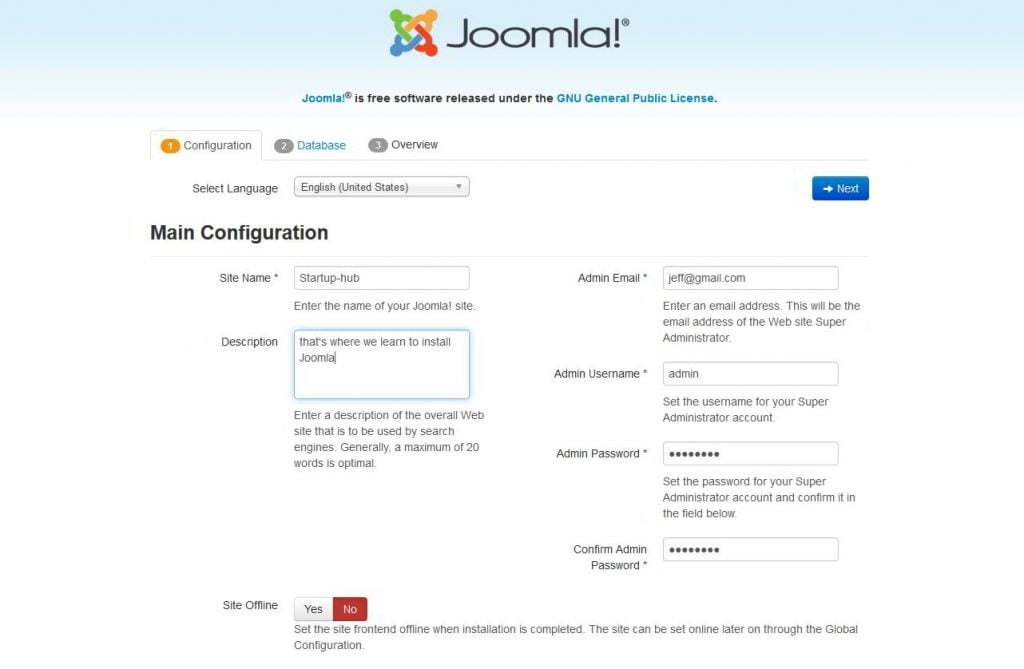
Select your site name (what’s going to show in the browser tab), make up a short site description and choose your admin username and password for it.
You’ll use it later to log in to your site. All this can easily be changed in your site’s admin panel. Click “Next”.
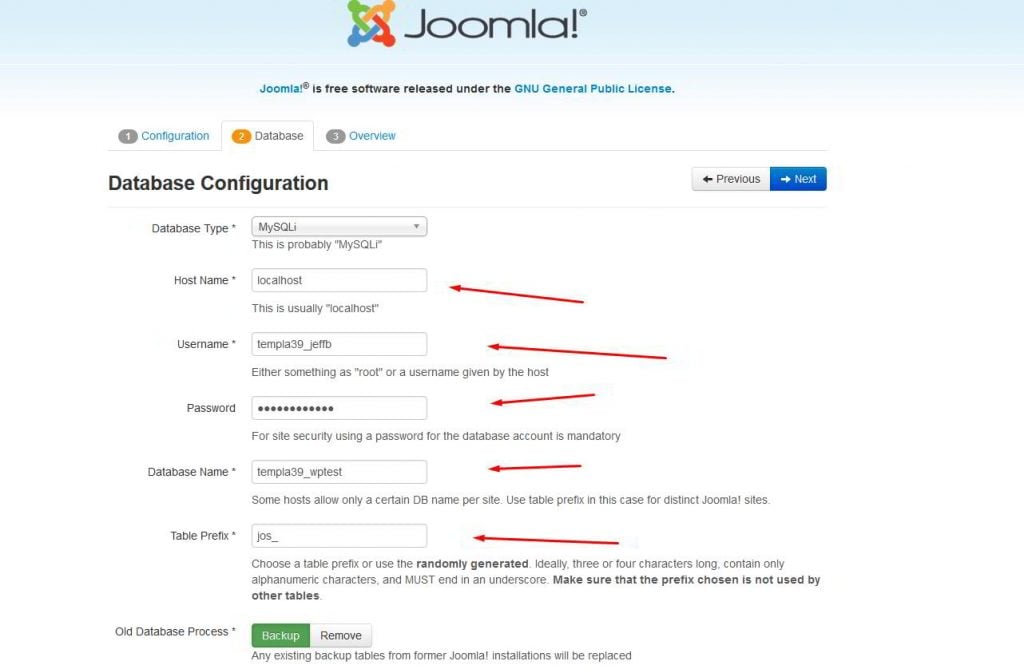
Here you’ll need to feed in the database details we created earlier and click “Next”
This is where you choose if you want to install some sample data or no. It’s recommended to choose “none” if you’re not installing any kind of template demo data. After that click “Install”.

Remove the installation folder as Joomla suggests and click on “Site” to see what the result of your work looks like.
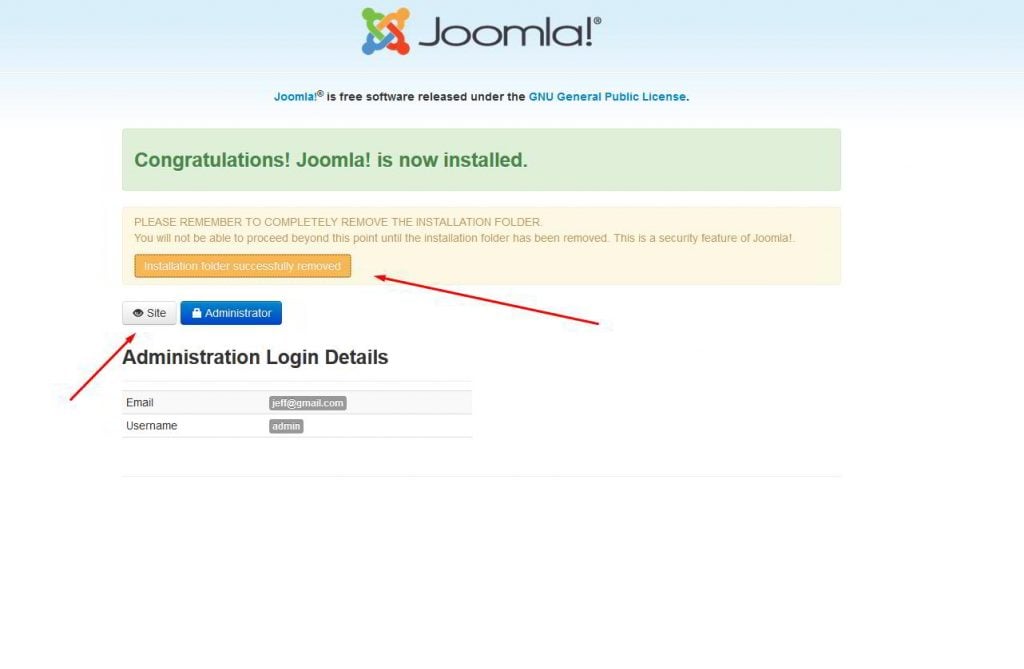
Ta-da! There is your basic Joomla installation
You can login to your admin panel by adding /administrator to your domain name.
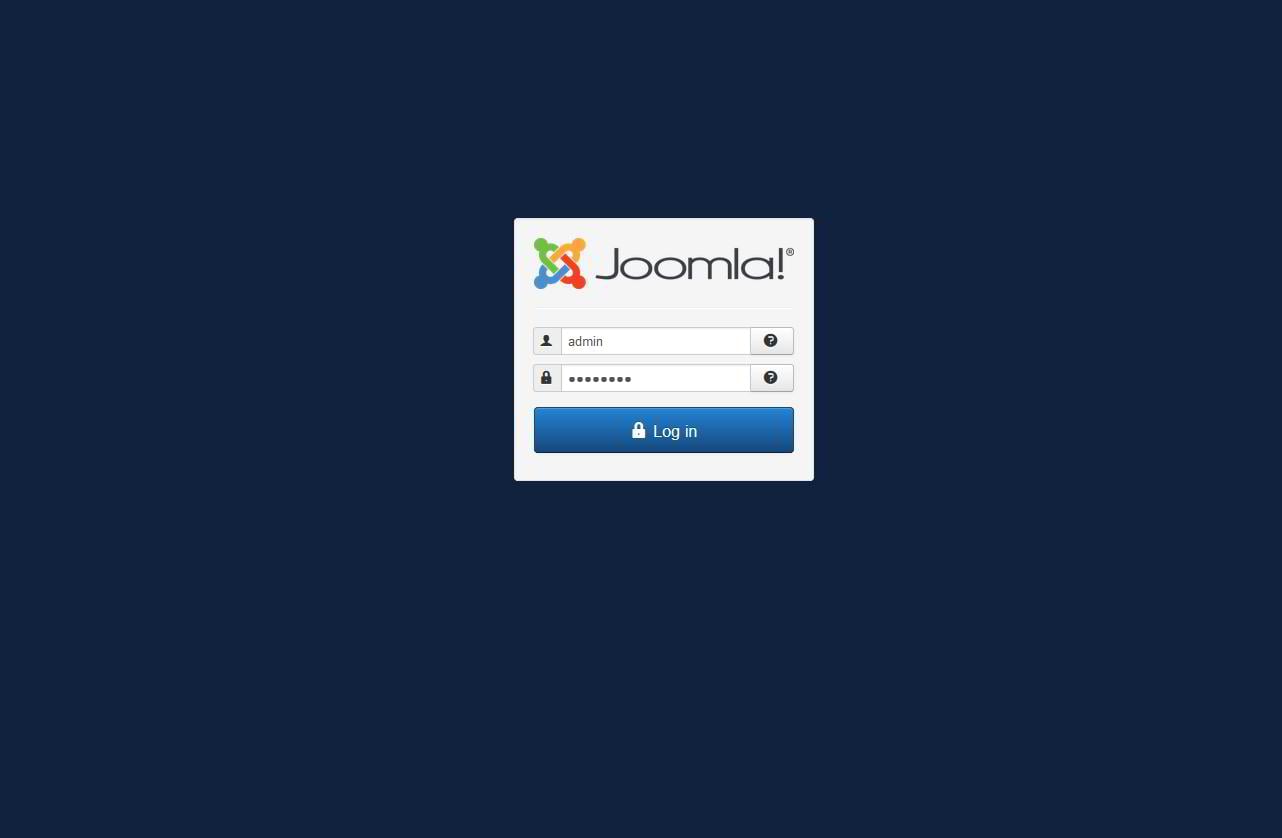
The login details are the ones you’ve chosen during the installation.
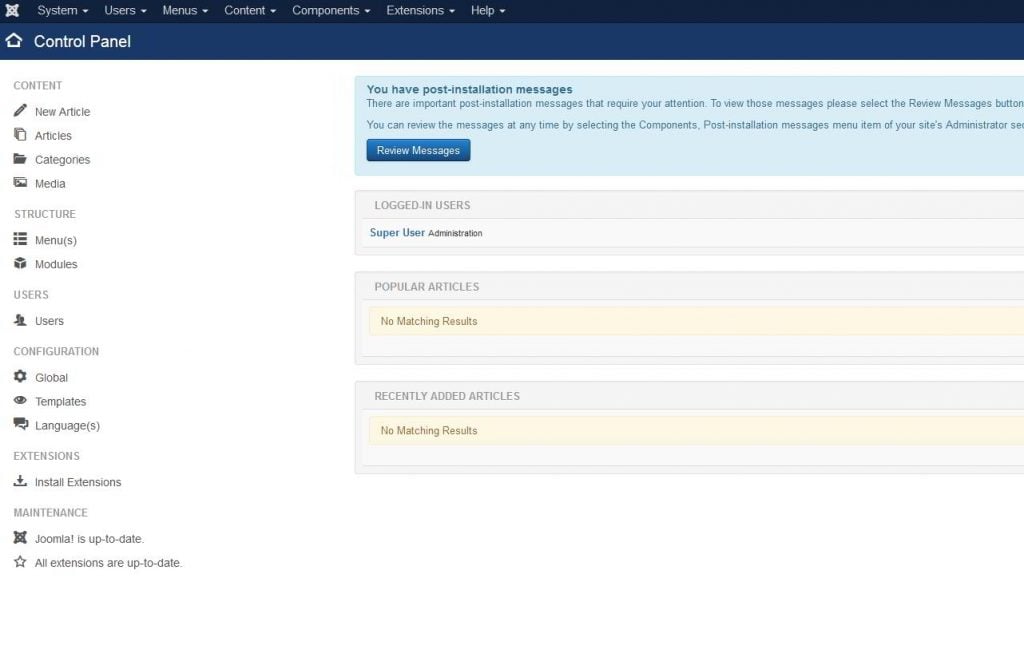
Voila!
You have a live Joomla site now! Now you can choose a website template and start working on your project. Feel free to check other guides on how to create and operate content in your fresh Joomla powered website. If you have any suggestions or questions, feel free to comment below.