
Jeff Bell
Jeff is a 20 year old Tech Support Operator at TemplateMonster. Helping our clients to edit and customize their sites every day, he knows what they need most and how to make it as easy as possible. More than one satisfied client already promised to call their child after him. Being a semi-professional high jumper in the past Jeff leaves no issue unresolved.
To give your Joomla based site a special touch and feel, you need to use a theme. Whether you download a free theme or purchase a premium one from a template provider, you will need to install it. Let me show you how to do it.
You’ll Learn About:
1. Install a Joomla template
There are two ways to install templates: with and without sample data. You can use the second method if you already have content on the site that you don’t want to lose. This way the template will simply add its styles to the site, but won’t affect any of the layouts and won’t affect your content.
If you’re starting a site from scratch, it's a good idea to install sample data (also called demo content) as well. It will make your site look just like the demo you purchased. All of the sample content and modules will be active, positioned and ready to go.

Installing a template in Joomla is no different from installing any other extension. You simply need to navigate to Extensions -> Manage and click “Browse” to select a zip file with your theme.
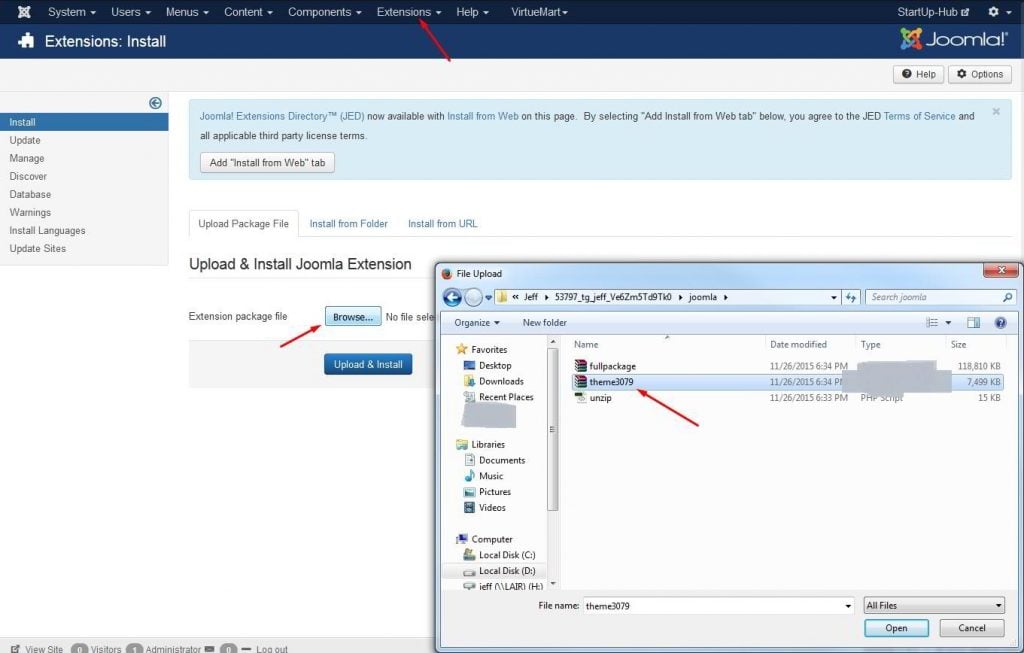
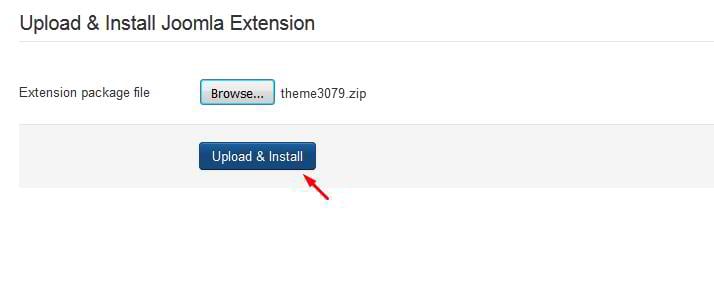
Having selected the file, click “Upload and Install” to upload it to your system. If there are any extensions required by your theme, you can install them the same way.
2. Default Joomla templates
Joomla provides you with freedom to switch easily between templates. You can have multiple templates installed at the same time, but only one of which is active. In order to activate any of your installed templates, you need to navigate to Extensions - > Templates.
Locate the template you’ve just uploaded and click the grey star next to it to make this the default theme. Default templates will be marked with a gold star.
You might wonder why there are two templates marked as default on my screenshot below.
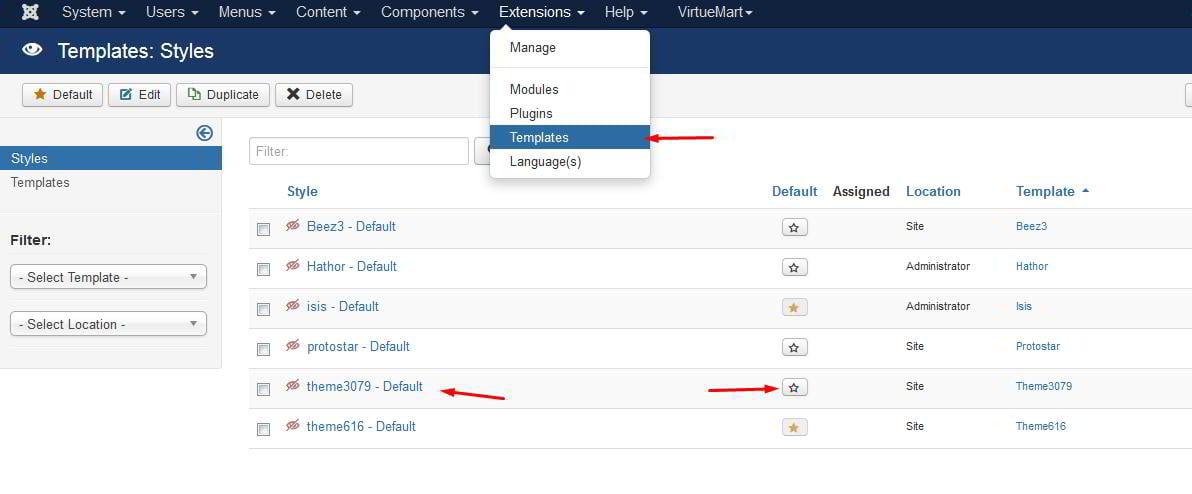
The thing is that, in Joomla, you have a template for your back end and for the front end. Switching between the templates for your admin panel won’t change any of the functions, but will alter its look slightly.
3. Sample data content
Before you make a commitment to any template provider by buying their product, make sure that it comes with sample data and that you will be able to recreate all the features and layouts of the stunning design they show off, without too much effort on your own site.
Before purchasing a theme it’s recommended getting in touch with the company representatives to ensure your future theme has proper documentation and the demo content included. You can check our guide "How to choose the right Joomla template".
The reason why it’s so important is that with sample data installed you don't build it all yourself, but just fill in your content replacing the dummy text and sample images. For example:
If you want demo layouts and content to display on your site after installation, you need to follow a different installation algorithm. I will recreate the theme from the screenshot above on our testing domain to show you the steps.
Most Joomla themes nowadays have a ‘full package’ or a ‘quick install’ package. In a nutshell, it’s a zip file that contains all the files required to install the theme to look just like the demo of the template you purchased. What you need to do is upload it to your hosting file manager as a zip file and unzip it there. It will look like this:
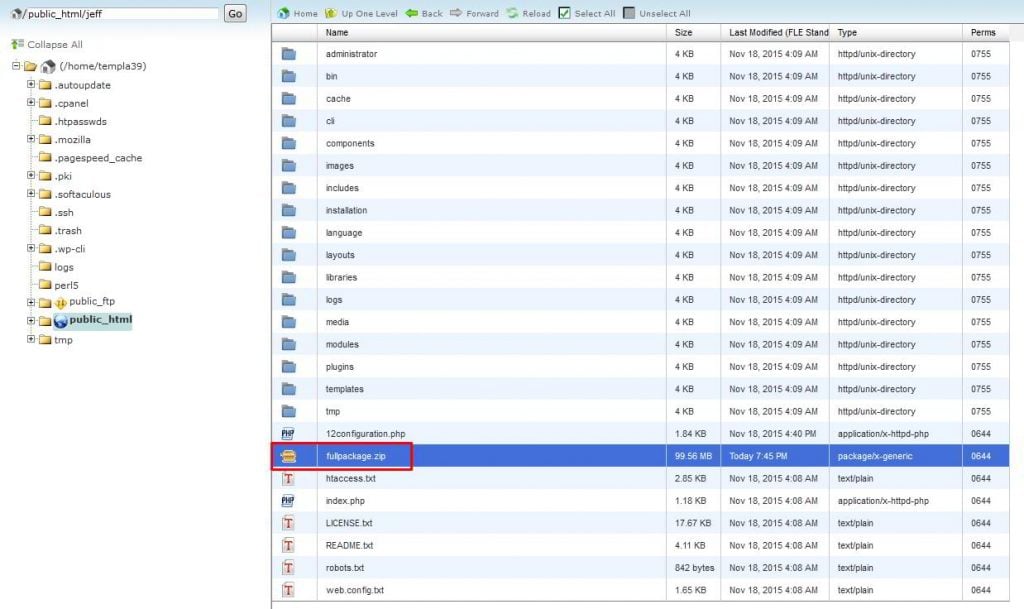
The files around the fullpackage.zip are the ones I extracted from it. Now you simply need to follow the installation steps from our guide "How to install Joomla manually" to do it properly.
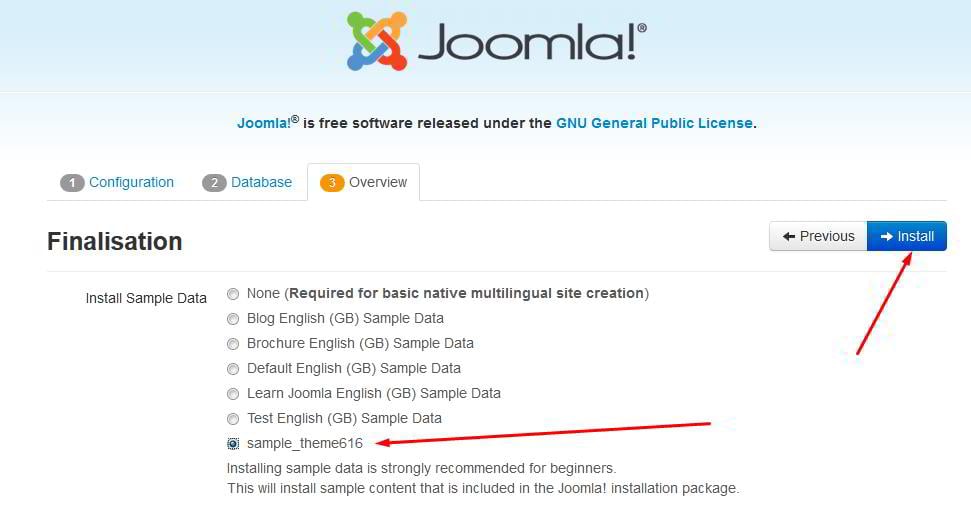
Follow it up to the step where you need to select the sample data. Choose your theme rather than default ones to install on your site. After that go for the “Install” button.
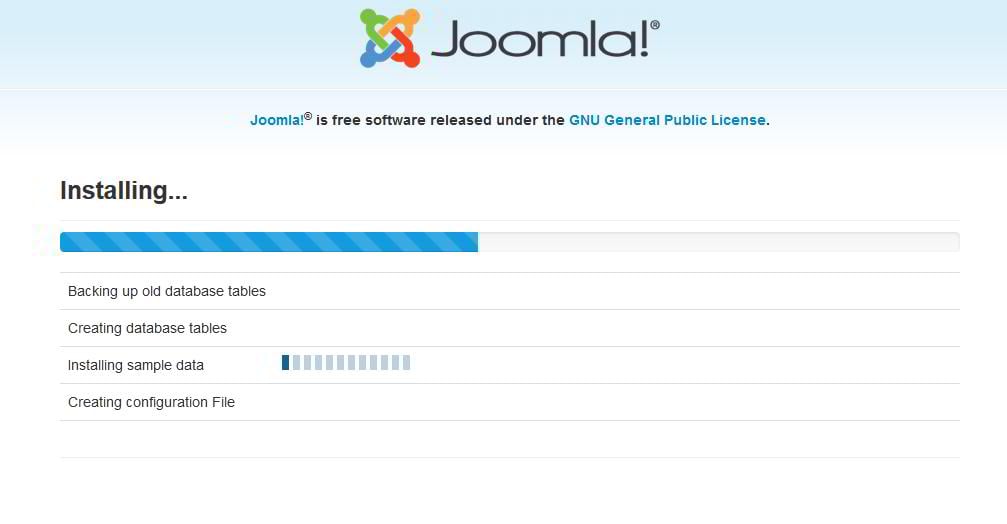
It will start the install. No worries, it shouldn’t take long.
Once the installation is done, the only thing left to do is to check your site’s front end.
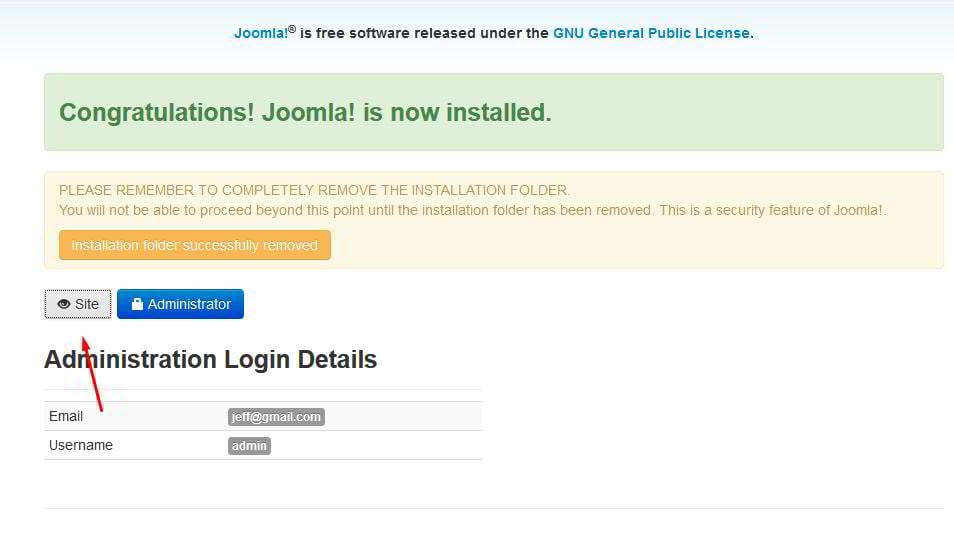
There you have it installed:
Now you can log in to your admin panel to fill it with your content. That wasn’t hard at all, was it? Now you can choose the perfect website template for your needs and test it out.
We’ll be glad to hear which type of Joomla theme installation you prefer and if you have anything to share on the topic. Feel free to use our comment section below!