


What do you do when you want to buy something? If you are like most people, you probably read product reviews to compare different options and choose the best one. The logic is simple: people trust buyers more than the seller because he is an interested person. And if so, the best thing you can do to increase sales is to show positive customer feedback. But how do you implement customer feedback on the site? So that they look beautiful and attractive? From now on, you shouldn't worry - the decision is simple and already here - it’s JetReviews plugin.
With this WordPress plugin, you can add reviews to the Elementor-built pages via the post meta added to the post and page beforehand. In addition, you can form review data from zero with the widget’s help - this option can be found in the list of all the existing ones.


Many website owners or bloggers often underestimate the potential of such a marketing tool as user feedback. However, the opinion of people influences the possible client no less than the numerous ratings do. So, if you regularly add detailed products or goods reviews to your website, you can use JetReviews to display the product - this will make it more attractive for SEO. Besides, if you try using this plugin, you won't lack any additional element to form or showcase your reviews. Let’s look at its features:
- Rich Style Parameters
It offers you many style options with the ability to customize nearly every element of the block. - Various Ideas of Rating Showing
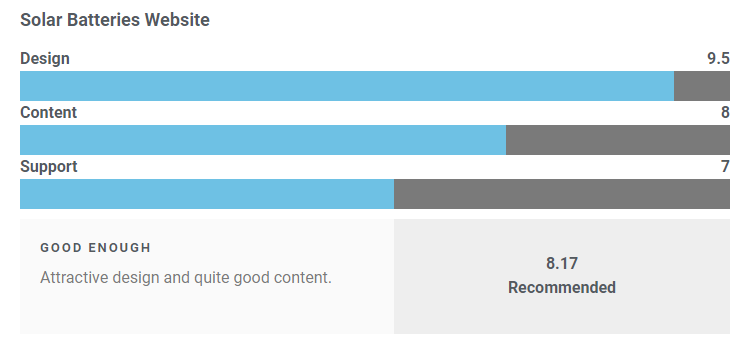
Showcase the rating values in the different formats including stars and bars for them to be more demonstrable and appealing! - Totally Responsive
Customize the components of the block for all devices you need via altering their dimensions to fit various kinds of screens. - Simple and Intuitive


And the main thing is a requirement of no programming knowledge - reviews are easy to add via pulling the Review widget to the necessary place on the page!
Have any doubts? Follow this link and use the demo version by yourself - try once and enjoy for a long time.


Adding Reviews from a Dashboard
Let’s master a skill to add reviews via the meta boxes from the WordPress Dashboard.
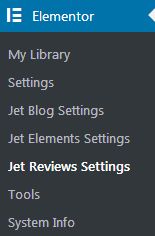
Before doing that, don't forget to set up and enable Elementor and JetReviews. After that, your first step will be going to JetReviews Settings tab at Elementor section in WordPress Dashboard.

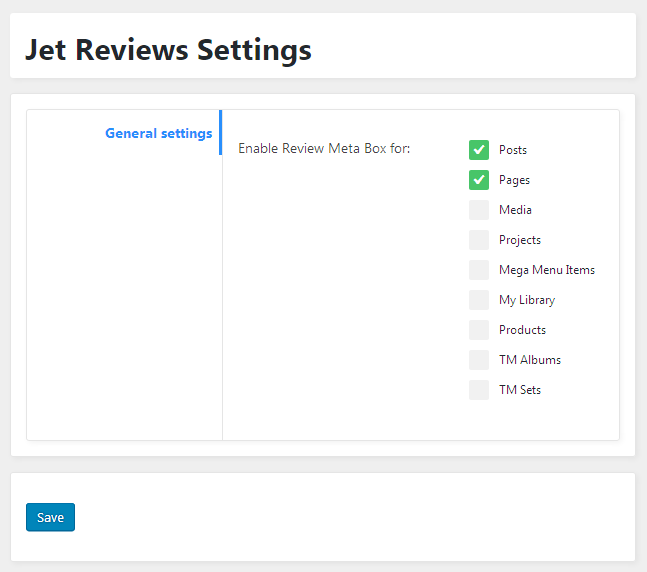
After the settings window opens, activate the Meta Box for Posts and Pages or other post types you need and save changes.

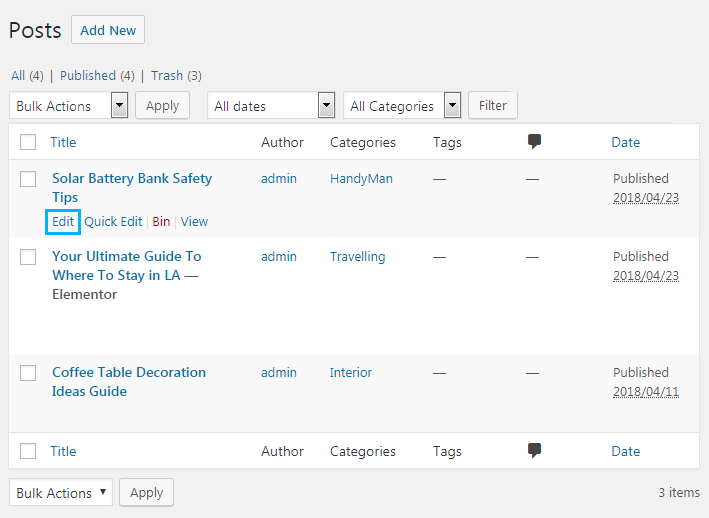
Then follow to Posts window and press Edit under the post you want to supplement with reviews.

Scroll a mouse wheel down the page and place the JetReviews block.

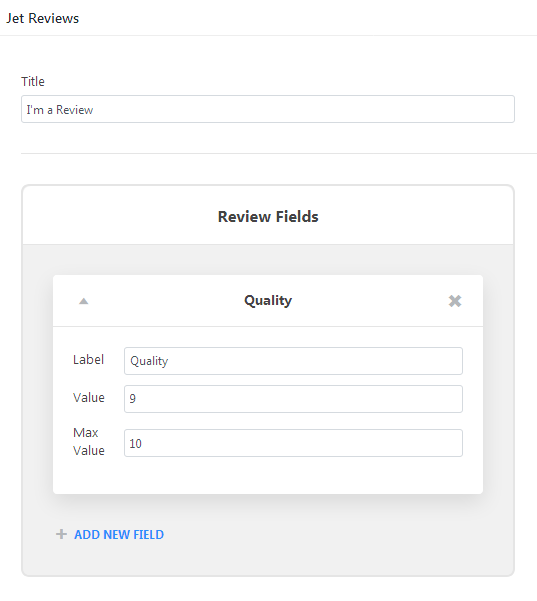
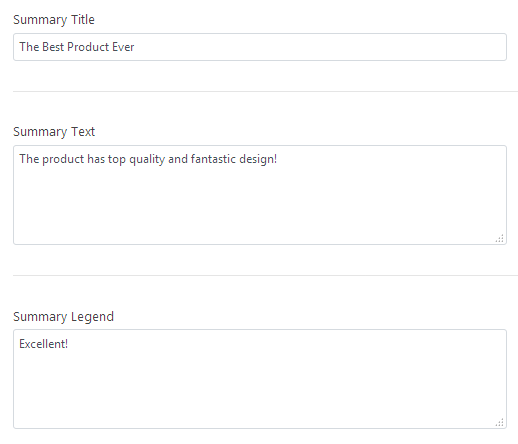
The next step is completing the fields. Name the Review block in the Title field. Summary Title is needed for your review short description, and Summary Text for its explanation. In the end, Summary Legend will contain the text popping up above the summary value.

Higher on the page, you'll find Review Fields block where you can append the necessary quantity of fields for reviewed characteristics.

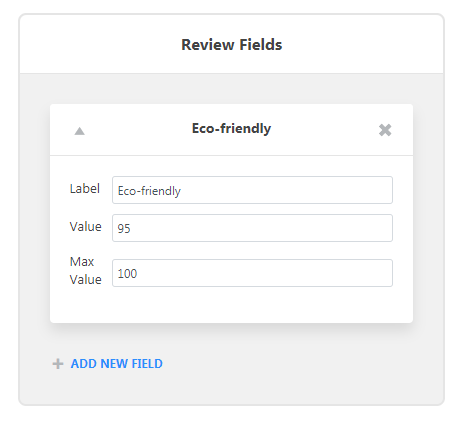
There are three ones to complete:
- Label (for the name of the characteristic you are going to involve in the review)
- Value (for a certain characteristic)
- Max Value (the highest value of a certain characteristic)

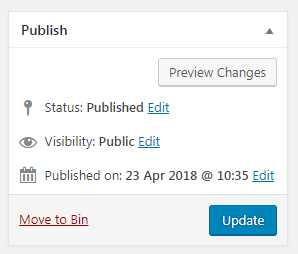
To save changes, press Update, and the pre-built review meta for the post is ready. You can apply it to the post via Review widget when you select Post Meta in Review > Content > Content Source dropdown list in Elementor editing page.
Review Widget Content Block: enabled and modified
If you want to enable Review widget to Elementor and modify its Content Block, just follow this guide’s steps.
First, press Add New Section, and then choose the structure and pull Review module.


You will see a preselected layout, which can be modified.

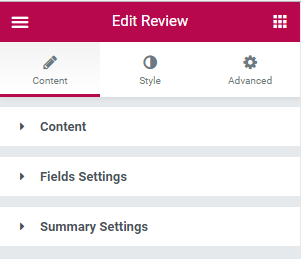
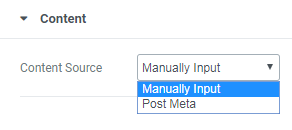
Go to Content block and find Content Source parameter. Pick one of two variants: Manually Input or Post Media.

Manually Input Option
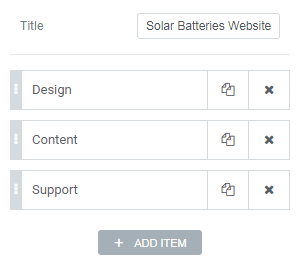
After choosing Manually Input parameter, there will be several fields to complete. Fill the Title section with the full name of the widget, showcasing on the website in future. Items option, with the ability to append or delete, will help show needed characteristics as the bars or rating categories.

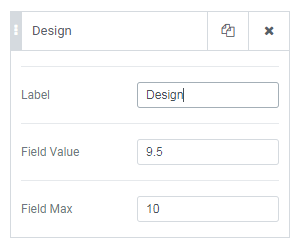
All added Items have their own fields to complete:
- Label is for a title of the category
- Field Value is for a certain value of a given category
- Field Max contains the highest value of a given category

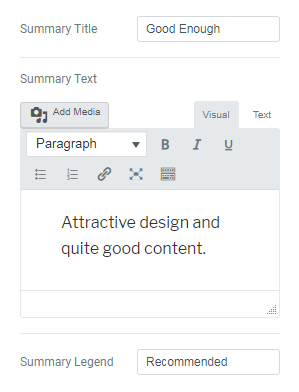
The next step is completing the Summary Title field for the review summary. Then, proceed with Summary Text and Summary Legend, and you're done.

Look at the result here.

Post Meta Option
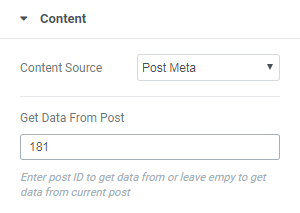
If you've chosen Post Meta Option, the next parameter you'll have is Get Data From Post. Set here the Post ID so that it would be easy to receive all the needed data for the widget.

Fields and Summary Settings
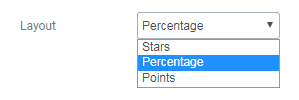
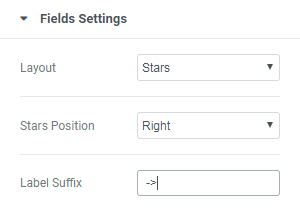
Go to Fields Settings to modify the parameters. Layout will give you variants for showcasing the value of your rating.

When choosing Stars variant, you’ll get such parameters as Stars Position with Left or Right options and Label Suffix.

When choosing Percentage or Points variants, you'll see the next:

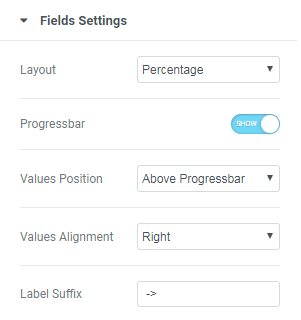
- Progressbar – showcases the rating in the progressbar format
- Values Position – places the value above the progress bar or within
- Values Alignment – if the value is set above the bar, you can choose its side - left or right
- Label Suffix – append some text to the present item label
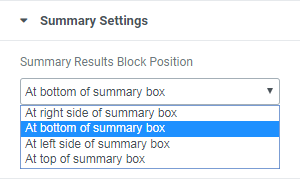
After that, find Summary Results Block Position in Summary Settings section and choose a position with the Summary showcased from a dropdown list.

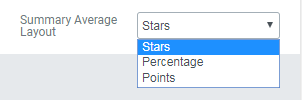
The last step is Summary Average Layout parameter, where you can pick any layout of Summary Average value you like.

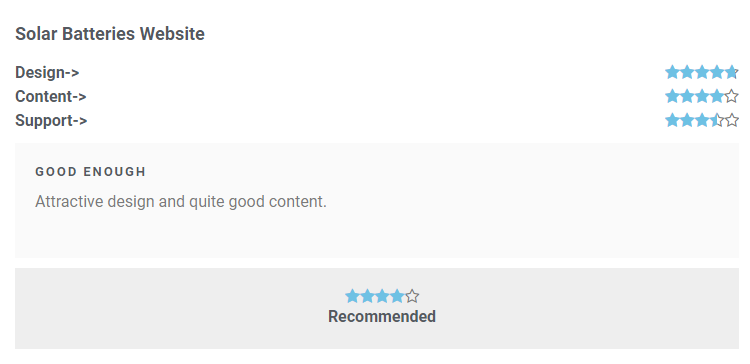
And voila - look at our creation below.


Read Also
JetElements: Build a Better Website With Our New Elementor Add-on
How to Create a Countdown Timer with Elementor Page Builder