- Pages tab
- Widgets toolbar
- Choosing between desktop, tablet and mobile layouts
- Design tab
- Settings tab
- Ordering customized MotoCMS template
In the previous lesson we’ve shown you how to choose a MotoCMS 3 template and a domain name for the future website. In this lesson we’re going to show you the MotoCMS 3 Admin Panel. If you’ve done all the steps from the Lesson 1 correctly, then you will have a link on your mail to the template trial period activation and to the trial account we’ve created for you.
Make sure you confirm the template trial activation and only after that log in to your Moto CMS Trial Account.
That’s how the trial account looks like from the inside:
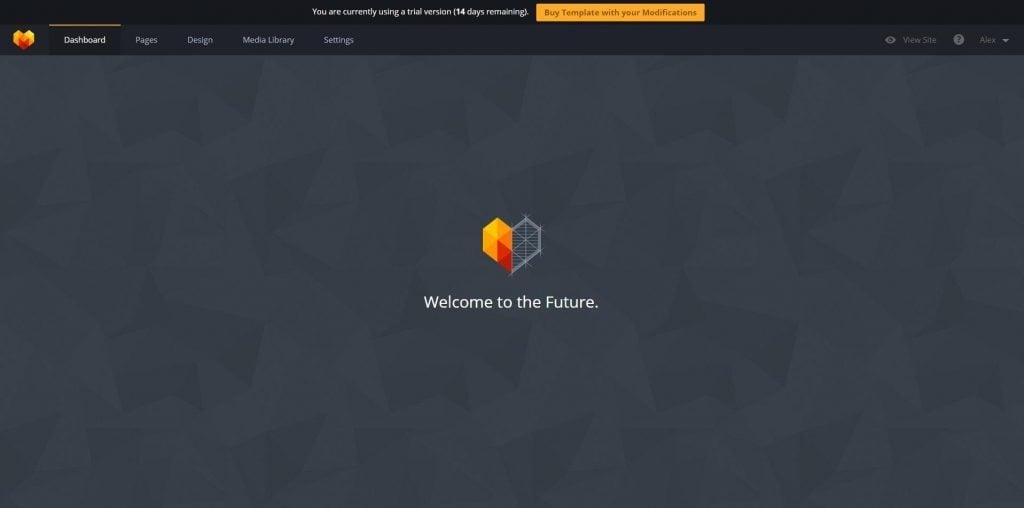
It has several tabs with the help of which you’ll be able to customize the chosen template.
Pages tab
After entering the Pages tab, you will see the template that you’ve chosen for the trial period. The main difference is that now you can edit it however you want, customize all the elements and change the texts according to your needs.
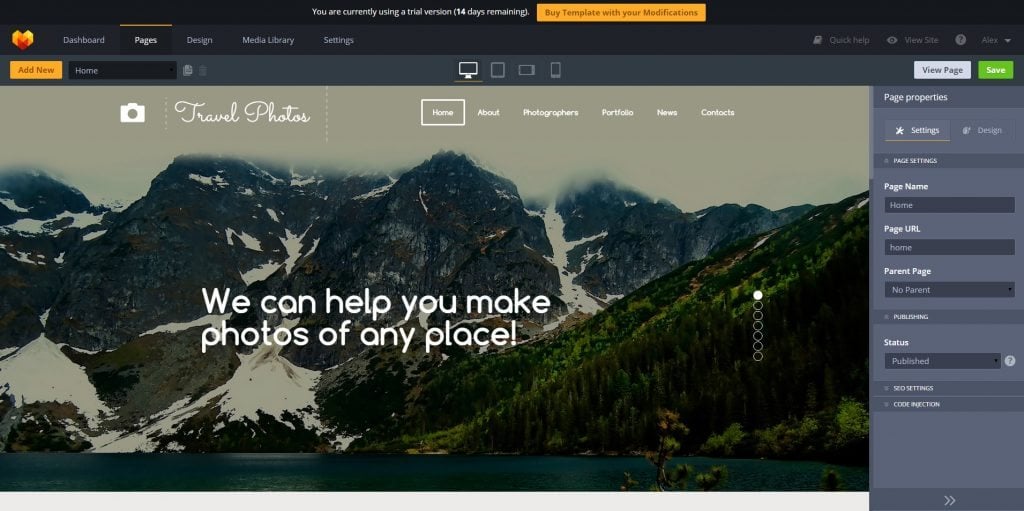
Above the layout of the template there is a listbox with the pre-designed pages. You can click on it and open the layout of another page.
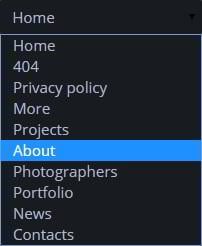
Just click on the page name and you’ll see the layout of the selected page.

You can duplicate the page, delete it or set as a home page. These options are available for any page.
Widgets toolbar
If you click on any element on the layout, you’ll see a toolbar on the left side. It includes a lot of widgets with the help of which you can add more functionality or re-design the entire page. As you scroll down the toolbar, new widgets will appear.

Choosing between desktop, tablet and mobile layouts
To make sure your customers are satisfied with the look of the site across multiple devices, you should make a responsive design for all devices:
- PC
- Tablet
- Mobile device (horizontal)
- Mobile device (vertical)
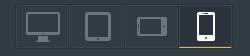
The template is responsive from the start, so when you add a new page, the system immediately creates and optimizes it for the smartphones and tablets. By clicking on the appropriate icon you open the page with a particular screen resolution.
Make sure you saved your customizing progress by clicking on the “Save” button in the top right corner, otherwise the progress will be completely lost.
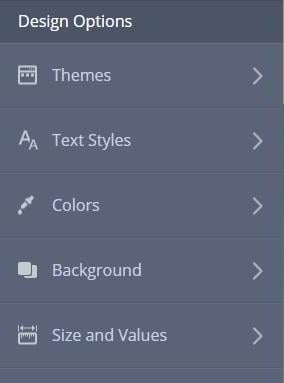
Design tab
If you want to change the appearance of your template, then you should enter the Design tab. It includes options that will help you manage your styles, colors, backgrounds and spacing of your future website.
Settings tab
Using the settings in this section, you can synchronize your MotoCMS 3 template with Google Analytics and Google Webmaster Tools, integrate your mail and Disqus account, change different website settings, such as Name, favicon, language etc.
You can also check for the updates of MotoCMS.
Open the Analytics section:

Here are two units - "Google Analytics" and "Google Webmaster Tools".
"Google Analytics" unit has the field "Tracking ID". Type in the code and you’ll be connected with your admin panel in Google Analytics. You need to log in to your Analytics account, copy your code and then just paste it in the appropriate field.
"Google Webmaster Tools" unit has the “HTML Tag” field. You should type the exact code from the Google Webmaster Tools account into this field.
Do not forget that for those settings, you should have a Google account!
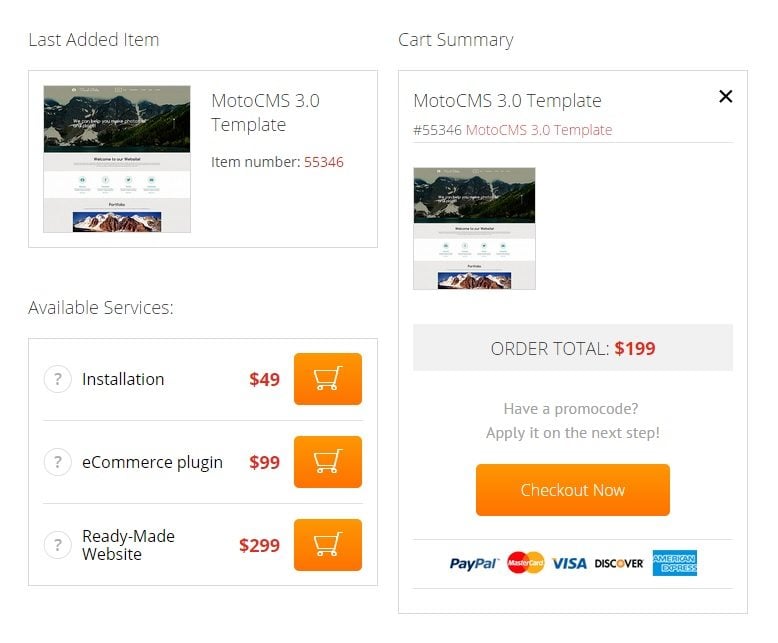
Ordering customized MotoCMS template
When you’ve done all the customizing you’ve needed, you can easily buy the template. At the top of the page there is a button “Buy Template with your Modifications”. Click on it and you’ll be redirected to the Cart Summary window, where you can checkout whenever you’re ready.
If you missed the beginning, please follow the link to the first lesson of the MotoCMS 3 study course.
Lesson 1. First step for creating your personal website with MotoCMS 3.