- How to work with the site menu
- Editing pages
- Setting up a page template
- Design of the page
- Why do you need Media Library?
- Adding and editing images
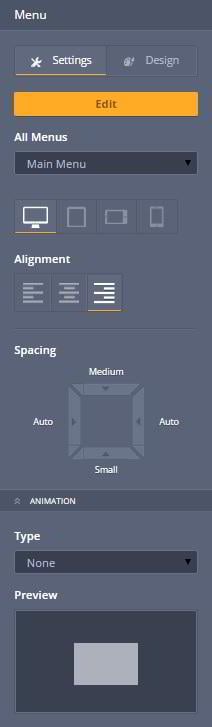
Editing website menu
You can add sections to the existing menu of the template or create a new one. To add sections to the existing menu, click on it. After that you will see its properties on the right side.
Click on the button "Edit" to start. The structure of the menu will open in a pop up window.
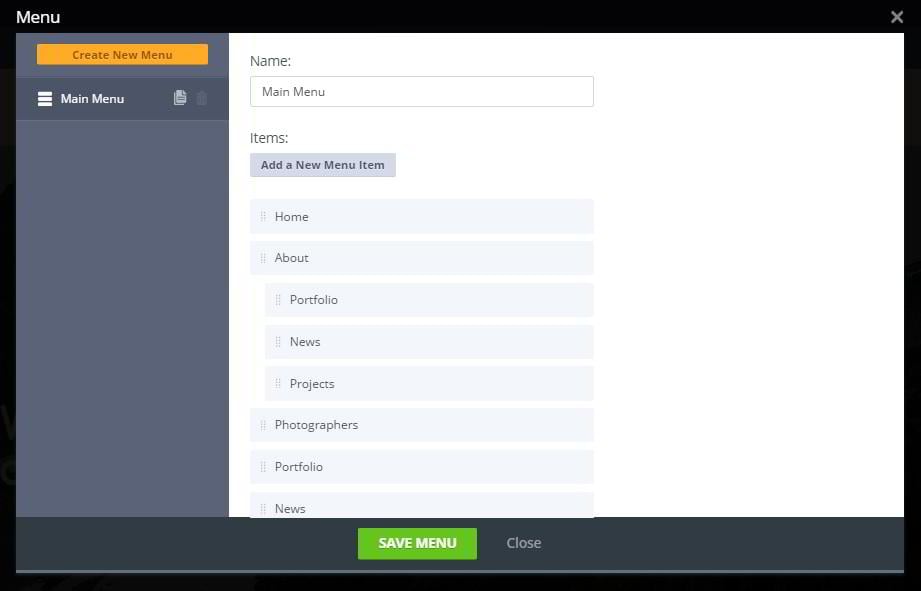
Here you can add new sections, pages, as well as create a new type of menu directly in this dialog box.
Setting up a page template
Let’s create a new page of our website. To do this, go to the properties of the page:
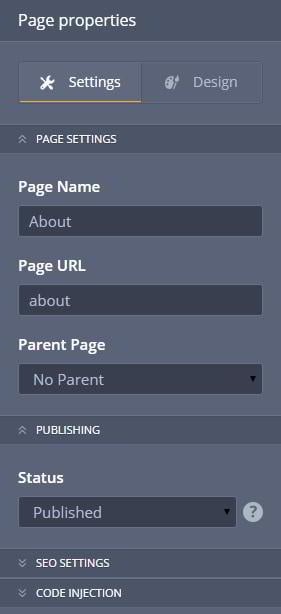
At first you need to specify the title of the page and the link – URL of the page. You can structure the pages as you wish, attaching several of them to the one – the parent page. Originally, a root level is displayed. You can set one of the pages as "parent" and then it will be easier to manage the structure of all pages when working with the admin panel.
As long as you edit and customize the page - it is the "Draft" status and is not available online. When you change it to "Published" status - the page will appear on the site.
Design of the page
This section of the page is divided into two units - layout and background. Let's start with the layout:
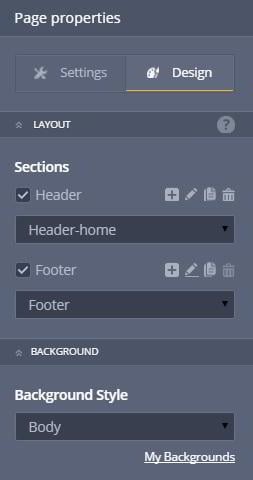
It can be standard and extended. Standard consists of three parts – the header, the content part and the footer.
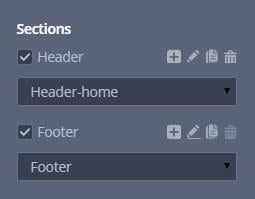
It is possible to change the top and bottom parts of the page. You can customize several variants of the page templates for yourself where the footer and the header are of a different width. It's very convenient – you’ve created a template once and then you just create other pages with it.
Working with the page background
You can fill your background with a color or set some image as a background for the page. All the changes that you’ve made with the background need to be saved as particular templates with their own names.

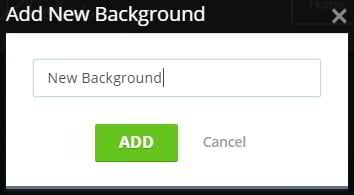
You can actually create a completely new background and define all its properties.
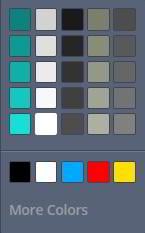
Initially, there are five sets of colors, each one has 5 shades. There are also five other variants of additional colors.
If you need to put an image instead of a monochromatic background, you should add it to the media library first. To do this, press “+” button near the “Background Image” text and upload the image from your hard drive. It should be of the appropriate size and quality, of course. Then select the desired image, click "Apply" and that’s all!
Media Library
Media Library is a tool that allows you to work with the media files (upload images to the website, video and other media content). It is very convenient option for storing and publishing files on the website pages. Media Library functionality is quite simple and allows you to work with the files, structuring them into the folders.
Working with Media Library files
Media Library is a place where you can upload and save files in order to use them later on the site.
To upload the audio, video or image to the library, its maximum upload size should not exceed 2 MB.
Use the button “Upload” to gather all the necessary media files in your library.
To add files to your library, you can simply drag them into the browser window or use the “Choose Files” button. After the successful uploading, system will notify you with the following message:
- Here is a list of supportable file formats:
- Images - *.jpeg, *.jpg, *.png, *.gif, *.ico;
- Audio - *.mp3, *.mp4;
- Video - *.swf, *.avi, *.mp4;
- Archives and Other - *.zip, *.pdf.
Media Library Settings
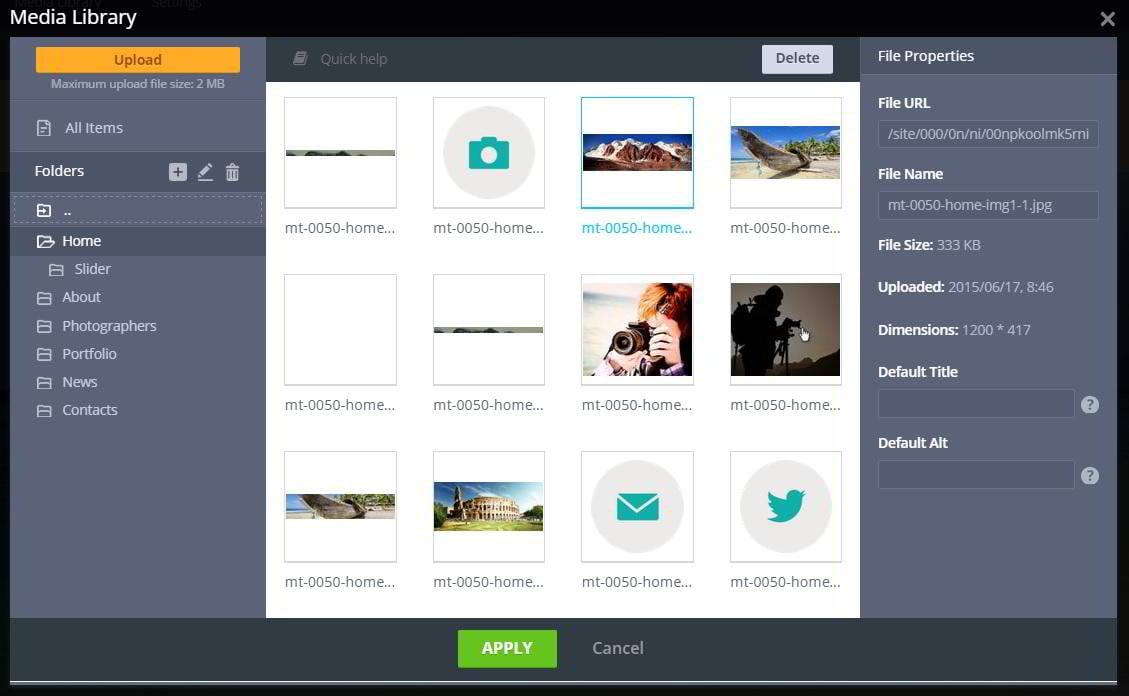
Each file has its own properties. Media Library displays full information about the uploaded file – date of uploading, size, type, dimensions etc.
File URL - path to the file on the server;
File Name - name of the file;
Default Title - title of the file that affects SEO and can be changed in the template control panel.
Default Alt - visitors will see this text if the browser blocks possibility to preview images.
You can use filters to search for the appropriate files in the Media Library. Here are they:
- Displaying all the items;
- Displaying only videos;
- Displaying only audios;
- Displaying only documents;
- Displaying only archives;
- Displaying other.
In fact, you can combine some of those filters, i.e. to search for images and documents only, select the appropriate filters. In this case, videos and other files won’t be displayed.
The root folder that contains all the files and folders added to library will be displayed by default.
To study our previous two lessons please follow the links:
- Lesson 1. First step for creating your personal website with MotoCMS 3
- Lesson 2. Overview of the MotoCMS Admin Panel