- Setting up the widgets on the site:
- Working with video
- How to add a map to the site
- Adding social media buttons
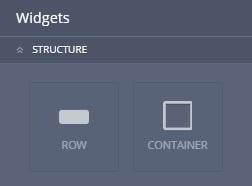
- Necessary widgets:
- Container
- Row
Adding video with the Video Widget
The Video widget allows you to embed absolutely any video on the site from popular video sharing services like YouTube and Vimeo. You can also upload video from your local computer. In fact, there’s no need to look for the alternatives of adding video to the website, Video widget has all the necessary options for better editing: URL, spacing and other.
Video URL
It’s an option that helps you add any video from YouTube or Vimeo if the URL is valid.
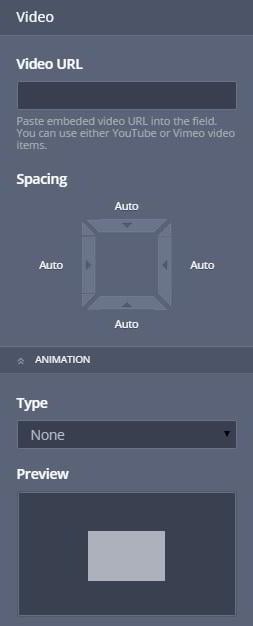
You just simply need to paste video URL into the field. If the URL is invalid, the following message will display: “Incorrect URL”. Length of the URL should not exceed 200 characters.
Google Map widget
It is very easy to embed Google map on the site via special widget. With its help you can publish a roadmap for the customers, panoramic picture of the street etc.

You can simply edit Google map. To do this, several options are available for you: address, zoom, height and spacing.

Address
In this field, you need to type in the address, as well as country and city. When you enter this data, widget will automatically determine the location and show it on the map.
Zoom
You can set the size of a map on your own. The minimum value is 0, maximum - 20.
Height
This parameter allows you to set height of the widget on the page. The minimum value is 100 pixels, maximum - 5000 pixels.
Social Media Buttons
Social buttons serve as a free advertising of your site or article. Nowadays, people often share the information they like on their social networks pages. The more your content is interesting, the more users will share it.
Social Buttons Widget is designed specifically for the MotoCMS 3 site owner and helps him to avoid troubles when placing social media buttons on the website pages.
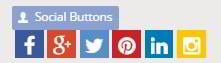
Each button will lead to the specified resource. However, the widget itself cannot be placed on the page. First you need to place a special container on the page, and only then drag social media buttons into it.
The widget itself has two sections: Settings and Design.
Settings
In this section you can define the URLs that will lead to your social pages.

For example: Facebook, Google+, Twitter etc.
You’ll be able to align social buttons inside the created container to the left, to the right or just center them.
The purpose of the Container Widget
This is the most important widget that simplifies the work with the widgets. Container widget is an indispensable tool for editing website pages.
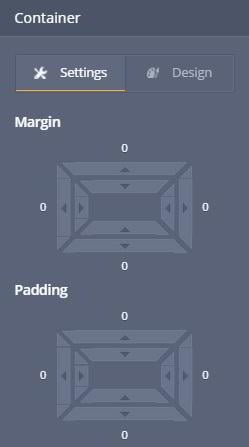
The widget has two tabs: Settings and Design.
Settings
Margin - clears an area around an element (outside the border).
Padding - clears an area around the content (inside the border) of an element.
To change the distance between the elements and the boundaries there is a special switch buttons. You can also change the distance by typing the amount of pixels (px) you want.
Design
Here you will find tools for a better customizing of the widget.
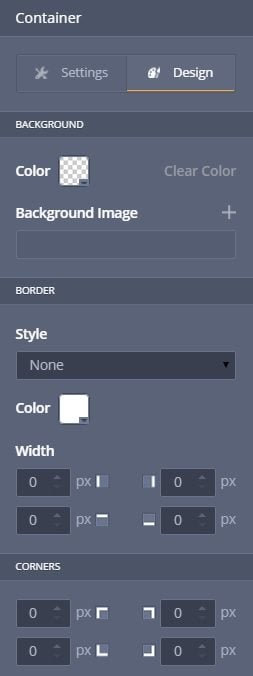
Background is an option that will help you change the appearance of the Container widget. The default background color is transparent. To change the color, use the color palette. If you want to use an image as a background, press the "+" button and select a new image from the Media Library.
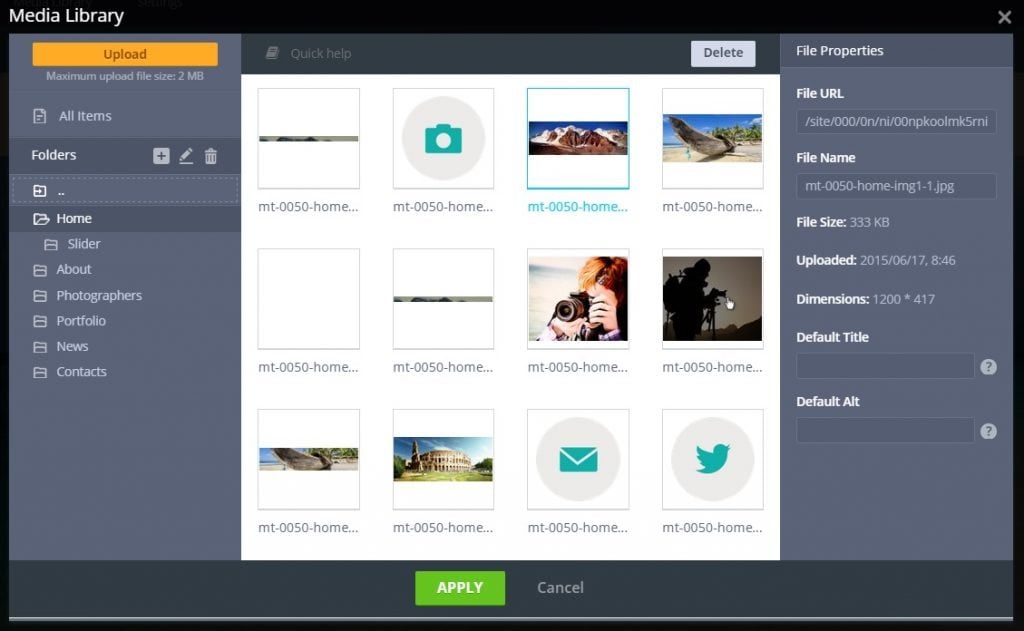
When the image is uploaded, you’ll be able to align it, position as you wish or repeat if needed.
The purpose of the Row Widget
Row is a very important widget for the site too. Its purpose is to place a number of other widgets on the MotoCMS 3 site. Responsive layout can be achieved thanks to the Row widget. Design styles are not available here.
Depending on the widgets that are placed inside the Row widget, its height can vary.
The Row widget can have a fixed size or fill the full width of the page.
The Row Structure may have a single or several columns. The maximum number of the columns is 6.

All columns are of the same width, except the layout with the five columns, where the first three columns are of the same width, and the last two have a different one.
You can simply add the text to the Row widget by dragging the desired text block.
The columns are separated with dashed lines. To delete the unnecessary row, just click on it and press Delete on the keyboard. But remember, deleting columns in the Row widget is an irreversible action.
Well, now you know the basics of working with the MotoCMS 3 admin panel. We hope that you will make a lot of beautiful and comfortable sites using this content management system. Good luck in launching your project!