The last time I checked, the year was 2016, which means even your mum has a Facebook account. Whether you’re going to add her to your friends' list or not is totally up to you, but here’s a Facebook must-do that you ABSOLUTELY NEED to take care of: create an account for your future business.

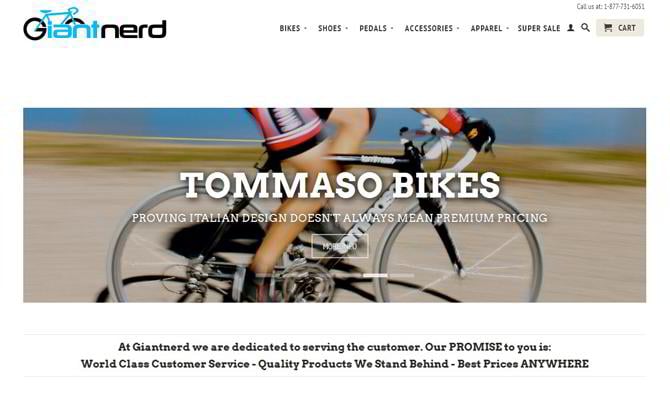
Many companies chose Facebook as the main channel of promotion and achieved success. Who says your startup can’t join their ranks? There are many case studies that prove the advertising power of Facebook. As an example, let’s focus on the case of Giantnerd, a bicycle and accessory supplier. Here’s what Facebook brought to this company in only 4 months:
- 3,300% increase in traffic;
- 250% increase in conversions;
- 220% increase in user sign-ups;
- 100% increase in revenue.
The CEO of Giantnerd, Randall Weidberg, says Facebook is the most successful form of advertising among all the others they tried.
The figures are impressive and may even seem unbelievable for those of you who’ve never thought of Facebook as of a promo channel. But they are true. OK, if you are a skeptic and don’t believe your startup will get the same, let’s halve those figures. They are still good for such a short period.
So, what’s holding you back from creating a business page on Facebook? It’s free and quick. Let’s just get down to it. Follow this 10-step guidance to create the page that will convert.
Step 1. Click “Create Page” in the sidebar menu of your personal page or click here.
Step 2. Choose the type and category of your page.
First of all, you will need to decide on the type of your business page. There are currently 6 types to choose from:
1. Local Business or Place. Yep, this one is for brick-and-mortar businesses. Should you choose this one, be sure to specify your address details such as a street, city, state, zip code, and phone (don’t worry, Facebook already knows all that stuff).
2. Company, Organization, or Institution. If you’re going to sell your products online (without giving people an option to visit you in person), opt for this type. Also, this one is awesome for companies with dozens of branch offices.
3. Brand or Product. Choose this type if you want to launch a brand (like Apple or Adidas) and sell your products through retailers.
4. Artist, Band or Public Figure. Planning to become a rock-star like Jim Morrison? Or maybe, a super-famous science guy like Bill Nye? Or maybe both — like Brian May? In any of these cases, choose this option. Also suitable for politicians, bloggers, writers, and the likes...
5. Entertainment. Opt for this option if you’re going to work with TV channels, magazines, concerts or entertainment services of some other sort.
6. Cause or Community. Want to cover the news about celebrities or, say, TV series? If the answer is “yes” use this type. As its name suggests, this option is meant to build a community of fans who will take part in discussions.

Every page type (except for Cause or Community) has a lot of categories. Try to be as specific as possible when choosing the category for your page.
You can pick a generic category if you can’t find a relevant one for your business. But you still need to use something specific or at least something that’s close to your niche. In case of Company, Organization, or Institution, people are more likely to search for “computers / technology” rather than “company” or “organization.”
Step 3. Add a short description and URL.
Describe your business project in a few short sentences. There is a 155-character limit for descriptions of this sort, so get creative and make sure you speak to the point.
Under the description, there is a field to add a URL to your site (if you have one). You can also add a link to your profile from any other social network, e.g. Instagram, Twitter, etc.
Step 4. Add a profile picture.
A profile picture is what will make your page recognizable among your prospects. So, use your company logo or your best photo. The picture will appear at the top of your page and as a thumbnail next your posts and comments.
When choosing an image, make sure it is square. If you use a rectangular image, Facebook will crop it to a square anyway. Its dimensions should be at least 180 x 180 px. Keep in mind that it displays at 160 x 160 px on desktops, 128 x 128 px on smartphones, and 36 x 36 px on feature phones (yeah, some people still use those).
Step 5. Add your page to Favorites.
To have an easy access to your page, add it to Favorites of your personal account.
Step 6. Choose the preferred page audience.
When starting a business, you must have at least a rough idea of who your potential customers are. Facebook allows you to filter your target audience by location, age, gender, interests, and languages. It doesn’t mean all the rest who don’t match your criteria won’t be able to find your page. It just means that Facebook will set a priority on the people you are interested in the most.
Step 7. Add a cover photo.
A cover photo is designed to support your profile image. With its help, you can deliver your business message visually, stir up customers’ emotions, etc. The recommended size of the cover photo is 851 x 315 px. When viewed on mobile phones, it gets trimmed on the left and right to 563 x 315 px. So, make sure that the main elements of the photo are in the center.
To get a cover photo, there are two ways to go. You can either hire a graphic designer or use a free image. Search for it in 30 free stock photo sources featured in this post. They provide creative images of high resolution, so you’ll definitely find the one you need. There are also many tools to create images for your social media profiles, particularly PicMonkey, BeFunky, Pablo, and Canva.
Step 8. Add a CTA button to your cover photo
A CTA button is an effective tool to bring visitors to your site or inspire them for any other action. Facebook has 11 types of buttons at present. You can choose buttons allowing visitors to send an email, sign up, make a purchase, play a game, watch video, etc. Your choice depends on your purpose.
Step 9. Fill in your page profile.
Now, add more details about your business to the About section. You can find it on the left side of your page, right under the profile picture. Mention the milestones of your company there, e.g. its foundation date, email, phone, awards, hours of operation, etc. You can also write a long description to reveal more details about your business. The information you provide will help you with Google ranking so that there would be more ways for prospects to reach you.
Step 10. Add more admins to run your page
You don’t have to run your Facebook business page on your own. It’s possible to distribute duties among other people. Click Settings above the cover photo on the right and then choose Page Roles in the left sidebar. Here are 5 roles you can assign, particularly admin, editor, moderator, advertiser, and analyst. At the very beginning, it’ll be easy to run your business page yourself, but later you may need some help.
As you can see, it’s easy to create a Facebook business page. We give you a week for this so that you could think all the details out. Results of your business promotion depend on the way you present your business. Don’t hurry up. The fact that the short description requires 155 characters doesn’t mean it will take you 5 minutes of your time. Be creative and attentive to details.
In our next letter, you will tell you how to generate content for Facebook posts that people will love. Stay tuned
Social Media Mistakes and How to Avoid Them