Lesson 5: How to upload HTML page to your hosting?
No matter which hosting provider you’re using you can still access your server via FTP.
- Open your cPanel, use search to find the FTP tool.
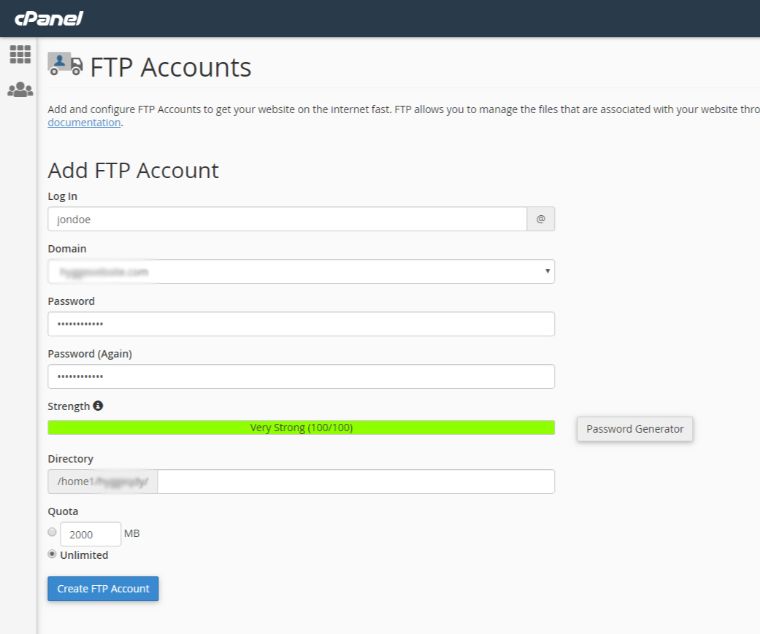
- Click on the FTP Accounts
- Click Create FTP Account and wait a few seconds until account is created;
- don’t forget to save your password, we’ll need it further.
- When it’s done your new account will appear under the FTP Accounts section:
- To get the setting for your FTP app click on the Configure FTP Client link;
- In the Manual Settings sections you’ll get following data:
- FTP Username: [email protected];
- FTP server: ftp.yourdomain.com;
- FTP & explicit FTPS port: 21.
So you’re almost ready to upload theme files to your server, the pre-last step is FTP app configuration. I recommend you using FileZilla. It’s the most reliable tool available. Configuration is extremely easy.
- Open the FileZilla app;
- Into the fields host, username, pass and port enter the data you’ve obtained in your cPanel;
- Click on the Quickconnect button.
- Wait until the connection is established.
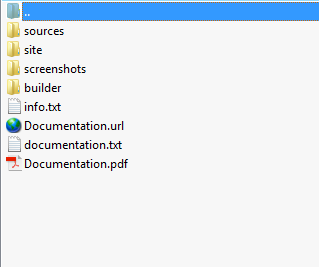
Now you’re ready to transfer theme files. If you open the archive with your theme, in our case that’s Intense you will see a bunch of folders
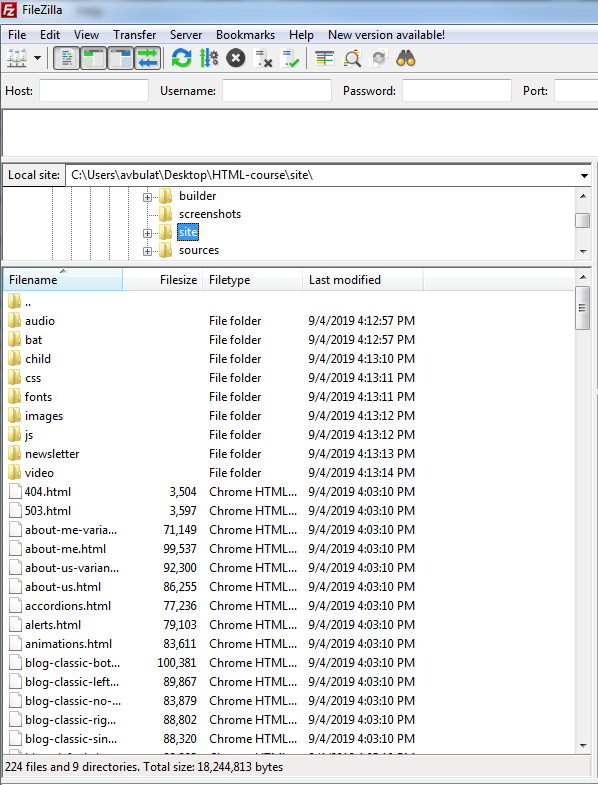
All theme files are located in the site folder. You need to unzip the archive with your theme anywhere on your PC, and then navigate to the same folder from the FileZilla app, so you could see something like this:
When you find the file you want to upload to your server just drag it over into the public_html directory on your server.
Public_html is the default directory where your website will live. It you want it to be opened via path yourwebsite.com/dogs/ than you need to create a directory dogs in the public_html directory.
Quick tip
You might want to hide .html extensions so your website visitors won’t even guess that you have a static website. In this case you can just a few lines to the .htaccess file.
You can find it using the file manager on your host either via ftp, it will rest in the root folder, somewhere near the /public_html folder.
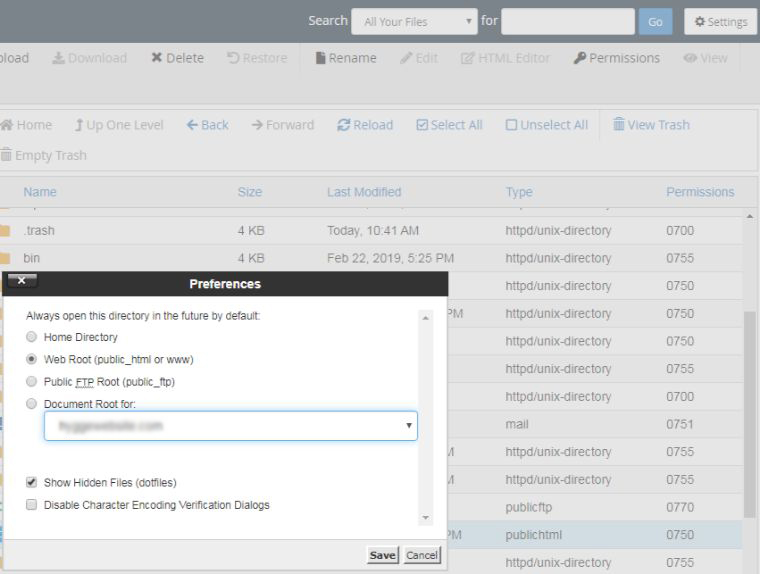
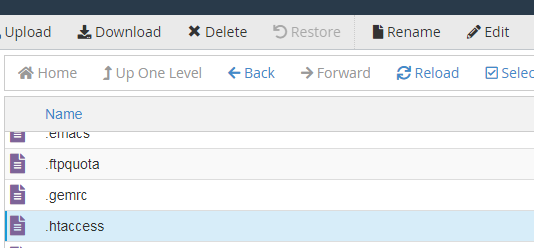
If you can find it probably that’s because dotfiles are hidden, press the Settings on top of your File Manager page and mark Show hidden files
When you find the .htaccess file click on Edit
and then add the following lines to the file:
RewriteEngine on
RewriteCond %{REQUEST_FILENAME} !-d
RewriteCond %{REQUEST_FILENAME}\.html -f
RewriteRule ^(.*)$ $1.html [NC,L]
That’s it, now when anyone visits your website they won’t be able to see page file extensions .html in page URLs.
This tutorial is a part of the "How to Build and Maintain an HTML5 Website?" free course.


