Lesson 4: WordPress Dashboard Review
This lesson is a part of the How to Build & Maintain Elementor WordPress Website? course.
Hi, everyone!
I hope that you managed to complete the previous step, and you’ve already logged into your Cpanel and WordPress website admin.
Let's roll.
In this lesson, we’ll run through the main section of the WordPress admin so you could understand where to install plugins and themes, or how to create a new menu.
This is what I’m looking at right now, it’s the WordPress login page.
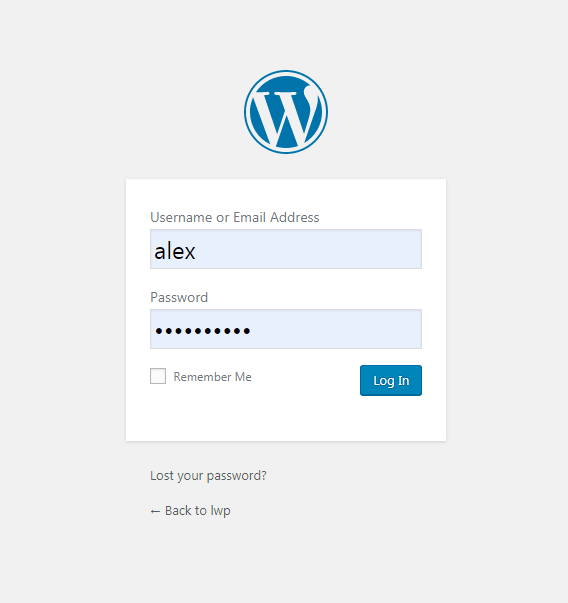
It’s accessed by adding /wp-login.php or /wp-admin/ to your website URL.
Enter your account credentials and click Log In.
This is what you will see when opening a newly installed WordPress...it’s so pure...
Dashboard
It’s the home page of your admin, between you and me, with the help of Elementor you can also modify the look of this page, but it’s a secret don’t tell anyone.
Posts
This section will contain all your articles and news.
Media
This section contains all images and videos that will be used on all pages of your website. By making minor alterations to your wp-config file you can allow uploading pdf, txt, docx, and files with other extensions.
Pages
This section contains all pages of your website, that’s quite obvious.
Comments
This section will gather hello’s from spammers, make that you install Akismet to filter spam from real comments.
Appearance
This is one of the most important sections of your admin, here you can install a new theme, perform basic customization via Customize section, edit widgets on your website, create/edit menus, and access theme editor (sensitive area).
Plugins
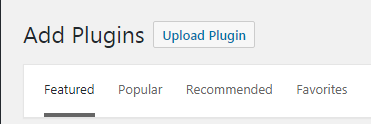
Using this section you can install/deactivate/delete the plugins. There are three possible ways how you can install a plugin:
- Click on the Add New and upload an archive with plugin files

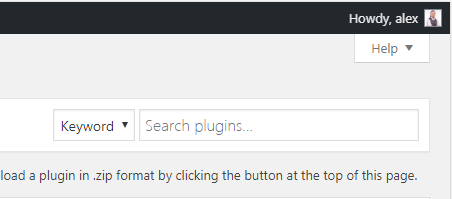
- Find on in the WordPress repository using the search field on the same page

- Using FTP connection and software like FileZilla to upload plugins files directly into the /plugins/ folder, but whoever does that? 🙂
Users
In this section you can create new users, thus allowing them to access certain sections of your website.
Here you can learn more about WordPress user roles and capabilities, you need to know this information in case you want to create an account for someone, but you don’t want them to be able to modify published blog posts.
Tools
When we install third-party plugins their additional settings can be accessed from this section.
Settings
This section contains the most important options that you can tweak to finetune your website.
To see WordPress admin in action you can check this walkthrough video with additional commentaries.
Comments in the video.
This is what a WordPress dashboard homepage looks like on a newly installed engine. As you can see it's running a WordPress 5.2.2 version, and Twenty Seventeen theme.
Now let's visit the Posts section, this where all your blog posts rest.
As you can see there are two blog posts there: "Hello world" the Public one, and "Here Goes The Title of Your New Post" one in the Private mode.
I've created the second one a few minutes ago, so you could have a look at a few blocks united in one post, a few paragraphs, images and videos.
Adding another block between two existing is pretty easy, just put a cursor at the end of the block and click Enter.
Right now I'll add another video block to the post by copying the URL from YouTube and adding it to the corresponding field in the editor.
Now let's update this post and check it from the front-end.
If we go back to the posts section we can use the "Quick Edit" option to make minor alterations to the blog post.
Here you can add a new Tag without having to open the editor.
It's really easy.
Now let's go to the next section.
The Media section contain all media files you've uploaded to the admin, currently there's only one upload image I've used in the test blog post.
If you click on the image you can all Alternative Text, change its Title, Add Caption or Description.
Let's go to the next section.
This is the section where you can create or modify all pages of your website.
Right now there are only three pages, let's edit the Sample Page.
As you can see, it was created using the Gutenberg editor, with its help you can add various blocks or modify existing ones.
Let's move on to the Comments section.
The Comments section will contain all the Comments your website users will publish under your posts.
Right now there's only one trashed comment, it's a default one.
Now I'll publish a new comment so you could understand what will happen when a new comment appears.
Here I'm opening the test post and posting a comment.
Now let's go back to the Comments section, we'll find my new comment on the All tab.
When hovering the comment we can see options we can do with it like, I'll just leave it as is.
Let's go to the next section - Appearance.
The "Appearance" is one of the most important sections in your dashboard.
On the Themes tab you can upload new WordPress themes either from your desktop or from the WordPress repository, or just use one of the preinstalled default themes.
Let's go to the Customize section. Basically it's a built-in visual editor that we can use to modify most important parts of your website like Header, Colors, Widgets, and so on.
When you make changes don't forget to press Publish either they won't be saved.
If you're using a premium theme right from the start the range of customization options may differ significantly.
Let's go to the Plugins section.
As you can see there are two pre-installed plugins: Akismet and W3 Total Cache, right now I'll show you how to install a new plugin.
Hit Add new, then type in the name of the plugin into the Search field, and then click on the "Install Now" button, I'll just install the Jetpack plugin. When it's installed the button text will change to the "Activate". When going back to the Installed Plugins section we'll find the Jetpack in the general list of plugins, here we can either "Activate" it or "Delete".
Let's go to the next section - Users.
Currently there's only one user in this test website, that's me. When clicking on "Edit" we can access the Profile page where we can add various user details.
The "Settings" section is another important part of the admin panel, here we can alter lots of things including the time, date, home page type, search engine visibility, permalinks(the URL structure) and so on.
End of the lesson.