Hello again! Are you ready to continue studying our course? Today we’re going to tell you a lot of necessary information, so let’s start.
Joomla module is a broad term. This can actually be any tool that Joomla has; the work of the Joomla engine is based on modules. Thus we can say with the confidence that it’s possible to create a Joomla site of any complexity - it all depends on which modules you use. Almost any tool in Joomla CMS is a module.
Step 1. Creating a new module
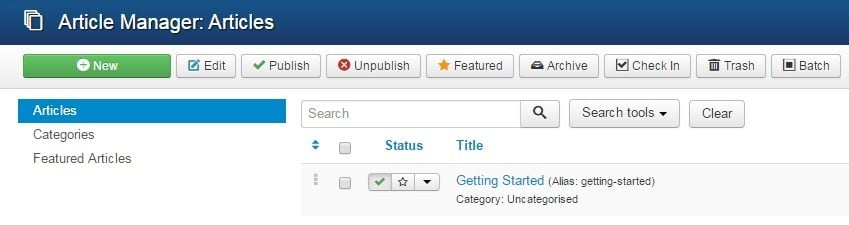
In order to create a new module or edit the existing one, you should go to “Extensions > Module Manager” screen in the top menu. Here you’ll see all the uploaded modules. Some of them may be published and displayed on the pages of your project, some of them may not.

Note that in the Module Manager, you can use a filter system that allows you to show the modules of a certain type, display only enabled or disabled modules etc. All of these options can be selected in the menu on the left side.

You just simply select the necessary type and then you customize it the way you want. You’ll also be able to specify a name, customize its displaying on the site, enable or turn off the module displaying, choose a module position in the template etc.
Step 2. Adding new articles on the site. Working with content
All the created content can be categorized, depending on the articles’ topics. When filling the site with the content, you should specify the section and the category in which the content will be placed. We recommend you to plan the site structure at first. But if you don’t want to do that, you can re-design it later without any efforts. You can find everything that’s related to the content in the top menu with the same name – “Content” .
If you still don’t know which categories will your site have, never mind. You can add them later and attach all the created articles to them.
So let’s create an article. To perform this, click the “New” button in the Article Manager. You’ll see a window with a lot of fields that all can be used to create a different content. In most cases, default settings would be enough.
In the “Title” field you should specify the name of your future article. We recommend you to create the articles using visual editor, but sometimes you must switch to HTML code – maybe you’ll need to edit something in it.
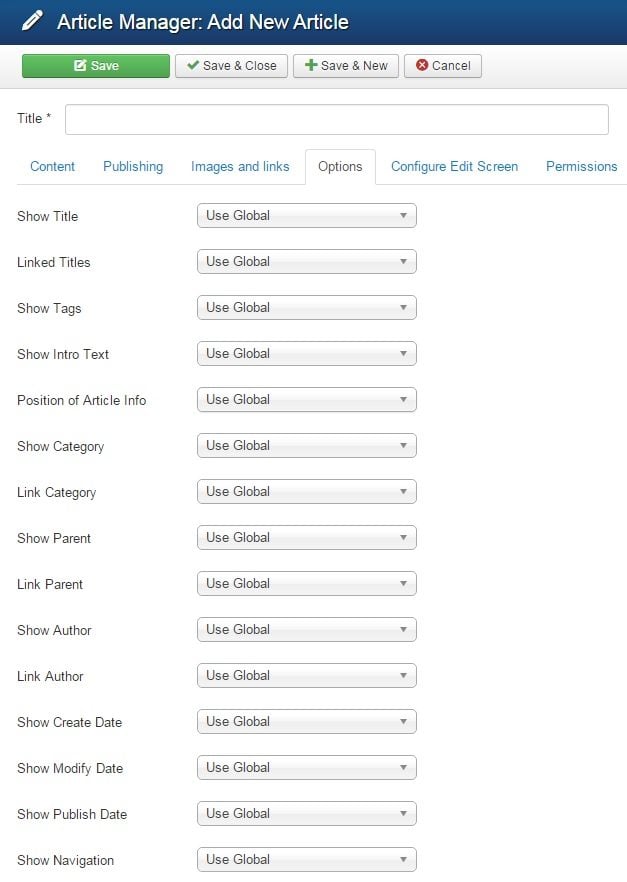
Step 3. Content options
Now let’s discuss how our content will appear on the site. Due to the flexibility of the Joomla engine, we can publish one article in a few ways.
- Creating a menu item. Then by clicking it, only one article will open.
- Creating a menu item in such a way, that all the articles from the definite category will be displayed.
- Publishing all the articles of the category that will contain our content.
Joomla has a specific tab for that purpose. Click the “Options” tab to see all the variants of publishing.
Step 4. Working with images
In order to add an image to the article, click the “Image” button below the main content window.

There will be shown a window where you can select the desired image.
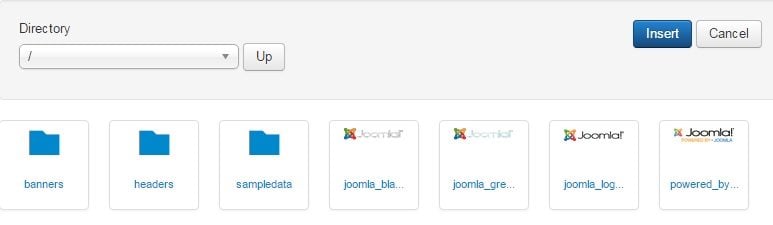
You can actually upload your own image as well. To do this, click the “Choose Files” button and add the image from the local computer.

The file will be located in the media library. When editing the content, you’ll be able to change the size of the image or align it. It’s very simple and convenient, like in any graphic editor.
That’s all for today. In the next lessons we’ll continue our studying and show you how to work with the Joomla plugins.