Today we'll learn how to change the admin logo in WordPress. When you login to any site for the first time for sure you pay the attention to the way your account page looks. Customizing the site visitor's accounts appearance is a good way to make your brand easily recognizable, that's why we'd like to introduce you a few simple steps that will help you expressing your website individuality.
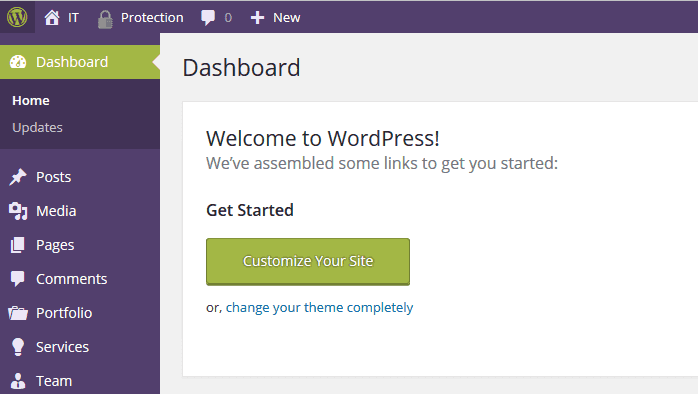
So, let's start with changing the admin logo on the WordPress admin panel page.
In order to replace this logo you'll need to define custom style rules, as by default it's set with the font icon, set in WordPress native css. Therefore first we need to make our custom stylesheet, named 'style.css' affect not only the site frontend but the WordPress admin panel design as well. This can be done by adding a small code to the theme functions list.
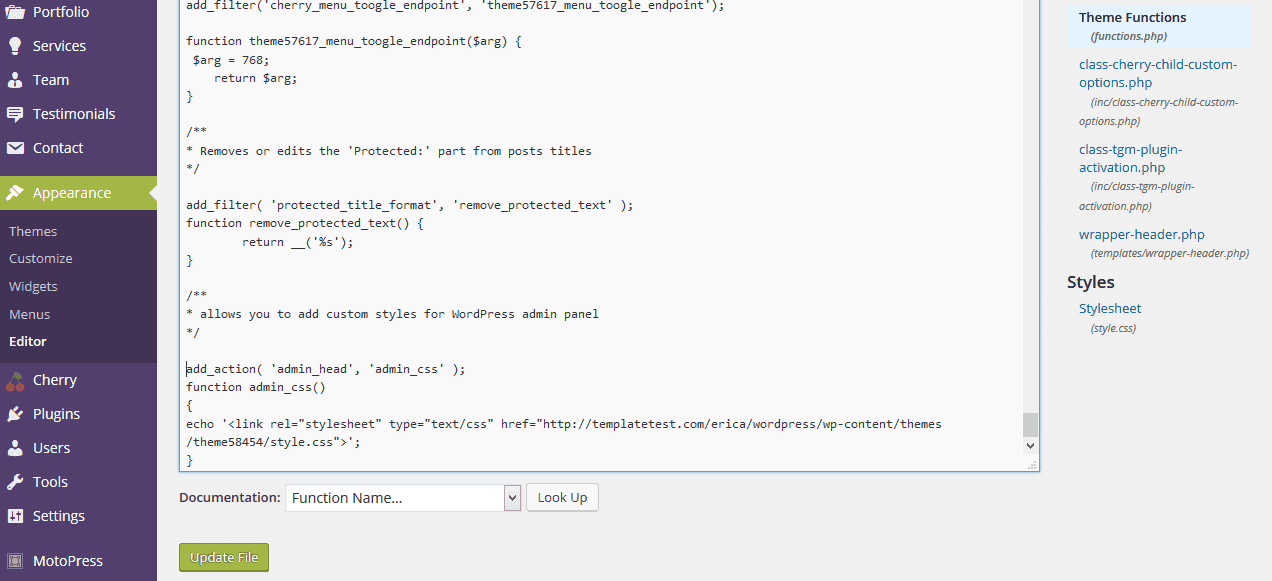
Open the Appearance -> Editor section to see the Theme Functions file, it's usually named as 'functions.php'.
Just copy the code, presented below, to the very bottom of this file and hit the Update file button:
/**
* allows you to add custom styles for WordPress admin panel
*/

add_action( 'admin_head', 'admin_css' );
function admin_css()
{
echo '<link rel="stylesheet" type="text/css" href="link-to-your-file.css">';
}
Here the words link-to-your-file.css should be replaced with your actual CSS file path, i.e., //example.com/wp-content/themes/theme_name/style.css. Feel free to check the example on the following screenshot:
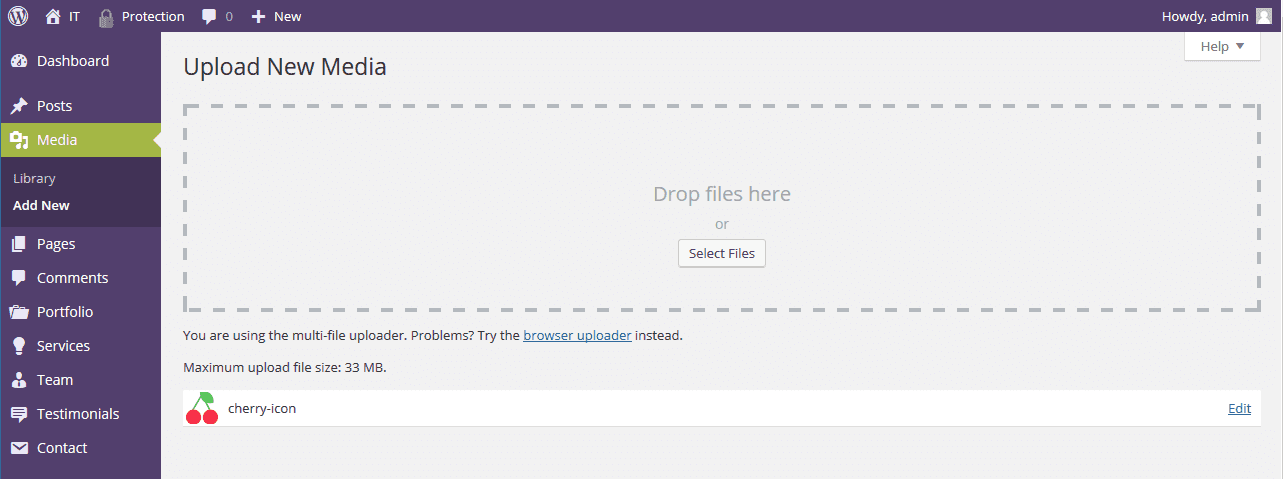
Now you're ready to proceed with your own logo adding, as the style file is already prepared. Let's upload your logo image to admin panel, this can be easily done at the Media -> Add new section by using drag'n'drop. There's no need to use large file, tiny PNG or JPG image with dimensions 35 x 35 px will work perfectly.
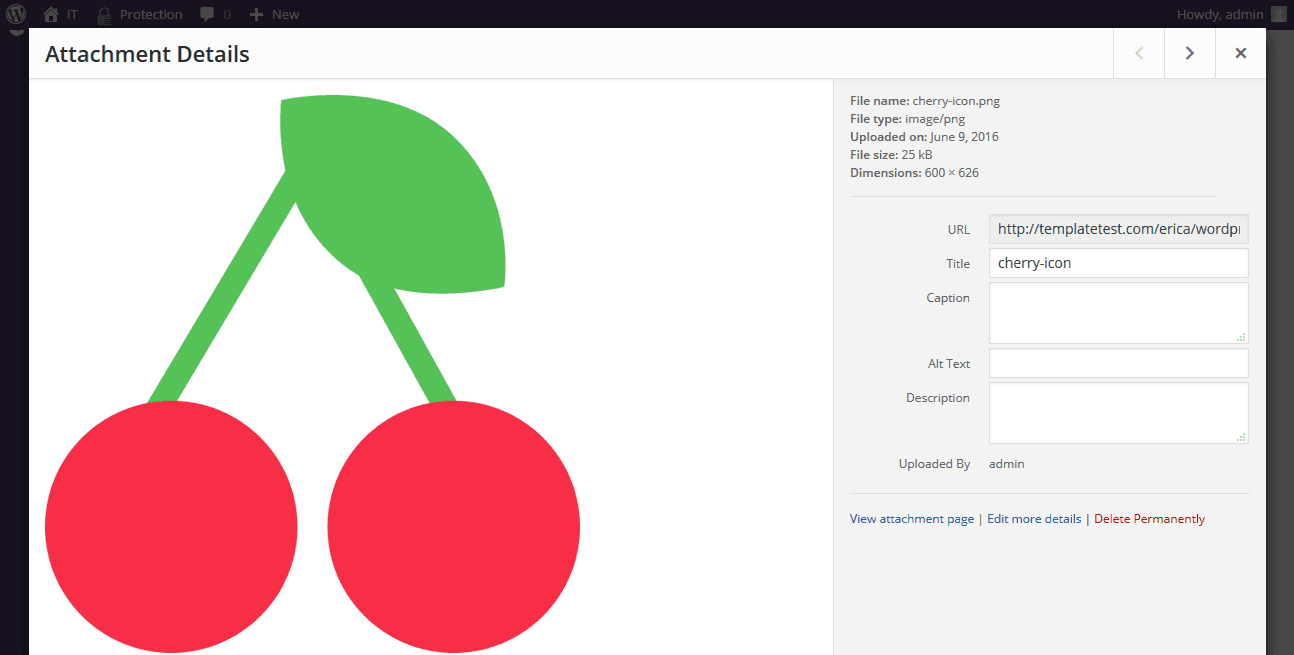
After the image has been uploaded, you can use it in your custom CSS rule, that will replace the default logo with the new one. Open the Media -> Library section and locate the recently uploaded icon. Then click on it to see the image details in a pop-up, and copy the image path from the URL field at the top right side. Once this is done, you're fully prepared to add the rule for logo change.
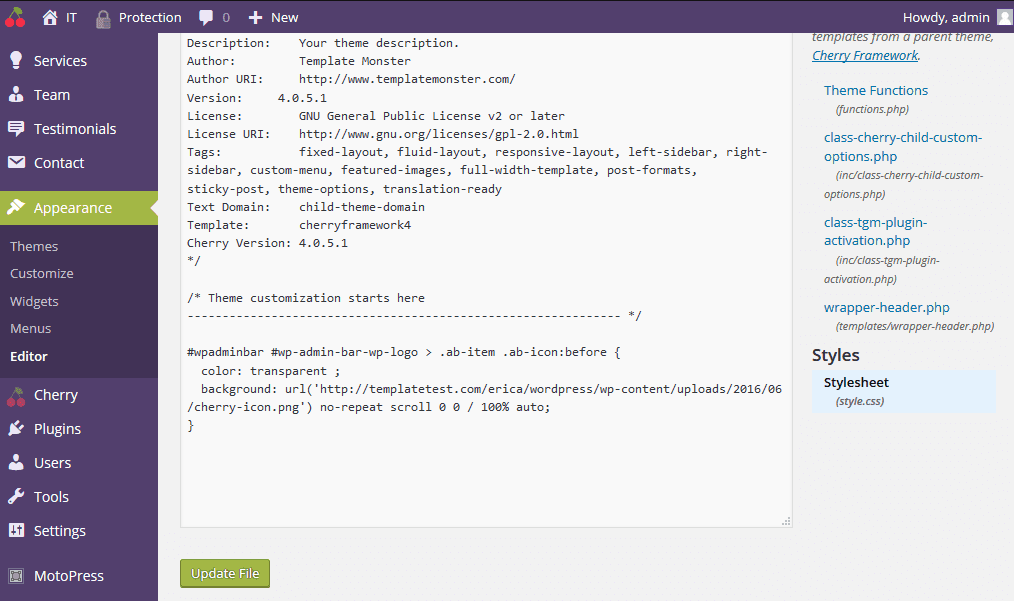
Now visit the Appearance -> Editor section once again and click on the 'Stylesheet' (style.css) file. Paste the following rule to the bottom of this file:
#wpadminbar #wp-admin-bar-wp-logo > .ab-item .ab-icon:before {
  color: transparent ;
  background: url('your-icon-path') no-repeat scroll 0 0 / 100% auto;
}
Lastly, replace the your-icon-path words with the actual icon URL you have copied from the media library, and save the file by pressing the Update file button.
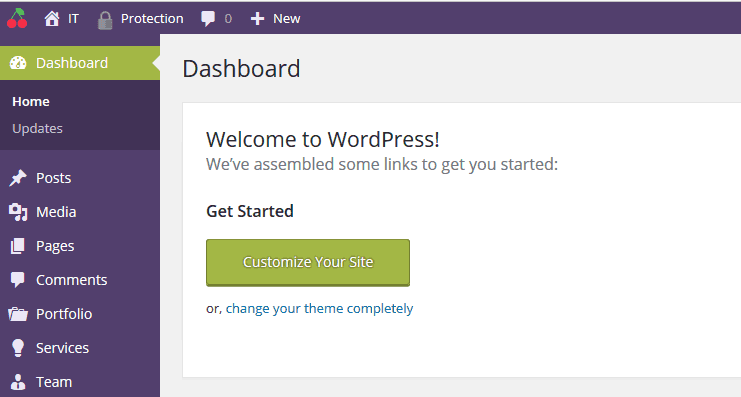
Feel free to check the result in site admin panel, your logo appears instead of the default WordPress one:
That's all for today, now you are one step closer to the greatest site ever. Stay tuned!
[mc4wp_form id="74928"]
Create a Logo!
Need an attractive logotype for your website, but have no way out? Professional web designers from MotoCMS will help you.
Our team will come up with the best solution for your brand according to your personal requirements. If the logo doesn't sit with your requests, we will redesign it up to 3 times.
Get more to your email
Subscribe to our newsletter and access exclusive content and offers available only to MonsterPost subscribers.


Leave a Reply
You must be logged in to post a comment.