Lesson 13: Creating Popups
This lesson is a part of the How to Build & Maintain Elementor WordPress Website? course.
Hi, everyone!
In Lesson 12 we’ve covered major aspects of GDPR to make sure that your business complies with the regulation. Now let’s see how we can create pop-ups with Elementor.
Since we’re using the free version of Elementor builder the coolest functionalities I’ve used here are provided by Jet plugins, right now I’ll show you how to create pop-ups and how to use a pop-up trigger.
Let’s roll.
First of all, we’ll need the JetPopup plugin, you can get it at TemplateMonster marketplace, at ONE by TemplateMonster or at Crocoblock.com.
So when you install the plugin another menu item called JetPopup will appear in your dashboard, when you click on it, you will find the following settings.
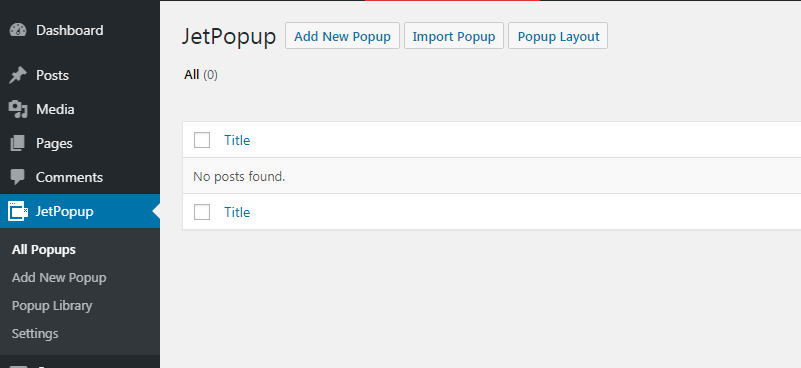
As you can see there are three functional buttons, let’s see what we can use them for.
Add New Popup Button
Add New Popup button will take through the process of popup building, first, you will have to give it a name

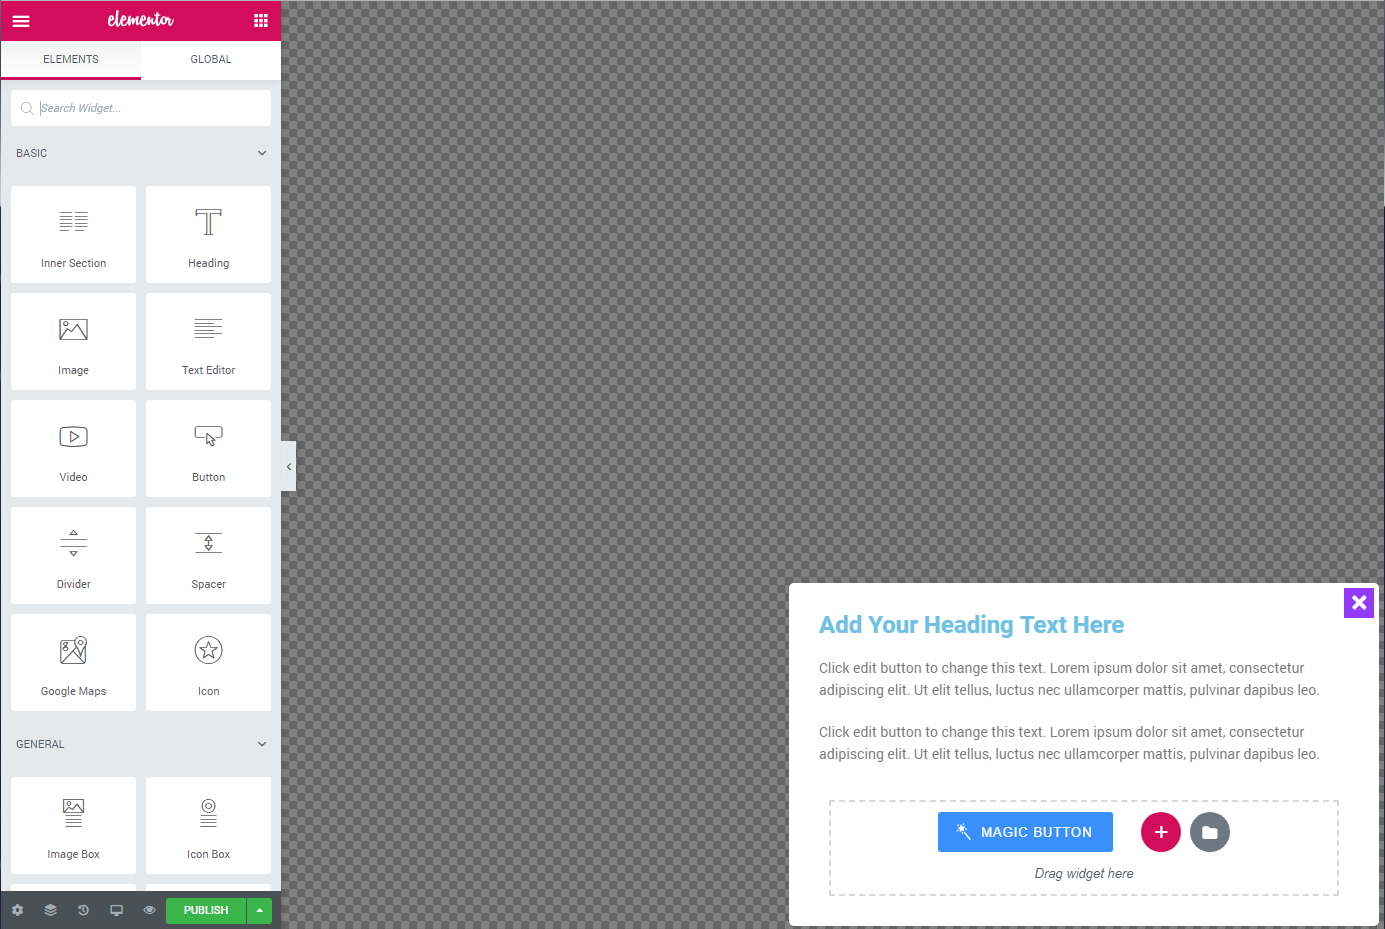
And then you need to click on the Edit with Elementor button, the Elementor builder area in JetPopup looks smaller than for pages.
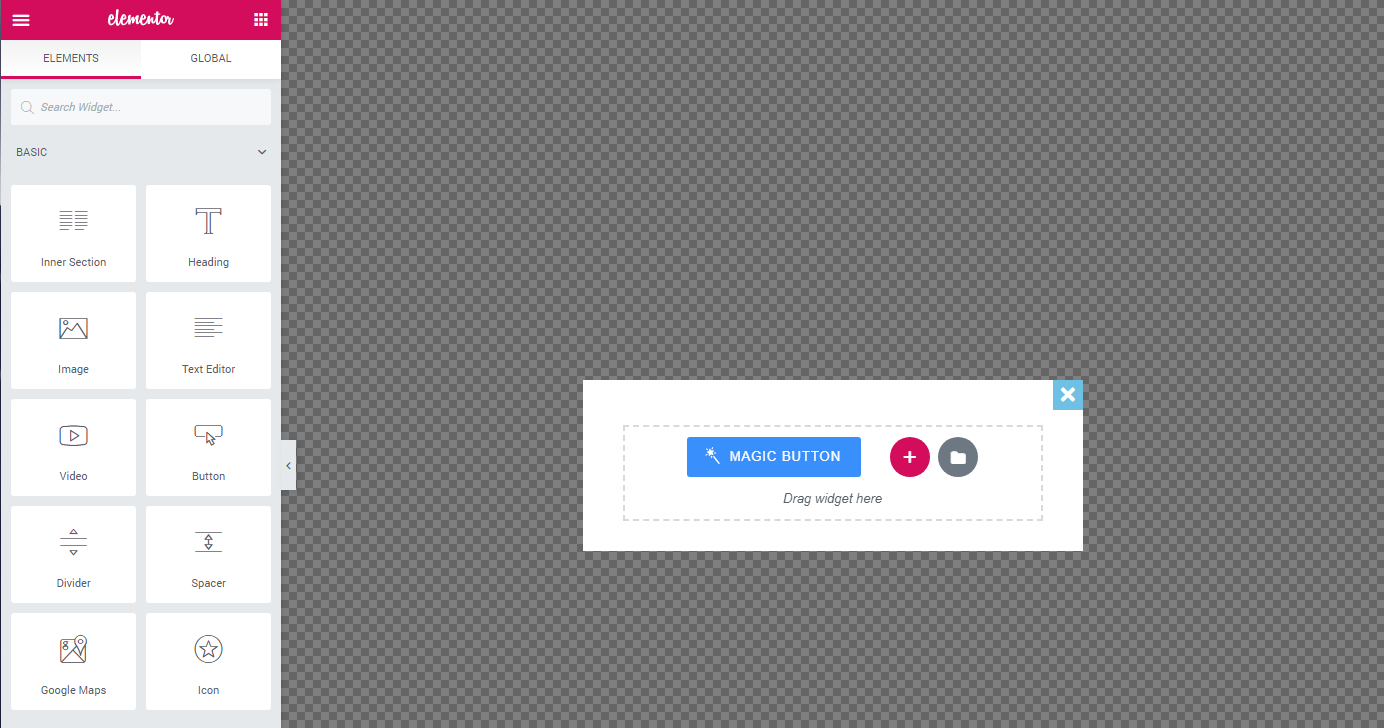
Basically the process of creating a popup is similar to the way you build a page, but there’s a bunch of open events that you can set for a given popup.
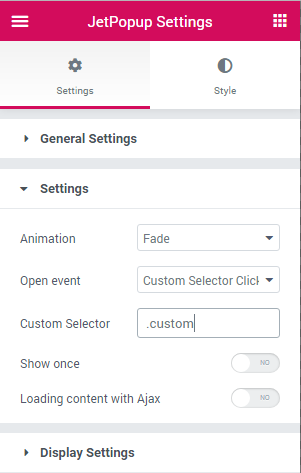
You can access these settings by clicking on the gear icon, in the corner of the Elementor builder layout: Gear icon >> Settings >> Open event.
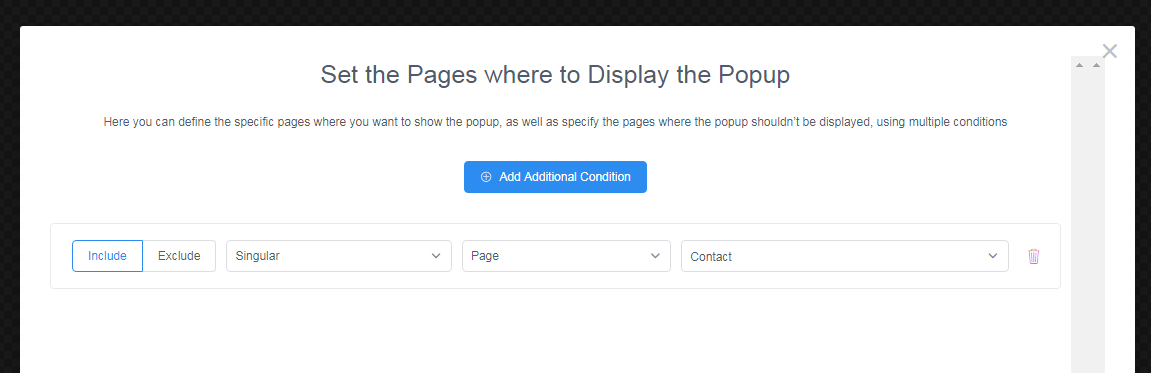
The Display Settings allow to include or exclude a set of pages where this popup will be displayed.

What’s more important, when you visit a page that has an assigned popup you’ll be able to open it with Elementor by clicking the link on top of the page.

Apart from that, you can allow users to trigger popups by clicking various elements on the page.
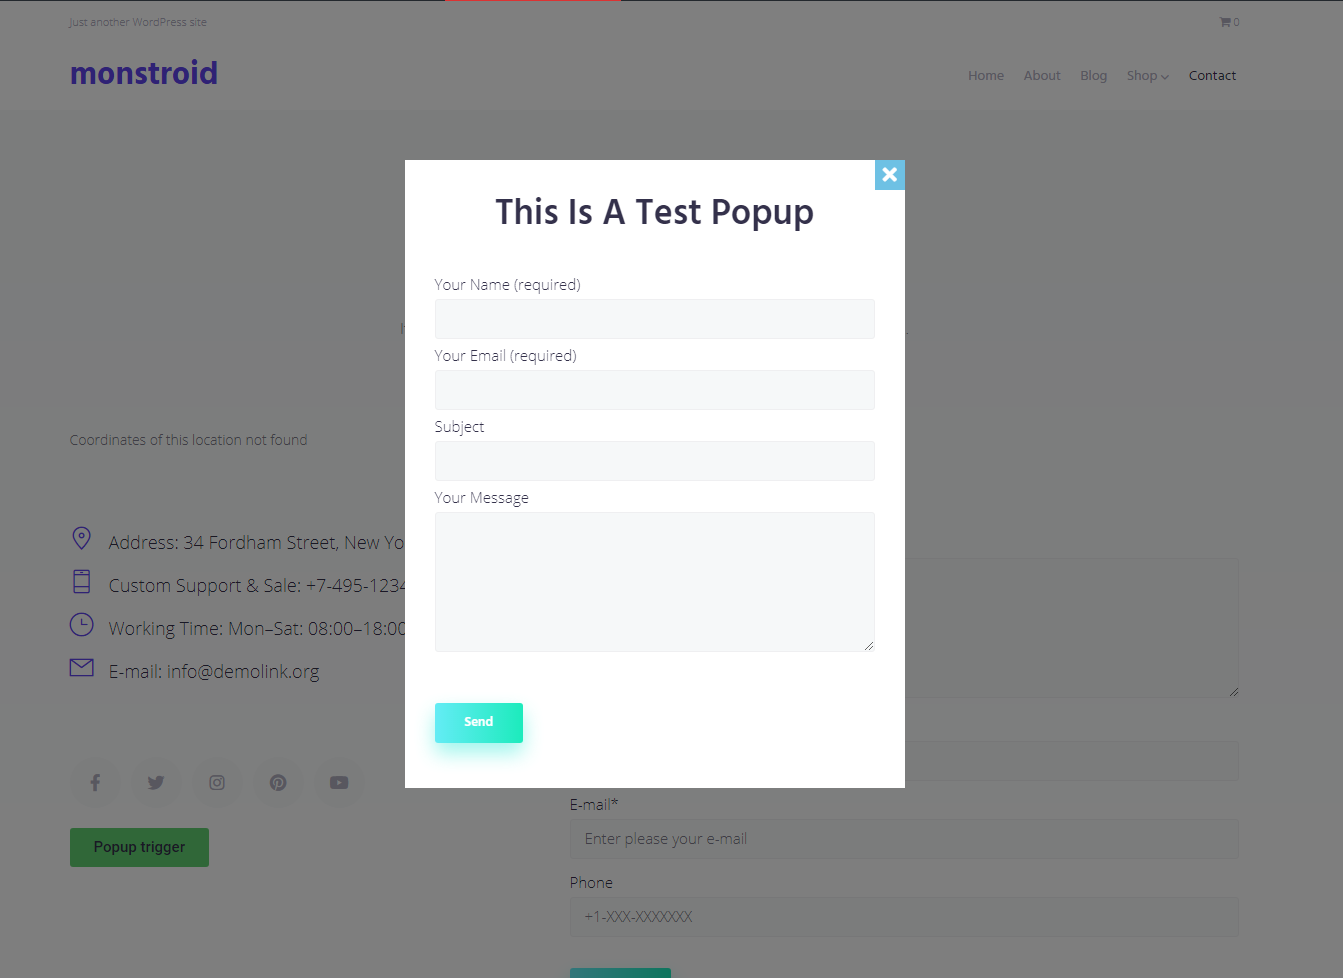
Imagine that you want to trigger a popup with a contact form when someone clicks a text link or a button. This is what you have to do:
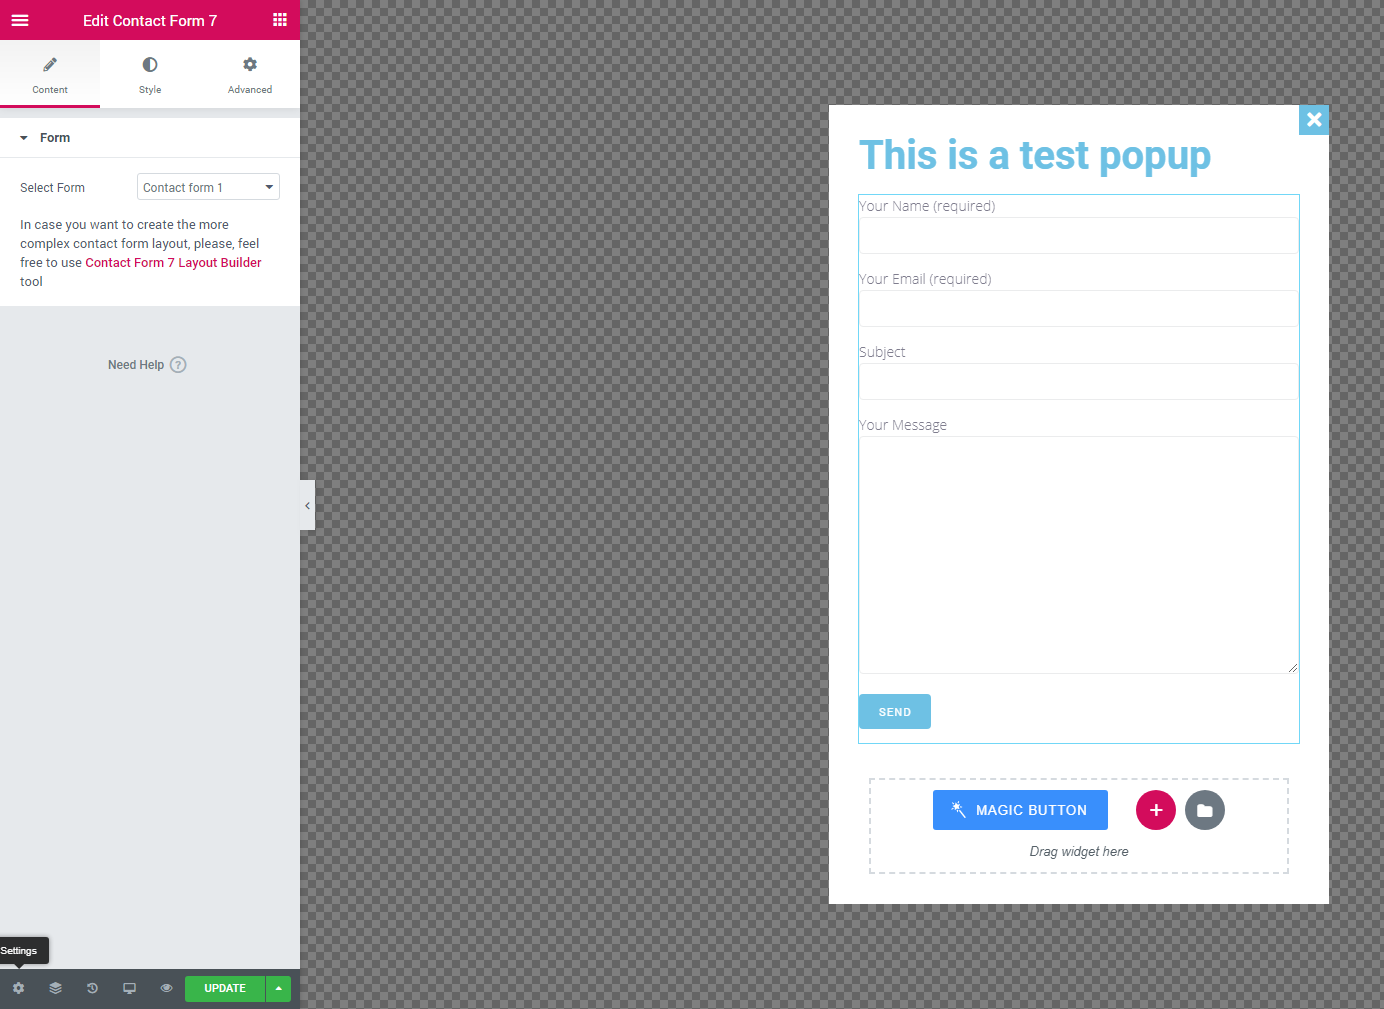
- Create a new popup.
- Add a Contact form 7 widget to the body of this popup,

- Select a form that should be displayed.
- Assign this popup to a certain page, from the Display setting of this popup.

- Save the popup.
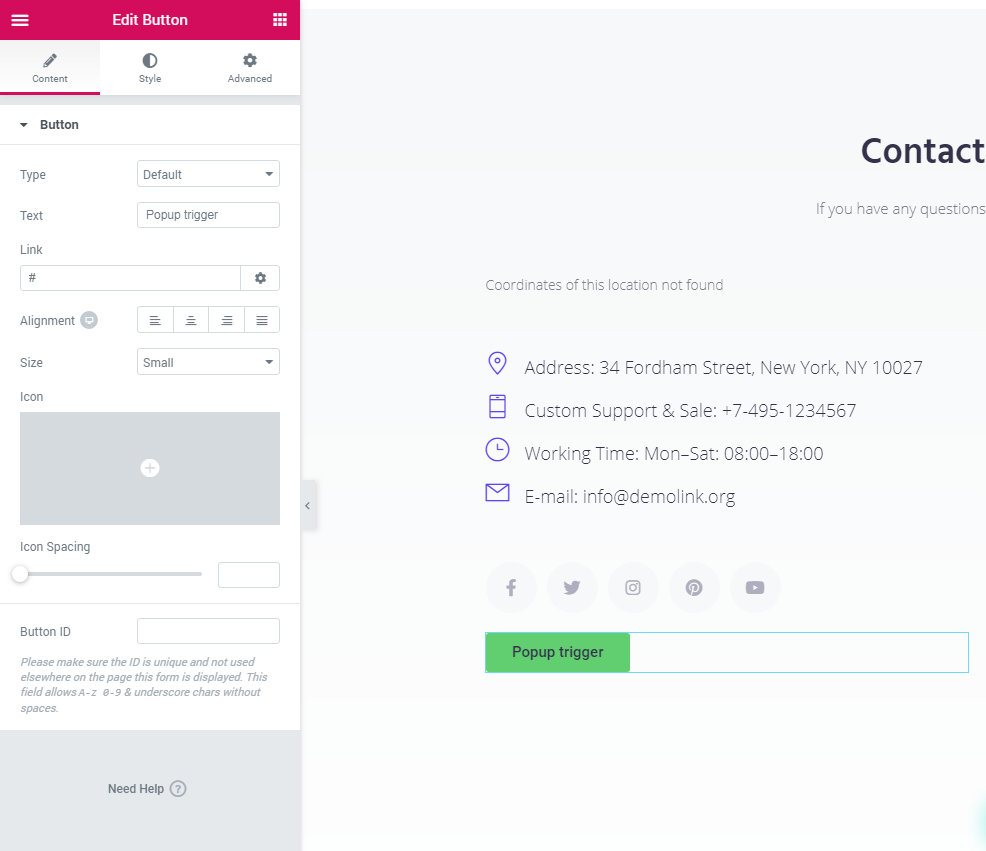
- Open this page in the Elementor builder, find the element that should trigger a popup.
- Add a button that will trigger a popup

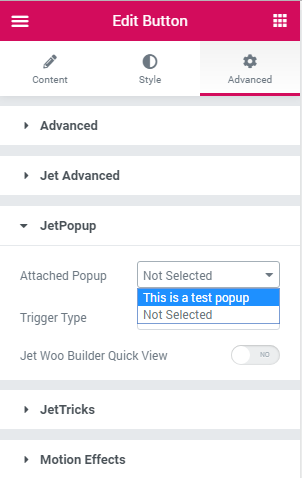
- Go to Advanced settings tab of the button element, than Attached popup, and in the drop-down choose the one you’ve just created.

- Trigger type should be set to Click on the button
- Done, now when anyone clicks on your button they will trigger a popup

Import Popup Button
Popup import option works just like the template importing we’ve discussed in Lesson 7.

Popup Layout Button
The last button in the JetPop section offers a set of presets that we can use to build popups.
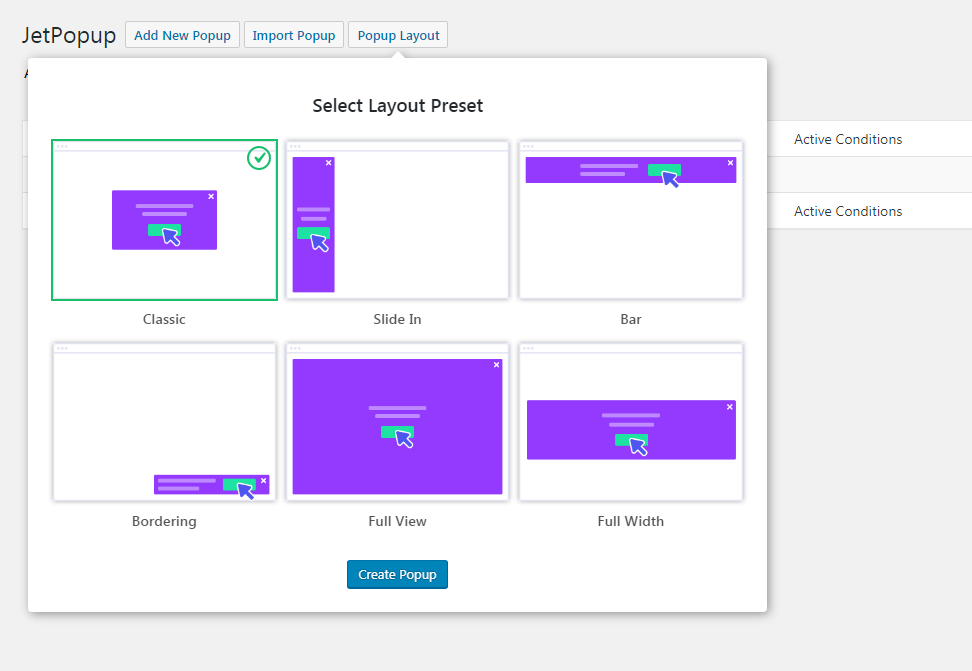
Imagine, that we need to build a cookies consent popup, then we’ll have to choose the Bordering preset. When you click on it the Elementor editor will open and you will see the bordering present at the bottom of the page.
Or you can choose a predesigned Cookie popup from the JetPopup library.
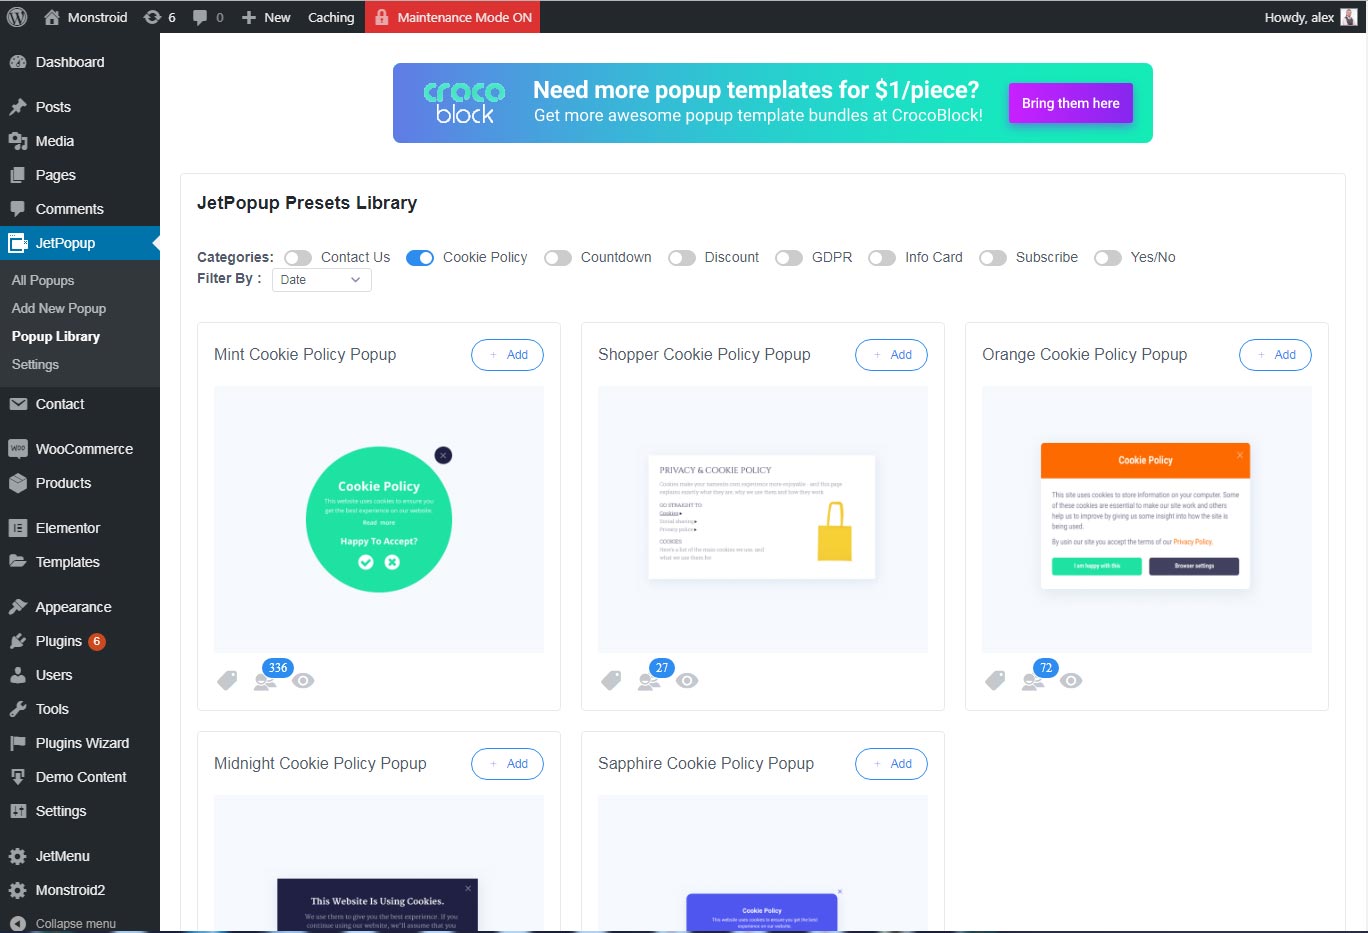
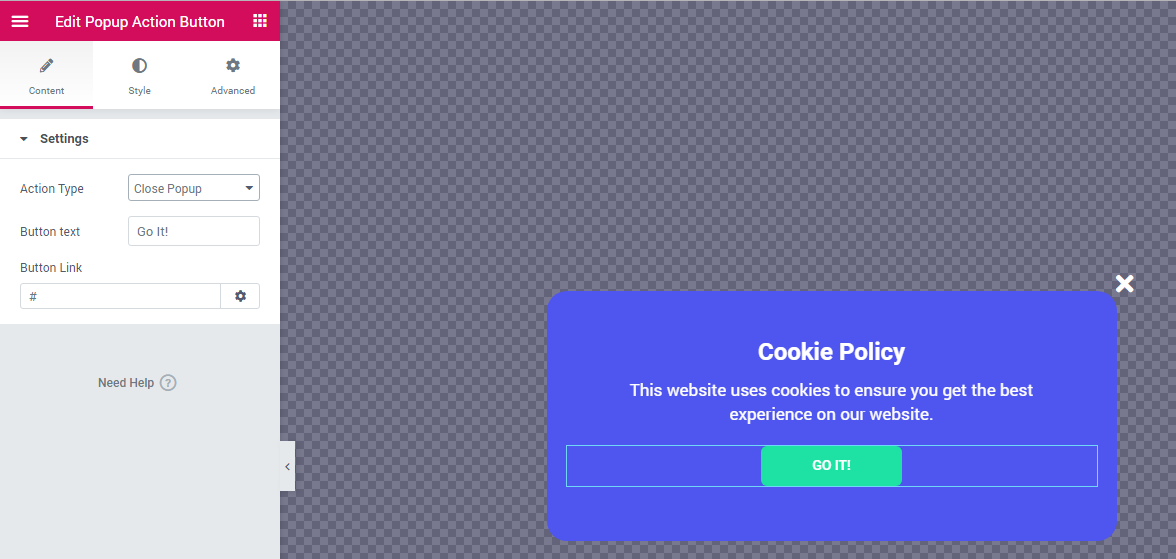
Click + Add to open this popup in Elementor editor. To make sure that your site visitor won’t see cookie popup every time they visit your website you need to:
- Use a Popup Action Button that will close the popup

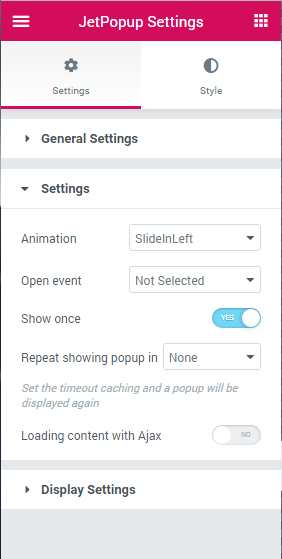
- In the popup setting turn on the option to show the popup only once: Gear icon >> Settings >> Settings >> Show once >> YES

Additional information
How to Win at Popups: The Top Plugins, JetPopup and Popup Builder, Compared
JetPopup or Popup Builder: Which One do you Choose?
End of the lesson.