Creating a Vintage Typographic Poster Design in Adobe Illustrator
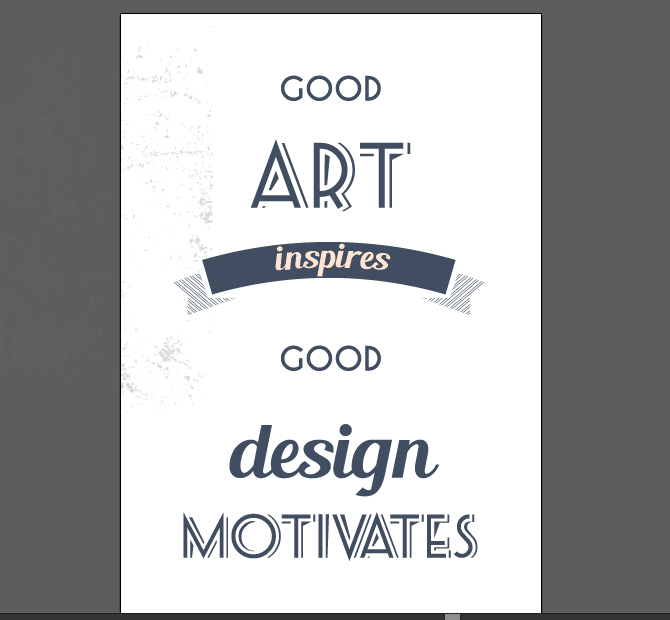
In this tutorial, I’ll show you how to make vintage typography poster in Illustrator. I've used a famous quote: “Good art inspires; good design motivates.” That's my favorite one, but you can check out quotesondesign.com for some more great and inspiring quotes for your poster.
I'm going to use some freebies here. You'll find links to them through the article. The good thing about this design is that both the quote and background can be modified so you can easily create a series of similar posters. I will show you two variations and you can create many more!
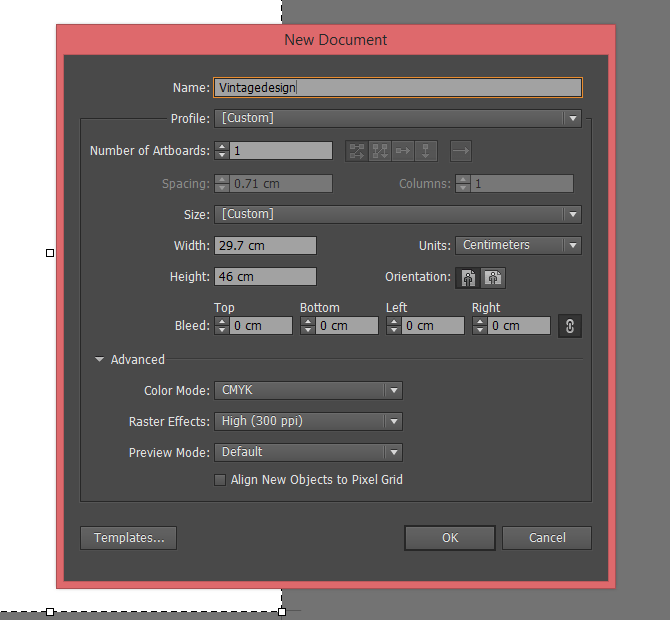
Start by opening Illustrator and creating a new file. My design has the following dimensions: 29.7 cm x 46 cm (or in pixels: 841.89 x 1303.94), but of course you can change these a bit.
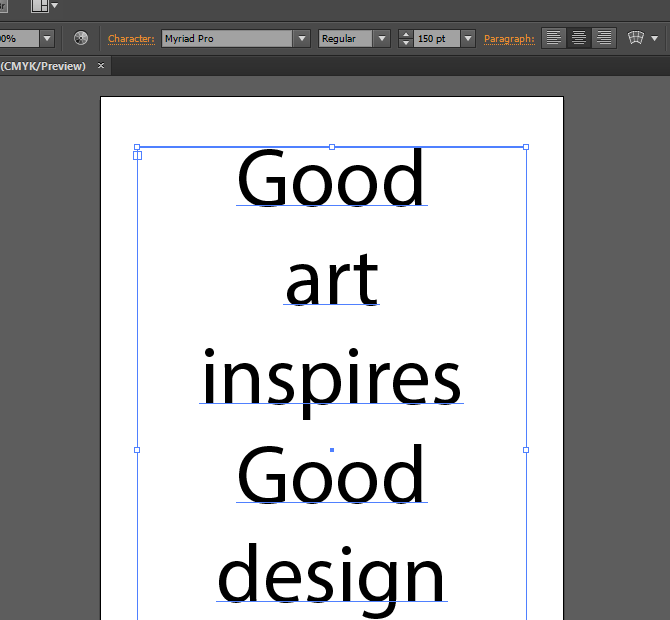
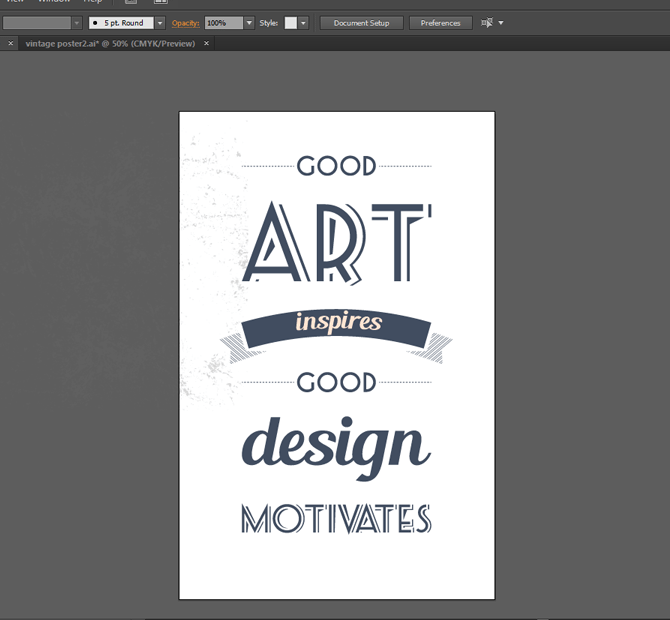
Type a quote using a large font—at this point the font doesn’t matter. We are just placing the words in their right positions. For my design, I typed one word per line with central alignment.
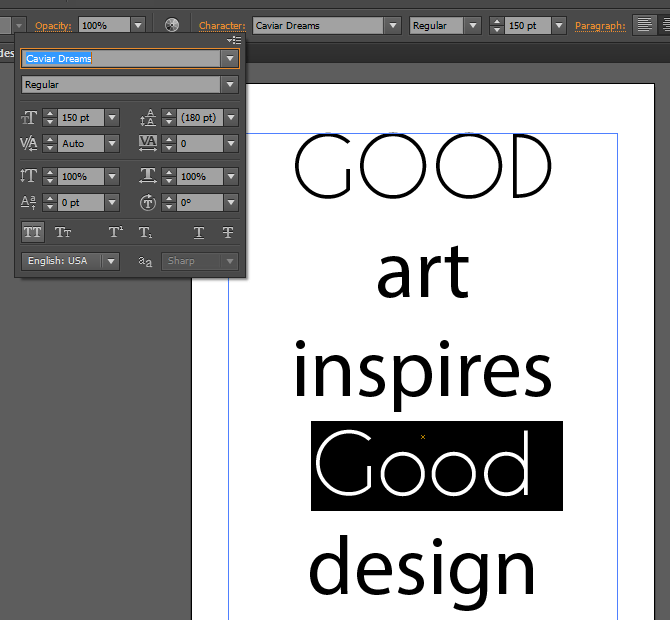
Now for the fonts—I have decided to mix it up by using three different free fonts. If you want to use different combinations, here are a few handy tools to help you combine typefaces: https://fontpair.co/ and https://www.canva.com/font-combinations/.
I will use the minimalistic Caviar Dreams for the matching words “good.” Make sure you write them in caps.

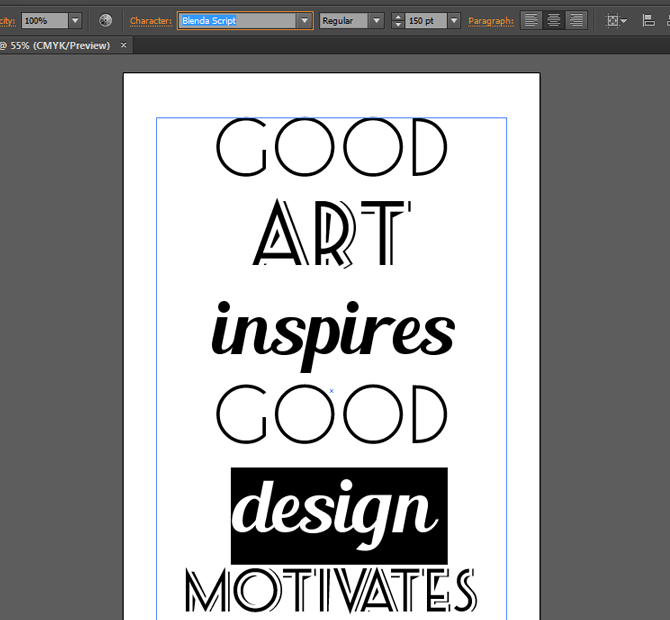
The second typeface I chose is Seaside Resort which will give the design a bit of vintage glamor. Let’s use it on the words “art” and “motivates.” You’ll have to change the size of “motivates” to 100p so that it doesn’t fall out of the text.
Finally, for the words “inspires” and “design” I've used Blenda Script.
If you want a bolder design you can change the style of the words “good” to bold.
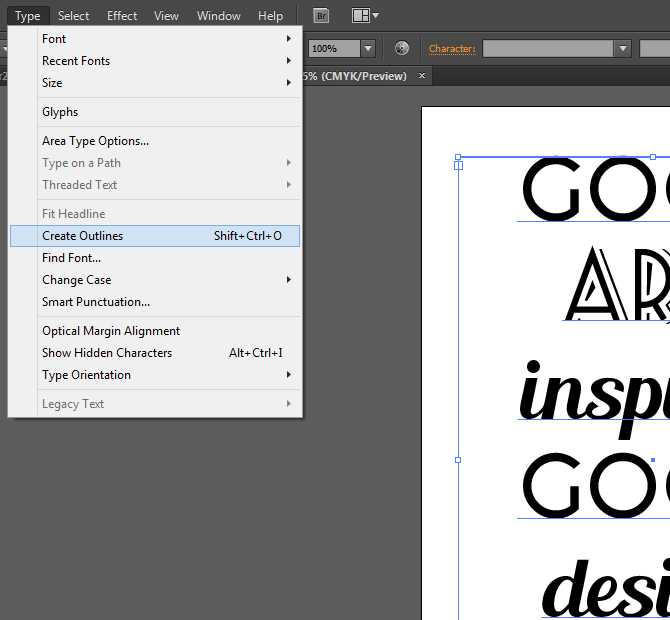
Now that we are finished with typing and fonts and generally styling them, select the text and transform it from type to outlines. You can do so by clicking Type > Create Outlines. This makes modifying the text much easier.
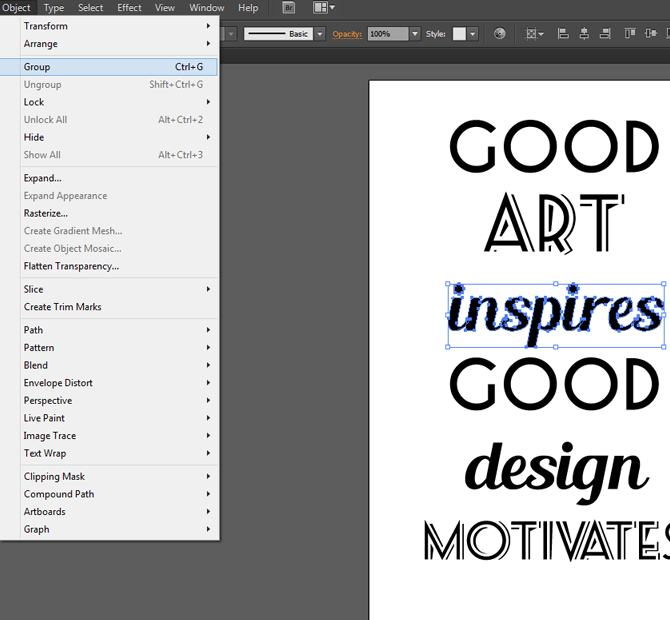
Now that the words are Outlines, ungroup them to manipulate them more easily. You can do so by selecting the group and pressing Object > Ungroup. For even easier manipulation, you can go ahead and select each word’s letters and group them together by pressing Object > Group.
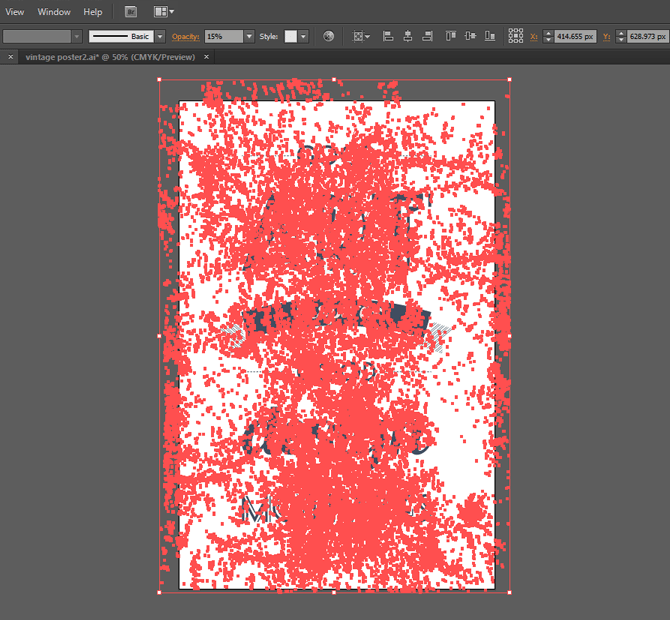
To spice things up a little add some design elements so that the design is more than a few lines of text. You can download a wonderful free vector pack from Freepik. It includes some fantastic labels and different elements that can be used in vintage designs. Download and open the file. I used 2 elements for this design—the first one is part of the central label at the bottom and the stained texture that appears on top of all elements. Select these and copy them into your file.
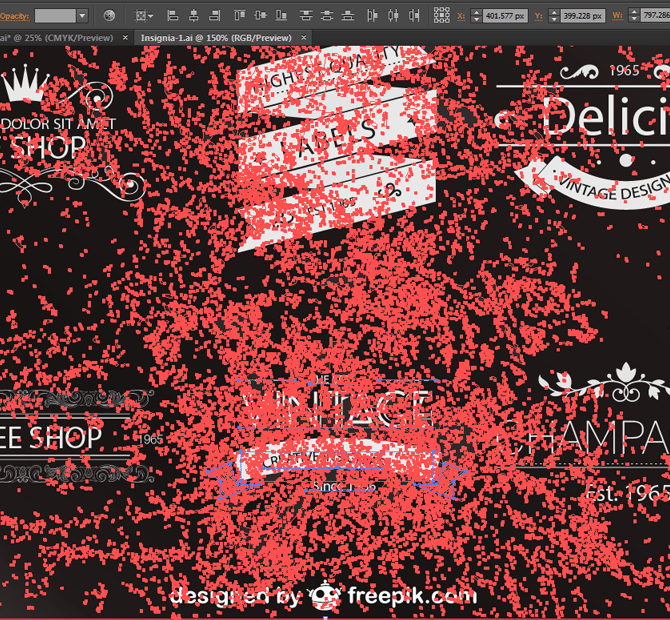
Move them next to your artboard. Let’s put the texture in a new layer on top of the text, and lock it for now.
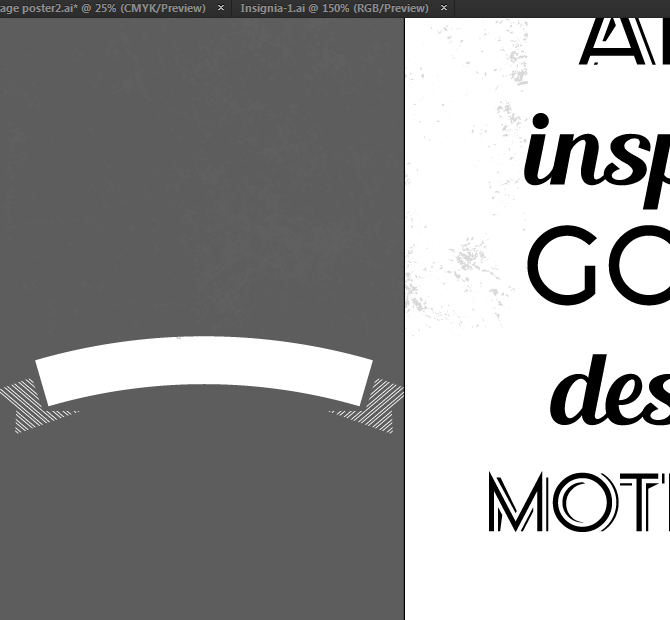
Now focus on the other element. Enlarge it and ungroup it. You can now remove the elements that won’t be needed and leave the label without any text.
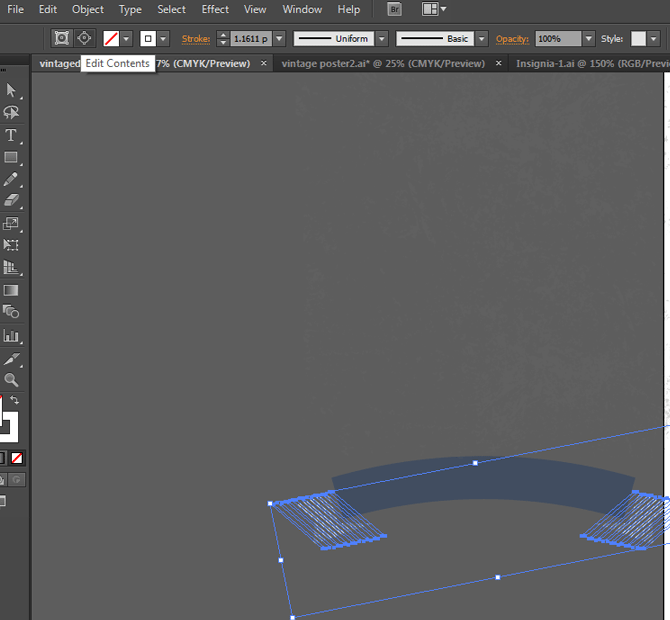
At this point you can pick up the main color for your text. I used a faded blue #404D60 to give my design a vintage look. Use it as a fill color for everything apart from the label’s side parts. To change their color, you need to select them both. They are clip groups, and you need to press the Edit Contents button to change their appearance. Once you’re in this mode simply change their stroke color with 404D60 as well.
You can select the whole label again and group its elements (by clicking on Object > Group), and put it on the artboard. I used it as an element for the word “inspires” so I have placed it underneath it. In order to do so you have to move it near the selected word, right click it, select Arrange > Send to Back.
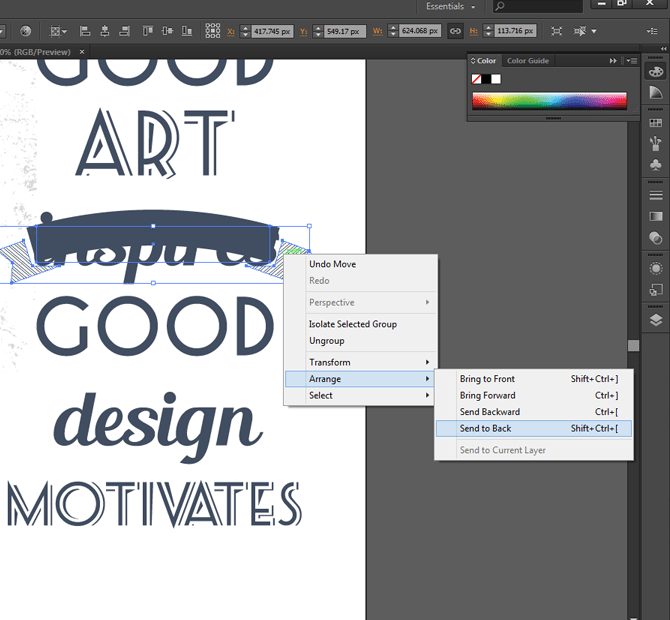
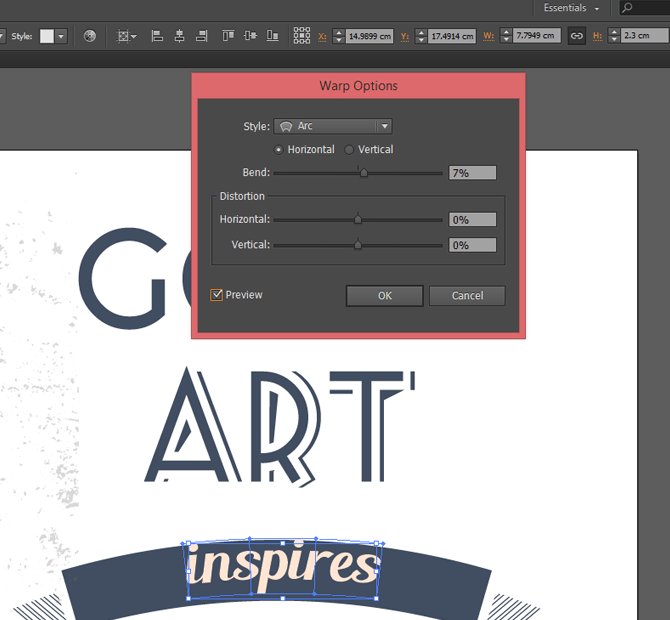
The way it is now you have to change the word’s color so that it stands out on top of the label. For a good contrast and vintage look I used a creamy white #FFE5D2. Now we have to make it fit the label by shrink it—I have adjusted its height to 2.4cm or 285px. I adjusted the size and now need to make it fit the shape as well. Select the word and press Object > Envelope Distort > Make with Warp.
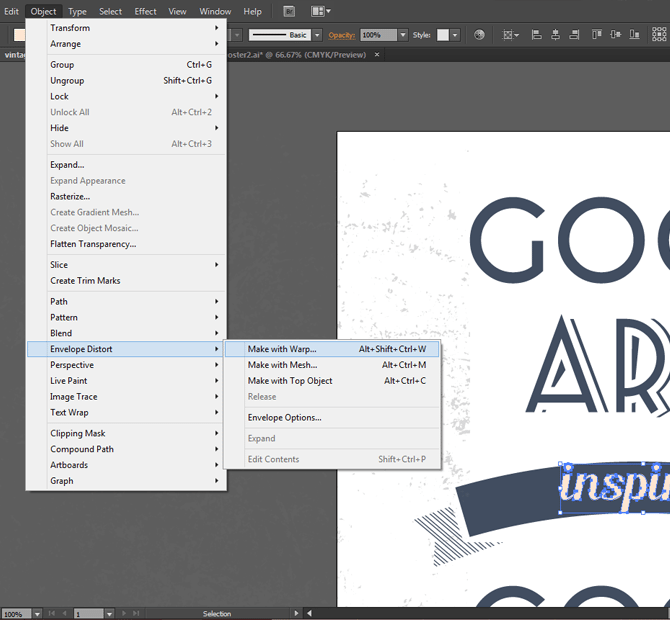
For this design the Bend that we have to choose is 7% Horizontal. If you are doing a different design you can check the option Preview and adjust the Bend so that it fits your design. Once you’re finished simply move the word more centrally so that it fits the label, and group it together with the label.
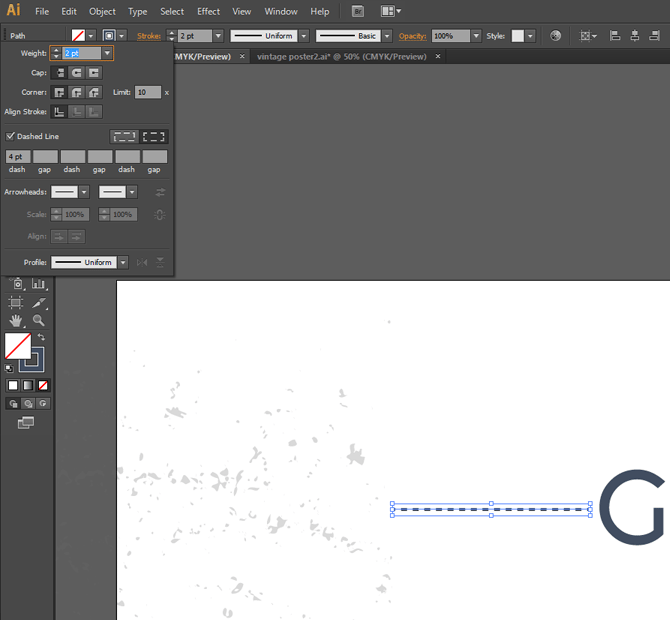
I added another element to this design to make it more interesting—4 dashed lines. Since the words “good” are quite big I made them smaller and “framed” them in a dashed line on each side. Select the upper “good” and lower its height to 1.78 cm (or 50.5px). Don’t worry if it appears too small. Transform the lower “good” as well.
Draw a straight line next to the word. For me a line of 2pt that is 4.66 cm wide (or 132 px) fits great. Now press the Stroke Panel and check the Dashed line option.
Copy the line to the other side of the word, select both lines, and copy them to the lower “good” as well. For easier manipulation place them both in separate groups. To make it even easier to construct the final design change both widths of the words “good” to 17.8 cm (or 504.5 px).
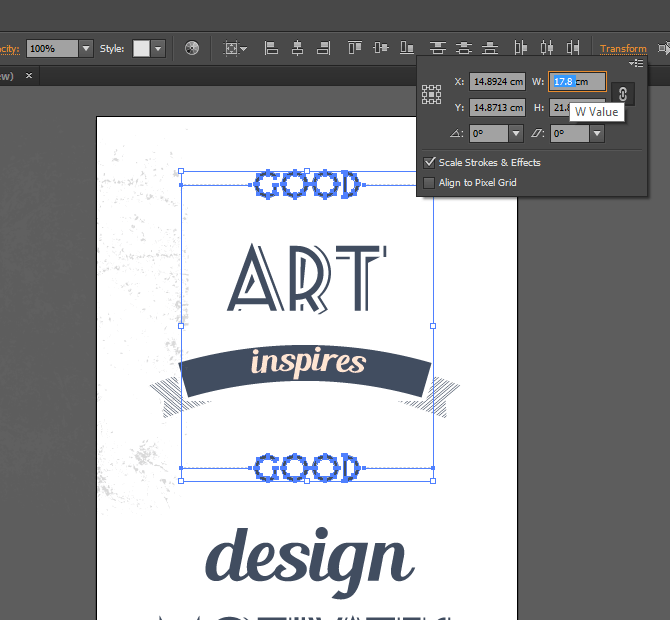
Adjust the size of the other words to the same width of 7.8 cm (or 504.5 px). Now all main objects should be the same size. You can play with them and move them up and down until they look balanced—you can decide whether to keep the distance between them equal.
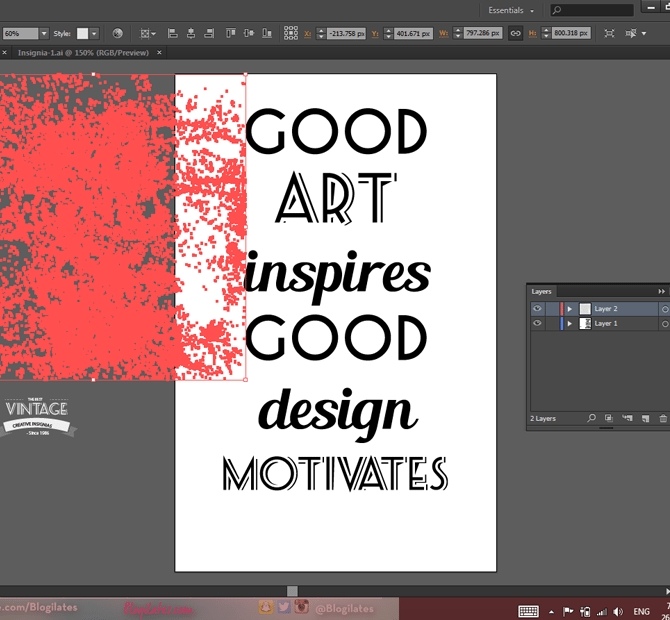
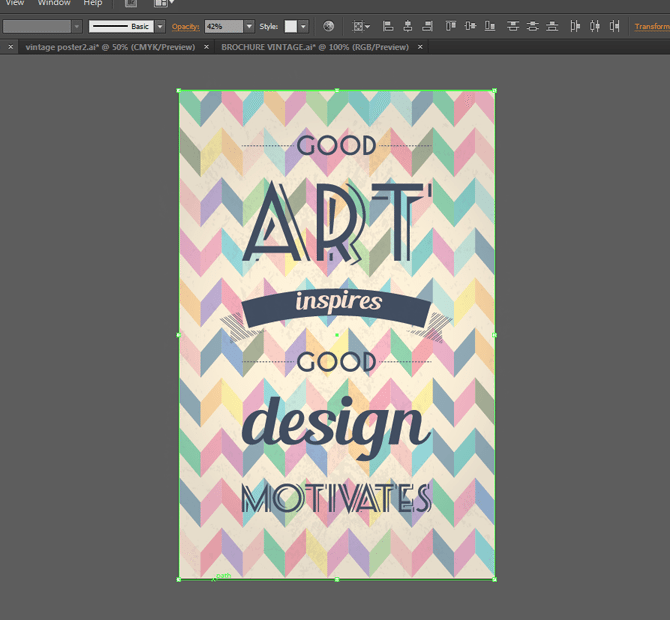
We have finished designing the elements, so we can move to the background, but first let’s unlock the pattern above the text and move it to the artboard. Stretch it so that it covers the whole poster, and lower its opacity to 15%. Lock the layer again.
Create a new layer underneath the text. I have selected 2 free vectors which include great vintage backgrounds. They can be found here and here. Download and open the files. The first one includes 6 designs, and I have chosen to work with the first design. Unlock the artboards and copy the poster to your file.
Enlarge the design so it fits your posters height. Ungroup its elements and delete the label so only the background stays. I locked one of the objects, so you have to unlock it by pressing Object > Unlock all.
Move the background centrally to your artboard.
Lower the background’s opacity to 42% and fit its width to the artboard. You can make it less or more visible if you wish. Your design is ready!
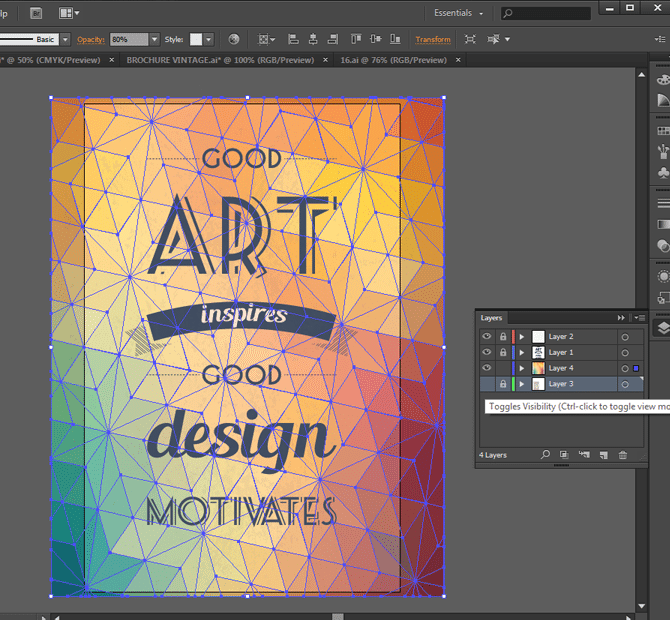
If you want to have another background copy the background from the second file that you downloaded and place it on your artboard on a new layer. Make sure you adjust its size so that it fits your poster. Lower its opacity to 80%. Make sure you turn off the other background’s layer visibility from the Layers panel.
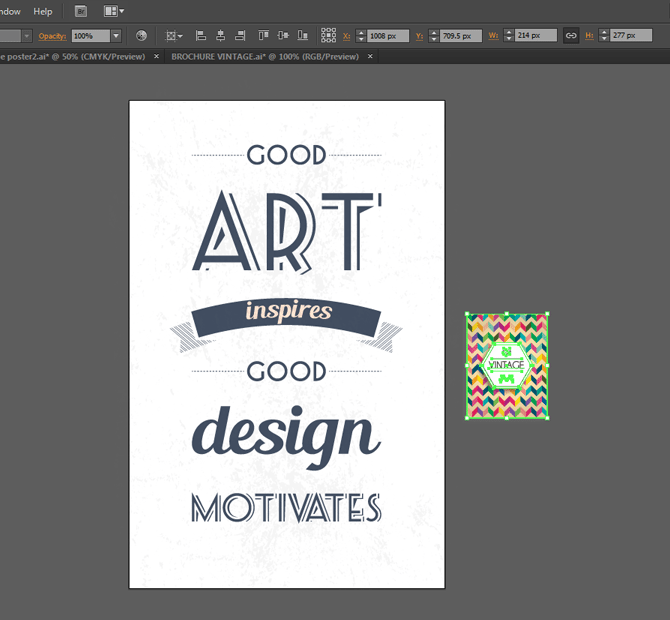
Congratulations! You have created 2 vintage posters and you now know how to create many more.

Posting contributed articles about the major web design highlights and novelties. Come across a handful of useful tutorials and guides shared by experts in the web design and online marketing fields.
Get more to your email
Subscribe to our newsletter and access exclusive content and offers available only to MonsterPost subscribers.

Leave a Reply
You must be logged in to post a comment.