How to Install TemplateMonster WordPress Theme on the Cloudways Hosting?
Are you an art enthusiast? Do you wish to go online with a personal website? Maybe you want to create your own photo gallery for your WordPress website?
Here is your solution.
Artwork, is a custom portfolio WordPress template that is designed specifically for art and gallery based WordPress websites. It is a full page template that provides improved user readability by making websites more attractive. One can also customize the template with his own requirements by choosing from hundreds of colors and fonts and a variety of post formats. You can also change the content area to make it more creative using MotoPress drag-and-drop content editor.
Let’s start by downloading Artwork, installing and activating it on your WordPress using Cloudways - A managed cloud hosting platform.
Why Cloudways?
Cloudways is a managed cloud hosting platform designed for commendable WordPress Hosting. It offers customers a mix of advanced caching technologies called the Thunderstack. It's composed of Apache, Nginx, Varnish and Memcached. This unique combination minimizes your page load time up to 100% providing users an exceptional hosting experience.
You can learn more about Cloudways through this video:
Install WordPress
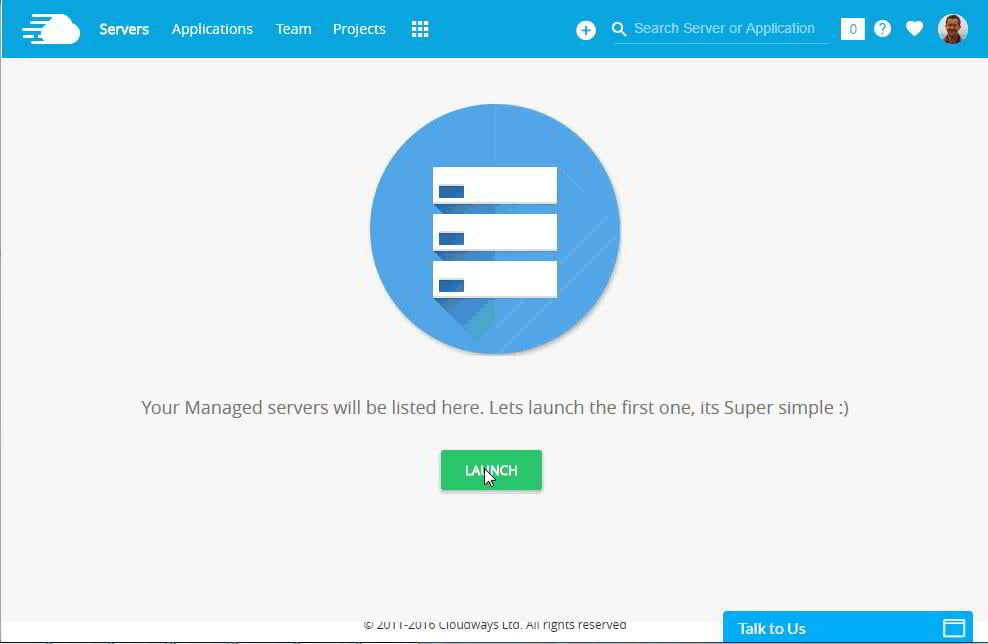
Installing WordPress isn’t a difficult task when your hosting provider allows you to install it in just 1-click. Here is how one can easily install WordPress on the Cloud infrastructure.
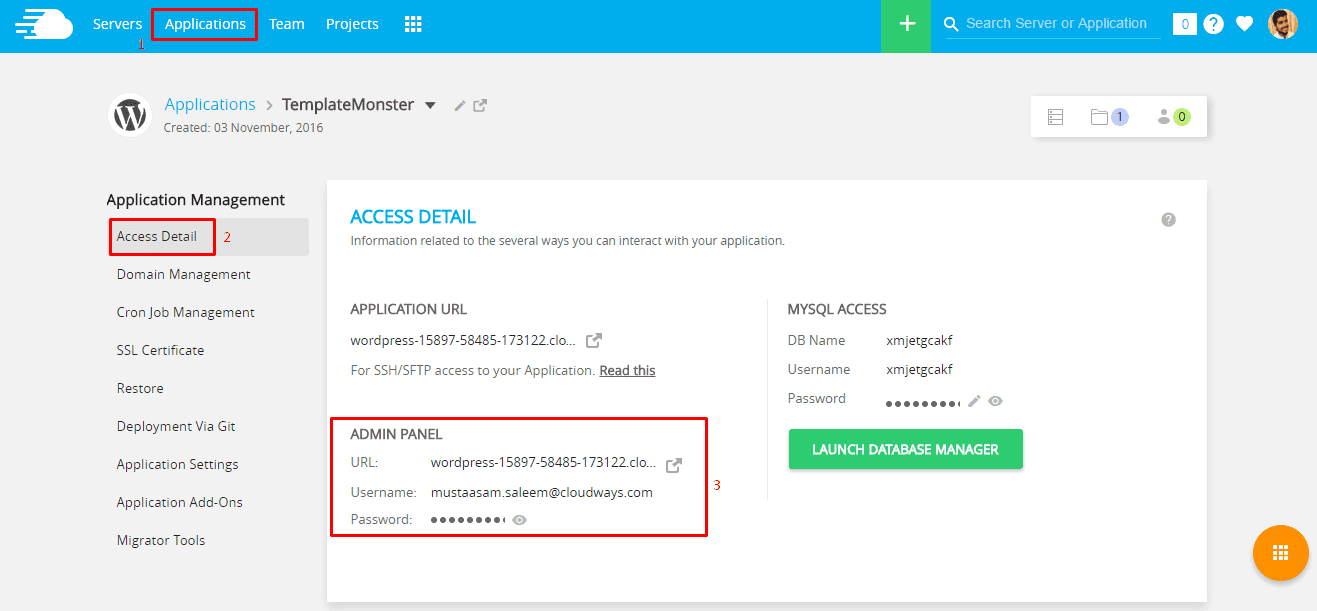
Once installed successfully. Go to Applications tab from top left and get into your WordPress application. Navigate to Access Detail and you’ll see your WordPress Dashboard credentials under Admin Panel.
Important: If your hosting provider uses caching technologies, disable it first from server/application or if you are using any caching plugin, you should disable it too. It is recommended to disable cache in development phase.
Installing and Using Artwork
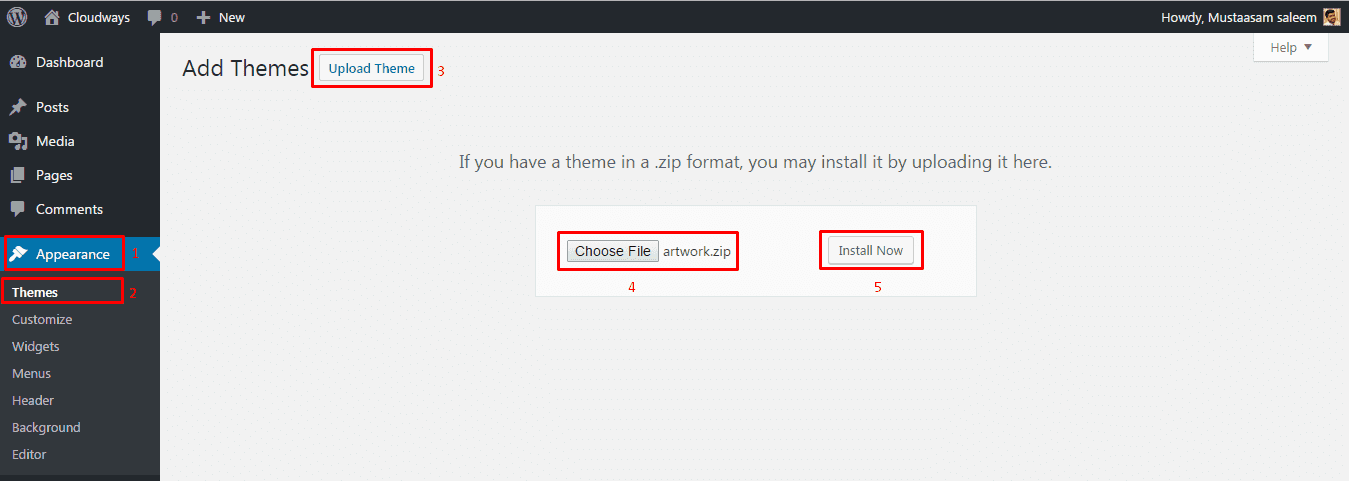
From WordPress Admin Dashboard, navigate to Appearance -> Themes -> Add New -> Upload Theme. Choose your downloaded Artwork theme zip file and click on Install Now.
After successful installation, activate it. A warning message will be displayed at the top of the page asking you to install dependent plugins. Click on Begin Installing Plugins.

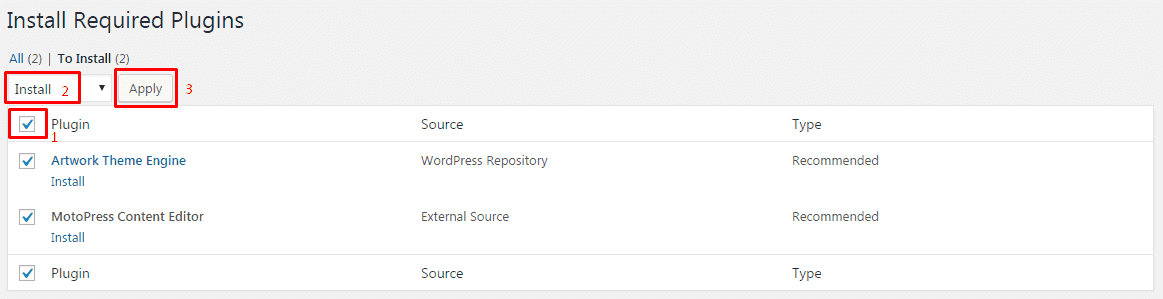
It will ask you to install Artwork Theme Engine and MotoPress Content Editor. Select both of them and from drop down menu, choose Install and click on Apply.
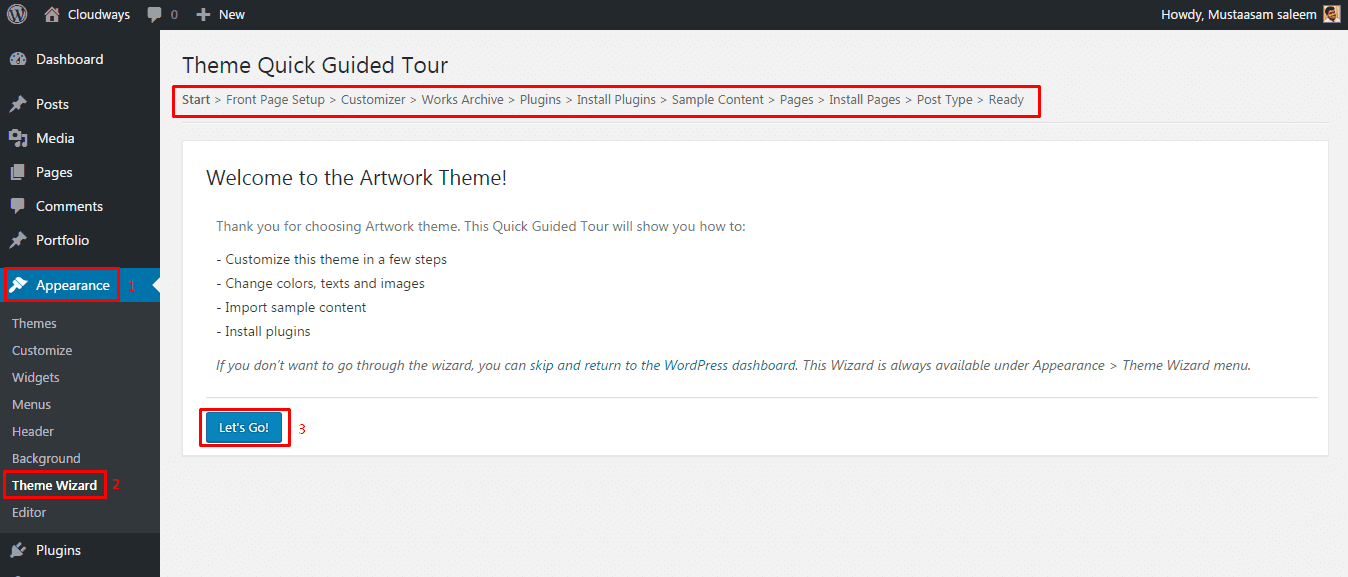
Return to the Dashboard. Navigate to Appearance -> Theme Wizard.
Theme wizard is a guide about Artwork template. We suggest you to follow this guide as it will help you to understand a bit more about the structure and usage of Artwork. Additionally, this wizard will help you to import dummy content to properly test the Artwork template.
Ok so, we’re assuming you have gone through the Theme Wizard section.
Let’s check how awesome your Artwork template looks.
You’ll notice 3 changes in the left pane of your WordPress Dashboard.

Don’t get confused, let me elaborate these options in a bit more detail for proper understanding:
Works:
Works is a section for portfolios/art/gallery. All your work related posts will be created and displayed here. It’s a bit different from default Posts tab in WordPress. We’ll cover it later on.
MotoPress:
It is a content editor that will help you customize your content area. You can also save the template to apply it on other posts as well.
Theme Wizard:
It is a short guide to Artwork that we’ve already covered above.
As we’ve discussed earlier about importing the dummy content. For now, our site looks like this with the default Posts.
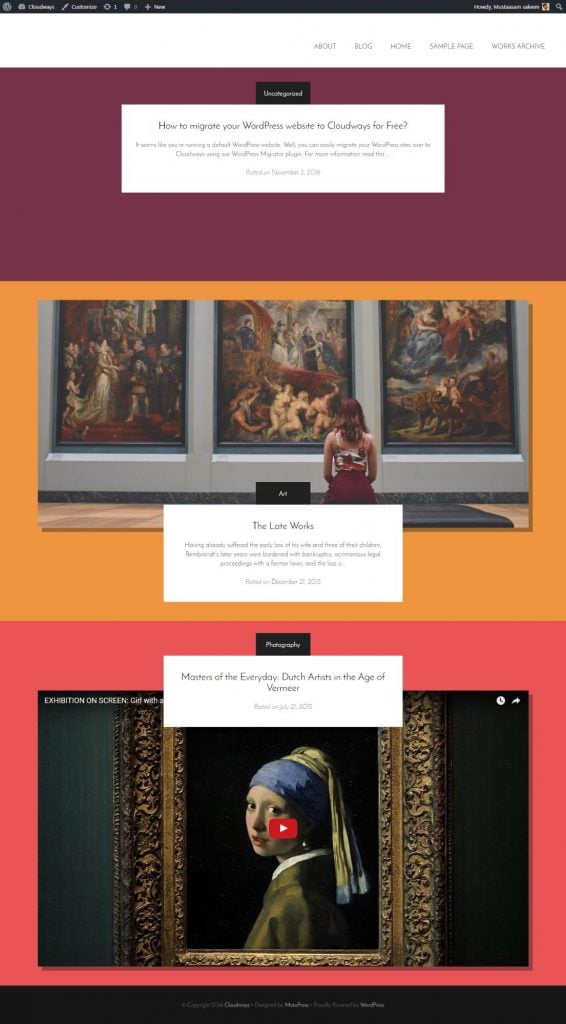
It doesn’t look that awesome now, does it?
Let’s get a bit more familiar with Works and create it more interesting. You might be confused about the default Posts and posts on Works. So what’s the actual difference between them?
Default posts are the posts of your blog, while if you create a post from Works. It will be displayed with a different format, that is specifically related to portfolio. Creating a post from Works is as same as you create a post from default Posts option.
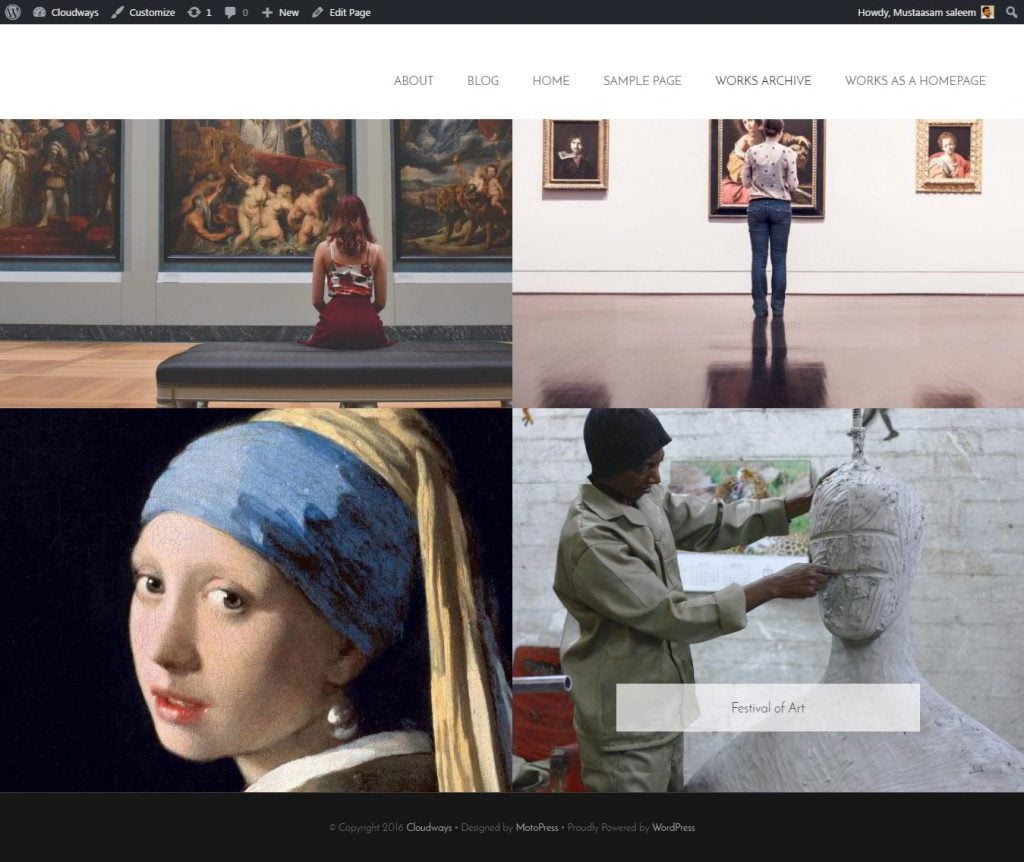
The above preview was of default Posts. Below is the preview of a post created via Works.
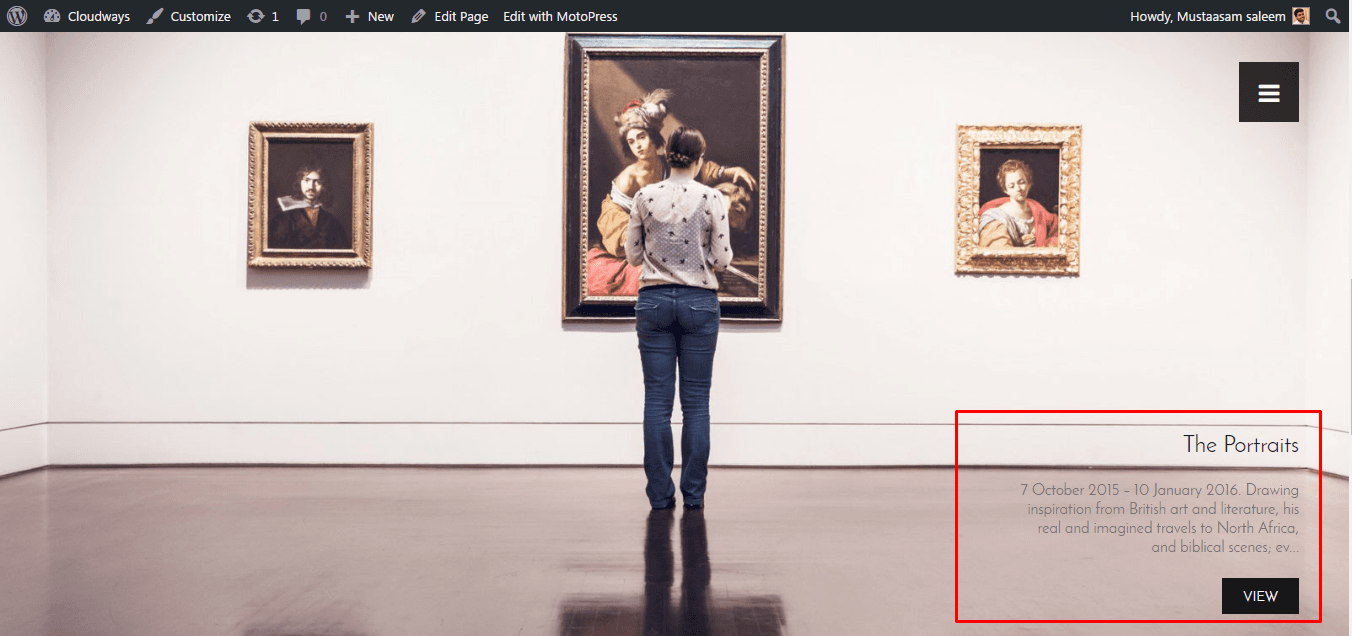
Looks awesome now 🙂
You can see a larger featured image in the background and a short description on the bottom right. If someone wants to read more about the post, he can access by clicking the view option or the post itself. If you have more than one post, scroll down slowly and you’ll see a beautiful animation, getting you to the next post.
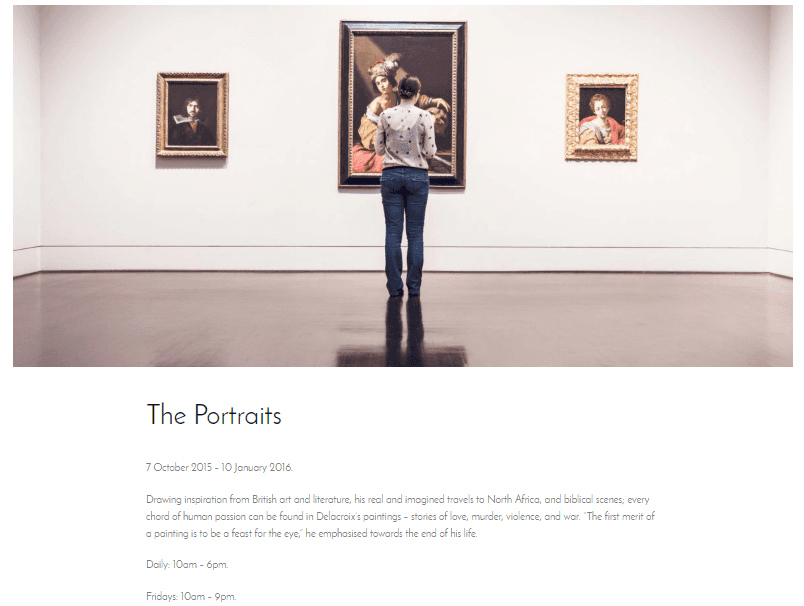
Work Archive:
Here is another kind of template that enables you to show your posts created via Works. Hover onto the menu bar from top right. Click on Work Archive and you’ll experience an impressive preview of your posts in image format.
Make Works Archive as Homepage:
You might be thinking to set Works Archive format as the default homepage of your website. You can easily set it by navigating to Pages -> Add New. Name it as you want, from the right side. Select Works Archive under Page Template and Publish it. You don’t need to add any additional content to this page.
Now, go to Settings -> Reading. On front page displays, select a static page and from the bottom drop-down menu, choose the page that you’ve just created.
So that’s all folks, you know what, you’re done!
Visit your website, and it must have the posts of Works as the default display on homepage.
MotoPress:
As we’ve already discussed that it is a content editor that is used to customize the content area of a post. Let’s make a bit of a use of MotoPress.
Open any default post, not the one created by Works. You’ll see an Edit with MotoPress at the top admin bar. Click on it.
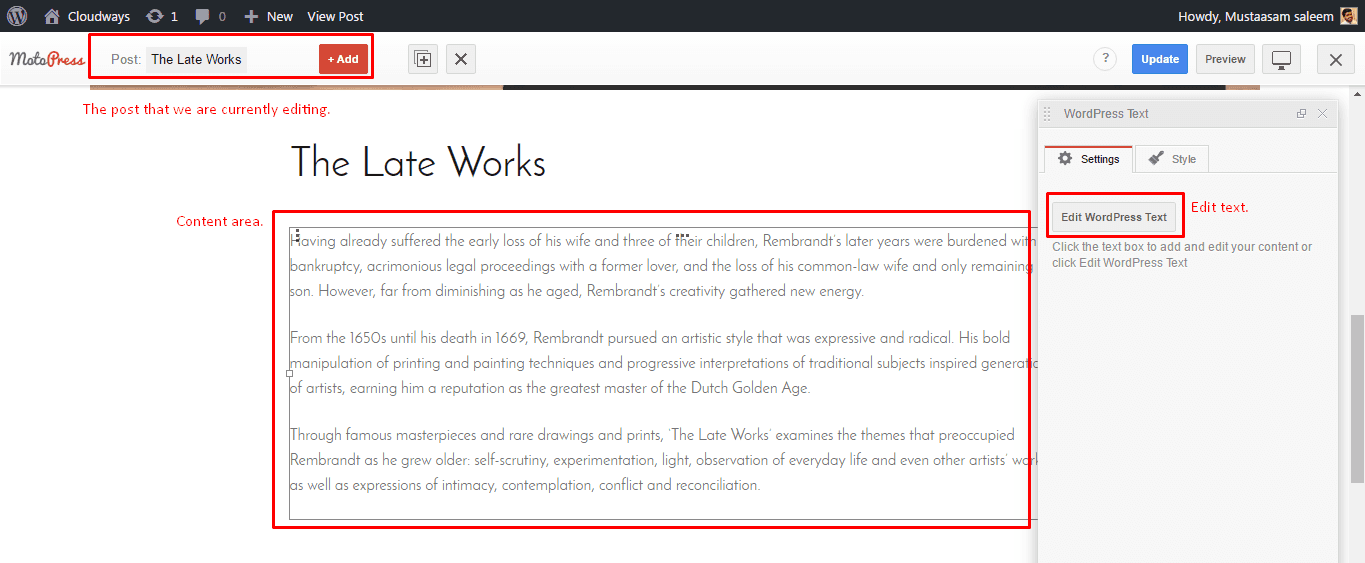
You’ll see a screen like the image below.
At the top, you can see the post name that we are currently editing. You can also add more posts by clicking on +Add button.
Content area is the area that we can customize via MotoPress. If you want to change the text of this post, you have to do it by WordPress Text. Just click on the right site where it says Edit WordPress Text. It will show a new popup to edit the text.
So what makes MotoPress any different from the normal WordPress edit text option? You might be worried about, why MotoPress is used? Don’t worry, we’re going to cover it now.
You can see the Style tab just above the Edit Text option. That is what MotoPress is all about.
Click on Style and you’ll have options to customize the content area.
There are number of options to choose from, few are described below.
- Background Color
- Text Color
- Background Image
- Padding & Margin (Top, Right, Bottom, Left)
- Border Style (Solid, Dotted, Dashed etc.)
- Border Width (Top, Right, Bottom, Left)
- Border Color
- Border Radius
After setting up these few customizations, our content area will look like something below.

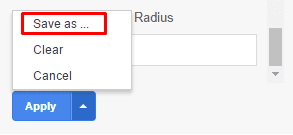
Click on Apply to save changes. You might be thinking about to use this styling on other posts too. To save this style, click on Up Arrow button just besides the Apply button and click on Save As.
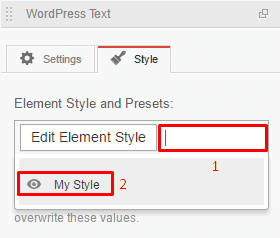
Once saved, edit another post with MotoPress and navigate to Style tab, click on blank space just besides Edit Element Style, a drop-down will appear, asking you to which saved style you want to use for that post.
In our case, I’ve saved the previous content style named as My Style as you can see it listed.
Conclusion
So, today we’ve learned how to install and use amazing Artwork template on a Managed Cloud hosting. If you have any query related to Artwork or Cloudways, feel free to discuss in comments. We would love to answer your queries.
In case you're seeking premium themes to put up a professional website, take a look at the Best WordPress Themes 2017.
Don’t miss out these all-time favourites
- The best hosting for a WordPress website. Tap our link to get the best price on the market with 82% off. If HostPapa didn’t impress you check out other alternatives.
- Monthly SEO service and On-Page SEO - to increase your website organic traffic.
- Website Installation service - to get your template up and running within just 6 hours without hassle. No minute is wasted and the work is going.
- ONE Membership - to download unlimited number of WordPress themes, plugins, ppt and other products within one license. Since bigger is always better.

Get more to your email
Subscribe to our newsletter and access exclusive content and offers available only to MonsterPost subscribers.

Leave a Reply
You must be logged in to post a comment.