How to Use Photoshop Brushes: A Quick Tutorial
Just a couple years ago I considered Photoshop a tool for photographers, web designers creating html templates and those who don’t own an Illustrator license. Yep, I was a douchebag and a convinced vector chauvinist. However, the main reason of me avoiding Photoshop was my extremely old PC. I avoided it as long as I could using simpler and less memory-consuming tools instead (Paint.NET and even MS Paint for minor corrections).
But the last update of Photoshop CC made me surrender to the power of this graphic editing software, its flexibility and perfect compatibility with Illustrator (which is still my primary design tool). What really impressed me is the versatility of Photoshop brushes and the ways they can be used.
In this quick tutorial I will explain you what Photoshop brushes are, where to download and how to install them.
What Kinds of Photoshop Brushes Are There?
Structurally, all Photoshop brushes are all the same, but there are many variations suitable for many different situations.
- Artistic brushes for drawing. Typically, these are dense brushes with a consistent flow that can be used for painting continuous lines.
- Large brushes for filling large areas with a texture. These are applied by clicking the canvas once or several times. They are not recommended for dragging across your design, as their texture will become smudged.
- Scatter brushes for adding accents to design works. These are smaller that texture brushes, but you can use them the same way as the latter.
- Object brushes for placing objects easily – raster images converted to a brush file format for the ease of use.
How to Install Photoshop Brushes?
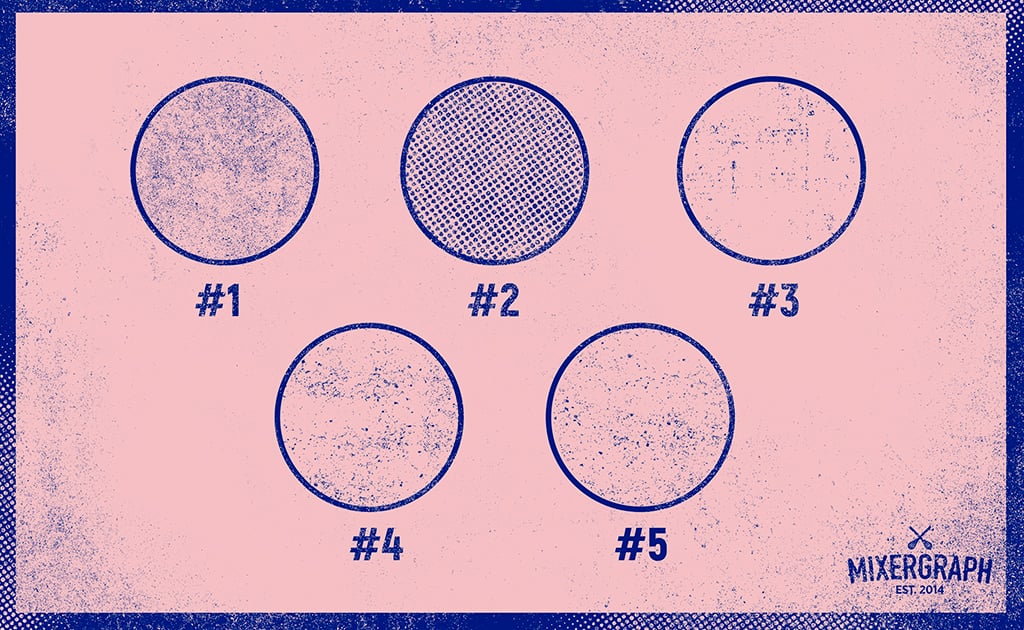
For this tutorial we will use the set of free Grunge brushes by Mixedgraph, which can be downloaded from the author’s website. The set contains 5 gritty and halftone brushes packed into one ABR file – just what we need for our test drive.
There are several ways of installing Photoshop brushes.
- The first way is to simply drag your ABR file to the Photoshop window (not the opened file) and drop it there.
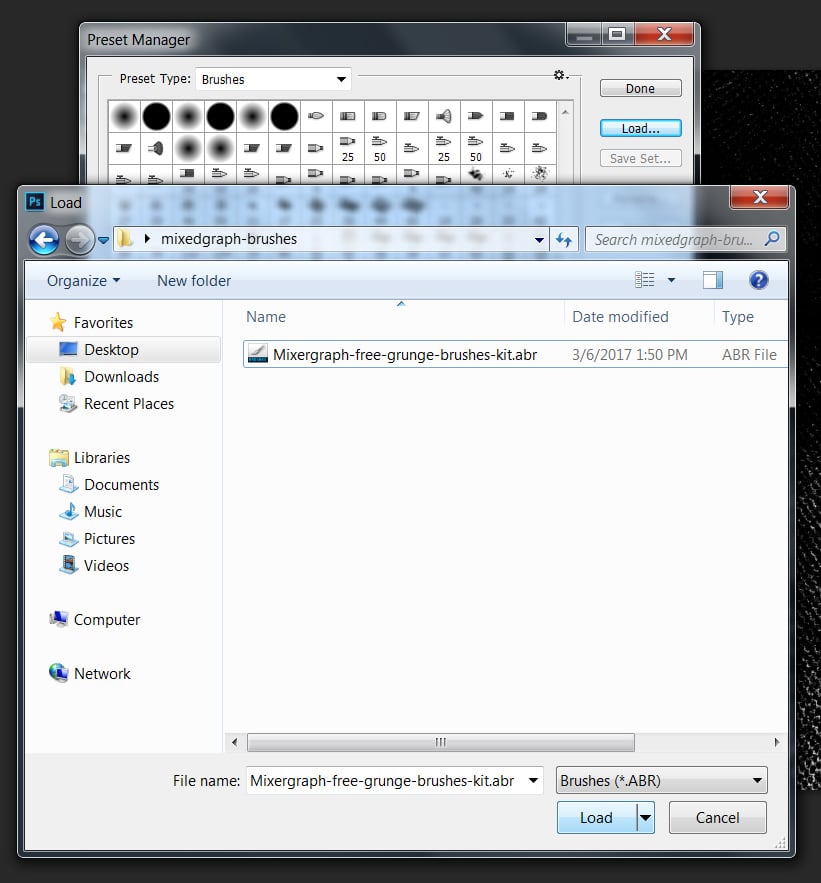
- The second way requires some extra steps, but the result will be the same.
- Open Photoshop;
- Go to Edit – Presets – Preset Manager;
- In the Preset Manager, choose the Brushes tab;
- Choose the .ABR file with the brushes of your choice and press Load.
That’s it. All of the brushes in that ABR file are now in your brush library. They will be available next time you open Photoshop, and you don’t need to save or export them anymore.
How to Use and Fine-tune Them?
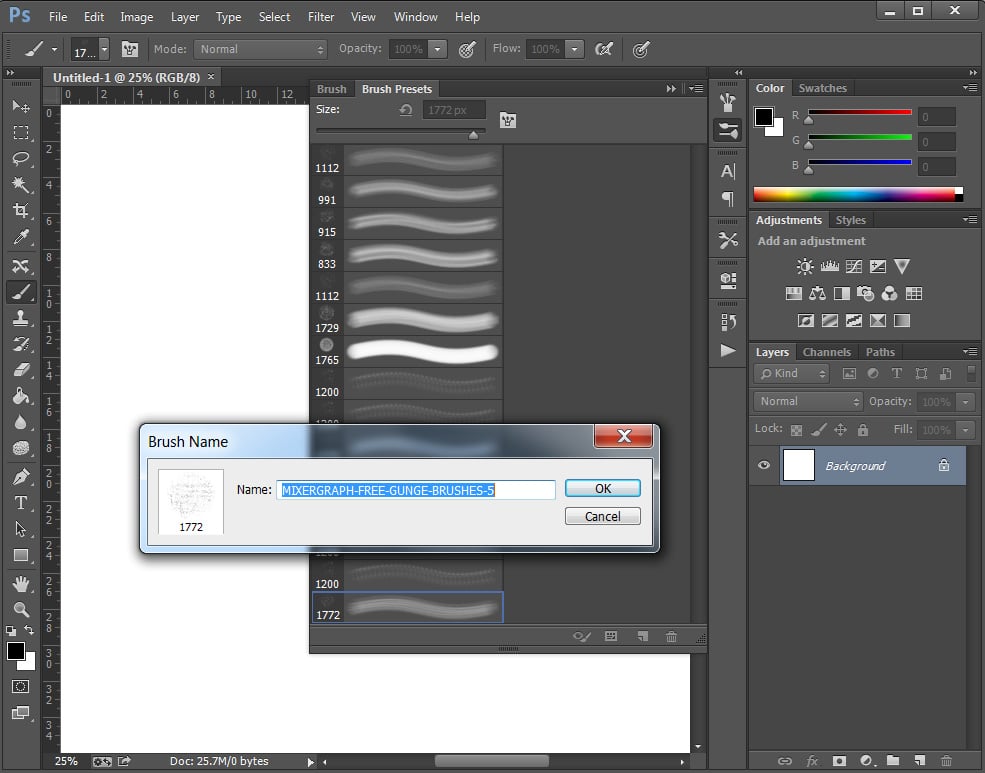
Your brushes will be inactive until you select the Brush Tool. Click on it – and you will be able to choose any brush preset from your collection and draw with it.
Tip: If you don’t see this button, click Window – Brush and enable the toolset.
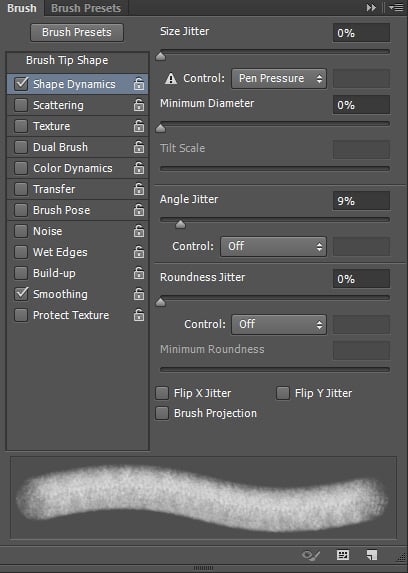
There are two tabs related to brushes – Brushes and Brush Presets.
- The Brush Presets tab is your working palette. They include all the brush settings and are ready to use.
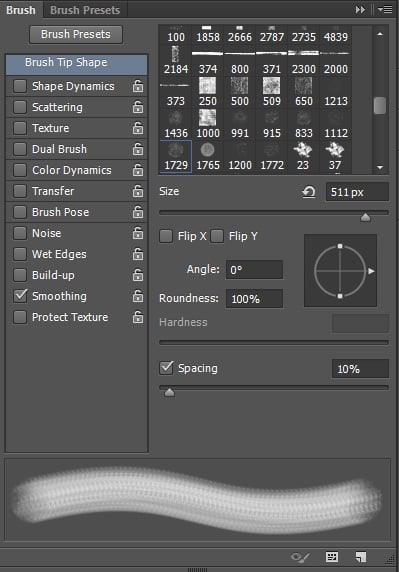
- The Brushes tab allows you to fine-tune various options and requires some skill and experience.
Photoshop provides plethora of options for fine-tuning the appearance and the behavior of your brushes. To browse them all go to the Brush Tab in the right sidebar of Photoshop.
The parameter that you will probably change the most often is the size of your brush. It is located on the main page of the Brush tab.
Another cool modifier is the Angle Jitter (the Shape Dynamics tab). Enabling this option will allow the brush to change its angle with each application, thus making the final result more chaotic and natural looking.
Other options affect the appearance of the brush: its smoothness, the amount of noise, textures, etc. By playing with them you will be able to create absolutely new visual effects.
Where to Get More Photoshop Brushes?
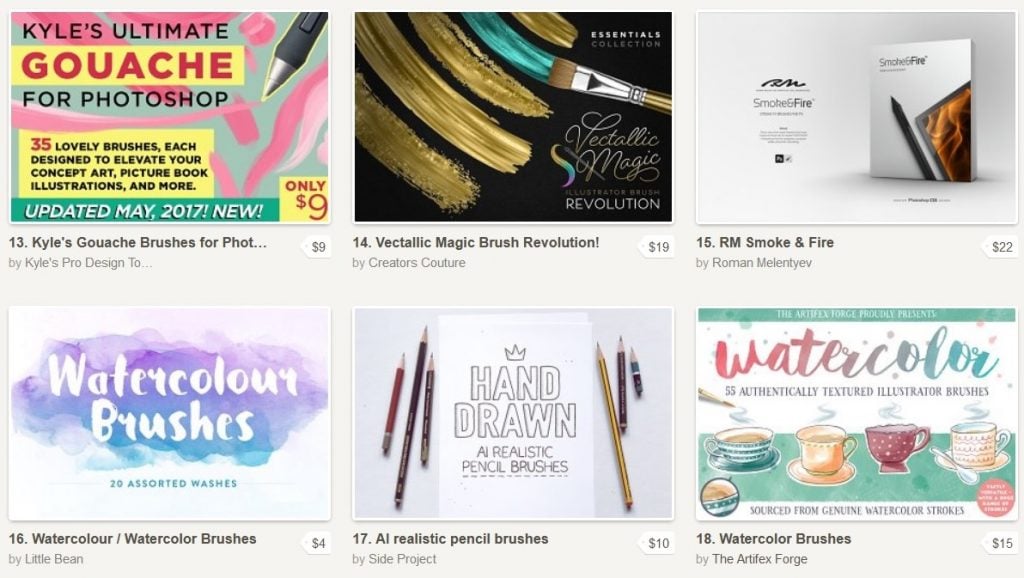
As any digital product, Photoshop brushes are represented by free and paid specimen. Free brushes can be found in abundance on DeviantArt, Dribbble, Behance and Brusheezy. Paid brush packs can be found on Creative Market, MasterBundles, The Hungry JPEG and other design marketplaces and deals websites.
Moreover, here on MonsterPost we have published a number of roundups featuring amazing free brushes on different topics. Take a plunge:
- 50 Free Smoke Brushes for Photoshop
- Swirl, Floral, Tree & Leaf Photoshop Brushes
- Free Floral Photoshop Brushes
- Free Scatter Brushes for Photoshop
- 50 Free Swirl & Floral Brushes for Photoshop
Typically, packs of premium brushes are larger, more professionally made. They also often include bonus assets such as textures and actions. But there are pleasant exceptions. For example, the aforementioned Grunge Brushes by Mixedgraph offer premium quality, yet are absolutely free for personal and commercial use.
Wrapping Up
Brushes are awesome because they are a design multi-tool, and allow you to apply many kinds of effects and potentially replace a whole bunch of specialized tools. If you are an absolute beginner mastering brushes (along with layer masks and blending options) will give you a great launch pad in learning Photoshop.
Get more to your email
Subscribe to our newsletter and access exclusive content and offers available only to MonsterPost subscribers.

Leave a Reply
You must be logged in to post a comment.