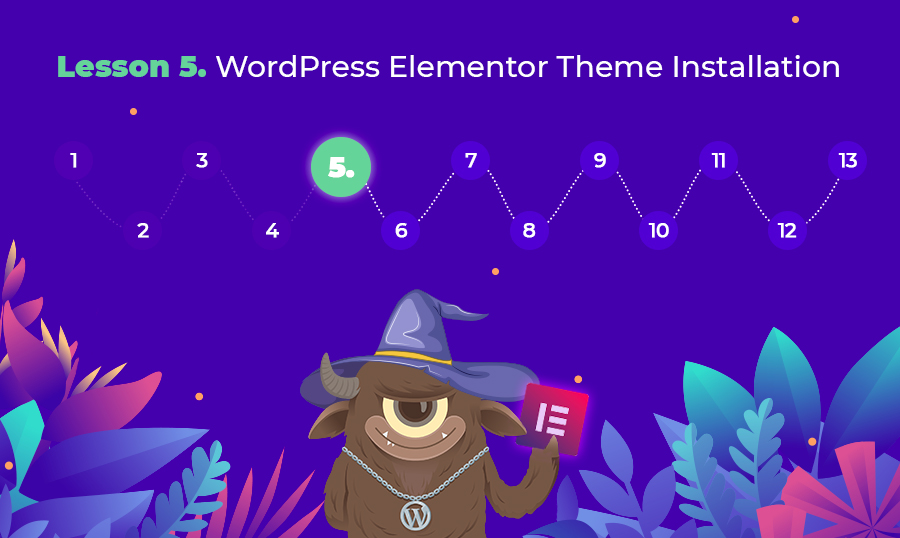
Lesson 5: WordPress Elementor Theme Installation
This lesson is a part of the How to Build & Maintain Elementor WordPress Website? course.
Hi, everyone!
In Lesson 4 we've checked in on the WordPress dashboard. This lesson is the easiest in the whole tutorial. I’m going to show you how to install a WordPress theme on your newly installed engine. I’m going to use the Monstroid2 theme, it’s a great option for a website of any niche and complexity.
Let's roll.
It’s built with Elementor so you won’t have any difficulties customizing it. The installation process is semi-automatic and will require a minimum of your “manual labor”.
First of all, we need to download the best WordPress theme for a website of any business niche that’s the Monstroid2 modular WordPress theme.
Here you can grab a promocode that grants you a 10% discount 🙂
XXXXXXXXXXX
Let’s roll!
Further, you will find details of the purchase process at Template Monster marketplace. It’s pretty straightforward so you will find it easy buying this theme.
After the order is confirmed you will find the Monstroid2 theme in your account.
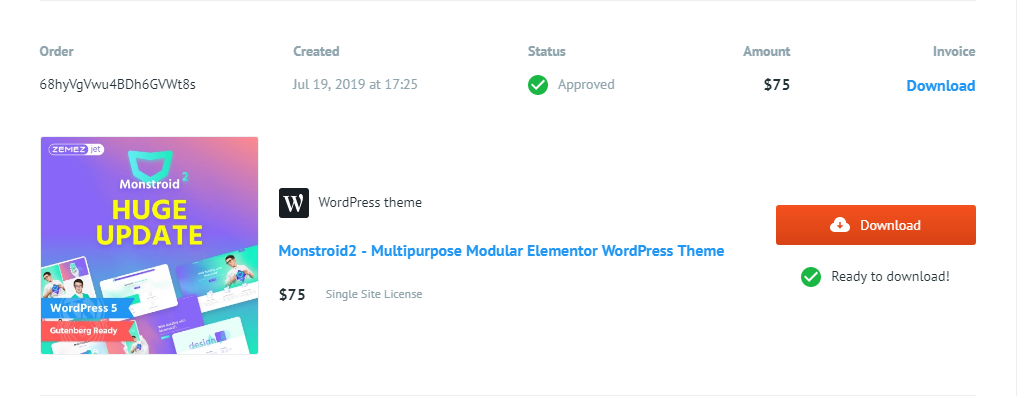
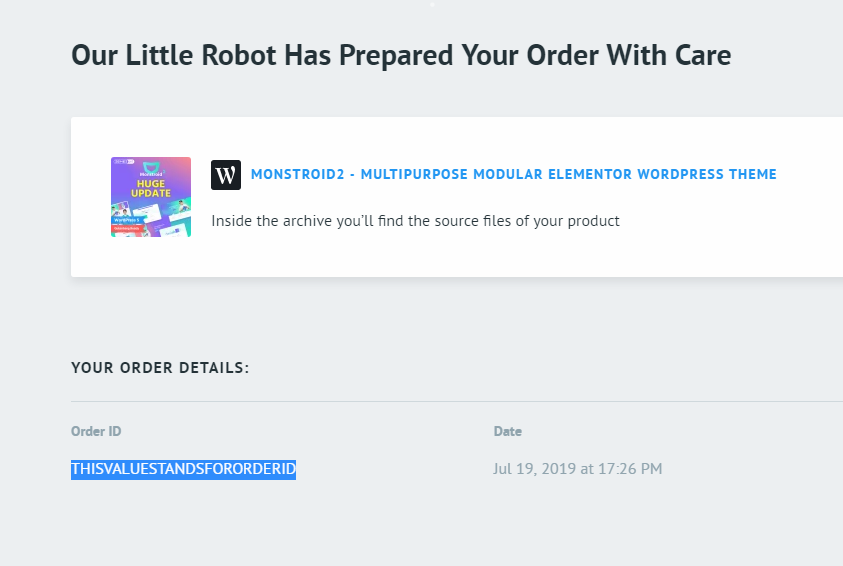
Just hit the download button to go to the page where you can download a theme package.
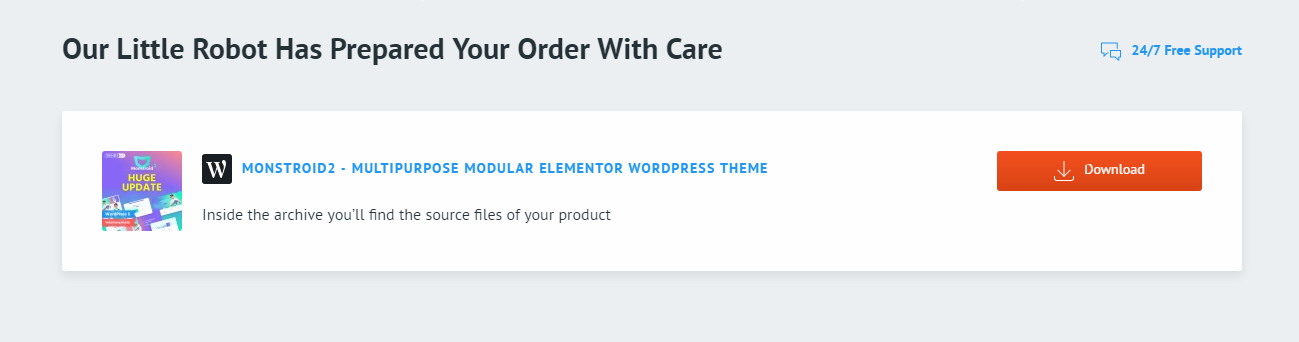
Hit the red button and unzip the archive. Inside you will find several folders that include documentation, files for manual installation and theme wizard. Theme wizard is the thing we need.
Theme wizard is a plugin, yes, Monstroid2 theme is installed via a plugin. Here you can check the details of the Monstroid onboarding process, it’s quite interesting.
Let’s move on to the installation process. If you prefer videos you check the installation process here.
Step 1
Go to the plugins section and upload the theme wizard.
Step 2
After it’s uploaded and installed you need to activate it.
Step 3
To be able to use the Monstroid2 theme you need to insert your order id into this form.
Step 4
When your order ID is activated you’ll be offered to install either the child theme, or the parent theme. I will choose the parent theme.
Step 5
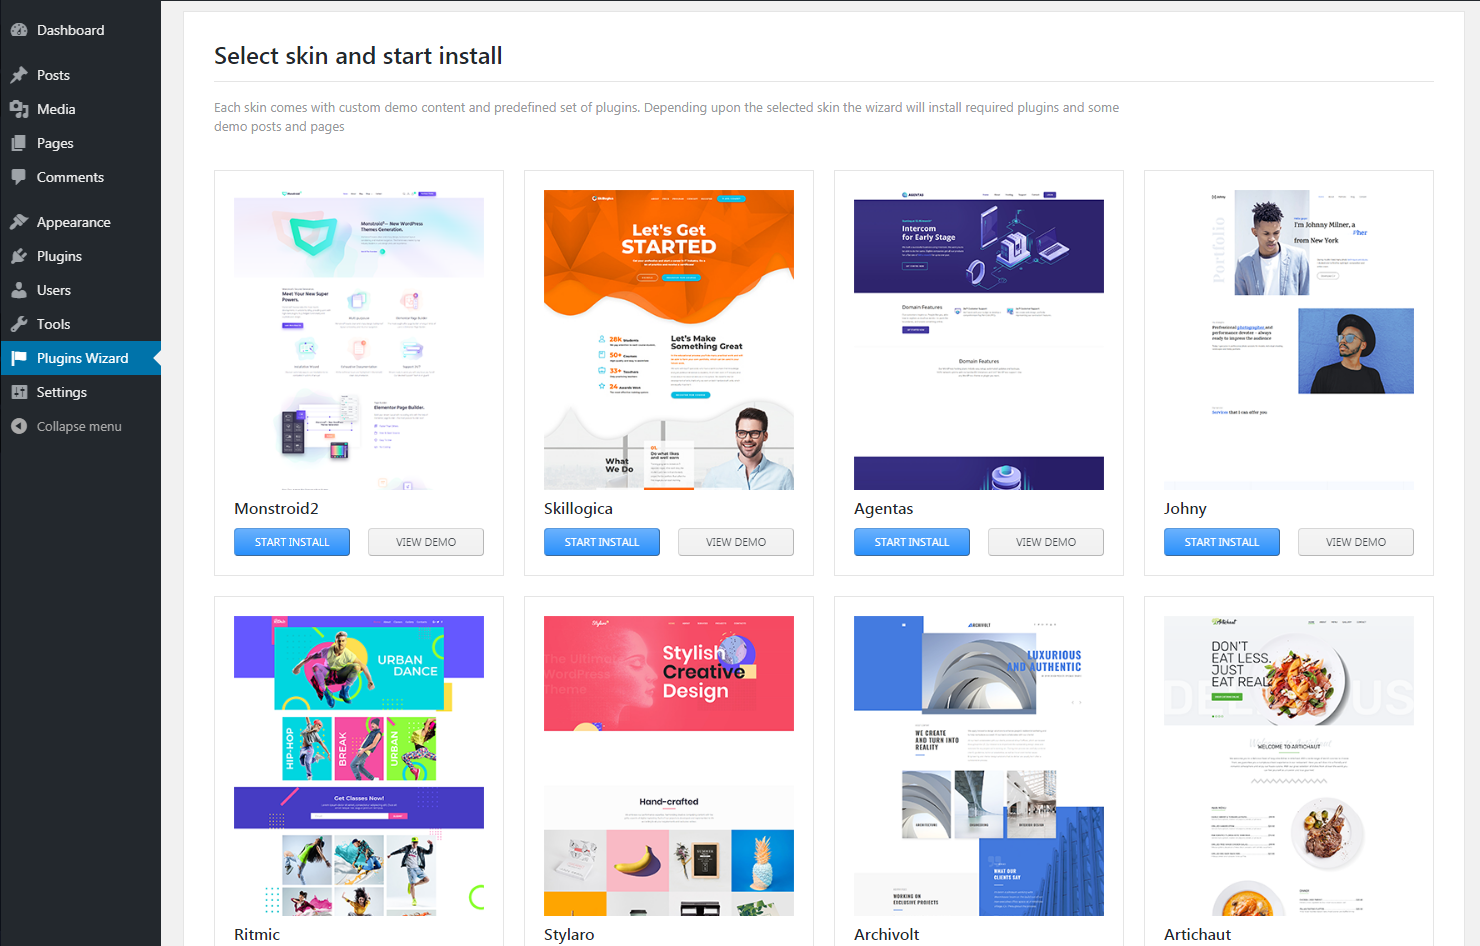
On the next step, we need to choose the skin, I’ll opt for the main one.
Step 6
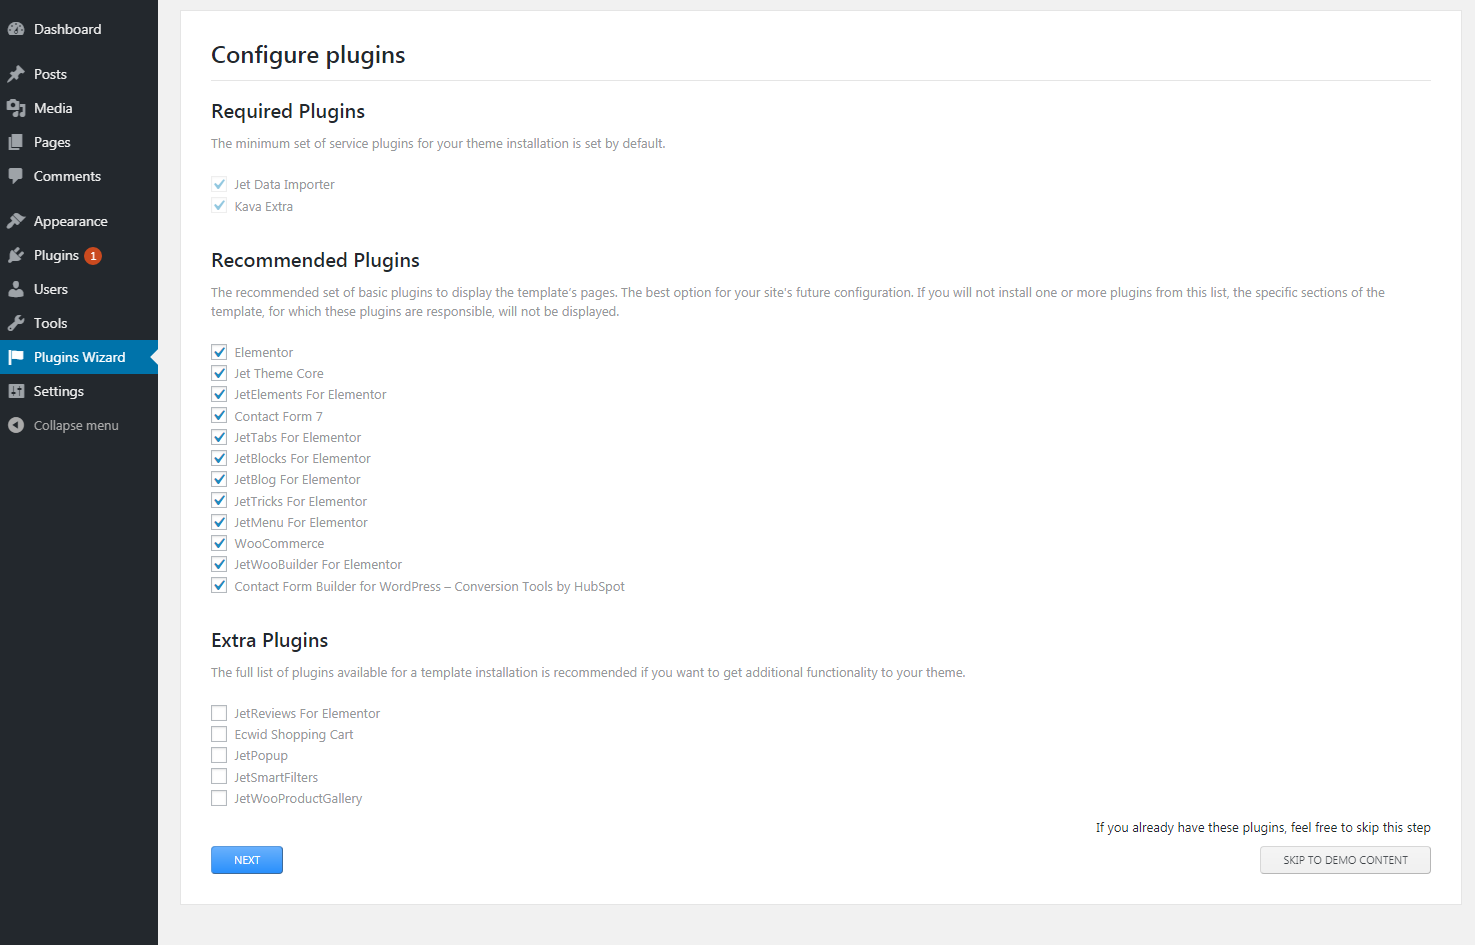
On the next step you should choose which plugins to install, if you remove the checkmark, certain functionalities will become unavailable.
Step 7
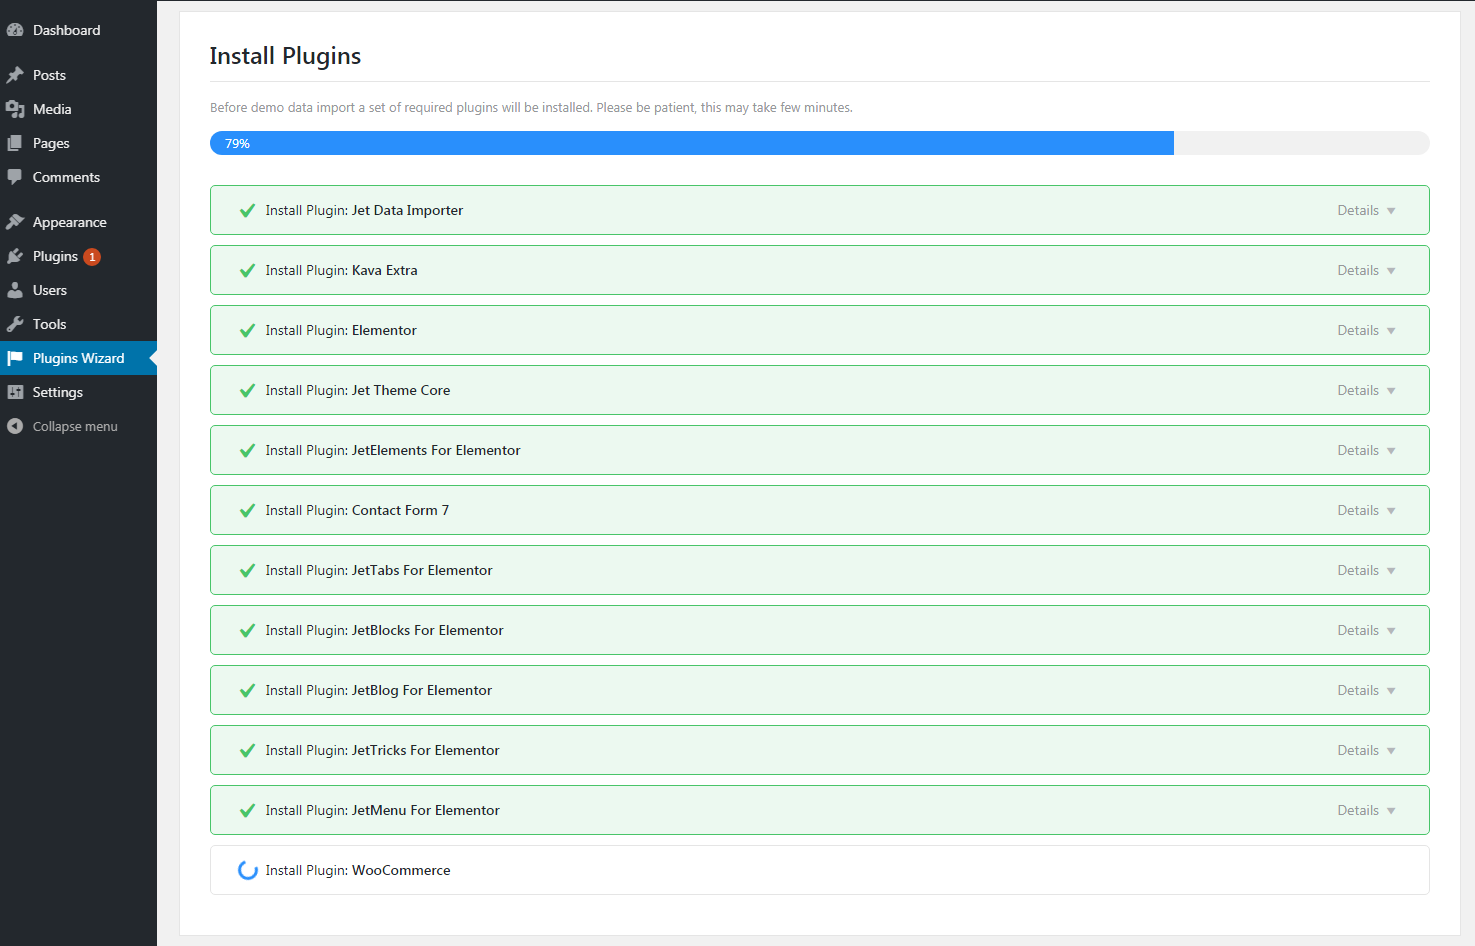
The plugins are currently being installed.
Step 8
Now it’s time to choose either to install sample data or not. If it’s your first installation, and you don’t have any content then you can install sample data, it will help you to understand how some theme functions work, and you’ll be able to learn more productively.
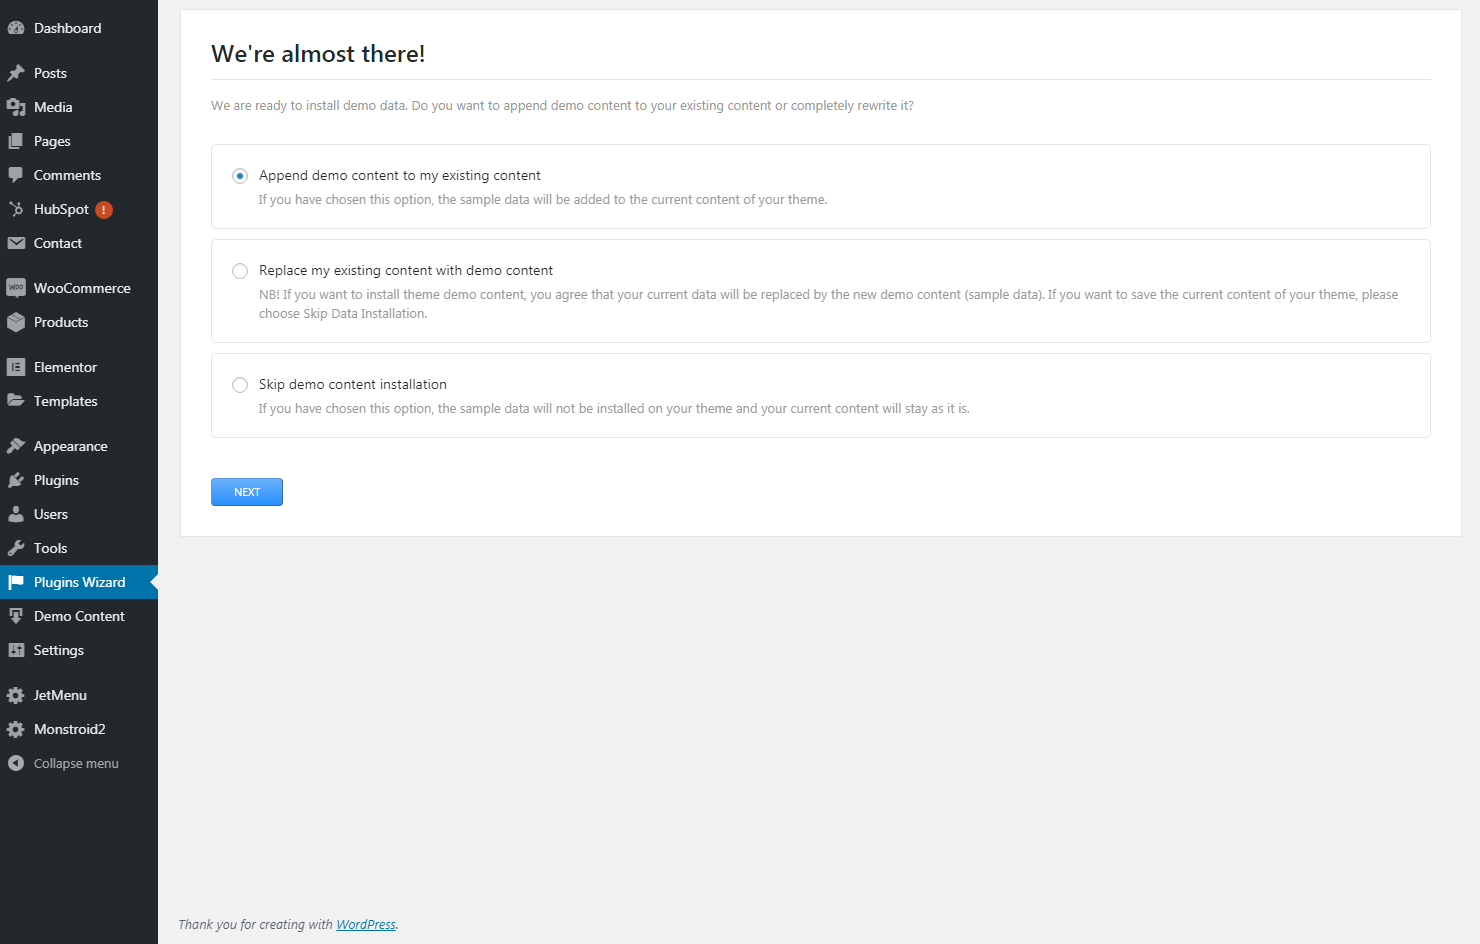
In case you have previously created some content you’re not recommended to apply sample data since it will replace your initial pieces of content.
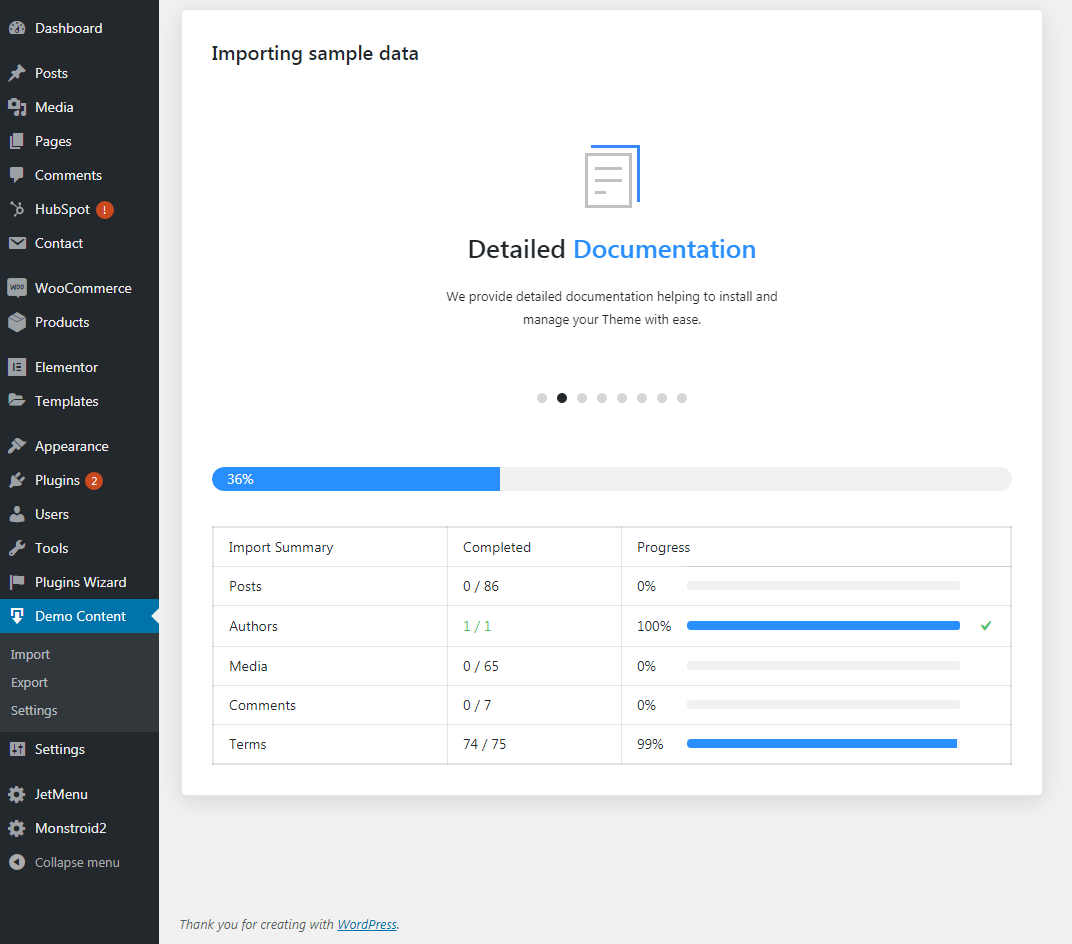
Step 9
Sample data installation is in process.
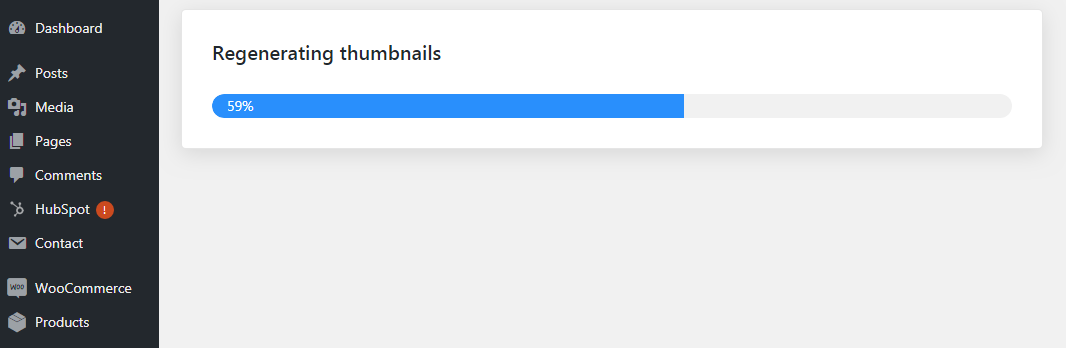
Step 10
After it’s downloaded and installed the thumbnails should be regenerated.
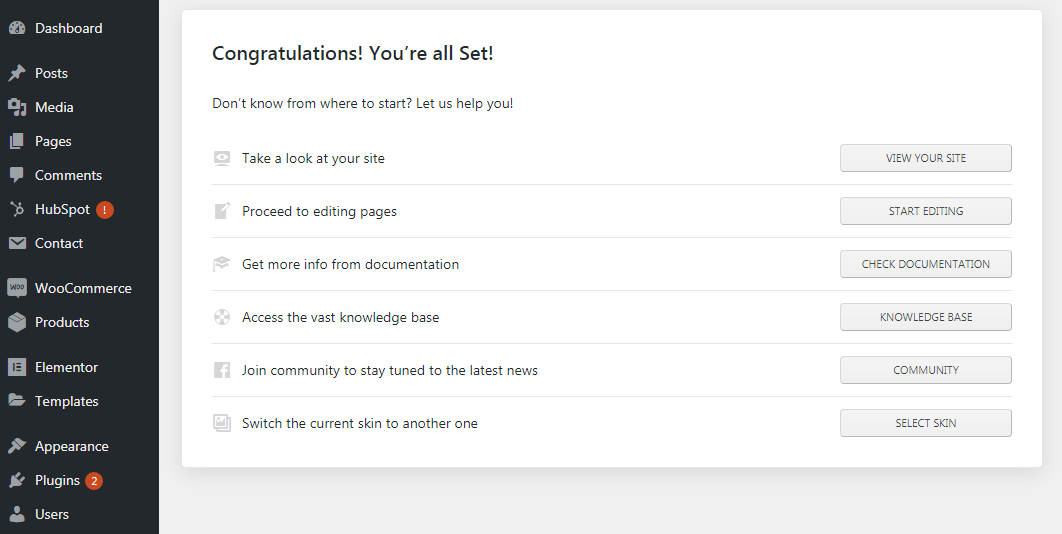
Step 11
That’s it, when you see this screen it means that you’ve successfully installed the Monstroid2 theme.
End of the lesson.