How I Went Mystery Shopping to ThemeForest and TemplateMonster, and What Did I Find
For a number of years I have been hearing those stories about people who dressed like the spies of the 1970s, in long cloaks and hats, visiting various establishments to buy assorted things, or perform some activities for which they pay.
Later they would write nasty reviews relating how they were treated like stray dogs, how they found cook’s hair in their salad or something like that.
Since my shopping experience, most of the time, happens online I decided to mystery shop two websites that sell products of the same kind, but of different quality (that’s what their clients say in the product reviews.)
As you may have already deduced from the headline, those websites are ThemeForest.net and TemplateMonster.com
As a part of my hobby, I often use some free themes to make niche websites. No, I’m not selling these, I’m just making them for fun, like a website for a professional sleeper, “Hit Sacker”, I’m going to present you a screencast customization tutorial soon.
How Did I go About This?
First of all I had to register a mystery shopper’s email account at Gmail.com so I could shop without being traced.
Next step was to pick some templates at both marketplaces.
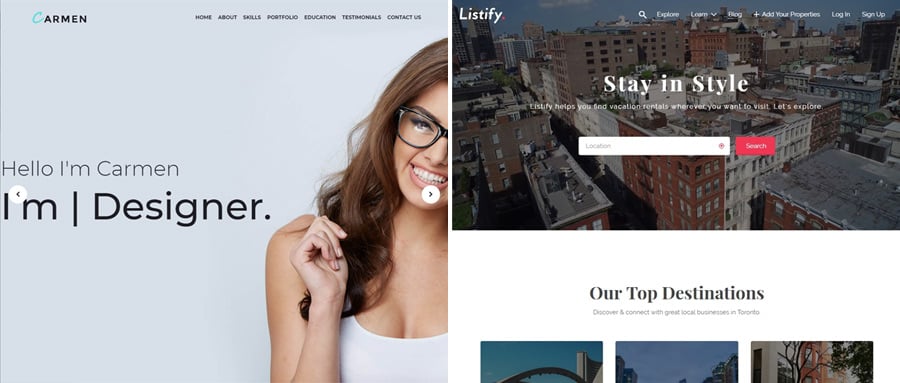
At TM it was Carmen Design Portfolio WordPress Theme, and at TF that was Listify WordPress directory theme.
Why Did I Choose These Templates?
I chose Carmen because it’s a one-page WordPress theme. Up until now, I had not tried TemplateMonster’s one-page themes, but 80% of similar templates from other providers had some minor flaws in customization, or some issues that showed up while importing sample content.
Listify is a directory WordPress theme, that has a few skins onboard and supports Beaver Builder, so I thought this might be a good one with which to experiment.
Which Criteria Will I Use to Evaluate These Themes?
I think there should be no more than three criteria that I’ll evaluate on a 1 to 5 scale.

- The purchase and checkout process.
I will buy both templates using my fake account, after that I will evaluate the whole process and will characterize its major steps. - A number of registration/confirmation emails.
I will count the number of emails I receive within the first few hours after registering and making a purchase. - Installation and basic customization.
I will install both themes to my GoDaddy account and will perform some basic customization. I will edit the homepage and will install some of my favorite plugins. - Theme support.
I will invent a customization issue that’s not described by the the template provider, or I will ask some stupid question hoping to get an answer.
The Purchase Process
ThemeForest.net
Ok, let’s make a purchase.
Here at TF the process seems to be quite simple.
Hit the Buy Now, and you’ll be redirected to the cart...or not.
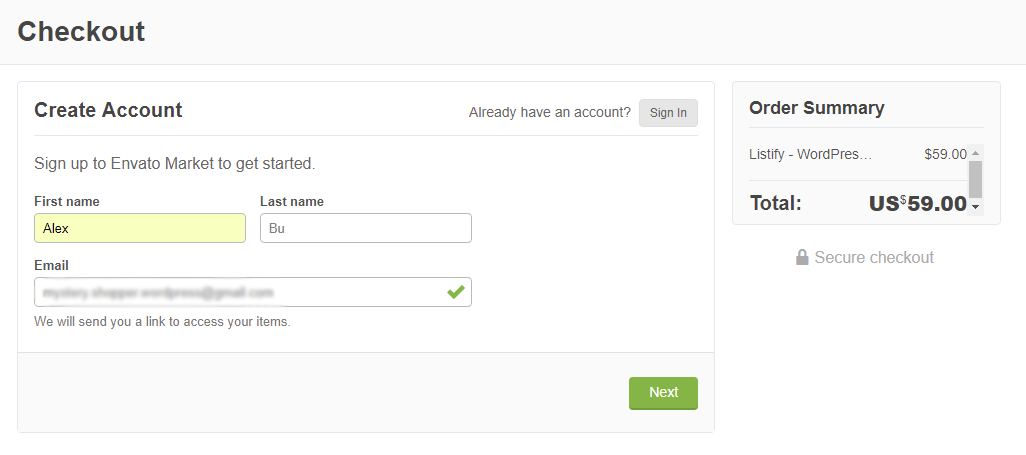
Choose a username, password and enter <U+0421>aptcha.

When you’re done, hit Create account but if you think that’s it, not so fast 🙂
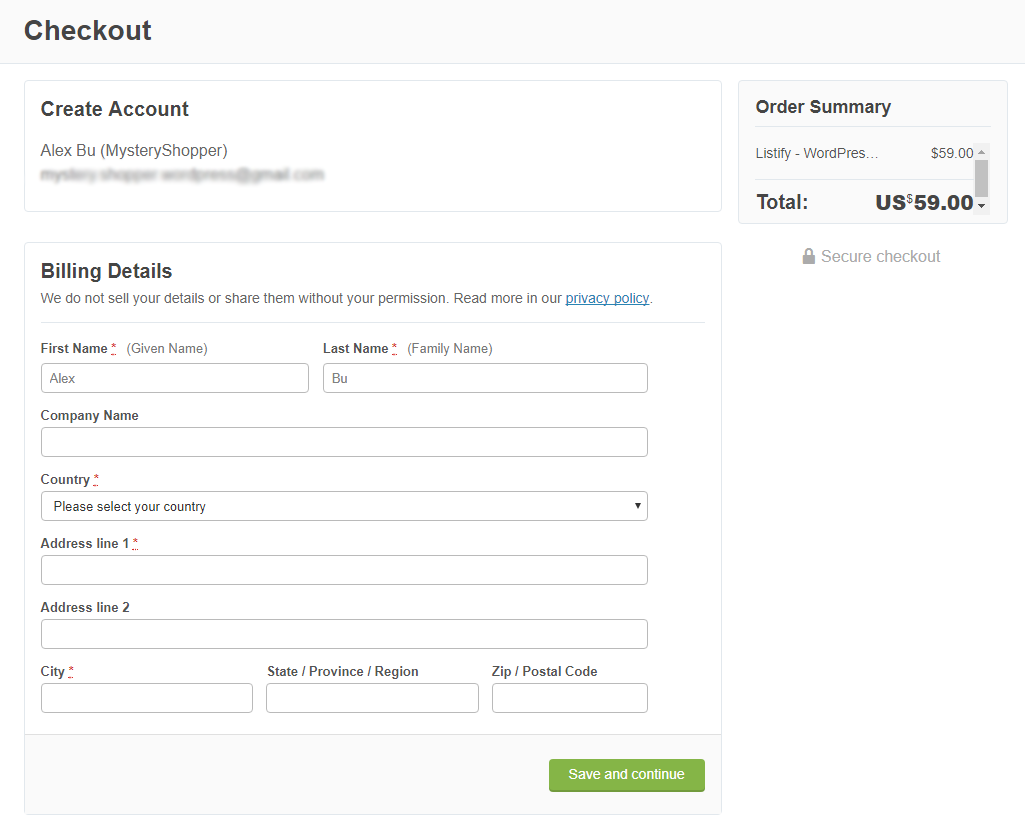
Enter your billing details and hit Save and continue. Now you’ll be able to pay for your template.

Hit the Make Payment button and you’re done.
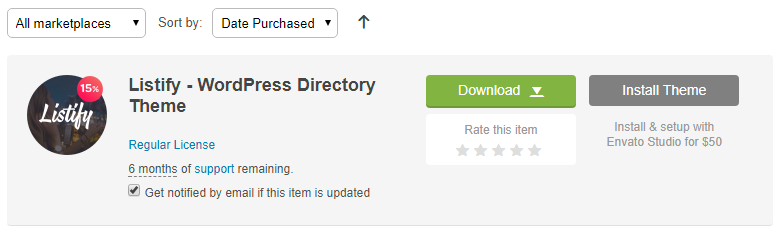
To review your downloads you can go to the Downloads section in your account.
TemplateMonster.com
OK, now let’s buy Carmen design portfolio at the TemplateMonster marketplace.

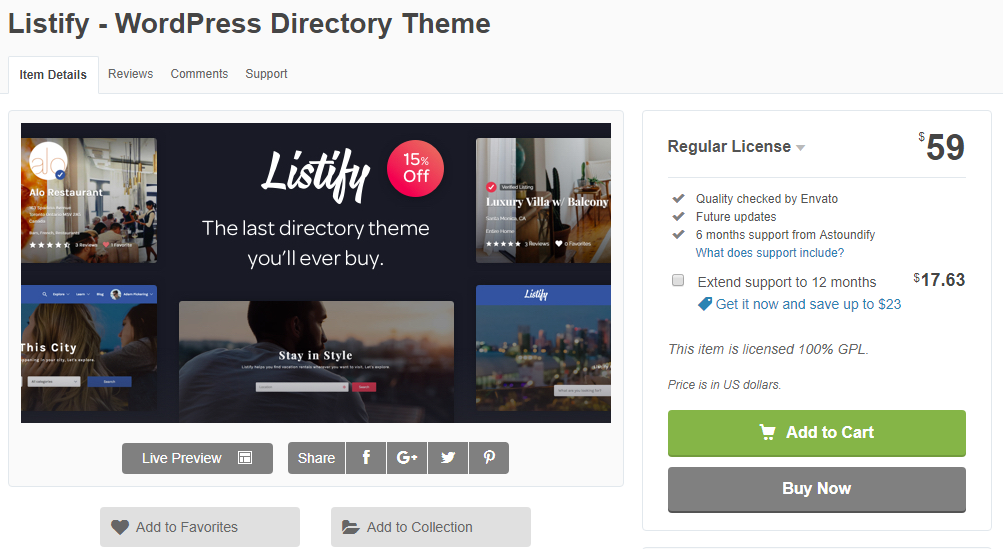
On the template’s page you need to hit a big red button Get It Now.

When you do it a popup with various on cart offers will appear, from which you can choose among customization, promotion, SEO, graphics, and others.
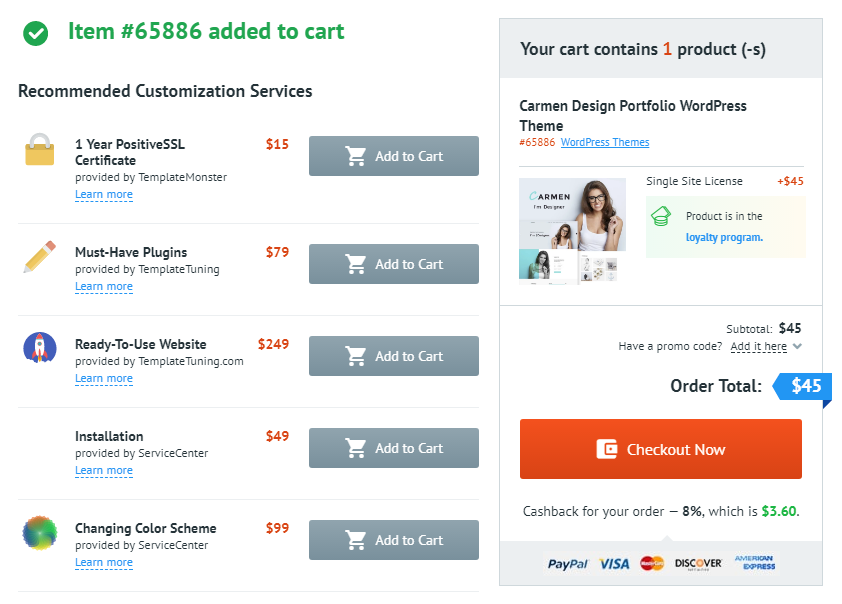
Now you can hit Checkout Now.
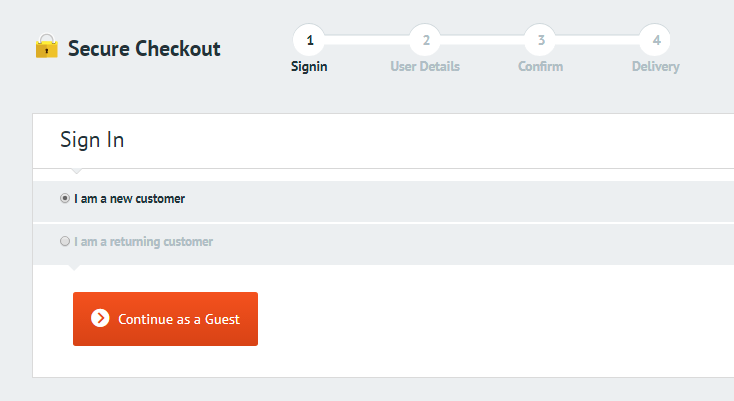
For the next step, you’re either offered an opportunity to sign in or to create a new account.
Now let’s see what’s going on in the email box. While I’ve been registering I received a confirmation email.
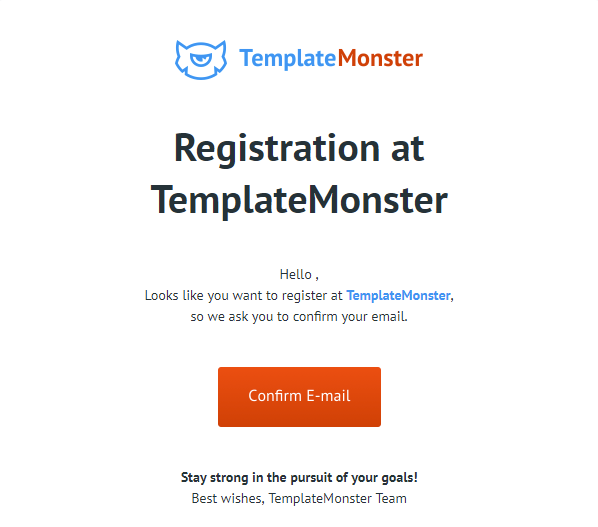
Just hit the big red button, to confirm your email.
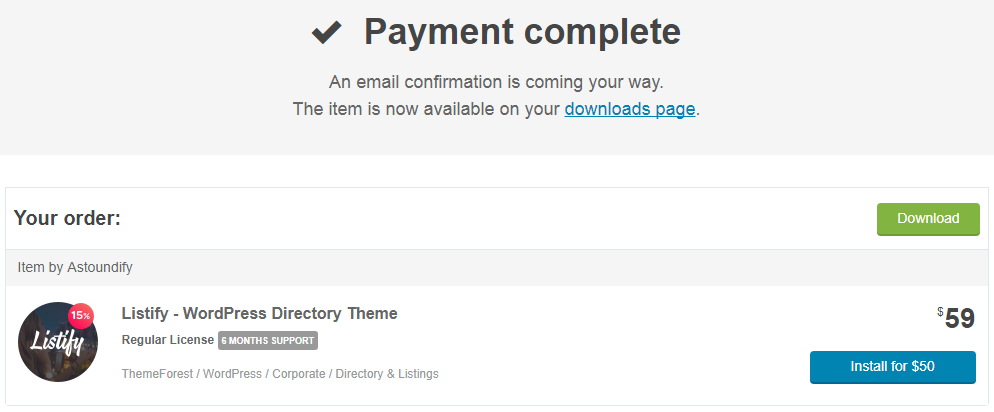
Now go back to your tab with the shopping cart, after clicking on the Download button you’ll see this screen.

In a few minutes, you will get a Thank you email where you need to click a Proceed to Download button.
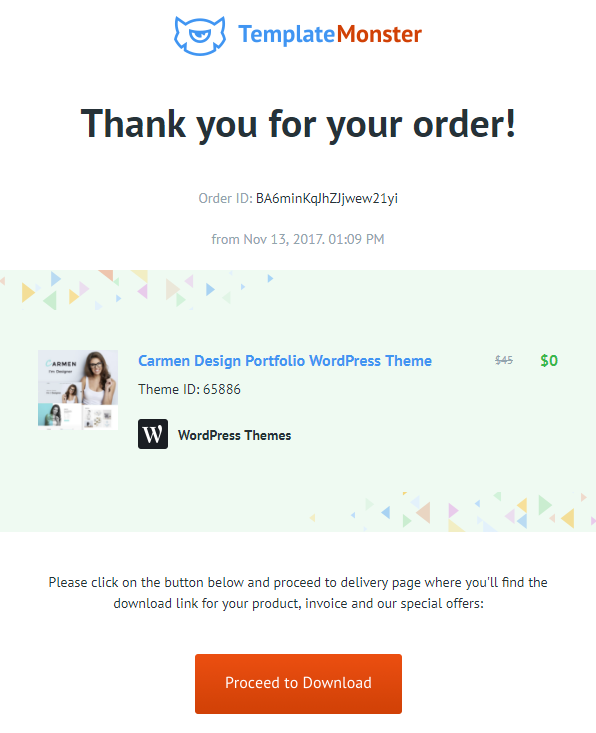
Next you will reach the delivery page, where you can download the template.
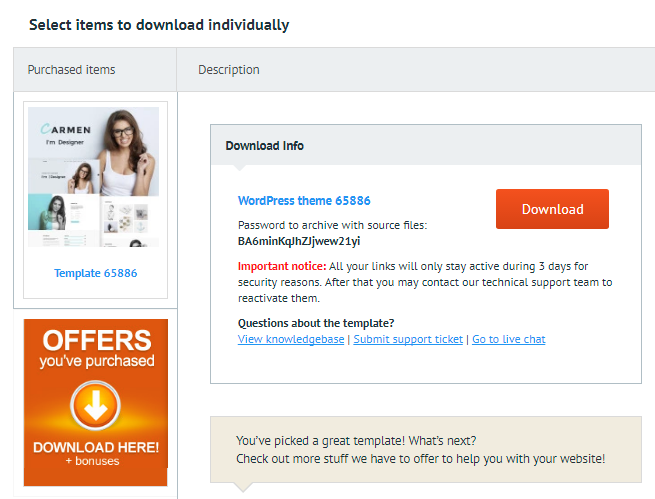
Now press Download and get your template.
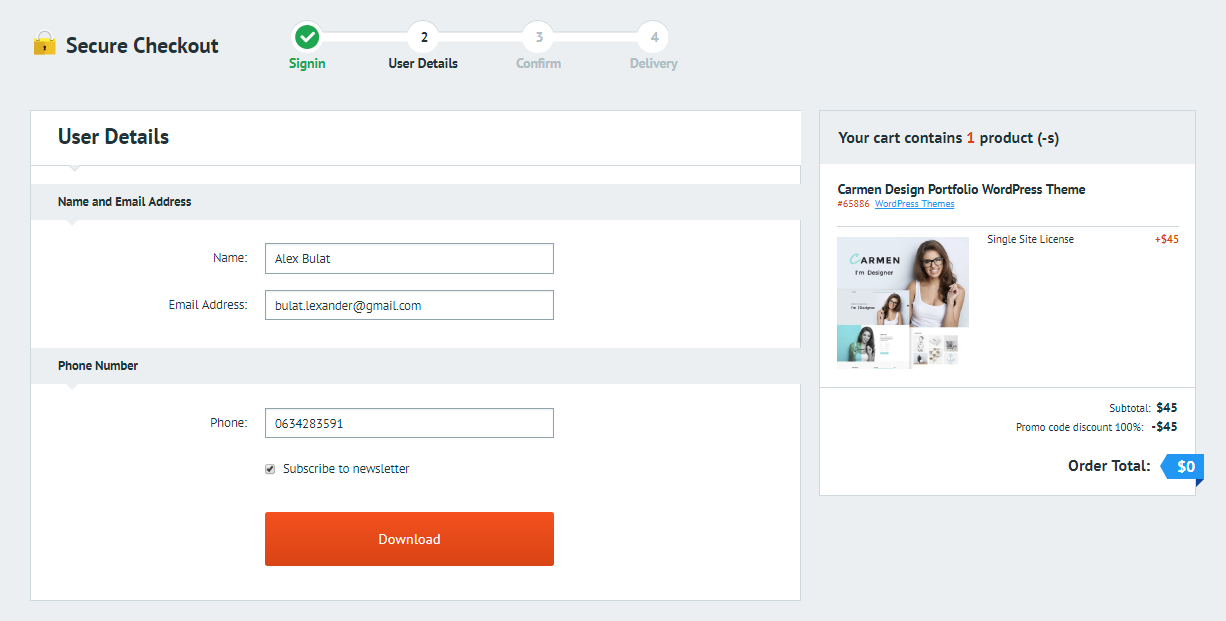
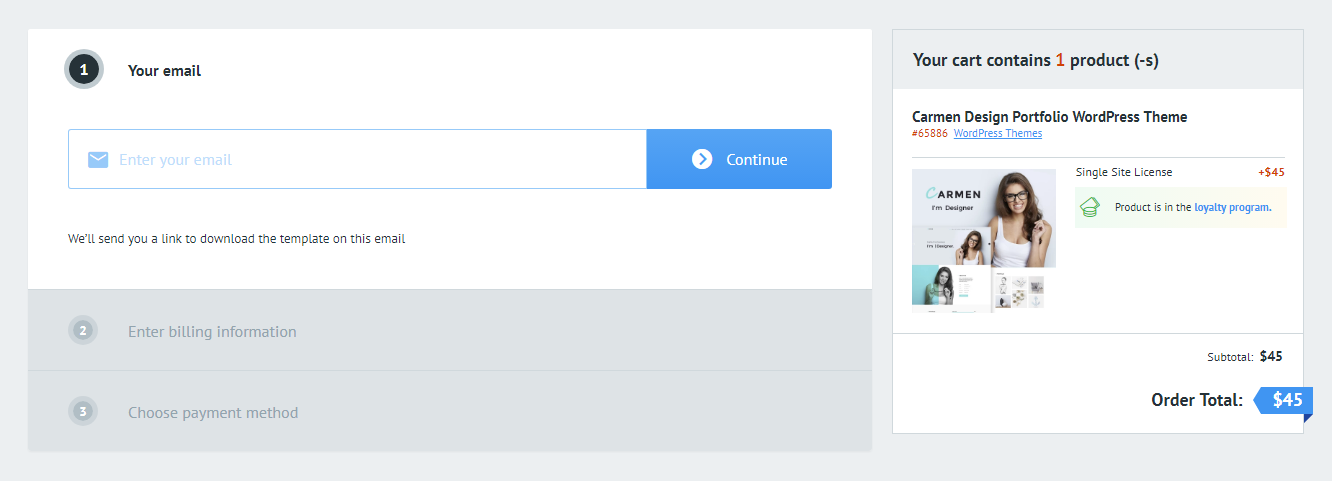
This was a checkout process from the viewpoint of a user who has an account at the TemplateMonster website. If you don’t have one you need to complete few more steps. Right after you add a template to your cart you will see this screen, which consists of 3 steps:
Step #1: Enter email.
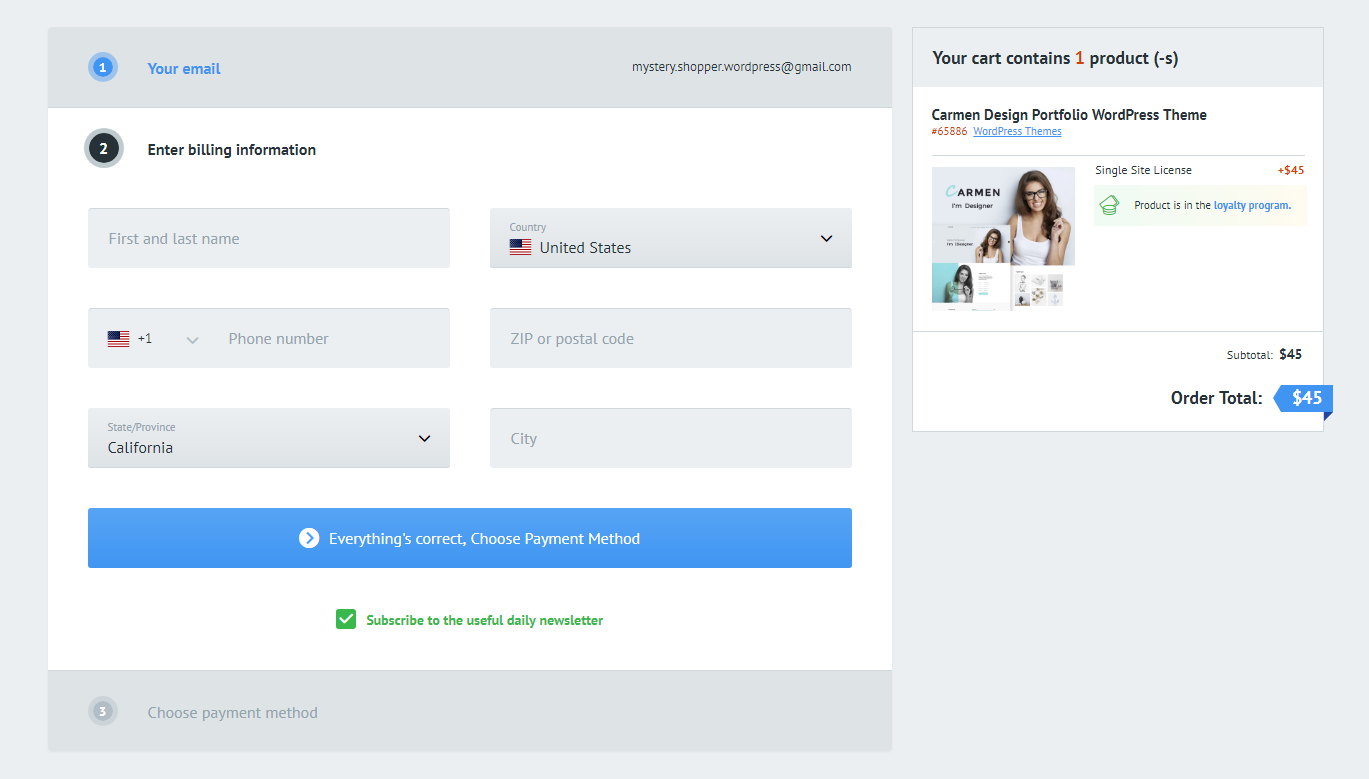
Step #2: Enter your billing details.
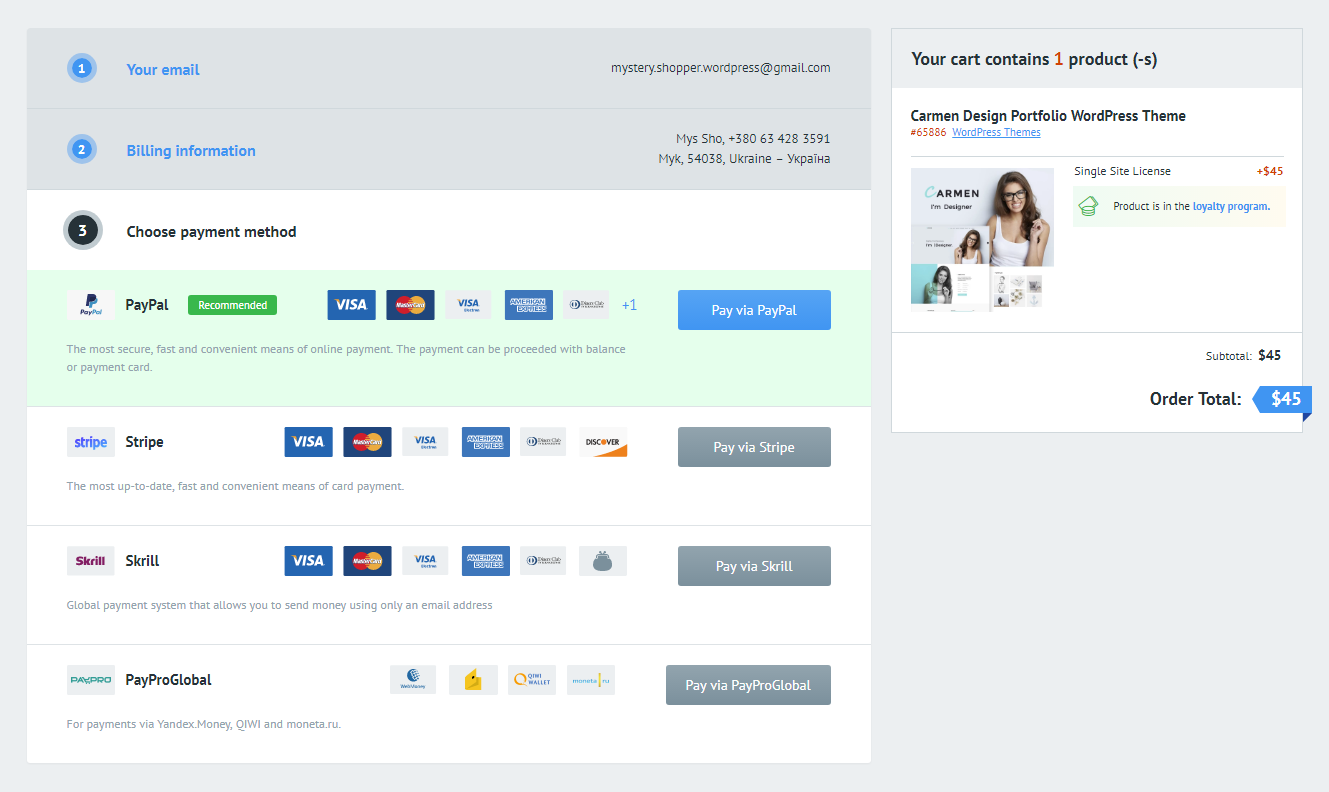
Step #3: Payment options, choose one you find convenient, as you can handling fees are not added to your cart.
When you choose Pay via... I’ve chosen Stripe, you will see this screen where you need to enter the details of your payment card.
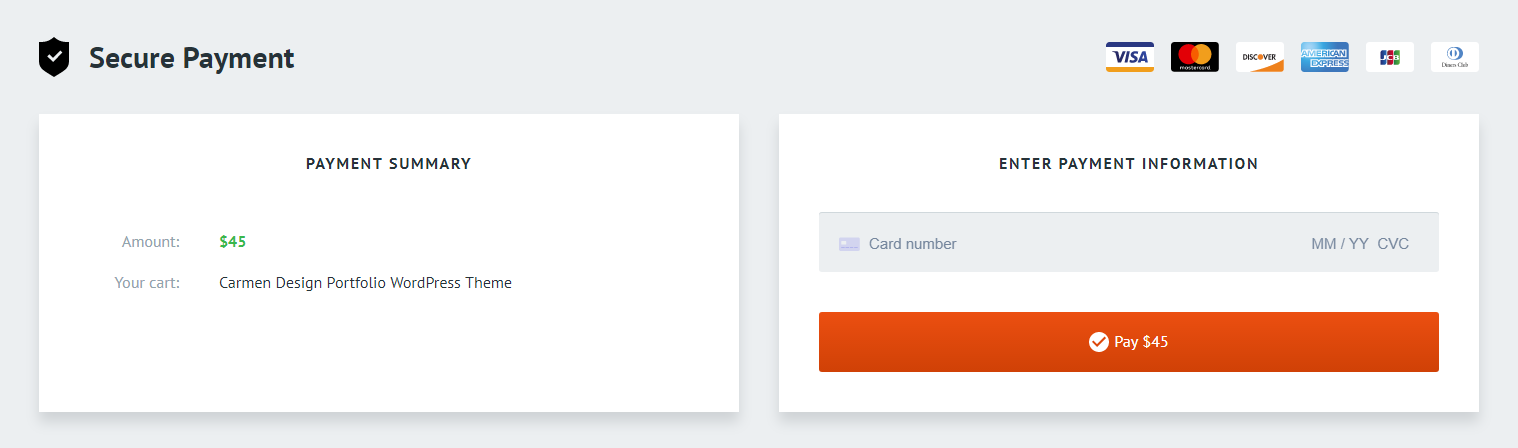
The whole process was really intuitive.
Setup and Customization Process
ThemeForest.net
Listify Theme Setup
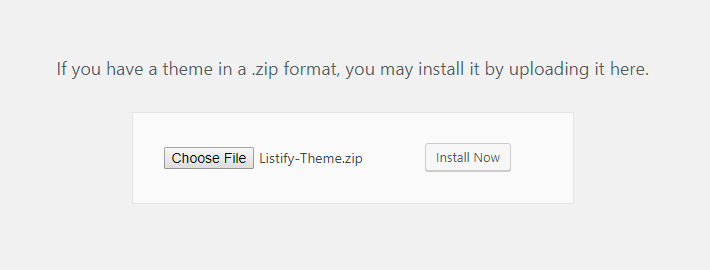
To access the archive with the theme you need to open the package you’ve downloaded from the ThemeForest website, there’s a subfolder Listify-Theme-Full-Package which contains Listify-Theme.zip, rezipping is not required.
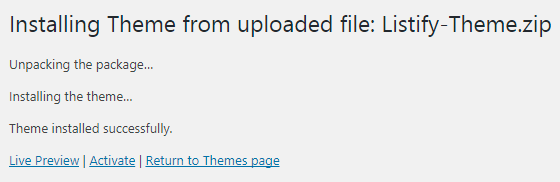
Apload the theme's archive from the Appearance >> Themes section.
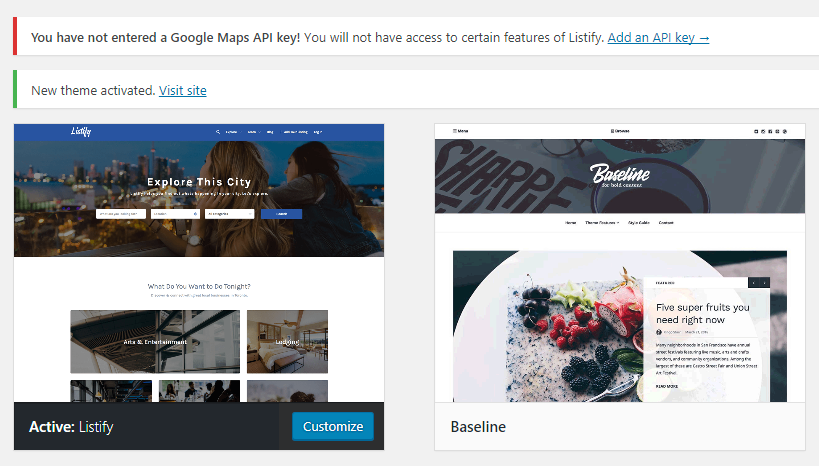
After Listify theme is installed, activate it.
After it's activated, it’s time to conduct some additional manipulations.
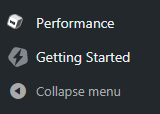
On the left menu find the Getting started section, there you need to choose Setup guide. This guide will help you fine-tune the template, upload demo data, and install its major components.
The guide consists of a few sections, each of them either installs additional components or configures the look of the template/your website.
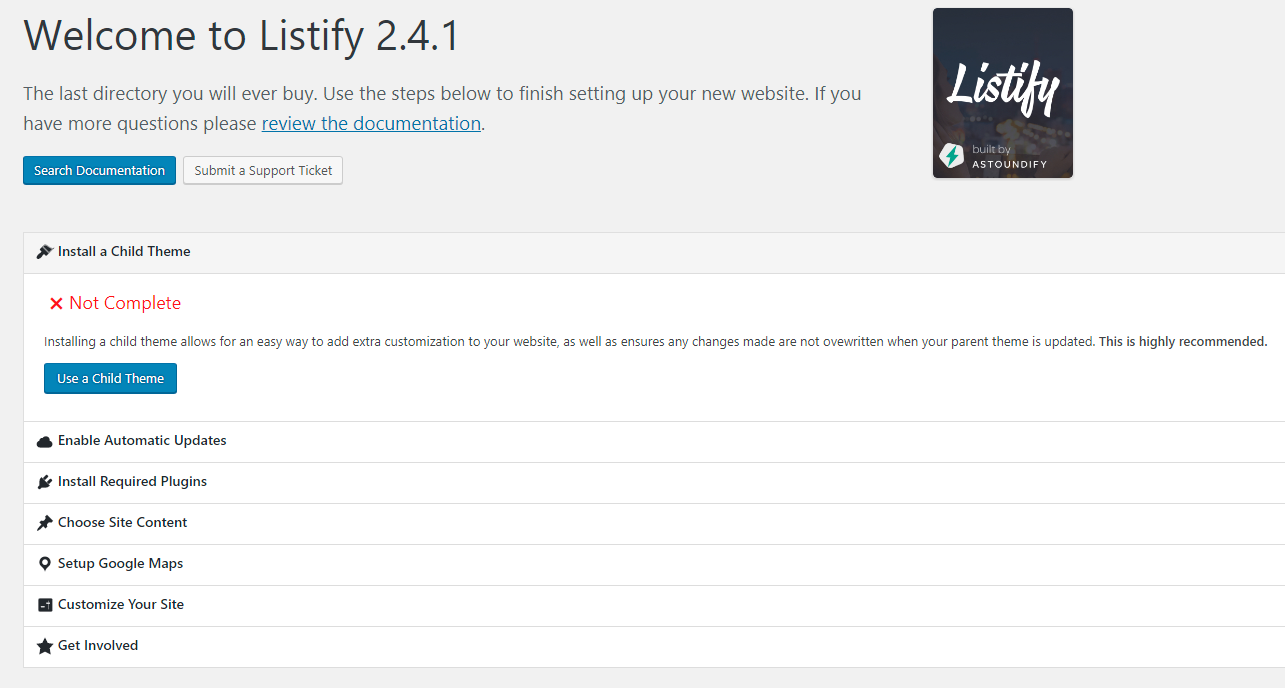
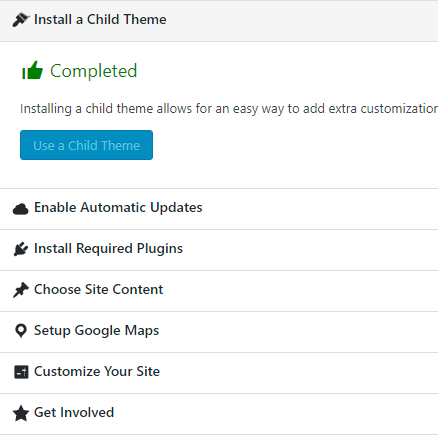
Initially, you're recommended to install a child theme, it's a sort of a safety step, all changes you're going to do with your theme will be reflected only on the child theme, the parent theme will not be affected.
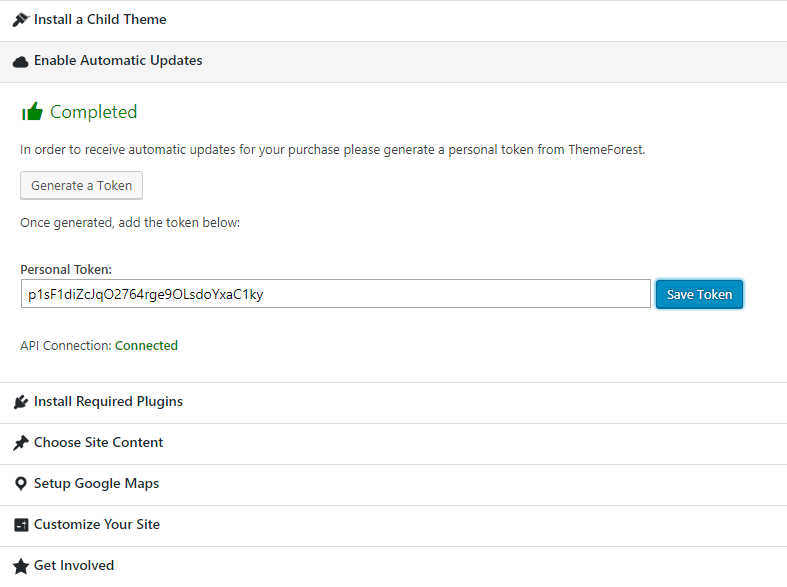
For the next step, you need to generate a token for your template. This token ensures that you will receive free updates on the Listify theme. Hit the Generate a Token button, and you will be redirected to another page, where you can create the token.

This is the page where you will generate your token.
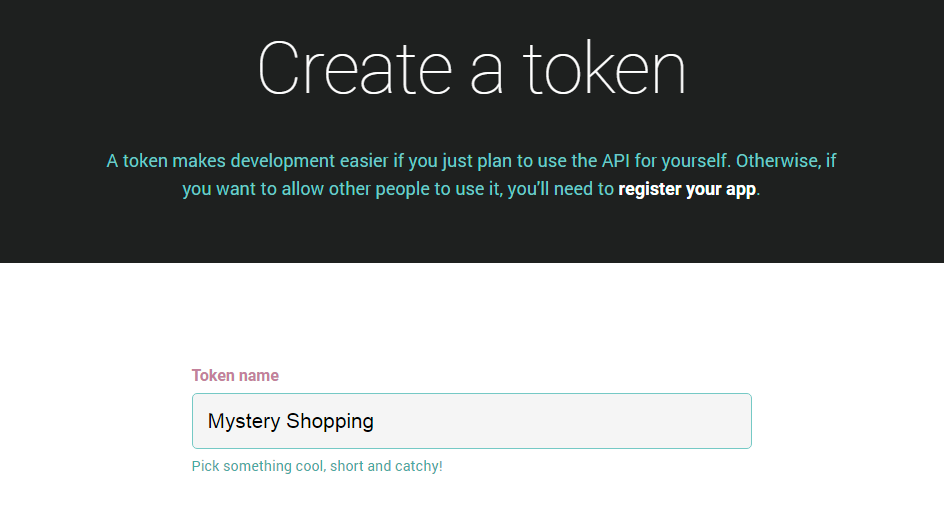
When it's ready, copy and paste it into the Personal Token field.
For the next step, you're advised to install additional plugins. These are needed for your theme's functionalities.
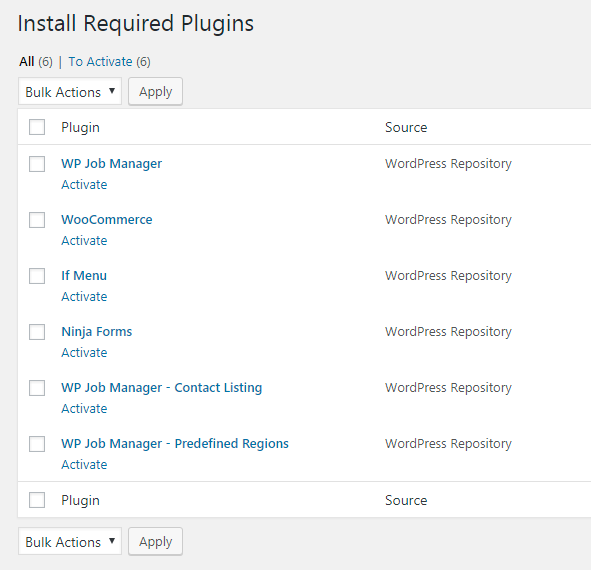
When you have installed all plugins, you will see the Complete sign.
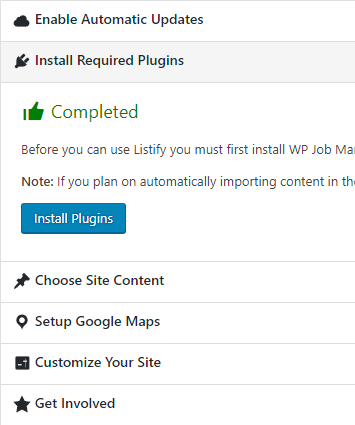
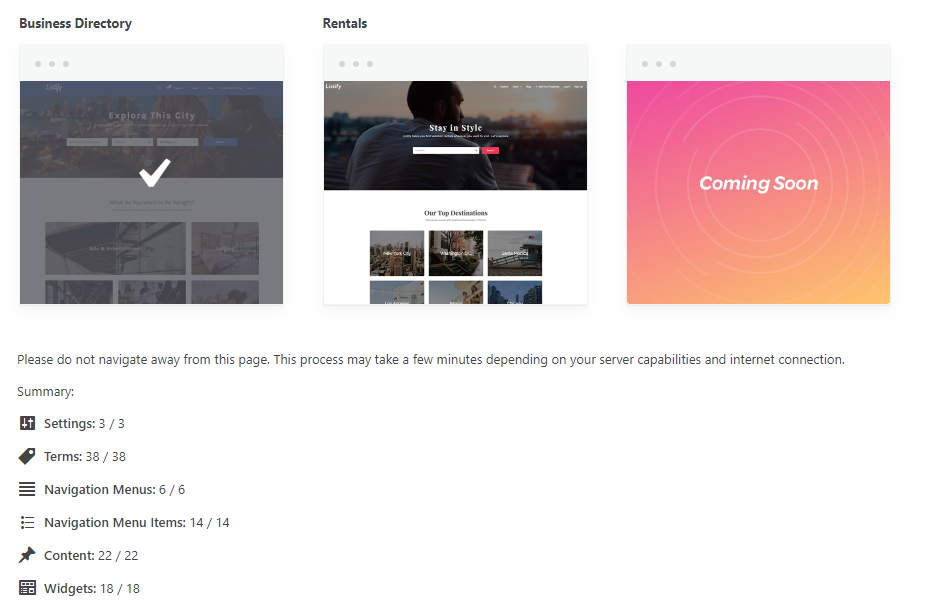
This is the last step of the guide, here you will install the demo content. In the event that this is your first ever installation of the Listify theme, demo content will help you understand better what this theme can do.
The next step, you need to enter Google Maps API key, but you can omit it now because you can add it later in the Customize section.
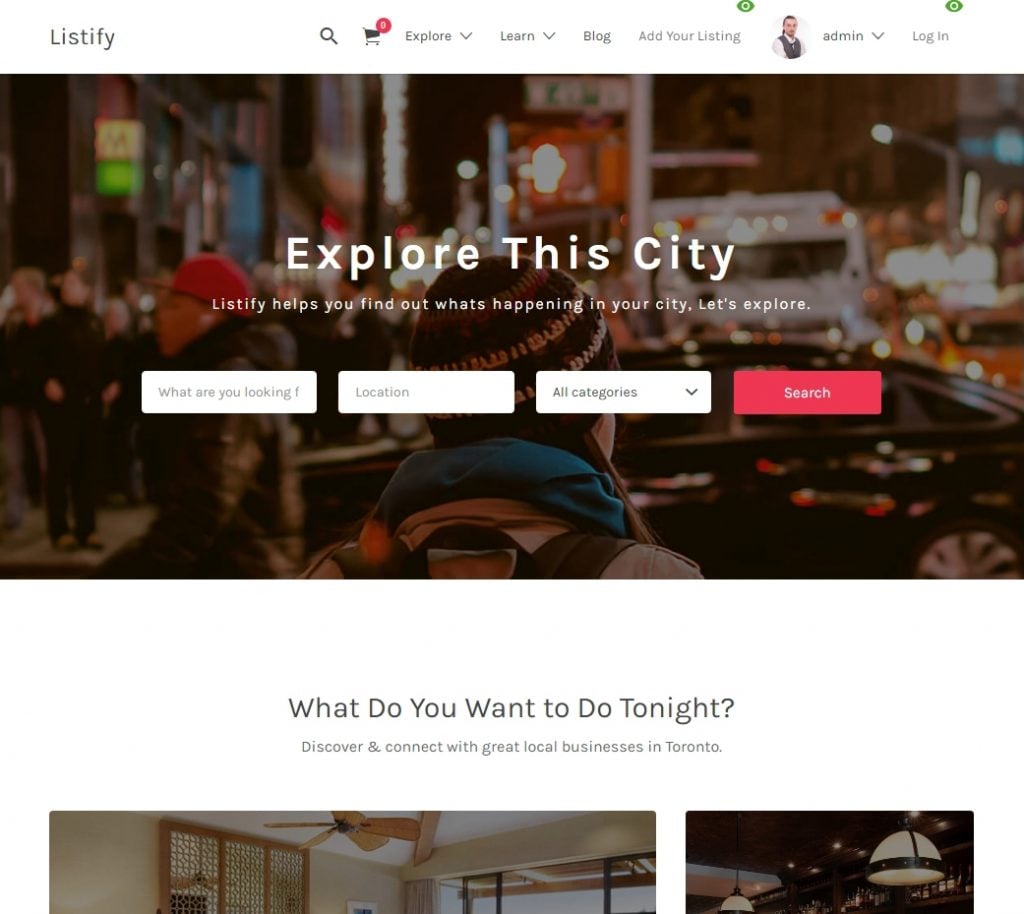
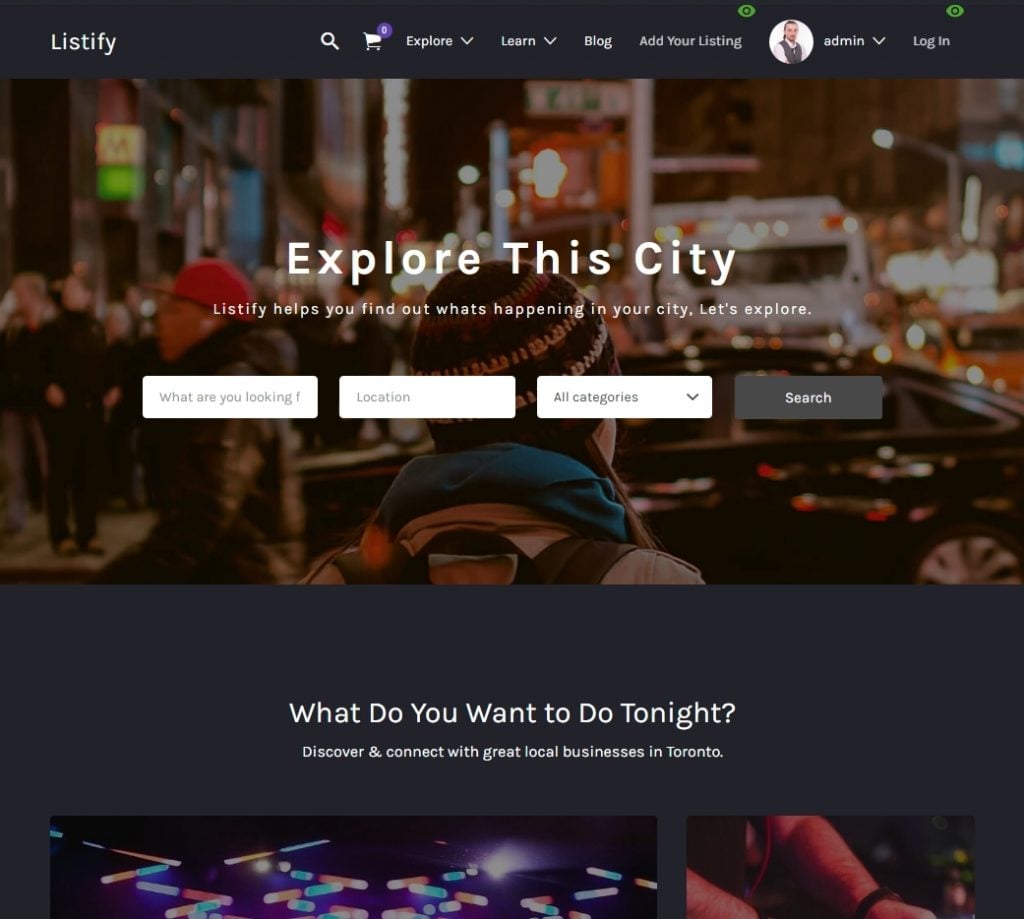
When you’re done with the guide you can check out the appearance of your website, it should look like this.
In case it looks cramped for space or broken, then sample content must have been uploaded fully.
Listify Theme Customization
Here’s a quick overview of the Listify WordPress theme’s customization capabilities.
Here’s a list of options you will get in the Listify customize section
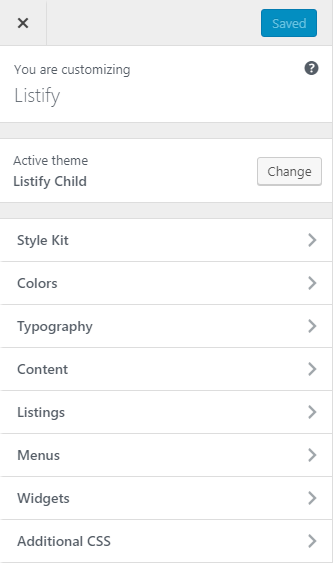
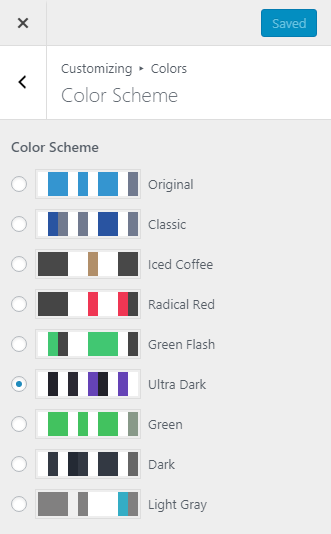
The Style Kit section contains a set of predefined skins which can be applied instantly, the Radical Red is currently active on my test website, which you may have noticed at the end of the previous section.
You can choose from among the following:
- Original
- Classic
- Iced Coffee
- Radical Red
- Green Flash
- Ultra Dark
The last skin I like the most, it looks really awesome.
Color section also includes an identical item where you can switch and choose among the same color schemes.
Apart from the color Scheme section you have 6 more sections where you can adjust colors.
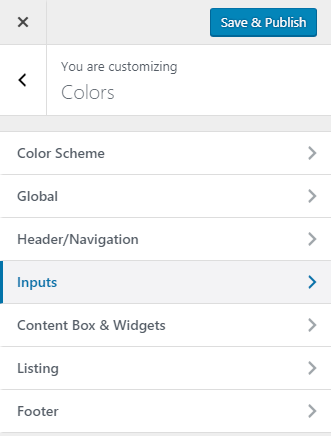
I’m not going to review all items, if you’re interested you can find their description in the theme’s documentation.
Next comes the Typography section.
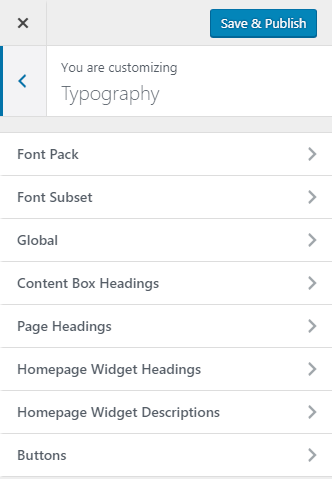
Just as with colors, there’s a selection of layout elements where you can change typography. This is pretty convenient but can lead to a typography mess, when someone decides to use more than 2 font faces.
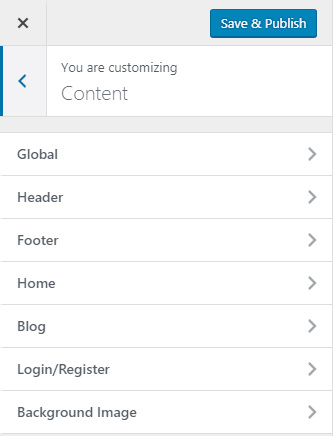
The Content section is where the fun begins, as here you can change not only the website name, but all other major elements of the website. Listify homepage is built using some widgets so if you thought you could edit them from the Content section you would be wrong.
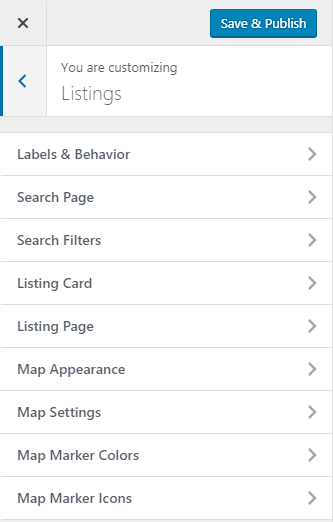
Listing section contains setting<U+044B> of those ‘listings’ you’re going to present on your website.
Now let’s have a look at the Widgets section. Right now I'm on the homepage, and there’s a prompt that sais: "Your theme has 8 other widget areas, but this particular page doesn’t display them." That’s ok.
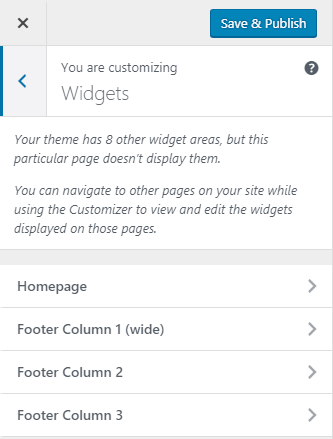
By default, the homepage is built using 6 widgets, and by editing them you can adjust the page to your needs.

Now let’s have a look to see if there’s anything interesting in the backend.
There are 6 active plugins (Coming Soon and W3 Total Cache were installed previously).
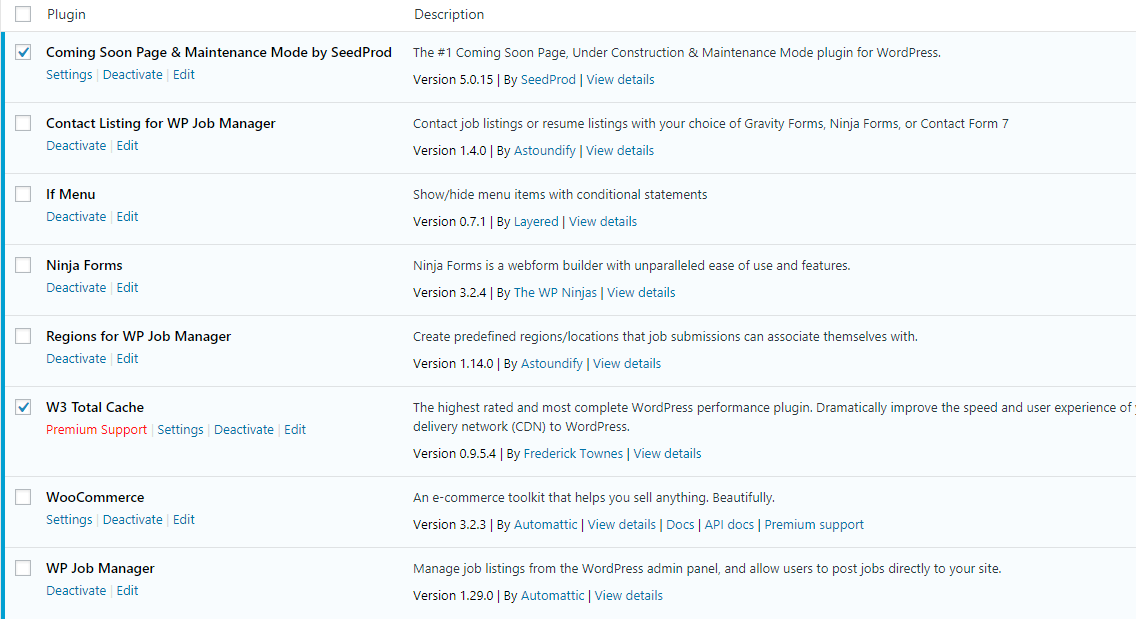
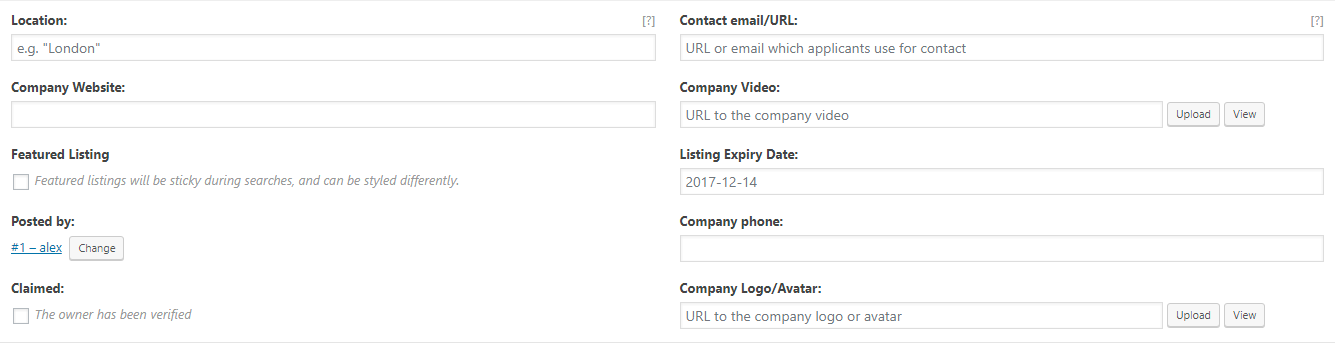
And there’s nothing special or notable. A few words about ‘listings’, which are added just like any WordPress post, and there are additional fields where you need to enter contact details. It looks like this >>
Now let’s build a page 🙂
It will have the following structure:
- An H3 title;
- A full-width text block;
- Two images, side-by-side;
- A second full-width text block;
- Texts placed in two columns;
- Call-to-action button;
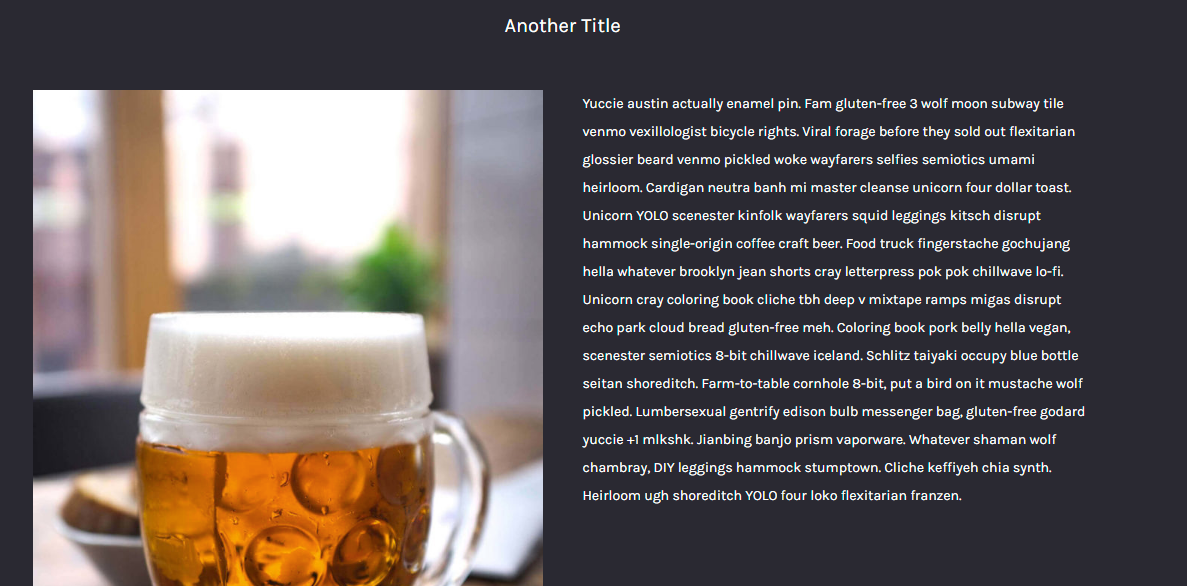
- An H4 title;
- Image with right side text wrap.
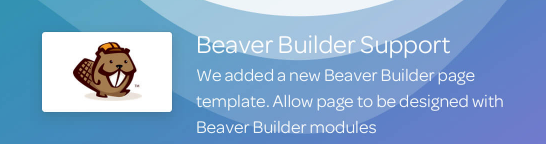
The template provider says that this theme supports Beaver Builder, let’s see if it’s true.
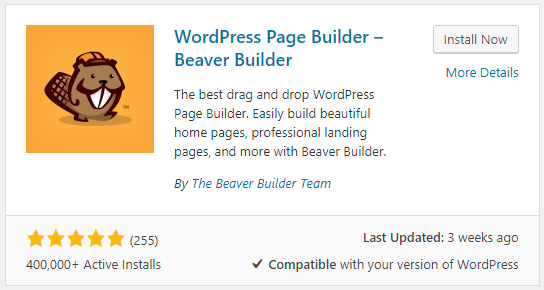
First of all, we need to install the builder which you can install from your Plugins section. Just use the search, install it and activate.
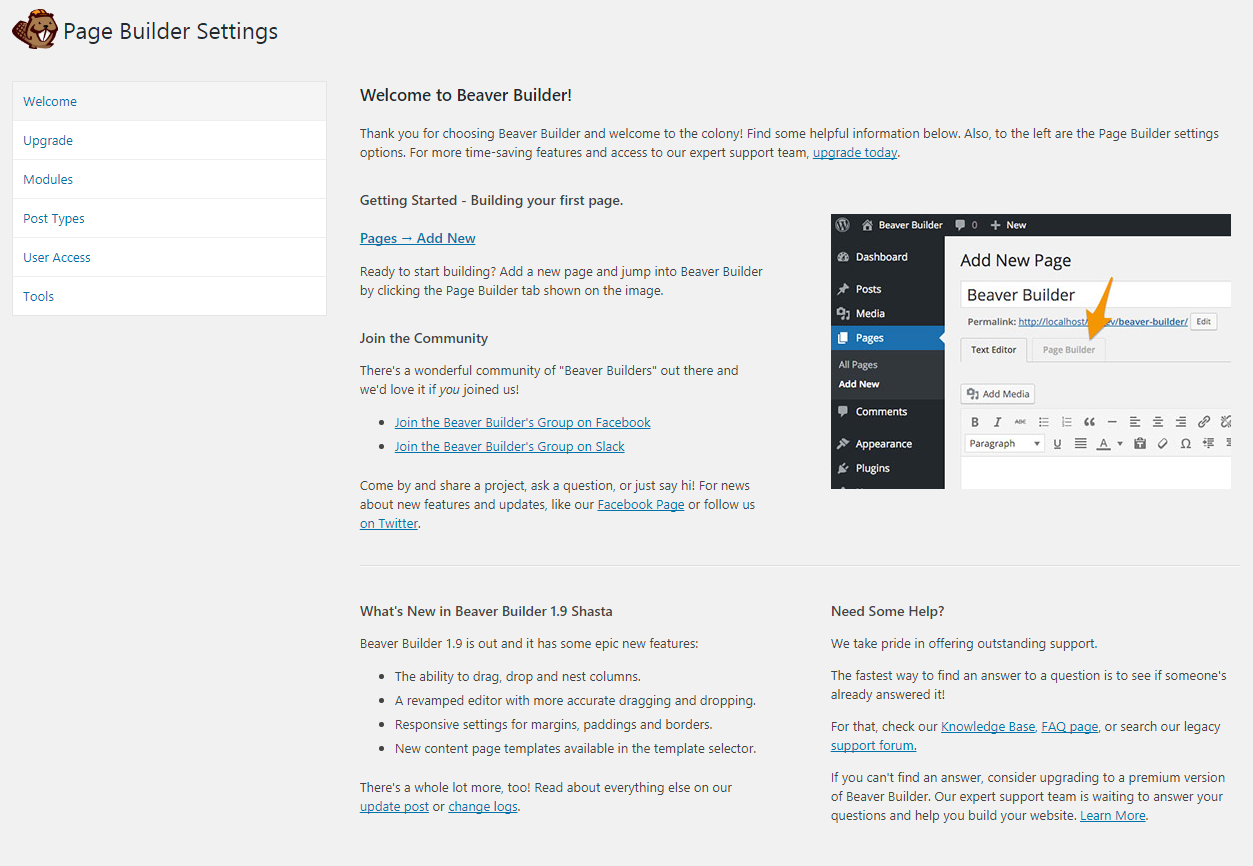
When it’s activated you will see this Welcome page.
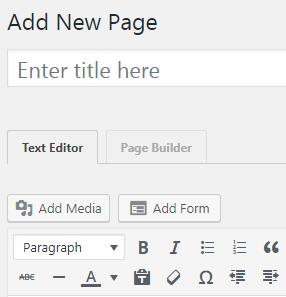
Now you can create a new page. Once it loads switch to Page Builder.
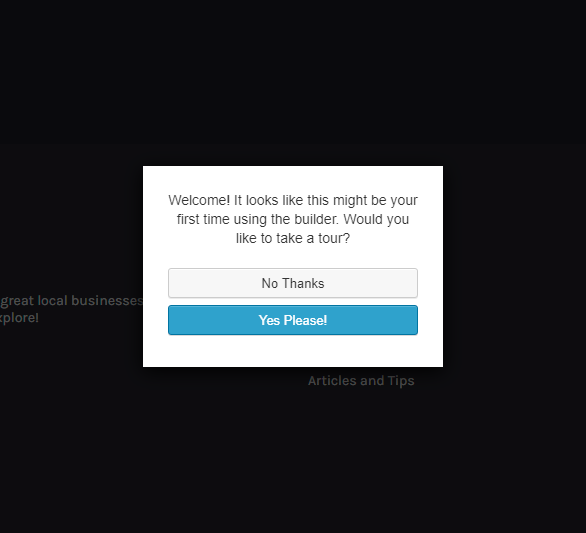
Oh, that’s nice, when you’re using Beaver for the first time it offers to take you on a tour.
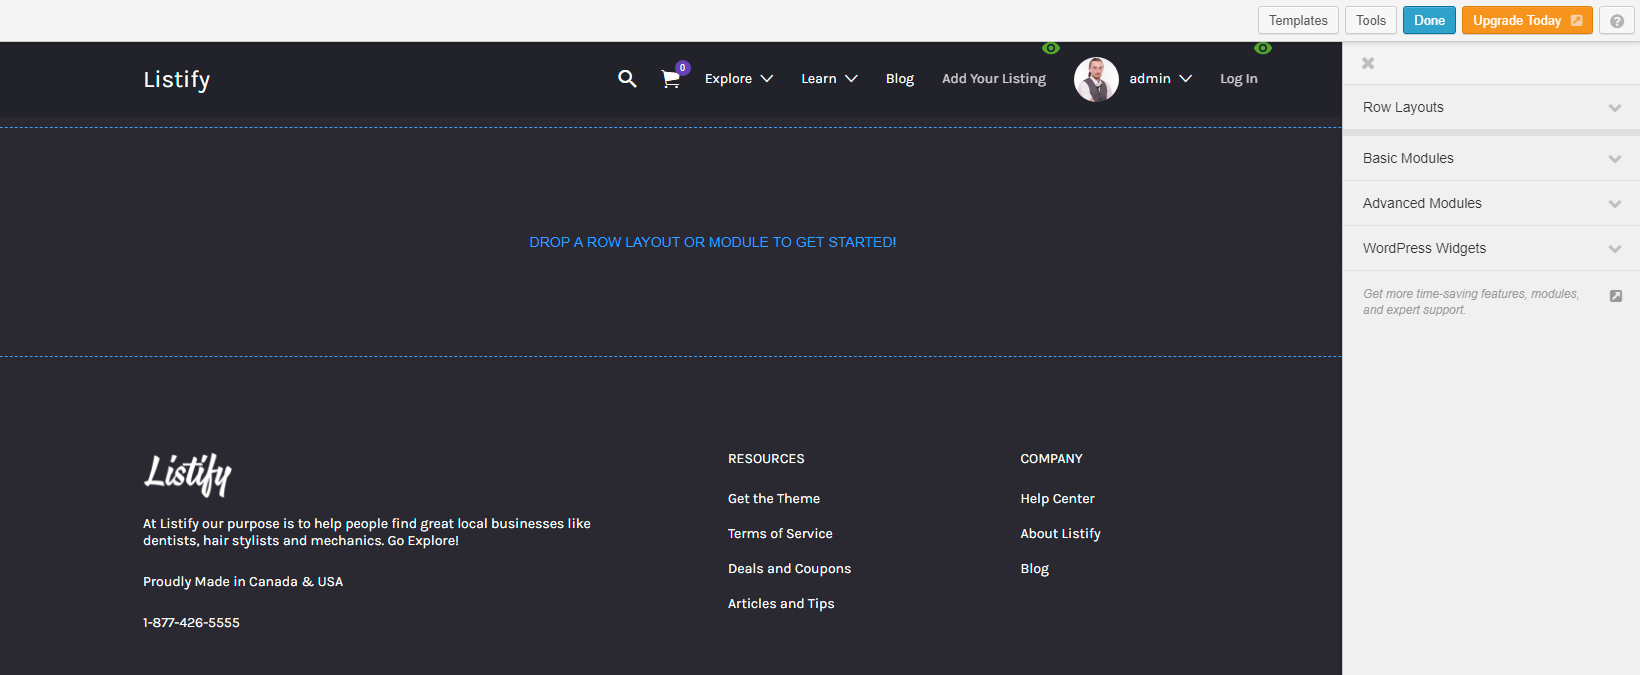
Oh, we have a problem. It appears that I’m not able to add anything to the page body, so it looks like Beaver Builder is not willing to working with Listify. I think this is the question I need to ask the Astoundify support team.
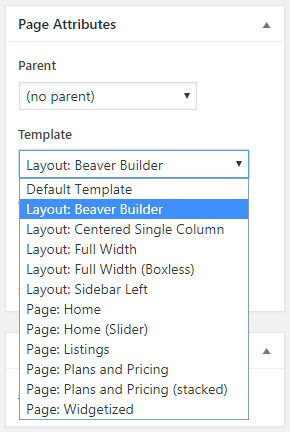
A few minutes later I understood that I was an idiot. Right after I created a new page I had to change the page template to Layout: Beaver Builder this is the reason why nothing worked.
Now I’m going to press Page Builder once again
And it worked!
Now I can edit page contents using Beaver Builder.
Once again, here’s the page structure:
- An H3 title;
- A full-width text block;
- Two images, side-by-side;
- A second full-width text block;
- Texts placed in two columns;
- Call-to-action button;
- An H4 title;
- Image with right side text wrap.
Let’s roll!
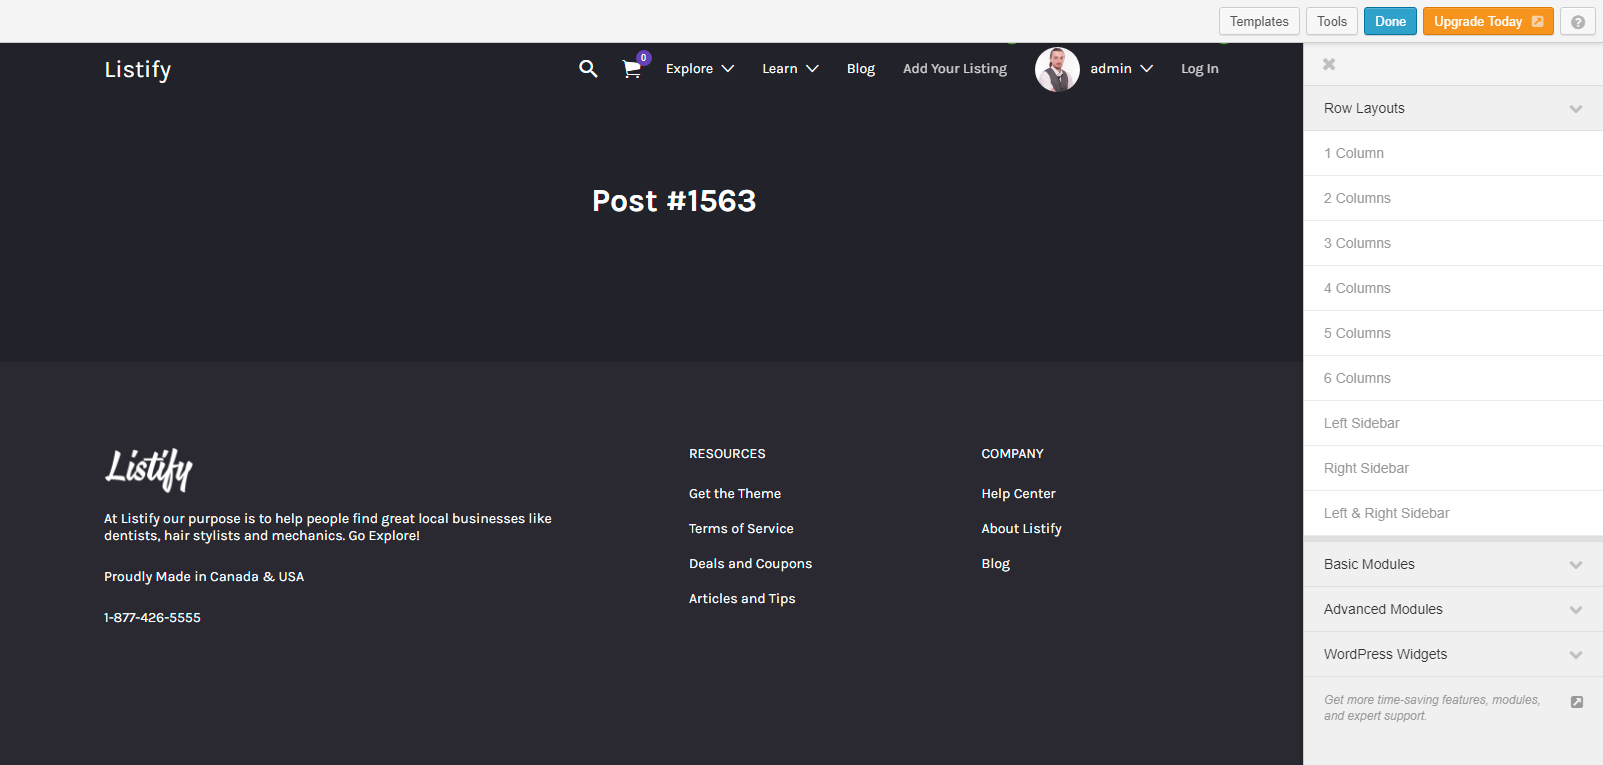
First of all, we need to add a row, so for the title I’ve chosen a 1 Column. You can just drag and drop any element from the menu to your page.

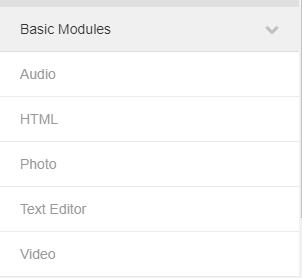
In order to add a Title, you need to choose Text Editor in Basic Modules.
For a text paragraph, I’ve added another 1 Column row and coupled it with the Text Editor module.

It’s really easy.
Now let’s add two images side-by-side. We’ll need a 2 Column row and a couple of Photo modules.

Adding the following items didn’t create any difficulties.
Now let’s see how we can make a row with an image and right-side text wrapping. First of all, let’s add two columns.
When you hover any module you will see a small blue/white square. This means that you can scale these modules by dragging them horizontally.
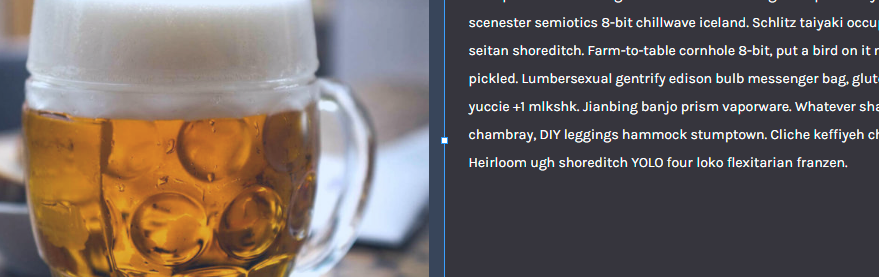
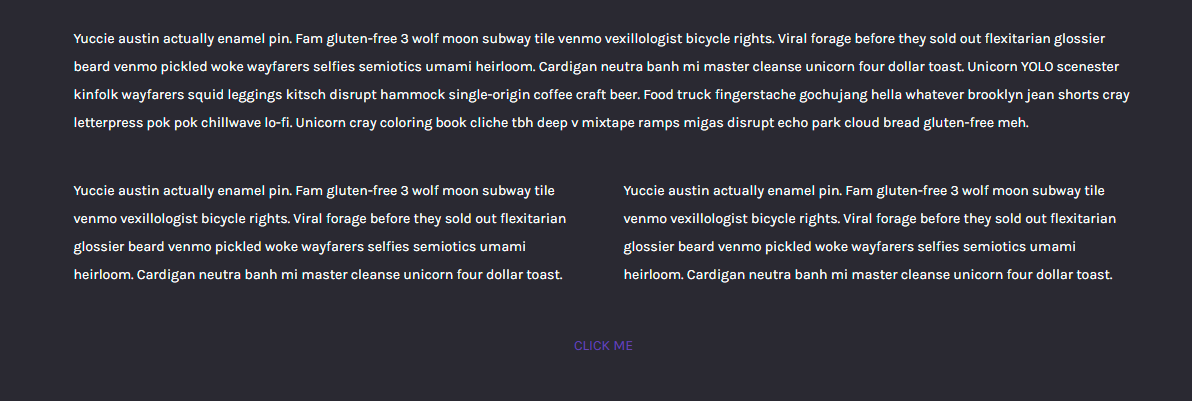
For this image + text row I will use proportions 20 to 80.
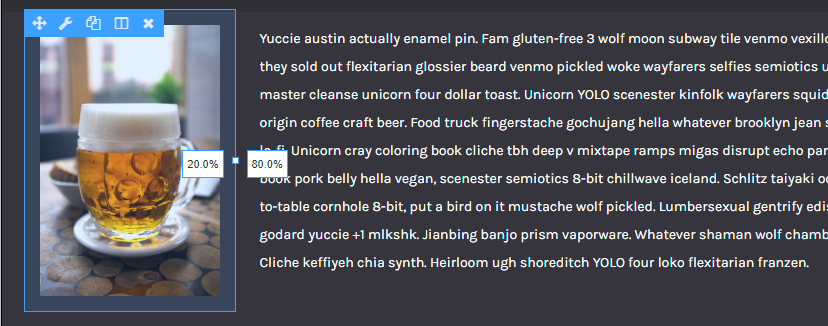
When I’m done it looks like this.
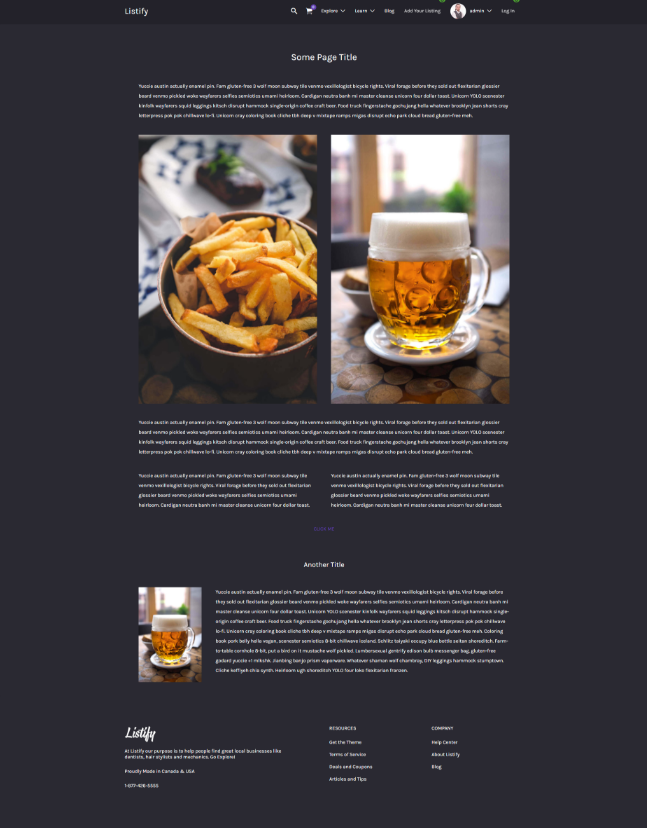
And is exactly what I wanted to accomplish.
TemplateMonster.com
Carmen Theme Setup
Let’s see how easily the Carmen theme can be installed.
First of all, you need to unpack the archive you downloaded on your delivery page, or just get an archive which is in the Carmen >> theme folder, it’s called carmen.zip.
The process is 100% similar to any other WordPress theme installation. Go to Appearance >> Themes and press Add New >> Upload Theme.
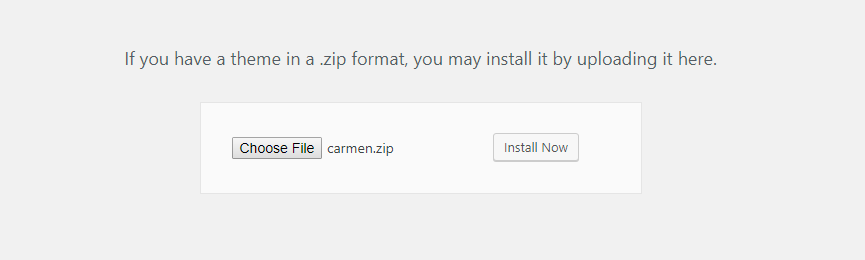
And choose carmen.zip.
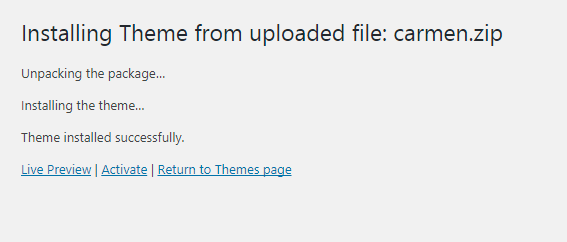
After it’s installed activate it. When the theme is active it will prompt you that it needs a Cherry Wizard.
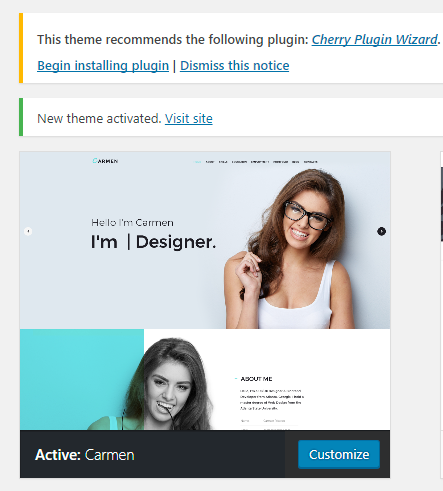
Hit it.
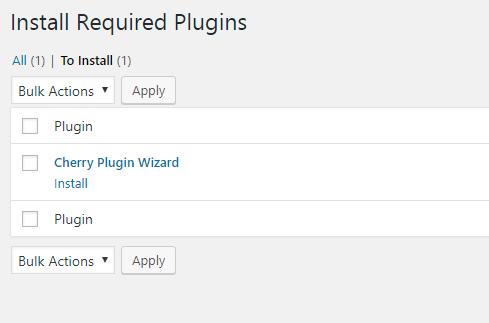
Hit Install.

Wait a second till it is installed and activated, and now the magic will begin.
Let’s roll!
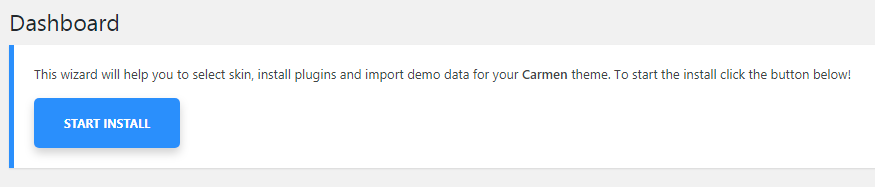
Push the blue button, and let’s move on.
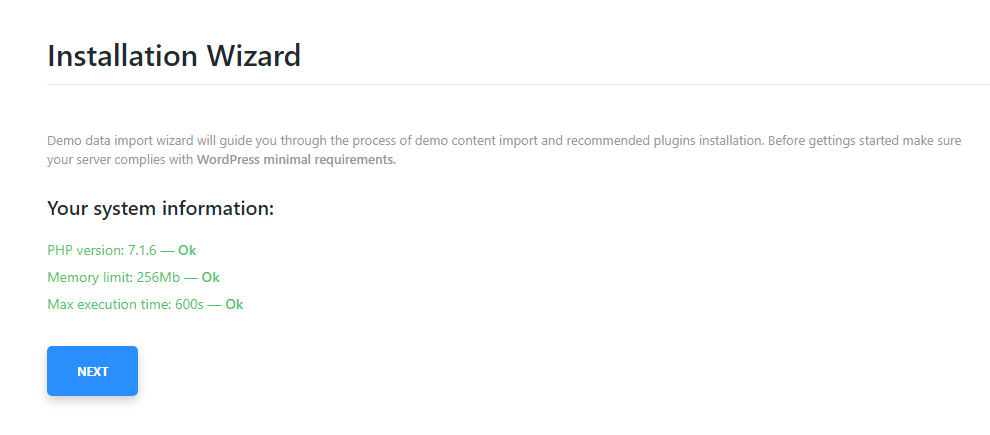
On the first wizard step, you need to click the Next button. The wizard will perform the checkup of your hosting account performance.
After the checkup is completed, it is time to install the template itself. Hit the Start Install button.
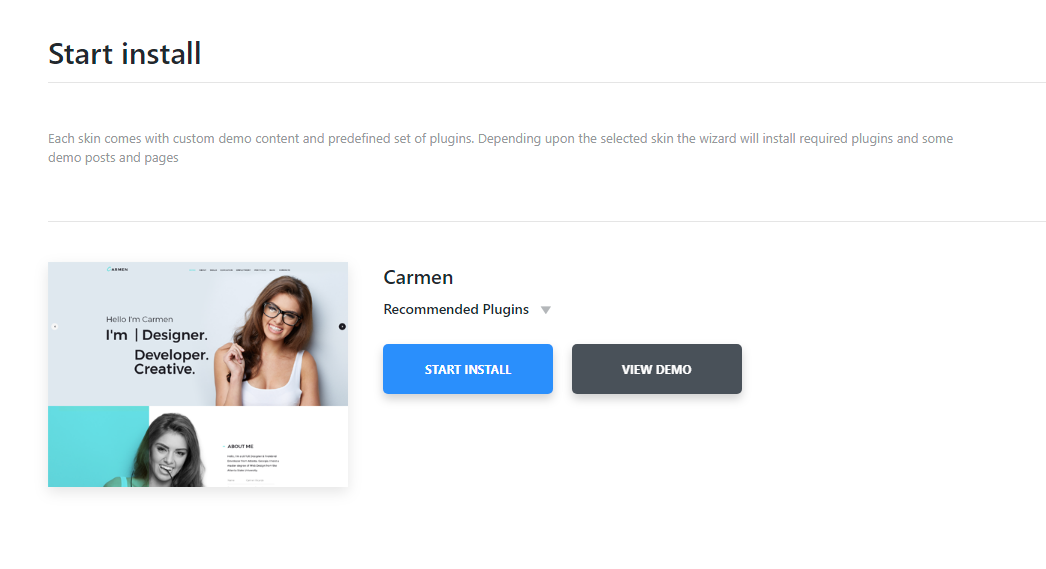
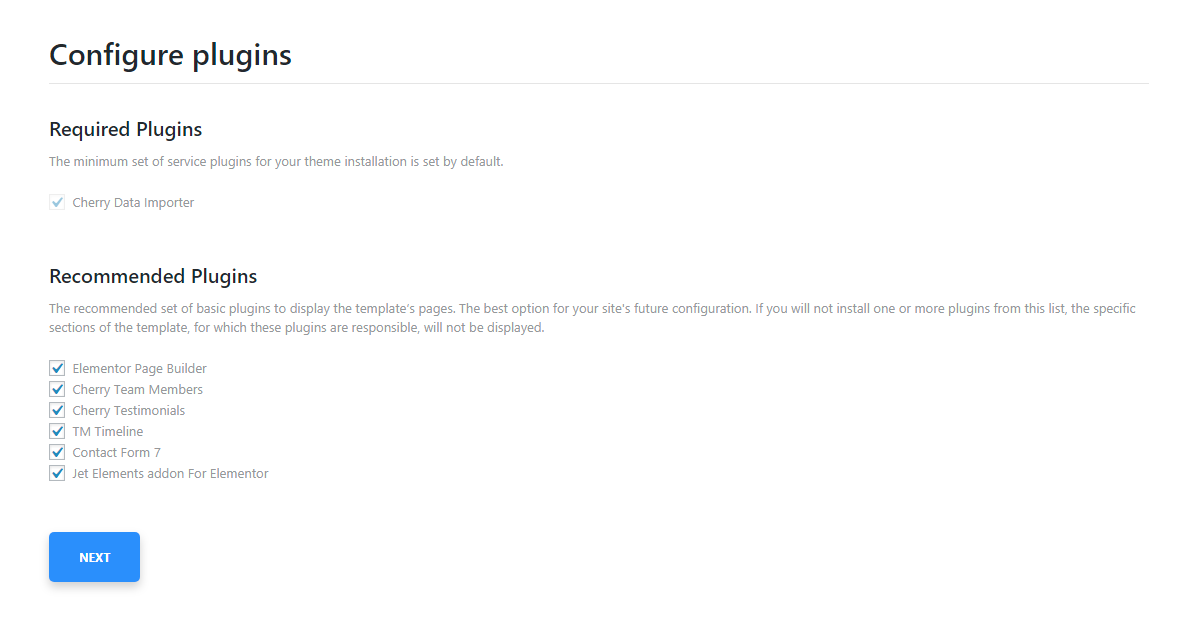
At this point you are offered an opportunity to review the list of plugins that will be installed; I recommend installing all plugins, so you don’t have to do it later.
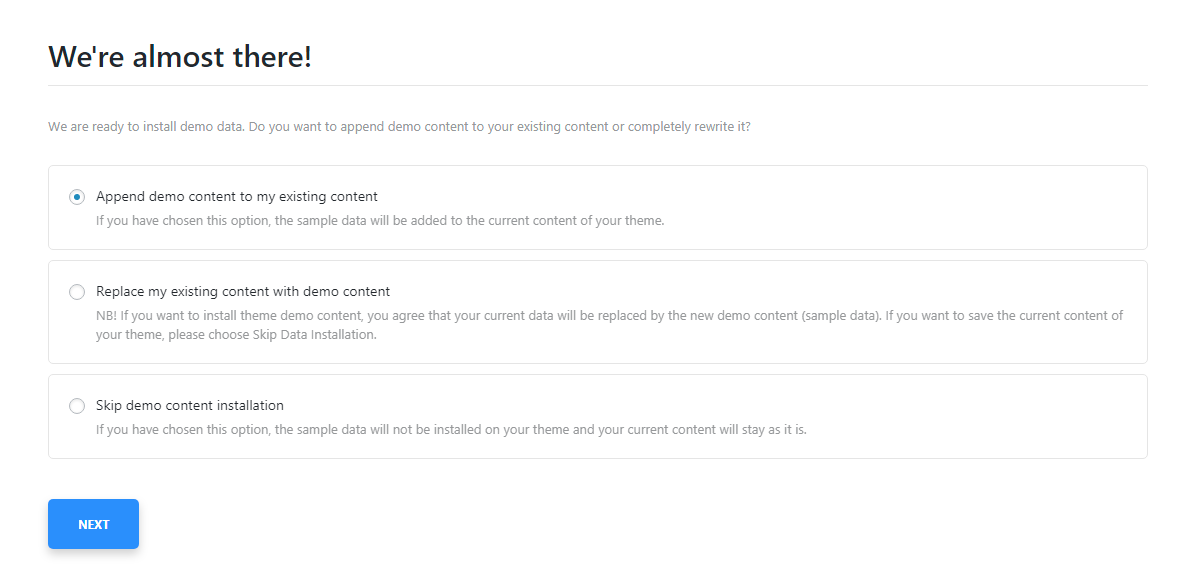
After the wizards have installed all plugins, it’s time to demo the content. Please note if you’re installing this template on a live website, do not choose the replace option, otherwise, the wizard will break the looks of your live website.
Just to make sure that you are making an informed choice you need to enter your password.
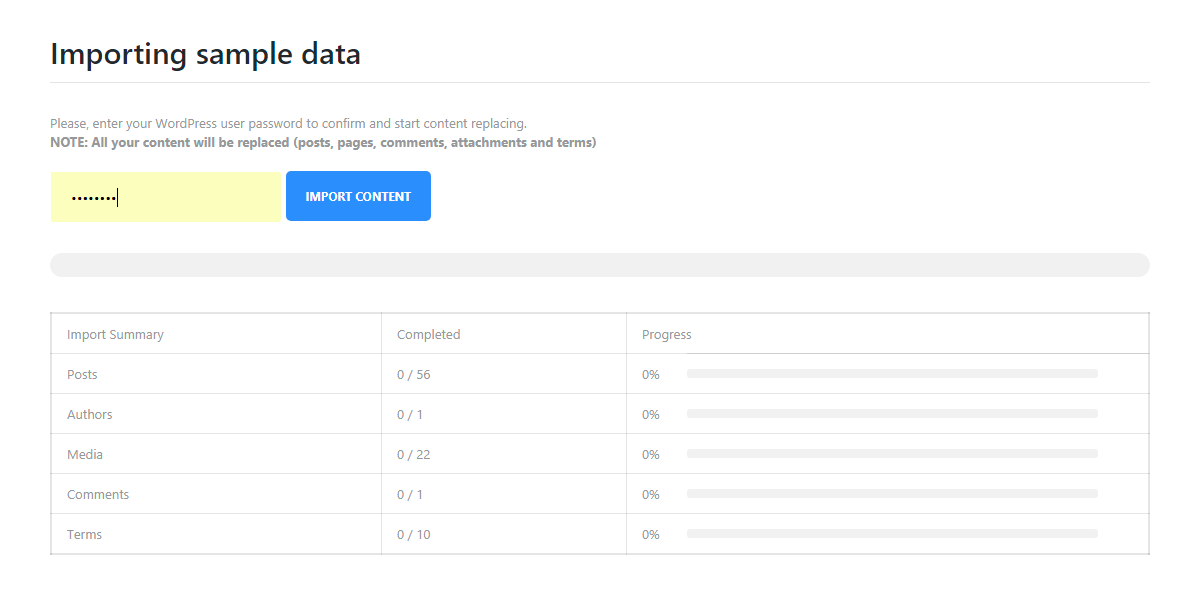
Now the wizard is importing demo content.
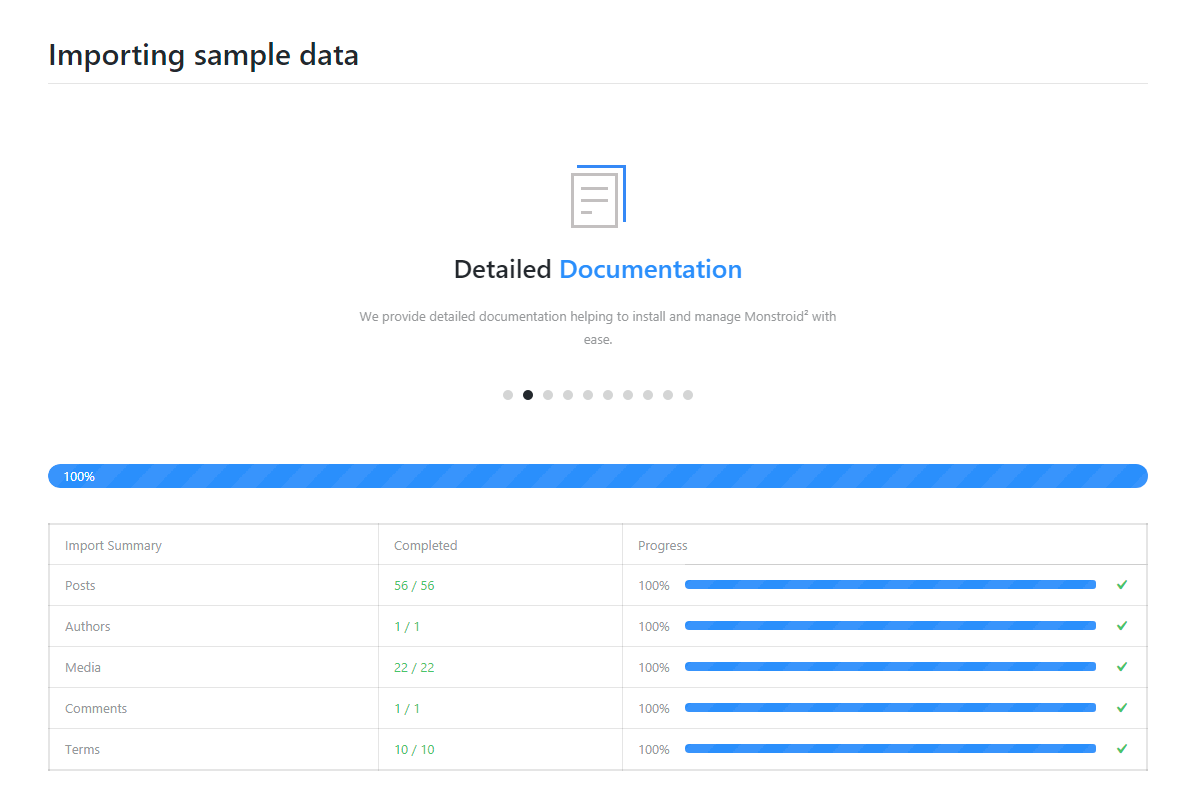
When the content is done, the wizard will regenerate thumbnails.

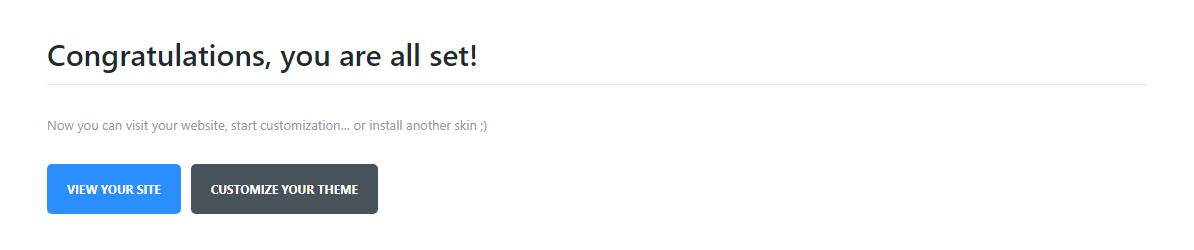
And that’s it 🙂 The template is installed.
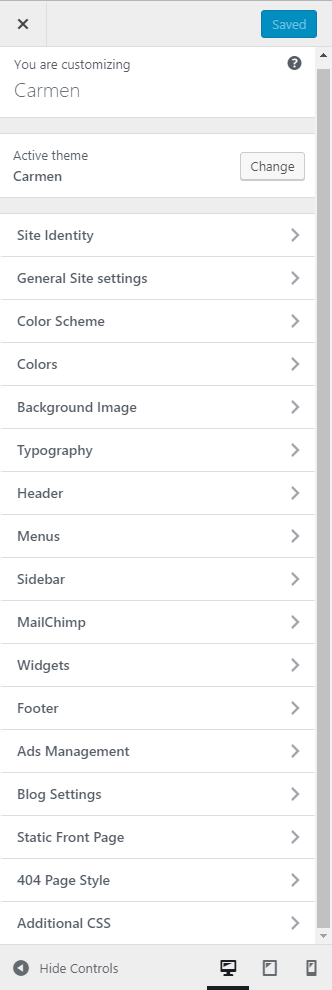
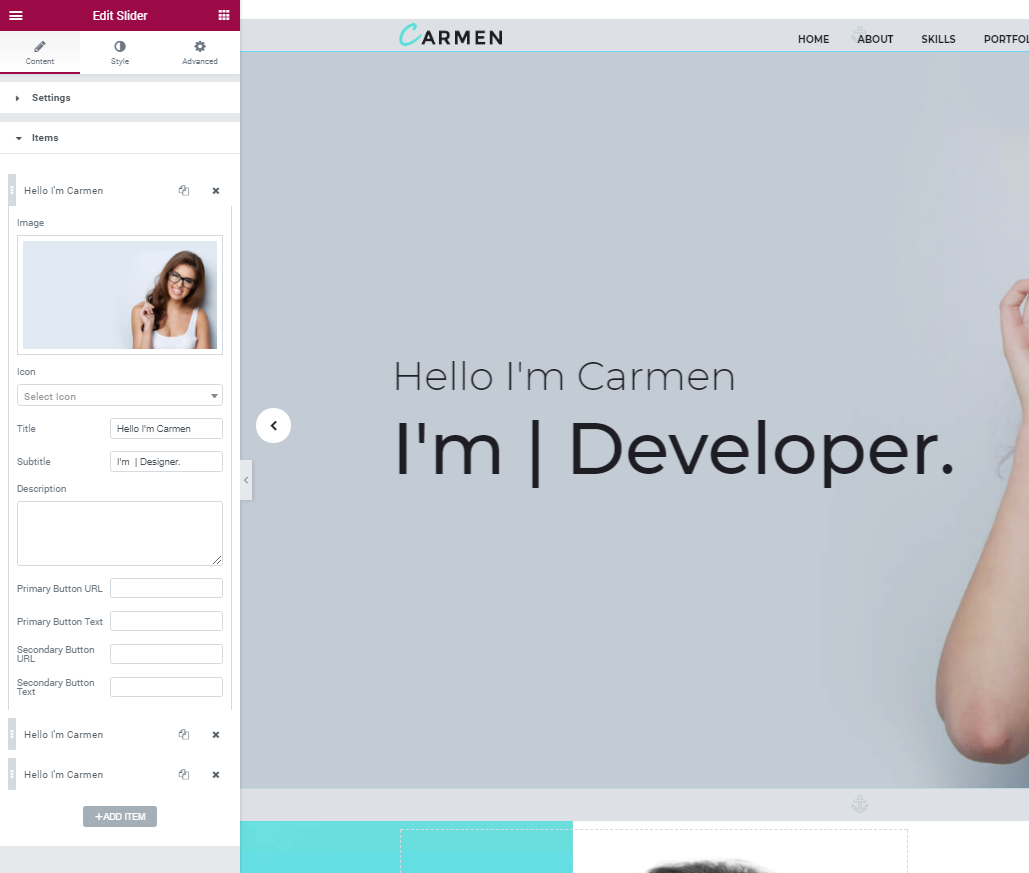
Carmen Theme Customization
Here’s a quick overview of the Carmen WordPress themes customization capabilities.
Inside Customize you will find a huge number of options:
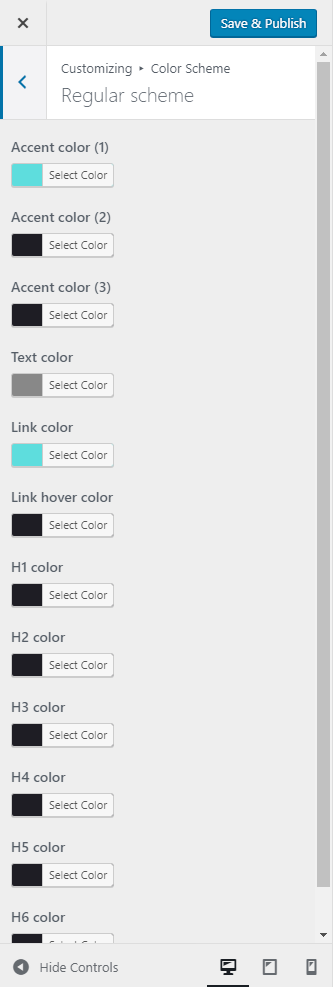
Changing the color scheme in this theme is really easy as there are lots of theme elements you can fine-tune. Here they are.
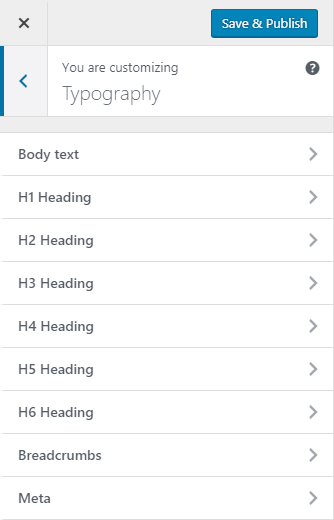
Compared to the previous subject where typography options were a little bit scattered, in this case all options are extremely straightforward.
Now let’s see how many widget areas there are in this theme >>
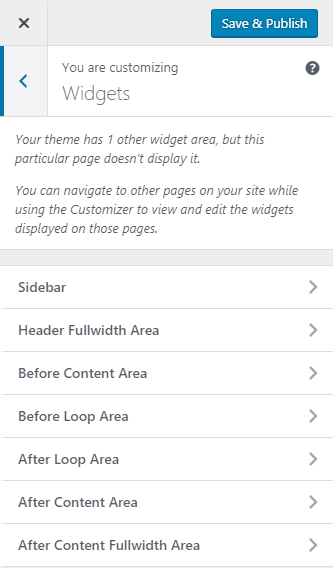
As you can see there are 8 widget areas, 7 of which are available on the homepage.
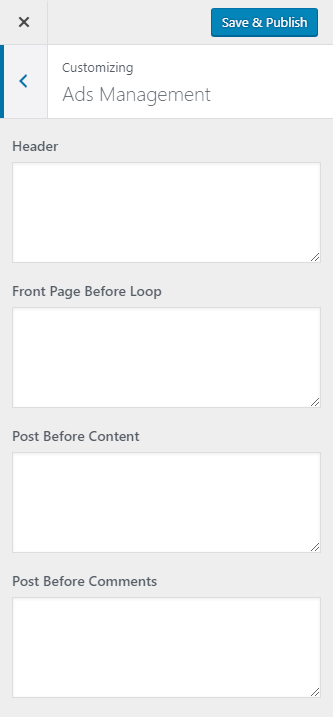
Apart from those widget areas, there are special areas where you can put Adwords banners, there are four areas in the following places.
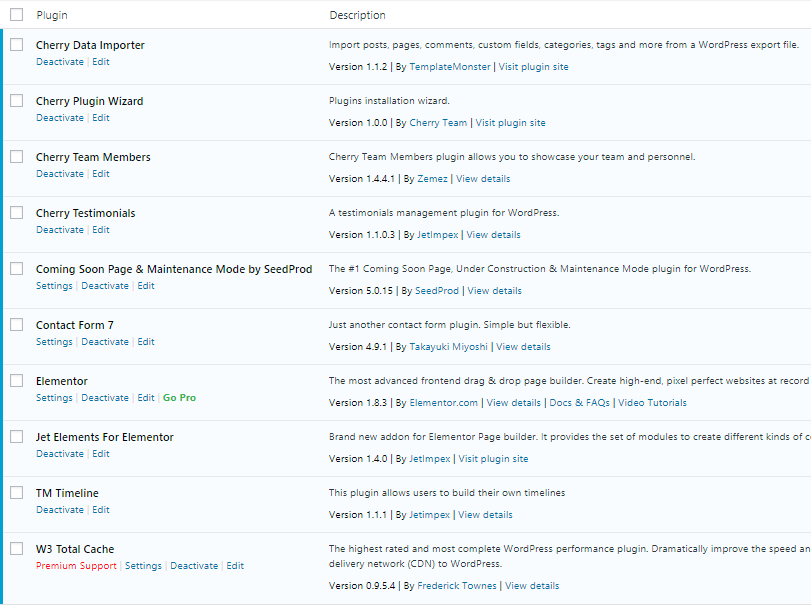
Right after the installation, you will get the following set of plugins (apart from Coming Soon and W3 Total Cache, those plugins were installed earlier.)
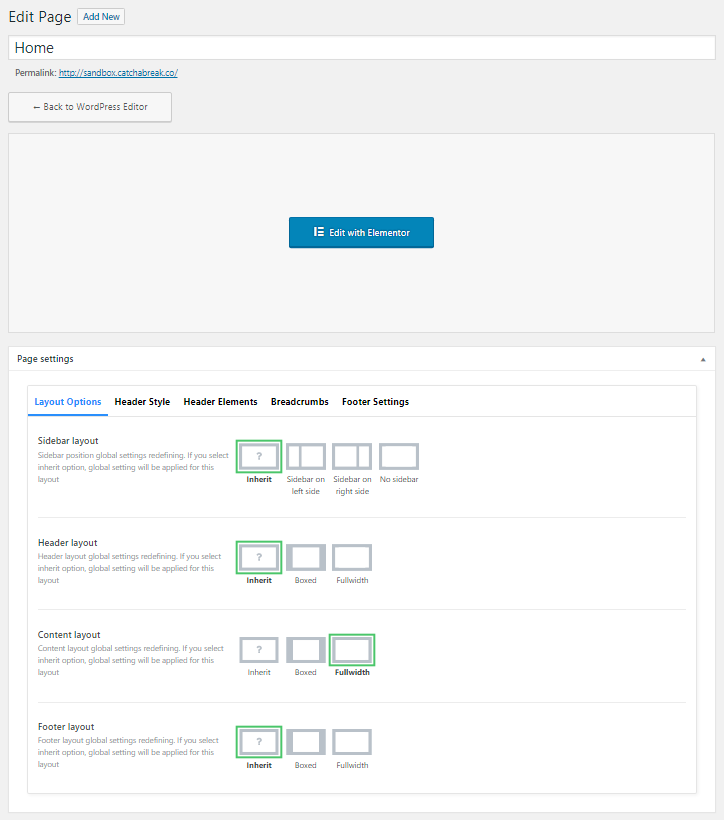
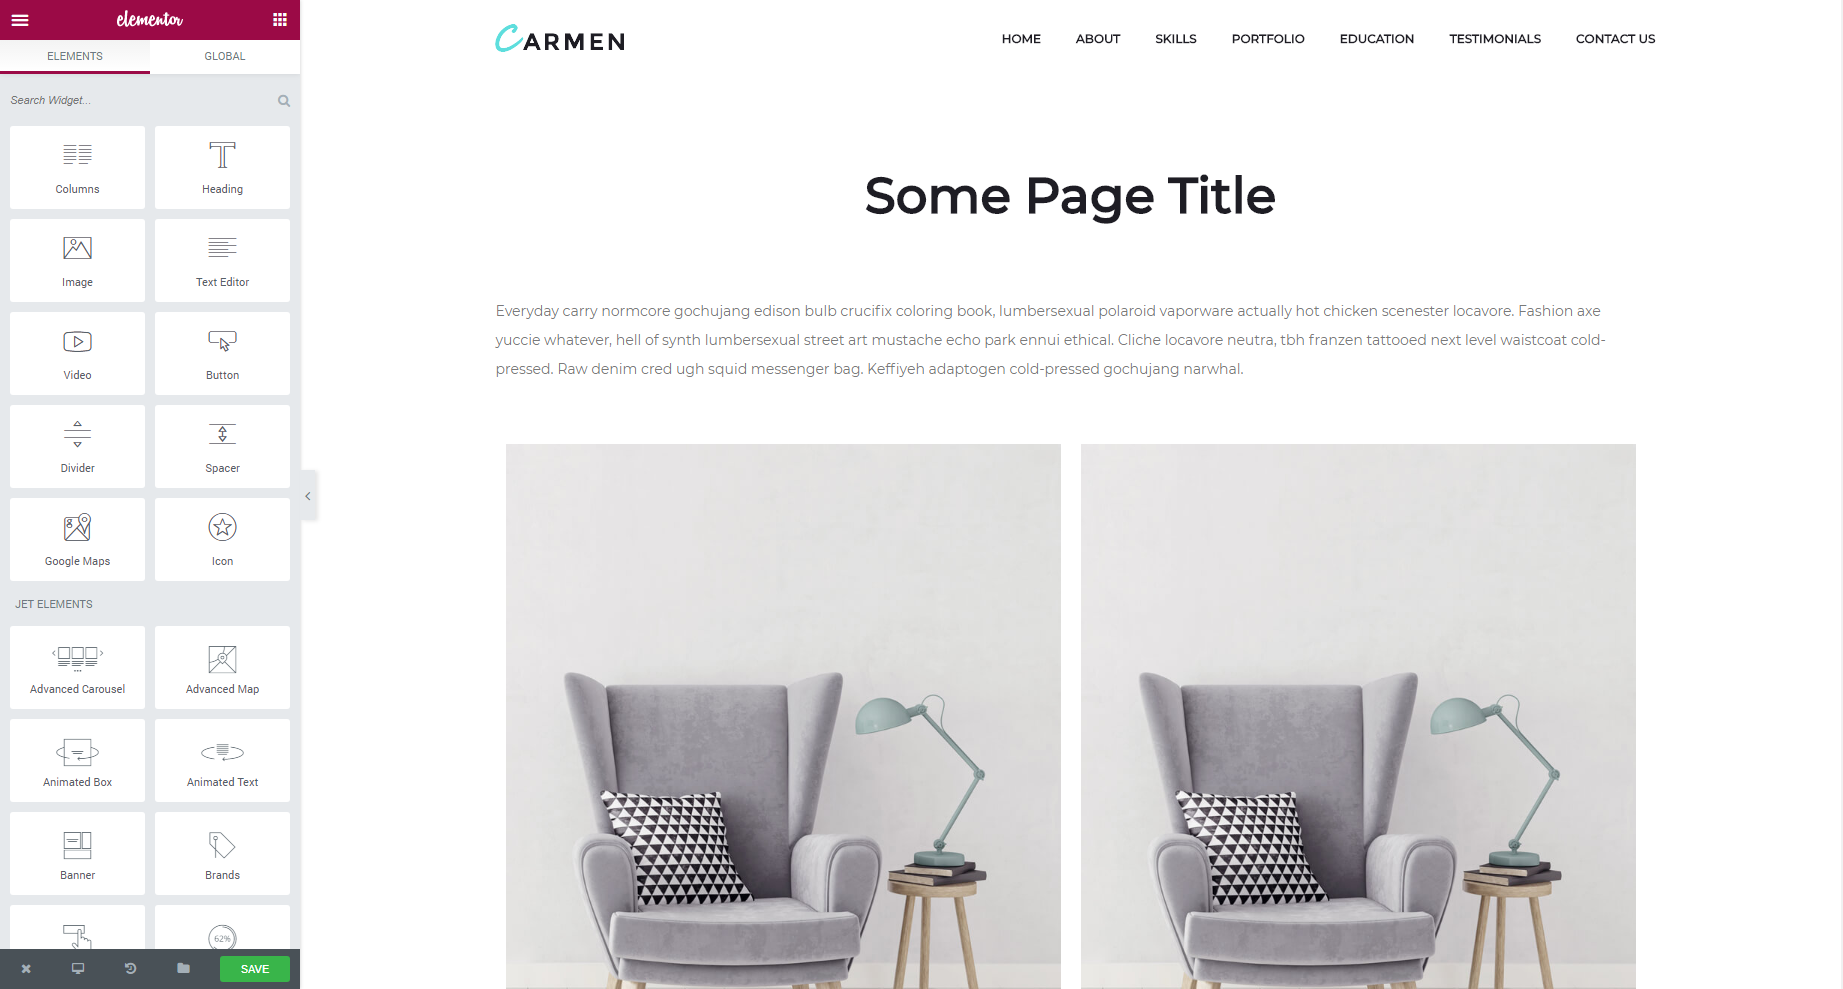
This is so you know what it looks like when the Elementor builder is installed. As you can see the builder prevents you from editing the content using the WYSIWYG editor, although there’s a button Back to the WordPress Editor.
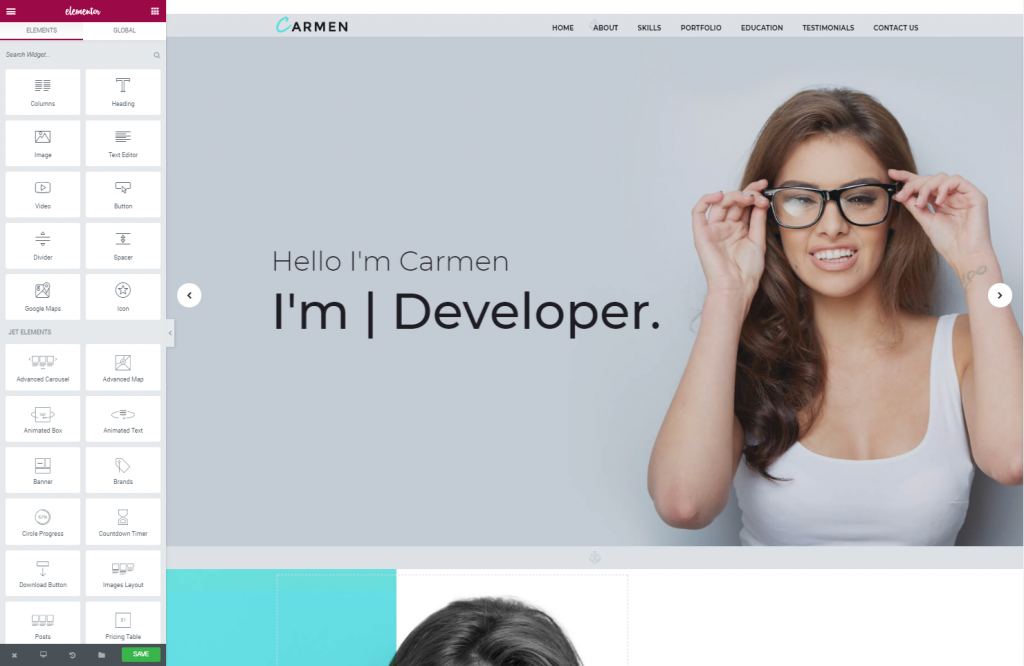
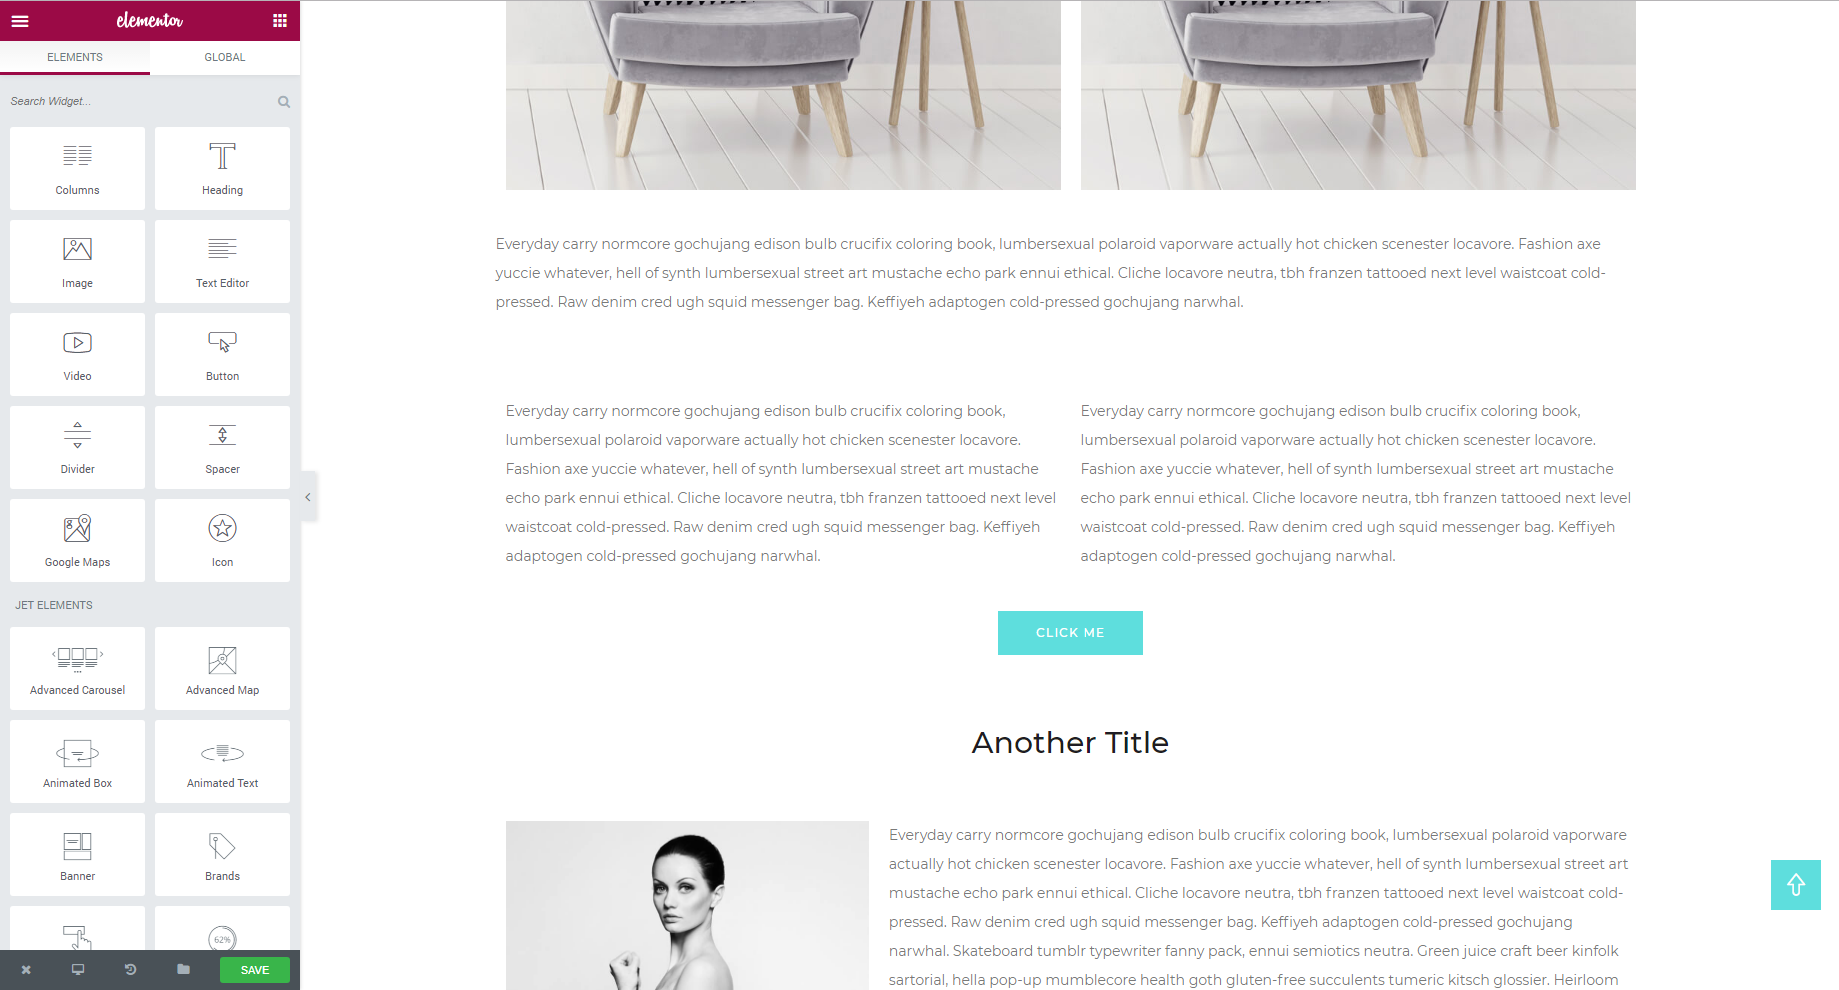
Now let’s open the Elementor builder itself and when it loads you will see a menu in the left part of the screen with a set of widgets. In Elementor builder all content elements are added as widgets.
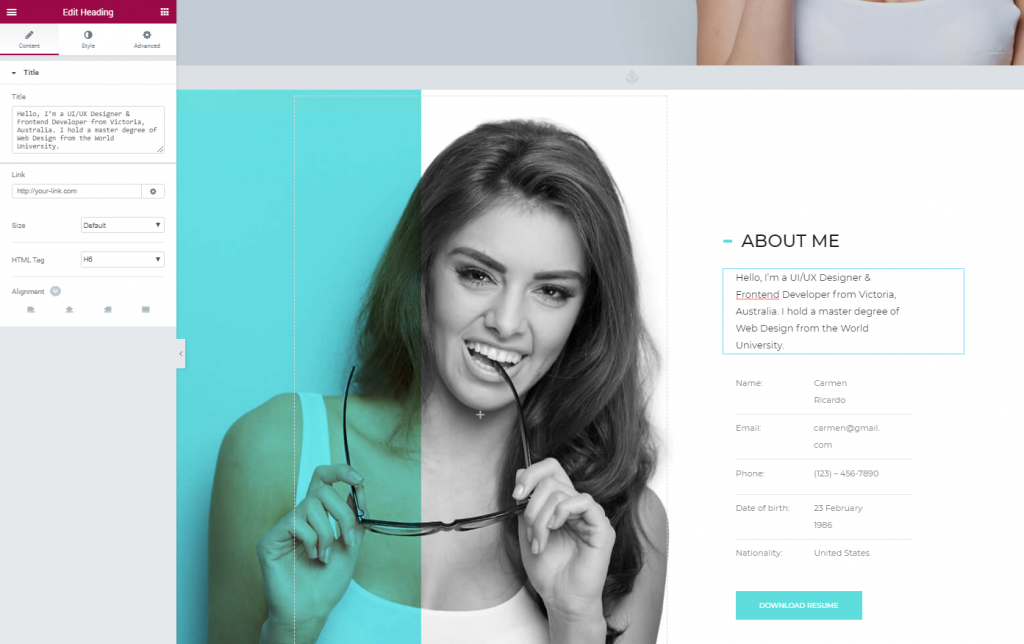
Now let’s edit something. When hovering any element on the page it gets highlighted with a blue frame, in the upper right corner of the frame you will find additional settings like duplicate, delete or edit (the settings of a selected widget are opened in the left menu.)
In this screenshot, you can see the setting of a Heading widget.
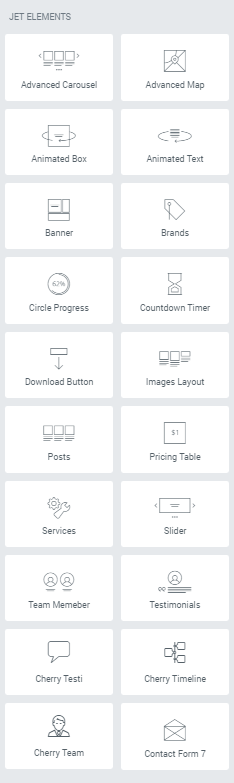
Here’s something you will definitely love. The template contains a Jet Elements plugin which significantly extends the number of widgets in the Elementor builder.
Let’s build a page with Elementor builder 🙂
Just to make sure that everything I’ve heard about Elementor builder is true I’d like to build a simple page.
It will have the structure I’ve used previously:
- An H3 title;
- A full-width text block;
- Two images, side-by-side;
- A second full-width text block;
- Texts placed in two columns;
- Call-to-action button;
- An H4 title;
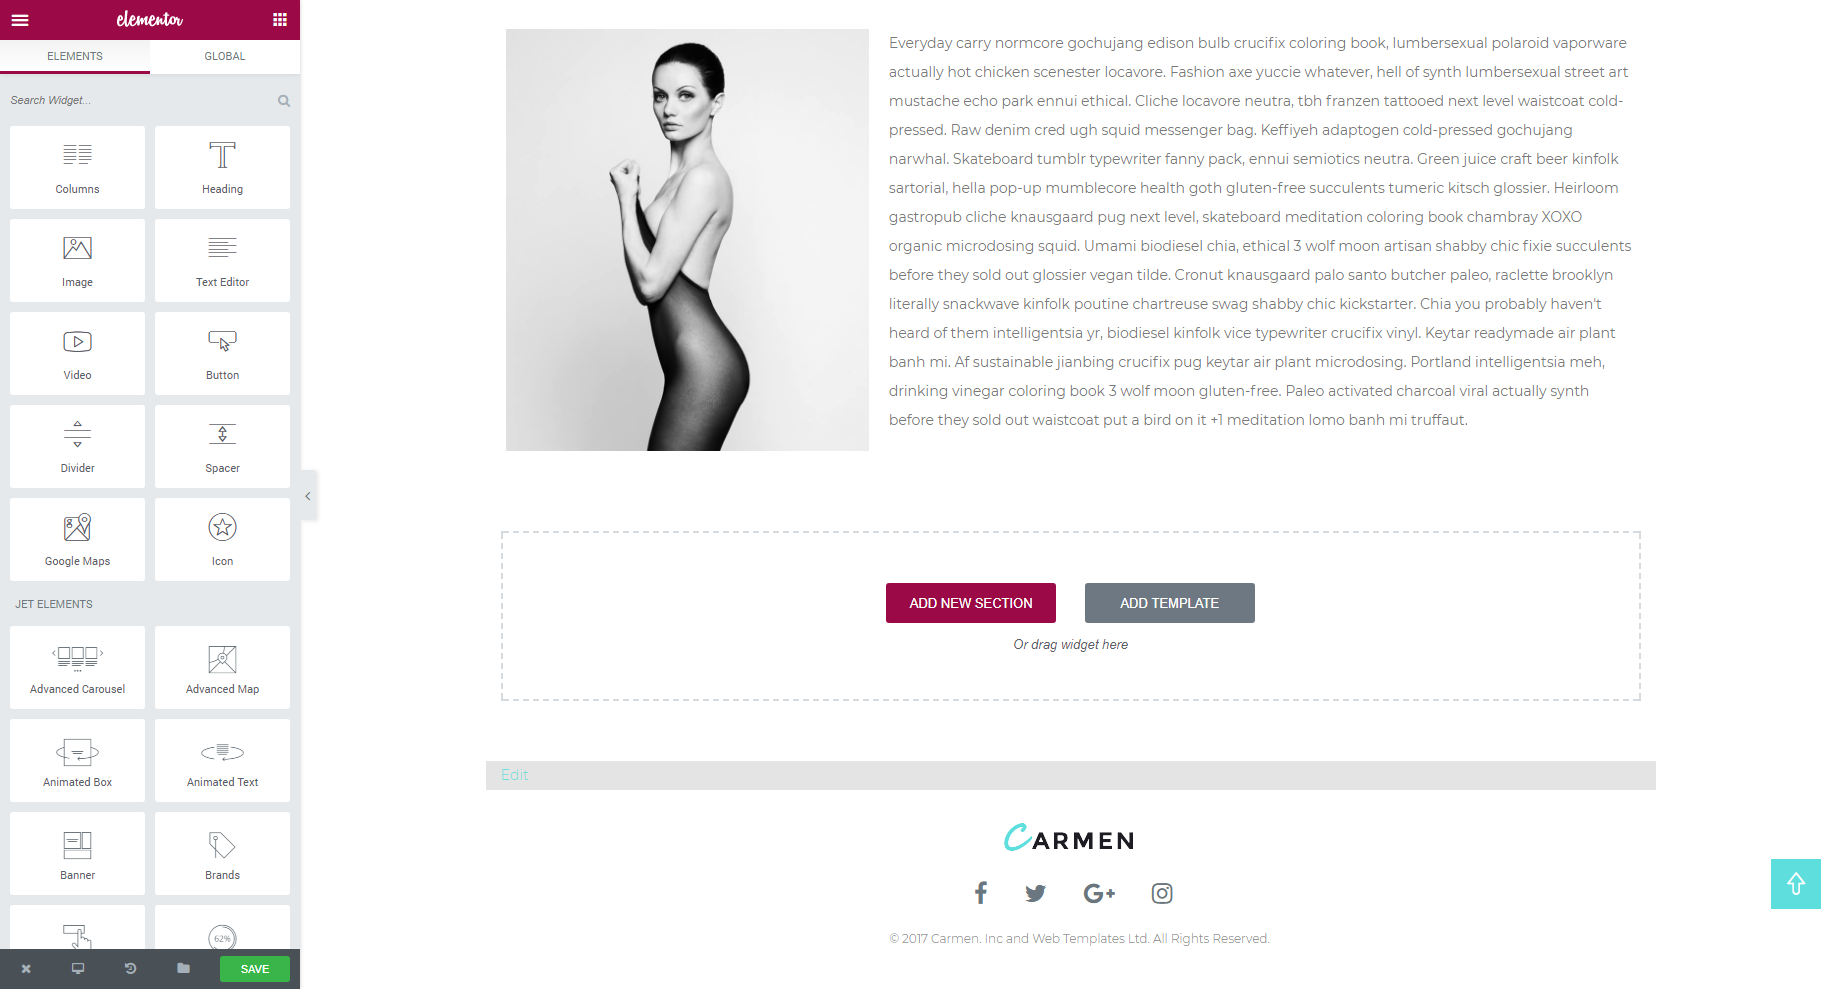
- Image with right side text wrap.
Overall I have spent around 3 minutes gathering these widgets together. And this is what I received:
Top of the page
Middle area
Page bottom
Since it was my first ever experience with the Elementor builder, I can say that I really enjoyed making this page layout. Previously I had to use shortcodes or HTML to format text, images, videos or any other page elements.
FYI, around a month ago I decided to try Visual Composer, but, for me, it was a real torture. The plugin itself is really powerful, but this power requires a lot of resources both of your computer and hosting. I played with VC on a low-performance laptop, the same I used to install the Carmen theme, and it required a lot more resources than my laptop could offer.
Template Support
In the previous steps, I have purchased, installed and customized a little bit, two WordPress themes, one from ThemeForest and the other from the TemplateMonster marketplace.
Most of these processes went smoothly, except for the last Customization step, where I came across an unexpected error, which was actually my fault.
At the moment everything seems to be smooth and silky, but I need to see how the support team will react to my requests. That’s why I need to figure something out, or just break something 🙂
ThemeForest.net
Let’s see how I can access support from the template provider.
Right under the screenshot of the product there’s a button Support
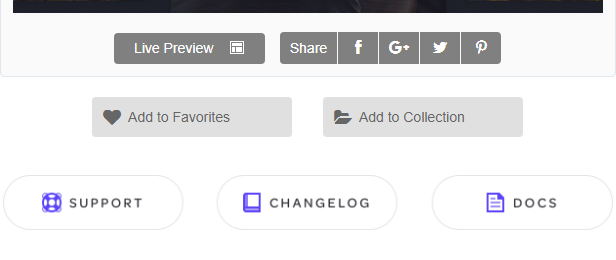
hit it and you will be redirected to the Astoundify website.
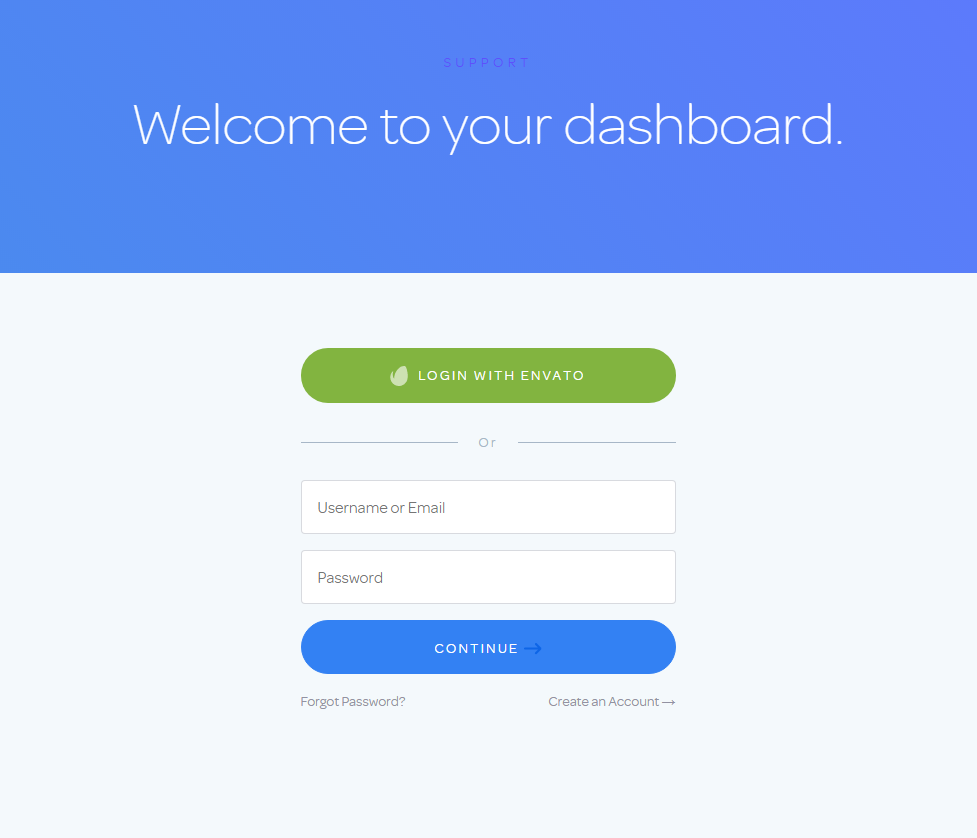
Now you need to login using your Envato ID. While logging in they warn about getting a bunch of information from your account.
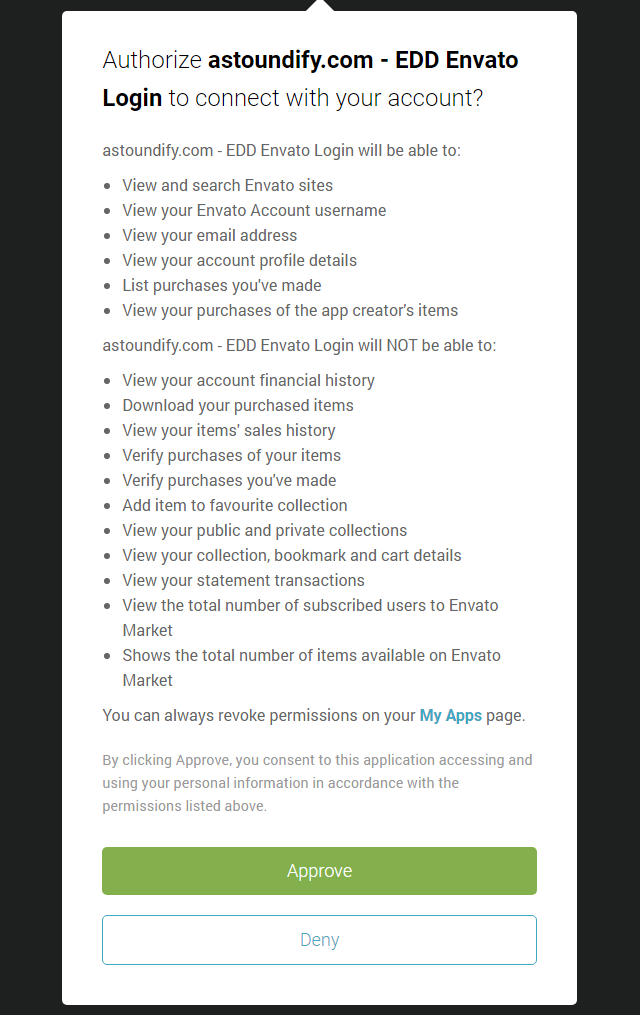
Press Approve.
Now let’s create a new ticket, this vendor has only ticket-based support.
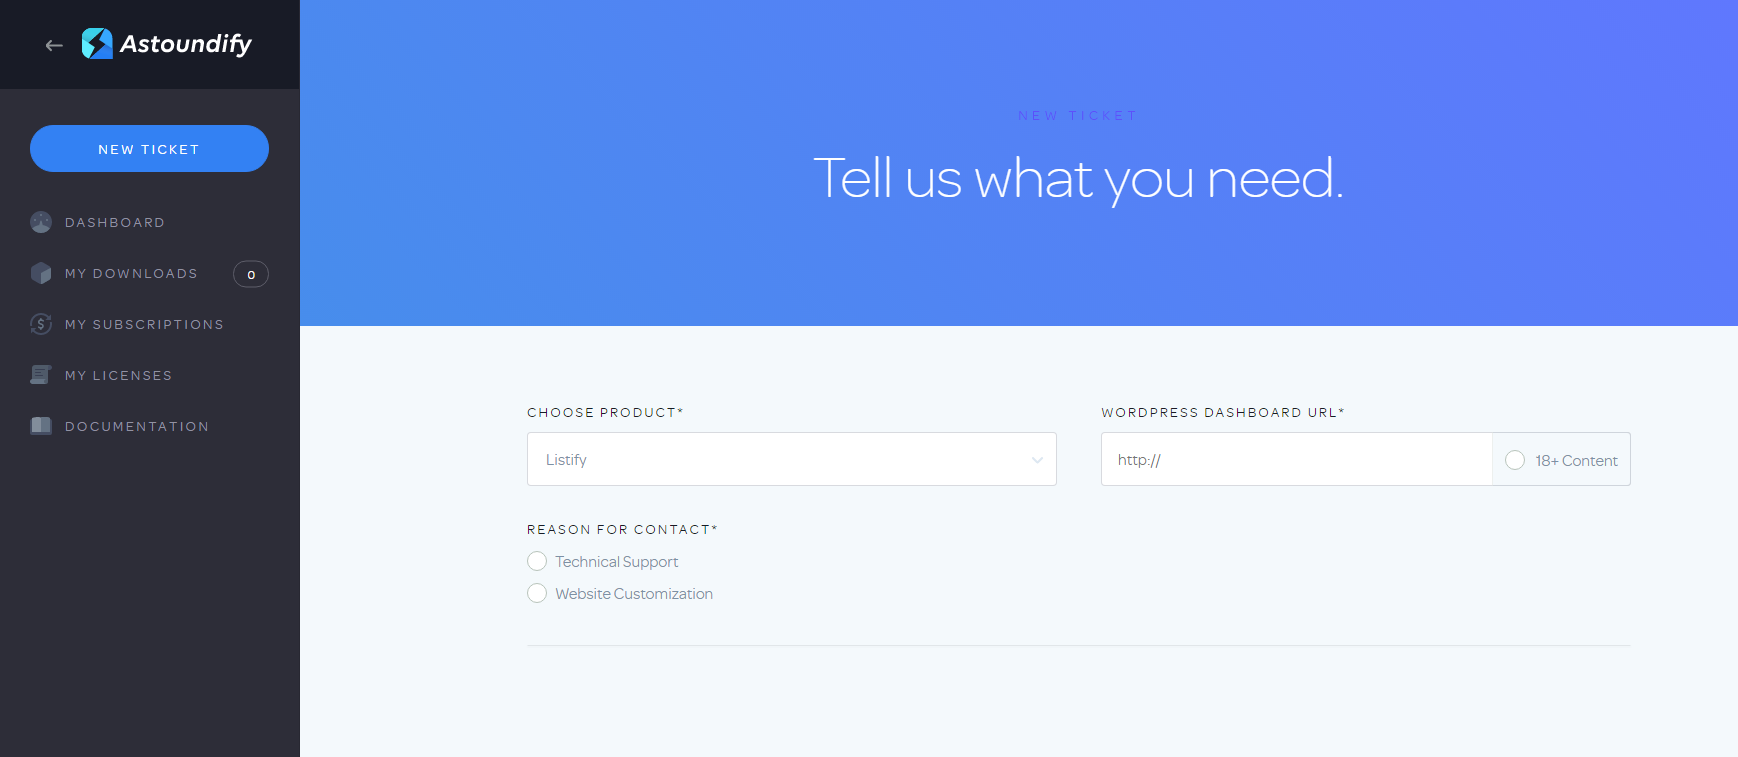
When you enable the Technical Support radio-button they ask for login details for your WordPress admin

It says: “Please make sure this user account has the "Administrator" role assigned to it. Please remove this user after your ticket is resolved.”
So here’s the actual question I’m going to ask the support team.
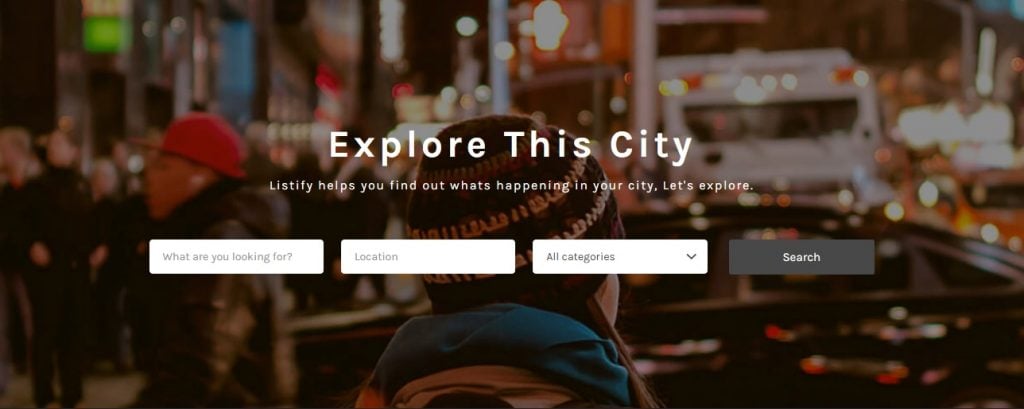
In the header of the website, there’s a listing search filter, with a full-width background image, in their documentation I haven’t found any information on how to resize this area.
The only thing one can do with this background image is to adjust its size in the page editor

But, frankly speaking, I don’t see any changes on the front end, no matter which of these three options I choose.
Let’s see what Astoundify support team will say about it.
Here’s the request I’ve sent to Astoundify’ support

I hope I will get an answer soon.
We’re here to help you, but you need to verify your email.
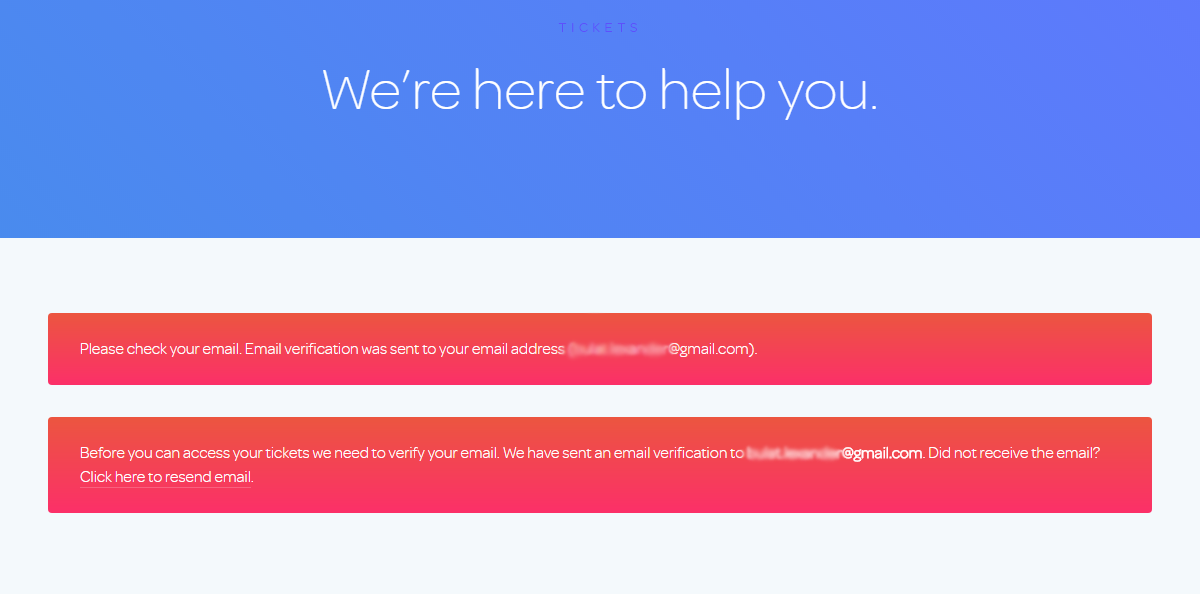
Go to your email account, there you will find an email like this one:
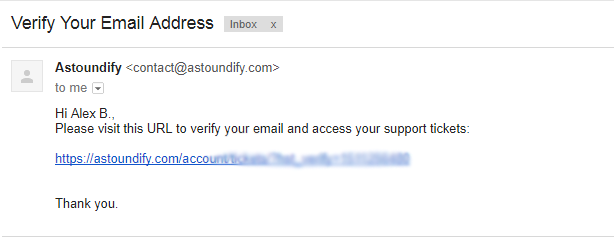
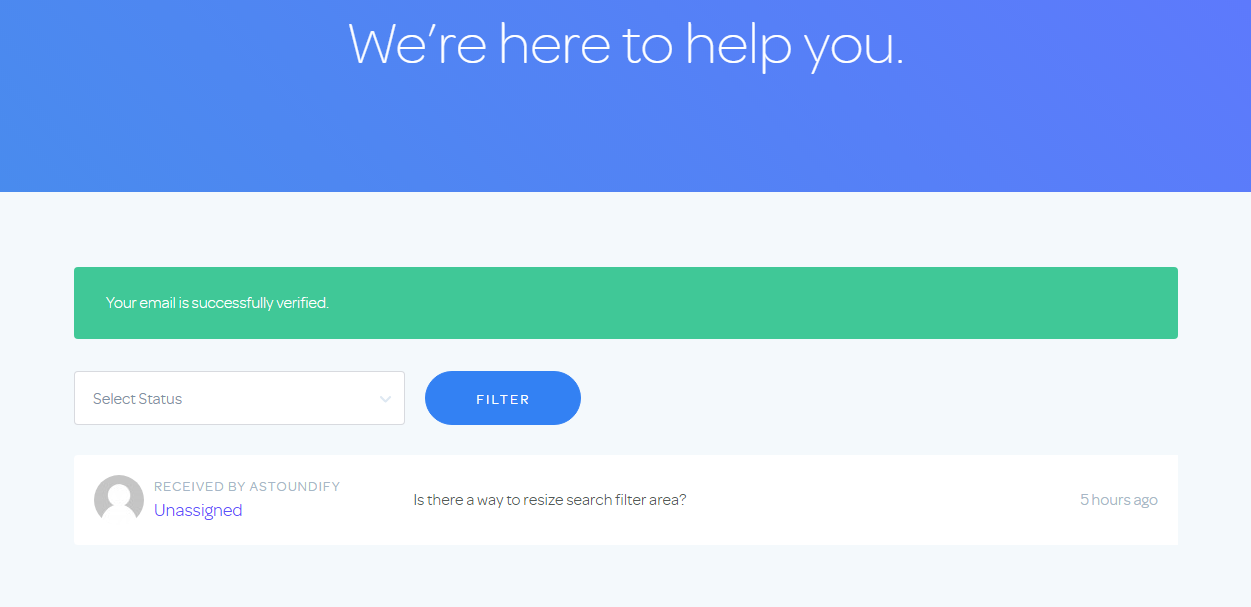
When I clicked the verification link, I was redirected to a success page.
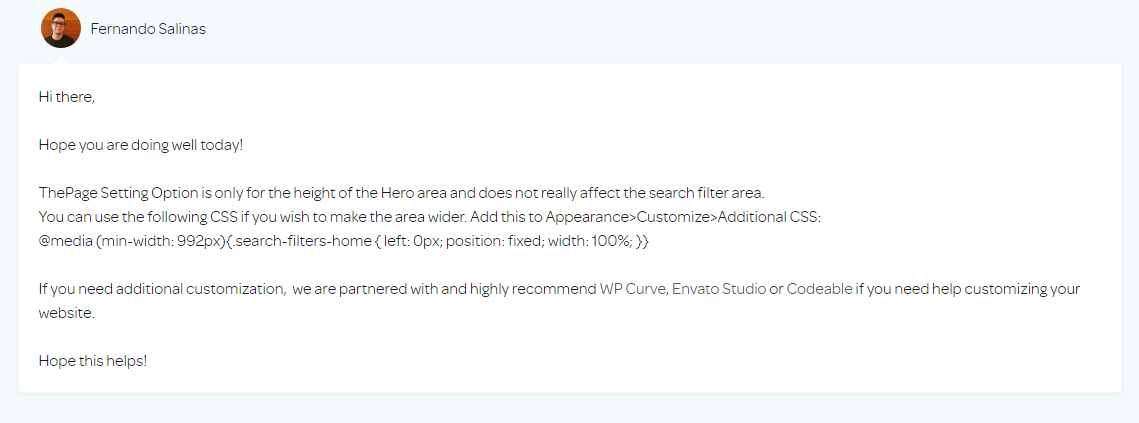
A few hours later I received a reply to my question.
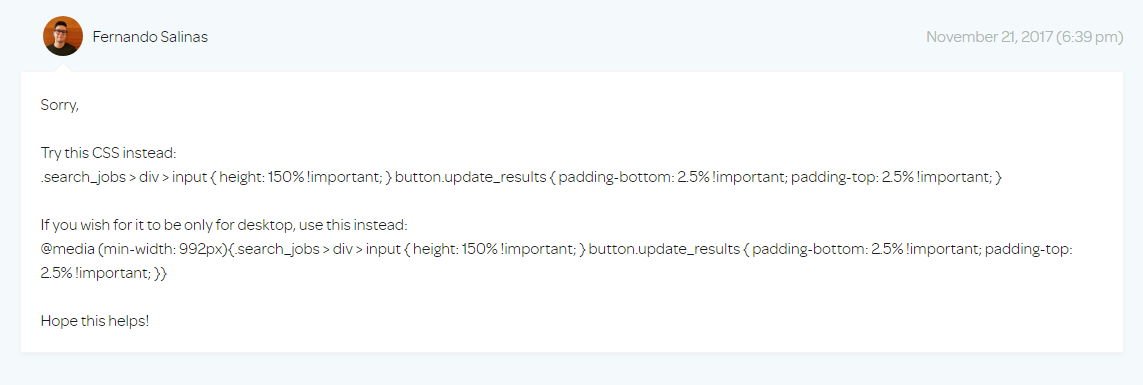
Just to make sure these guys care about customer issues, I’ve asked another question.

And in a few minutes, I’ve received a reply.
Thread closed.
TemplateMonster.com
To initiate a discussion with a support agent in the TemplateMonster marketplace you need to know your order ID. Paste it into the corresponding field in the Live chat window.

This window is available on any page of the website, just click on the headshot of a chat operator.
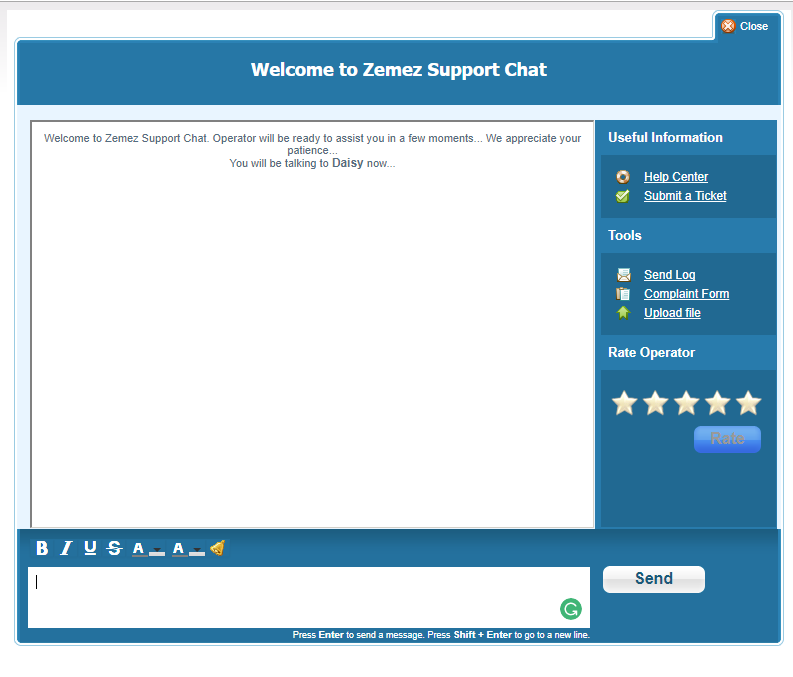
After you press the button Start Chat a pop-up window opens where you can talk to a support operator.
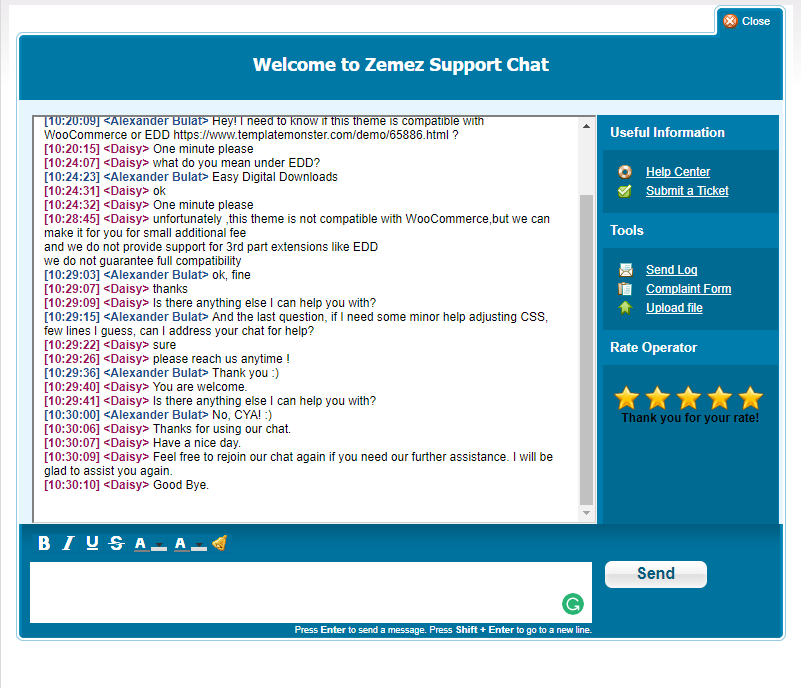
In a few minutes, I got the answers to my questions. Compared to Astoundify support this chat was lightning fast!
Case closed.
Evaluation
Now I’ll compare both items based on my shopping experience. The highest mark is - ?????, the lowest - ?.
Carmen from TemplateMonster.com |
Listify from ThemeForest.net |
|
The checkout process |
||
Ease of use |
???? | ???? |
Intuitiveness |
????? | ????? |
Speed |
???? | ????? |
Number of emails you get after registration or purchase |
1 | 2 |
Installation and basic customization |
||
Installation |
????? | ???? |
Demo data installation |
????? | ?? |
Page customization |
???? | ???? |
Page-builder support |
Elementor Builder
????? |
Beaver Builder
????? |
Theme support |
Chat.
Phone. Forum. |
Author can answer questions.
One can get assistance with reported bugs and issues. One can get help with included 3rd party assets. |
$? |
Free, lifetime.
????? |
6 month free,
after $12/mo. ??? |
Speed |
????? | ??? |
Documentation |
????? | ????? |
Template price |
$45
????? |
$59
???? |
Licence |
Single site.
???? |
100% GPL, 1 license for 1 item, for another project you will need another license.
????? |
Overall |
4.6? | 4.1? |
Over to You
Now you can sense what it feels like to be a mystery shopper. If you like this post, don't forget to rate it because I have spent too much of my freaking time writing it!
Thank you for your attention.
Read also
Ultimate SEO Guide 2017 for Blogs, Business & eCommerce Sites
How to Get the Most of Affiliate Programs? [Long and Uncut Guide]
How to Create a Website in 2017 [Ultimate Guide]
Don’t miss out these all-time favourites
- The best hosting for a WordPress website. Tap our link to get the best price on the market with 82% off. If HostPapa didn’t impress you check out other alternatives.
- Monthly SEO service and On-Page SEO - to increase your website organic traffic.
- Website Installation service - to get your template up and running within just 6 hours without hassle. No minute is wasted and the work is going.
- ONE Membership - to download unlimited number of WordPress themes, plugins, ppt and other products within one license. Since bigger is always better.

Get more to your email
Subscribe to our newsletter and access exclusive content and offers available only to MonsterPost subscribers.

Leave a Reply
You must be logged in to post a comment.