Update:
Hey, what's happening, guys? This article is a few months old and guess what? Since the last time I edited this one, we've lowered our prices for the premium OpenCart themes! As of today, you can buy any OpenCart template for almost half the price - at just $45 each! If you think that this is awesome, keep on reading. A larger portion of the PrestaShop themes available at TemplateMonster marketplace can now be accessed via subscription through the ONE. After paying a single fee of $229/year you can try all these themes one by one! Isn't that awesome? But that's not all. All members of ONE can save 30-50% buying digital products from TemplateMonster marketplace that are not included into ONE.
I’ve got a confession for you. I love dollar pizza and I’m not ashamed to say it! Yes, in most cases it’s a pretty bad pizza and sometimes I feel like it’s going to kill me, but for some reason, I still visit dollar pizza once in awhile and enjoy a slice of a blatantly crappy pizza.
My tradition, if I may call it so, to visit the dollar pizza place goes back to my college days when I didn’t have enough money, yet wanted to eat something fast food-ish. I used to hang out there for an hour or so and talk to the regular visitors. It was great to discuss life’s ins and outs while eating pizza and looking at the streets full of people running somewhere so fast.
Back in those days, I used to talk a lot about how I wanted to start my own business, but frankly speaking, I did not have enough skills to start anything profitable enough.
While helping my friend with his OpenCart store I decided to compile a useful manual for those who want to start their own shop. OpenCart is a very good choice in this situation, so if you believe that you are not experienced enough to create something like that, there is no problem with all these tools available on the internet right now.
As a company with a pretty big catalog of the e-Commerce template, we strive to show and explain our customers why creating your very own store is easy as a pie.
For instance, take a quick look at the best OpenCart templates we have in our portfolio.
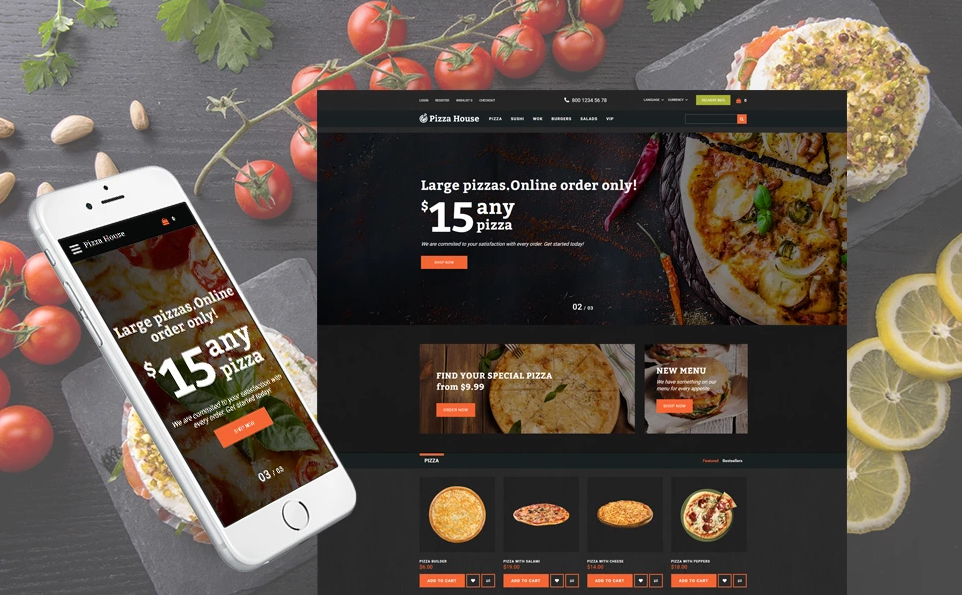
Fooder - Pizza Restaurant With Online Ordering System OpenCart Template
Car Audio Responsive OpenCart Template

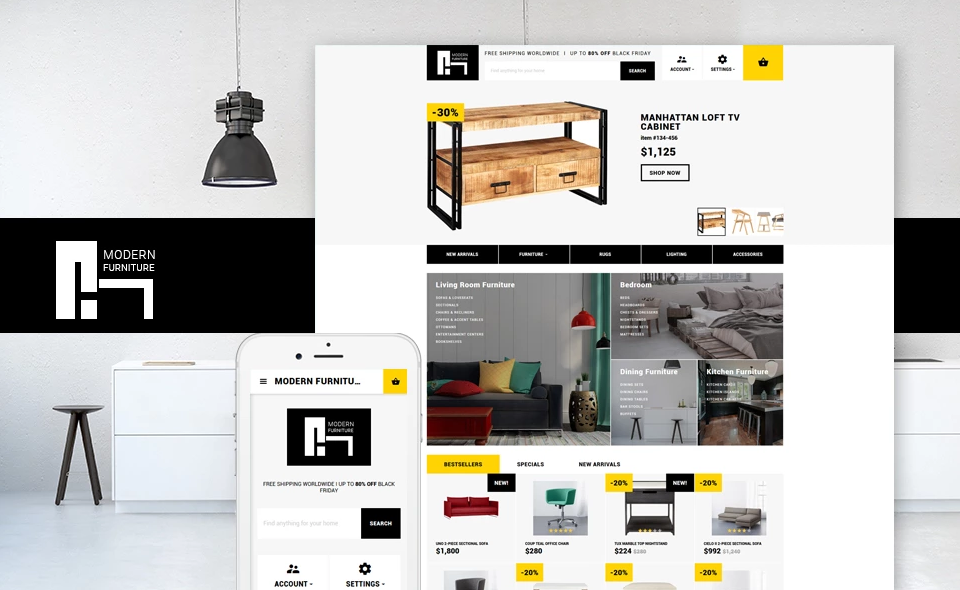
Modern Furniture - Interior & Home Decor Responsive OpenCart Template
Fresh Food - Healthy & Organic Food Store OpenCart Template

I guess now you understand why I brought up the pizza, right? That Pizza Place template looks awesome and tasty as hell! I have already ordered myself a pepperoni delivery, so let me walk you through the OpenCart template customization basics while I wait for my pizza to be delivered.
How to install the OpenCart CMS
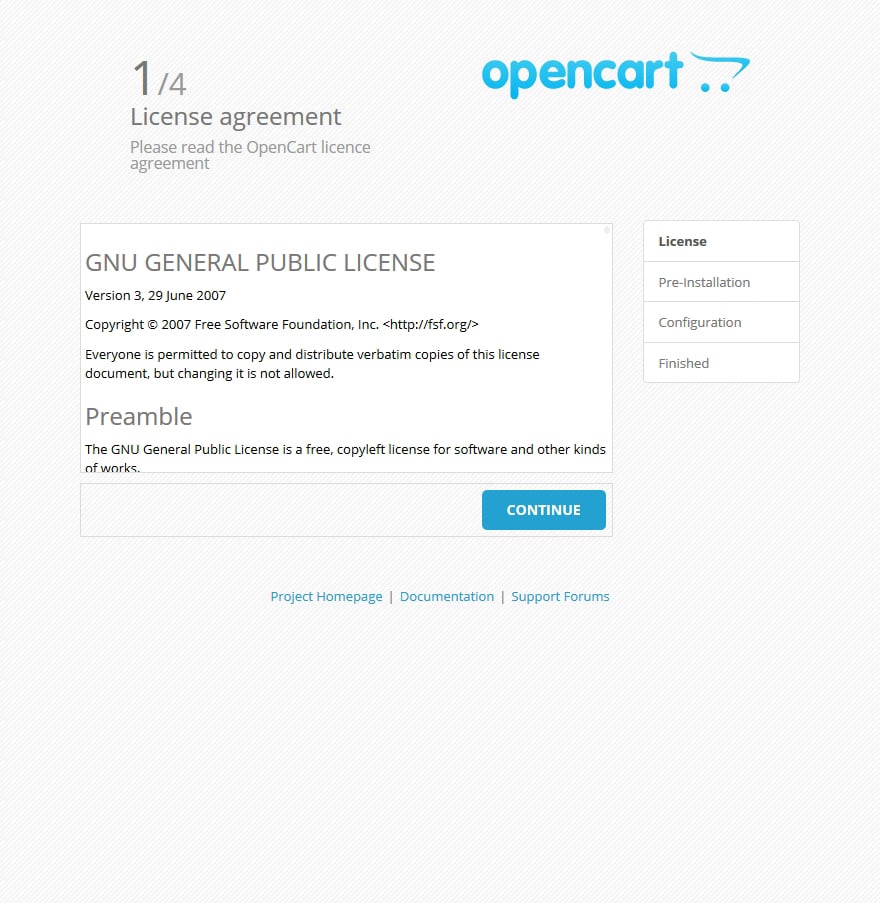
Open any browser and enter the OpenCart directory path in the browser address bar (for example http://your_domain_name/opencart ). You will see the OpenCart installation page:
- Installation license
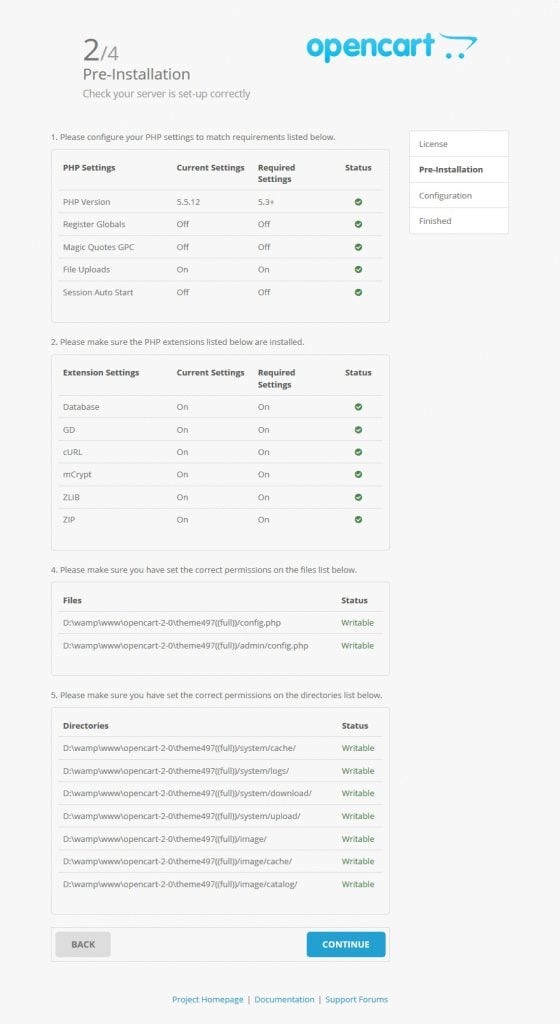
- Preliminary stage
- Configuration
- Ready!
Installation license
Check an OpenCart license agreement and click the Continue button if you agree.
Preliminary stage
At the second step, OpenCart is going to check if your hosting settings match the required ones and if the files and folders permissions are correct.
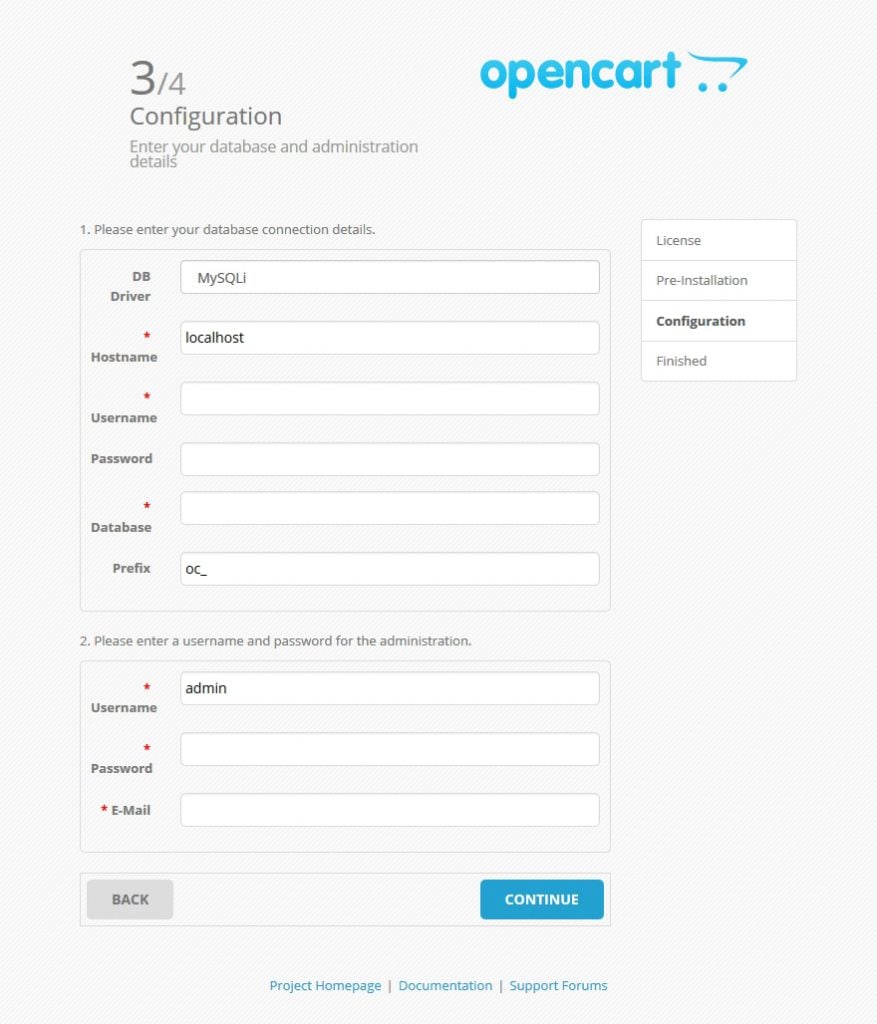
Configuration
At the Configuration step, you need to input your database details. The MySQL database was created in the preparation step, now you need to enter the details you have used:
- database server;
- database name;
- database username.
If there are any issues with the database details, contact your hosting provider.
You need to create the administrator user for your store. Enter the name, password and administrators e-mail address. The details you enter will be used to log into your store backend.
Ready!
This is the last OpenCart installation step. You will see 2 options: you can be redirected to your OpenCart website or to the OpenCart admin panel.
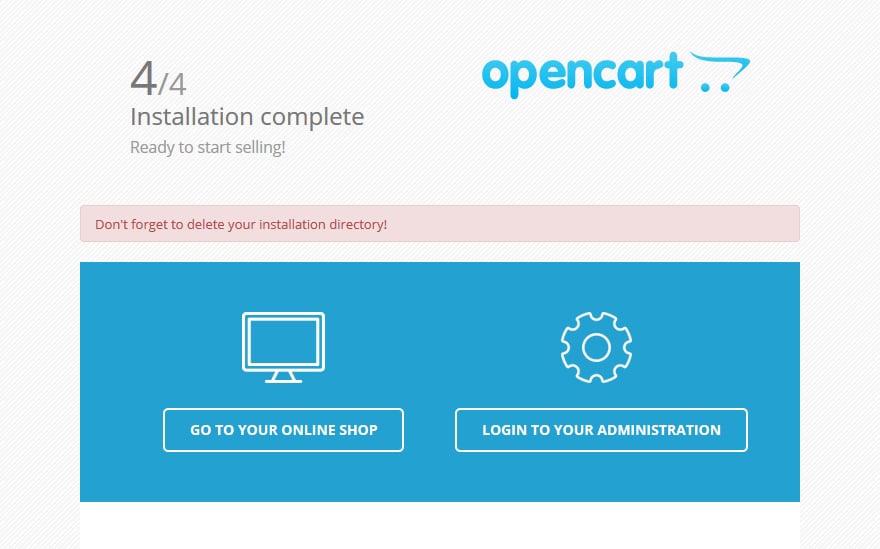
Important: Remove the "install" folder from your server. You will not be able to enter the store until the folder remains on the server.
The installation is complete. In order to open the store page, enter the domain name in the browser address bar. In order to access the OpenCart admin panel, enter domain_name/admin.
How to install an OpenCart template
In case you already have a ready OpenCart store and you just need to change its appearance with the help of the theme, use the following installation method.
- In order to install an OpenCart template, you need to upload the files to the server. You can find the "themeXXX(update).zip" archive in the OpenCart folder, it should be unzipped to your computer.
- After that, upload the unzipped files to the root directory of the OpenCart installation. You can check the detailed video instructions on how to upload files to the server.
- Open your website with any browser and add /install at the end of your site URL in the browser address bar (for example, http://your_domain_name/opencart/install).
- Click the Continue button. It may take some time.
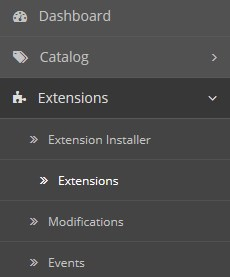
- Enter the administration panel, navigate to Extensions > Extension Installer and upload the themeXXX(extensions) archive files. When all the files have been uploaded, navigate to Extensions > Modifications and press refresh in the top right side of the screen.
- On the next step navigate to System > Settings, go to the Store tab and select themeXXX template in the Template field.
How to install OpenCart modules
Module installation process includes several steps. Navigate to your administration panel (by adding /admin to your website url in the browser address bar — www.yoursite.com/admin).
Navigate to Extensions > Extensions.

Choose Modules in the Extension type dropdown.
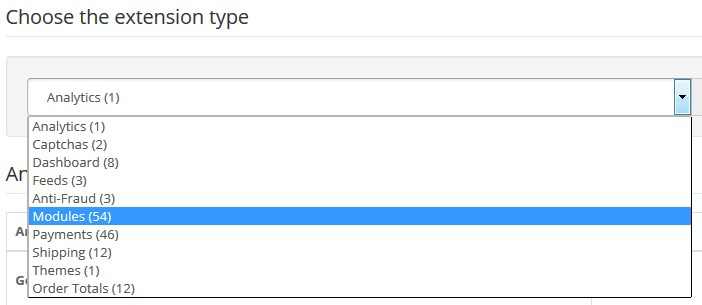
You will see the list of installed and ready-to-install modules. If you see the Uninstall button next to any module, it means that the module is already installed.
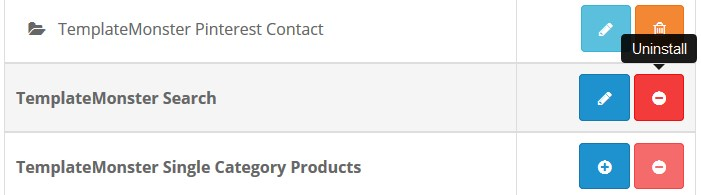
You can modify module settings by clicking Edit.
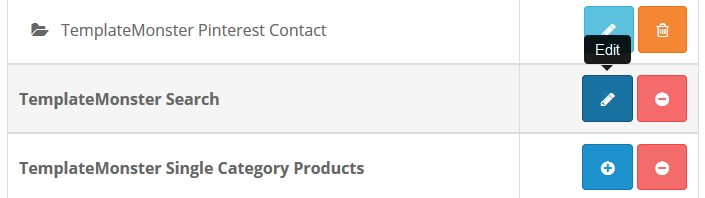
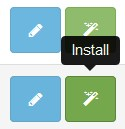
By clicking the Install button you will start module installation process.
In order to remove the module, you have to click the Uninstall button, so the module will be deleted.

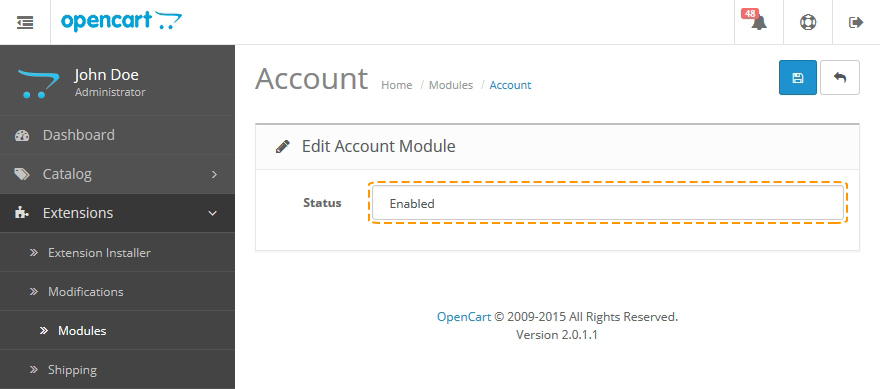
When the installation is finished, you need to configure the module. The settings can differ depending on the specific module, but the Status field is the same for all — the field allows you to turn the module on/off.
In order to add the module to a certain page, you need to go to the list of pages.
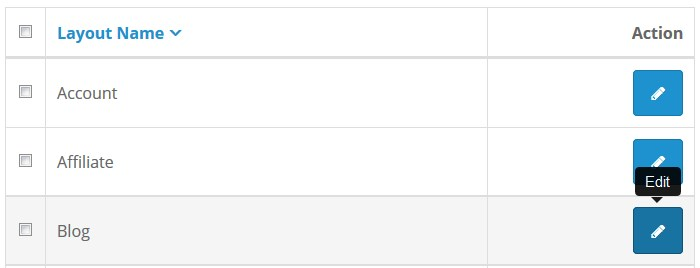
Navigate to Design > Layout in the side menu.

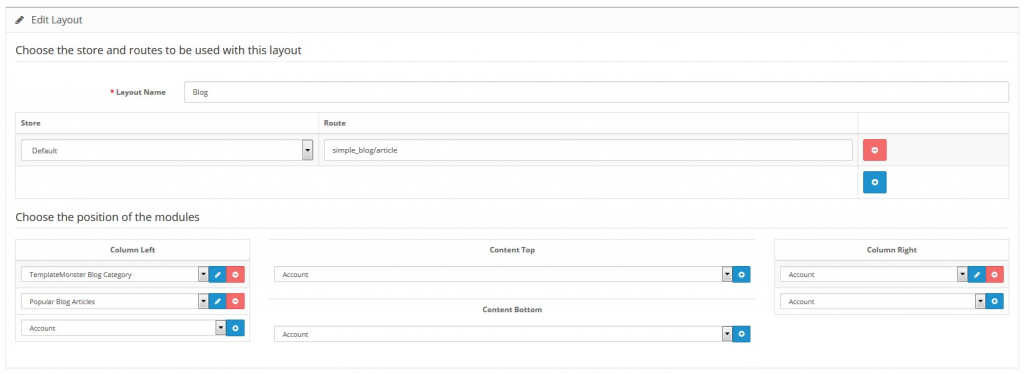
In the page list select the page where you want to place the module and click Edit.
You can see a list of the modules and module positions that are already added to the page.
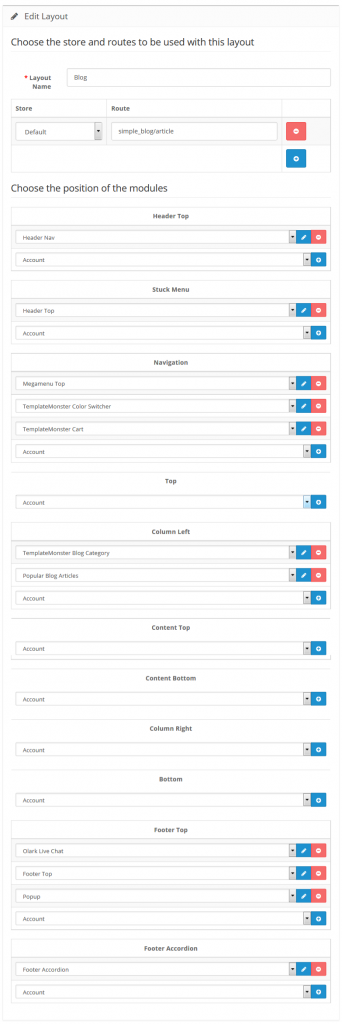
The following module positions are available (respectively to the display order):
- Header Top (after the Header section);
- Column-left (left side panel);
- Column-right (right side panel);
- Content-top;
- Content-bottom;
The Sort Order field shows the display order of the modules assigned to the same position. In order to add a module to a page, click Add Module. Select the required module and module position and click Save. The module installation is completed.
Available settings:
- Module Name — the name of the module;
- Width — module image width;
- Height — module image height;
- Blur — turn on/off the effect of blurring the image when its size is too small;
- Direction — sets the direction of parallax motion. Normal — parallax scrolling moves in the opposite direction, Inverse — parallel to it;
- Speed — sets the speed ratio for the parallax, relative to the base rate. Value: from 0 to 2;
- Status — module status (enabled/disabled).
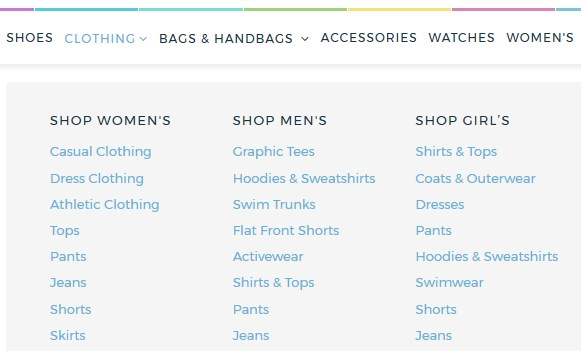
How to enable a Megamenu
The TM Megamenu module allows you to create complex menus. It provides the ability to display a single item (without submenus), an item with a submenu and an item with the multi-row and multi-column submenu block. This module can be displayed in the various positions, but with the same content.
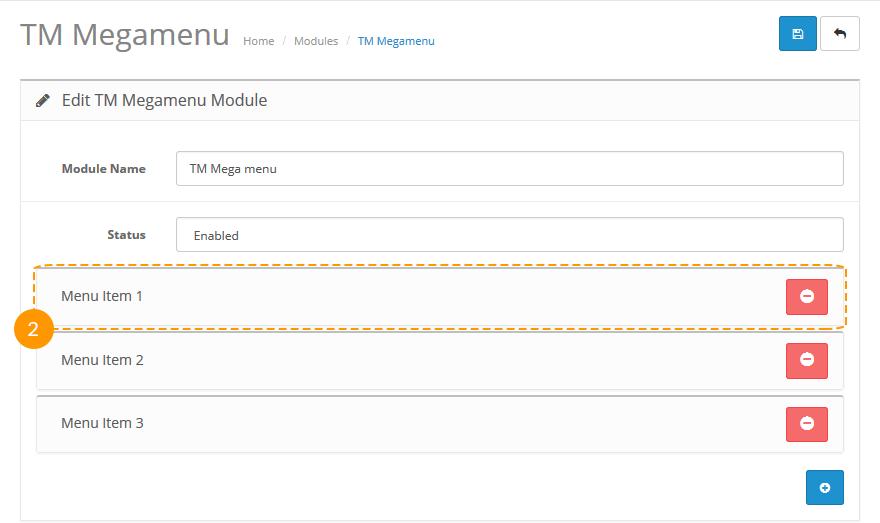
In order to enable megamenu you should navigate to the Extensions > Modules > TM Megamenu page, press the Edit button next to the appropriate item and choose the Enabled option in the new window.
How to configure the Megamenu
Megamenu items. Main items in the menu root.
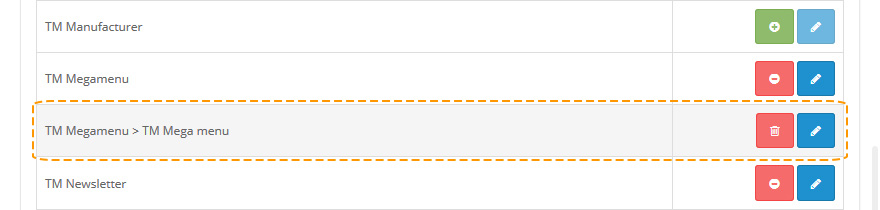
Megamenu editing starts here. In order to edit megamenu parameters, open your website admin panel and navigate to the Extensions > Modules > TM Megamenu > TM Megamenu page, as on screenshot below. On the next page, you will be able to create, remove and edit menu items.
Click on one of the menu items to start editing. Fill in the following fields:
Menu Item type — type of the menu (regular/megamenu);
For 'Custom' option:
- Menu title — menu item label;
- Menu link — menu item link;
- Show megamenu — megamenu display;
If the "Show megamenu"(3) option is set to "Yes", the following additional fields appear. Fill in these fields:
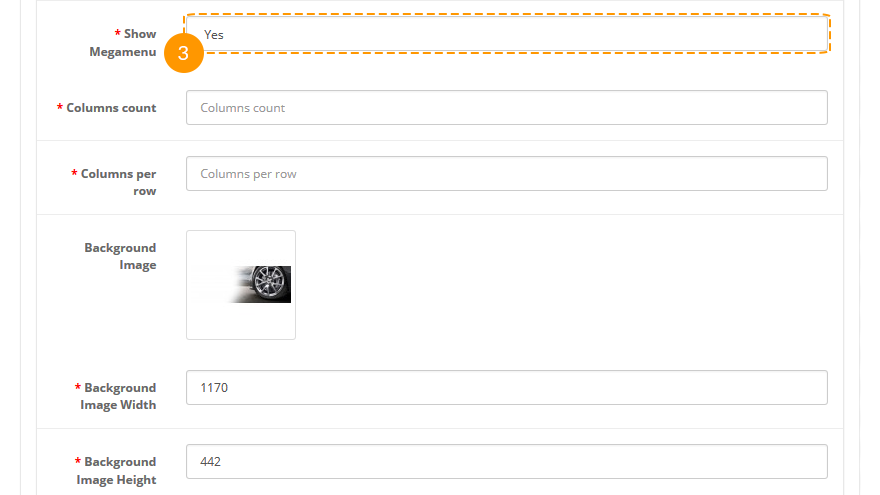
- Columns count — number of columns;
- Columns per row — number of columns per row;
- Background image — background image;
- Background image width — width of the background image;
- Background image height — height of the background image;

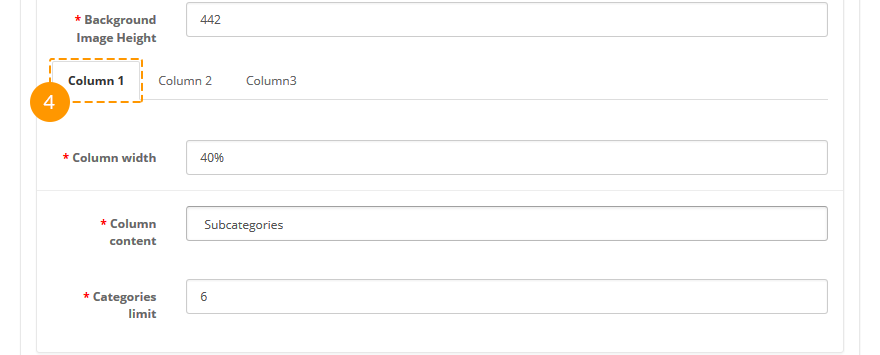
After filling in the "Columns count" field, the following options become available: "Column N". Fill in the tabs:
- Column width — width of the column;
- Columns content — content of the column;
- Categories(Products) limit — maximum number of categories or products to display in the column;
- Module — name of the module to display;
- Category name — name of the category;
- Show Category name — category name display;
For 'Category' option:
- Menu item submenu type — submenu type;
After selecting the "Megamenu" type in the "Menu Item type" field, the following additional megamenu settings become available:
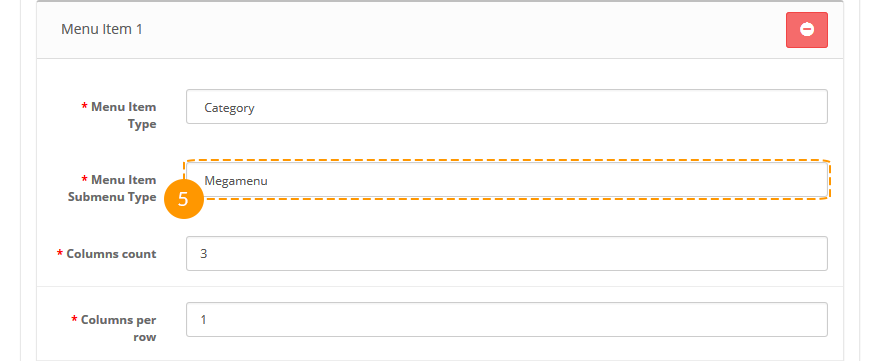
- Columns count — number of columns;
- Columns per row — number of columns per row;
- Background image — background image;
- Background image width — width of the background image;
- Background image height — height of the background image;
After filling in the "Columns count" field, the following options become available: "Column N". Fill in the tabs:
- Column width — width of the column;
- Columns content — content of the column;
- Categories(Products) limit — maximum number of categories or products to display in the column;
- Module — name of the module to display;
How to change the logo in the OpenCart template
Navigate to Extensions > Extensions.
Choose Modules in the Extension type dropdown.

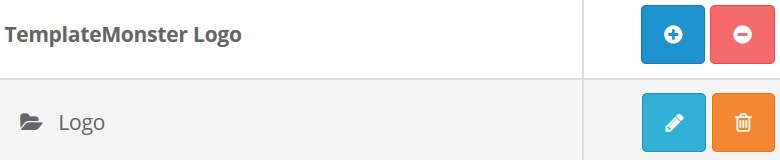
Find the Logo module. Press an edit button to configure the module.
You will be brought to the settings window:
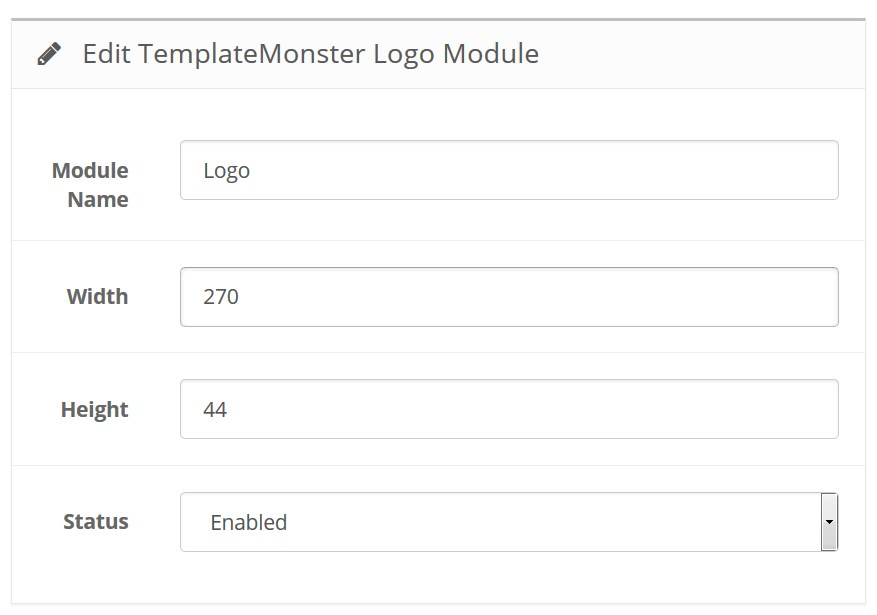
Available settings:
- Module Name — the name of the module;
- Width — set a Logo image width in pixels;
- Height — set a Logo image height in pixels.
- Status — module status (enabled/disabled).
How to manage and build layouts
Navigate to Extensions > Extensions.
Choose Modules in the Extension type dropdown.
Find the TemplateMonster Layout Builder section. Press the edit button to configure the existing module.
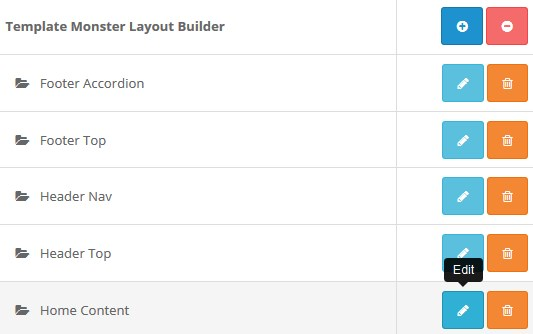
You will be brought to the settings window:
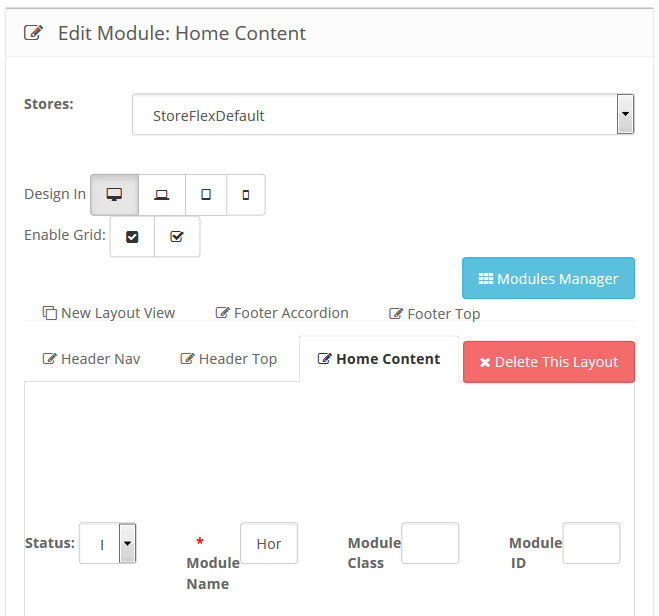
Module basic settings:
- Status — module status (Enabled/Disabled);
- Module Name — the name of the module;
- Module Class — the class of the module;
- Module ID — ID of the module.
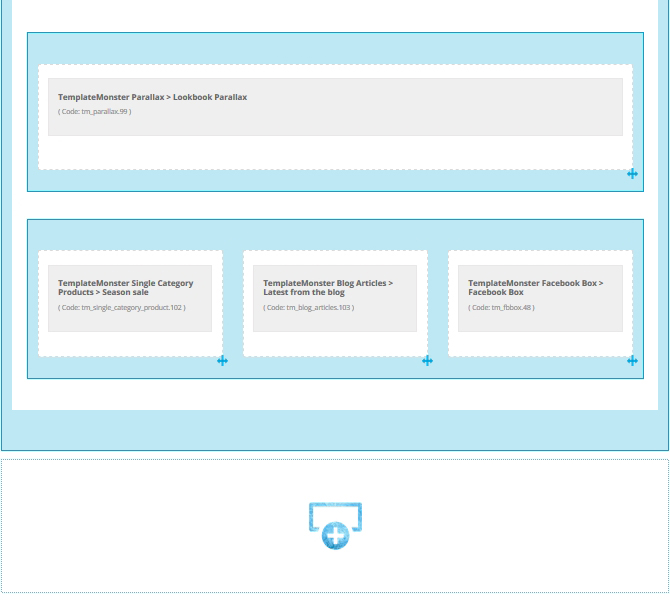
To create a new layout, press the New Layout View button.
The module has several buttons available that make editing process much easier. Let’s take a closer look on them:
- Press Add Column. After clicking this button you will be able to add rows. This option has several sections available:
- After adding a column, insert a row. To add rows, press the Add Row button. The number of columns in the row is unlimited, and you can add as many columns as you need. The width of the columns can be set right after adding them with the help of the Drag & Drop function by dragging the right border of the column.
- Delete button allows you to remove unnecessary columns.
- After clicking the Edit button you'll see a popup window with a great customization tool which allows you to change column/row style. It can help you setting the background and changing margin values for your blocks.
- After adding the columns, you should fill them in with some content (modules). To add a module, press the Add Widget button and select the needed one among the dropdown. You can get the module settings interface via Layout Builder by pressing the "edit " button in module block.
- Use the Delete button to remove column you don’t need.
- Edit button allows you to adjust column style. We have mentioned it above.
- Duplicate is a great tool that allows you to duplicate columns without having to copy them manually.
- Sort option allows you to change columns order.
After setting up all the rows, columns and modules, save the Builder module and display it in one of the positions on the store main page.
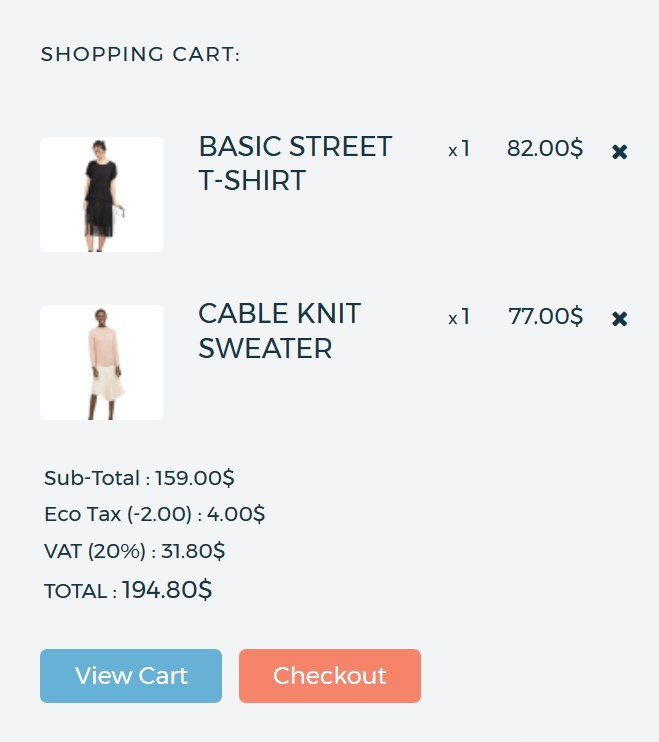
How to setup a shopping cart
Cart Module is the extension that allows you to display the shopping cart on your website.
Navigate to Extensions > Extensions.
Choose Modules in the Extension type dropdown.
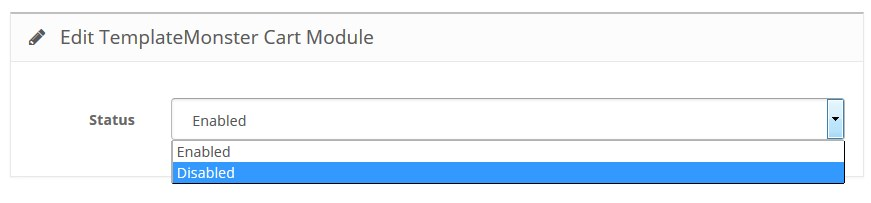
Find the TemplateMonster Cart module. Press the edit button to configure the module.

You will be brought to the settings window:
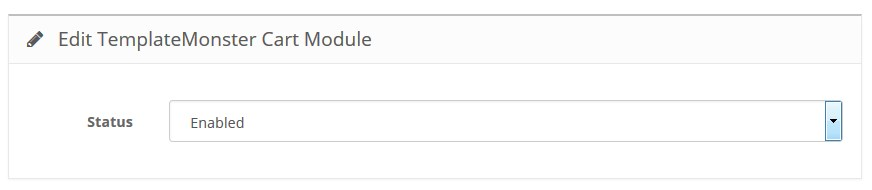
Select Disable at the Status option dropdown to turn off the module.
How to manage the links in the footer
- Navigate to Extensions > Extensions.
- Choose Modules in the Extension type dropdown.
- Find the TM Footer Link section. Press the edit button to configure the existing module.
- You will be brought to the settings window:
- Module Name — the name of the module;
- Links Group — choose a group of links you want to display in the footer;
- Status — define the module status (enabled/disabled).
Frontend:
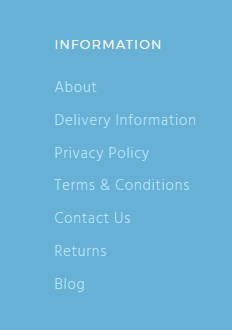
- Module Name — TM Footer Links Information;
- Links Group — Information;
- Status — enabled.
Wrapping things up
Everyone wants to start making money online. What are you waiting for then? OpenCart is one of those great platforms that give you a chance to create your own store and build a successful business without writing a single line of code.
If you are successful enough to live without your own shop, make sure you check out our catalog of premium templates and you’ll definitely find something fitting your business.
Related Posts
- The Ultimate List of The Best Free OpenCart Themes
- 10 Top-rate OpenCart Templates to Build Impressive E-Store
- StoreFlex OpenCart Theme Teaser. Pre-order Now & Save 50%
- The 15 Best OpenCart Themes
- 13 Essential OpenCart Extensions Your Store Must Have
- Free OpenCart Theme – Quick and Easy Start for Mobile Shop
- 20+ Latest Features of OpenCart Themes to Refresh Your E-store Functionality
Don’t miss out these all-time favourites
- The best hosting for a WordPress website. Tap our link to get the best price on the market with 82% off. If HostPapa didn’t impress you check out other alternatives.
- Monthly SEO service and On-Page SEO - to increase your website organic traffic.
- Website Installation service - to get your template up and running within just 6 hours without hassle. No minute is wasted and the work is going.
- ONE Membership - to download unlimited number of WordPress themes, plugins, ppt and other products within one license. Since bigger is always better.

Creative writer passionate about WordPress and all that technical stuff. Meet Alex in person on LinkedIn.
Get more to your email
Subscribe to our newsletter and access exclusive content and offers available only to MonsterPost subscribers.

Leave a Reply
You must be logged in to post a comment.