

This is the sixth lesson of our Ultimate Gutenberg Editor Learning Course. If you want to get the full educational plan – follow the link and subscribe for the course.
There’s a lot of hype around WordPress Gutenberg Editor now. Some people like it and some not, some people highlight its advantages and others emphasize cons. Actually, there isn’t a single perfect page builder on the web, any of them has disadvantages, and of course, Gutenberg has them too.
On the other hand, it has lots of pros too. However, one way or another, Gutenberg is now a default app and every WordPress user should try to deal with it. So let’s go through the Gutenberg WordPress Editor step by step, figuring out all the most necessary details. Gutenberg Editor is now a default app and every WordPress user should try to deal with it.
Check our huge blog post about Gutenberg aka WordPress 5.0.
What is the difference between the new WordPress Editor and the Classic one?
- Block system. All the pages or posts you create with the help of Gutenberg Editor are combined of blocks. You can move them any way you would like to and create any layout you need. And all that – without writing any code – just dragging and dropping them with a pointer.
- Sticky upper menu. That is sooo very convenient! Everyone who tried to create a page or post in Classic Editor knows how annoying it was to scroll the whole page up to publish or update it. And now the menu follows you through the page while you fill it and you can update the content right the same second after deciding to do it. That is a really huge advantage.
- Block Navigation. It is a list-shaped button in the left corner of the upper menu. This great feature allows you to see what blocks and in what order were used for. It also gives the website creator direct and quick access to each of those blocks. Such quick and simple navigation sufficiently reduces the time of website creation.
- Flexible working field. There are three working modes and a huge bunch of other settings in Gutenberg Editor and they don’t affect the content, but only the convenience of the editor itself for the user. All the sidebar tiles and other tools could be removed from the working field – you can customize it according to your taste and needs.
Gutenberg WordPress page builder pros and cons
| Pros | Cons |
| The drag-and-drop page creation system | All the page elements (like paragraphs, headers, pictures, etc.) have to be added in separate blocks |
| Simple adding of the multimedia content | Not completely accessible to people with disabilities |
| Floating toolbar | Could be not compatible with your theme or plugins |
| Easy navigation | It could be hard to learn how to use it |
| Flexible interface look | Complicated interface |
Starting to work with Gutenberg Editor
Going through the differences between the Classic and Gutenberg Editor could be a little boring for those who haven’t tried it. So, let’s move on to the practical tips and start a real WordPress Gutenberg tutorial.How to create a page or post?
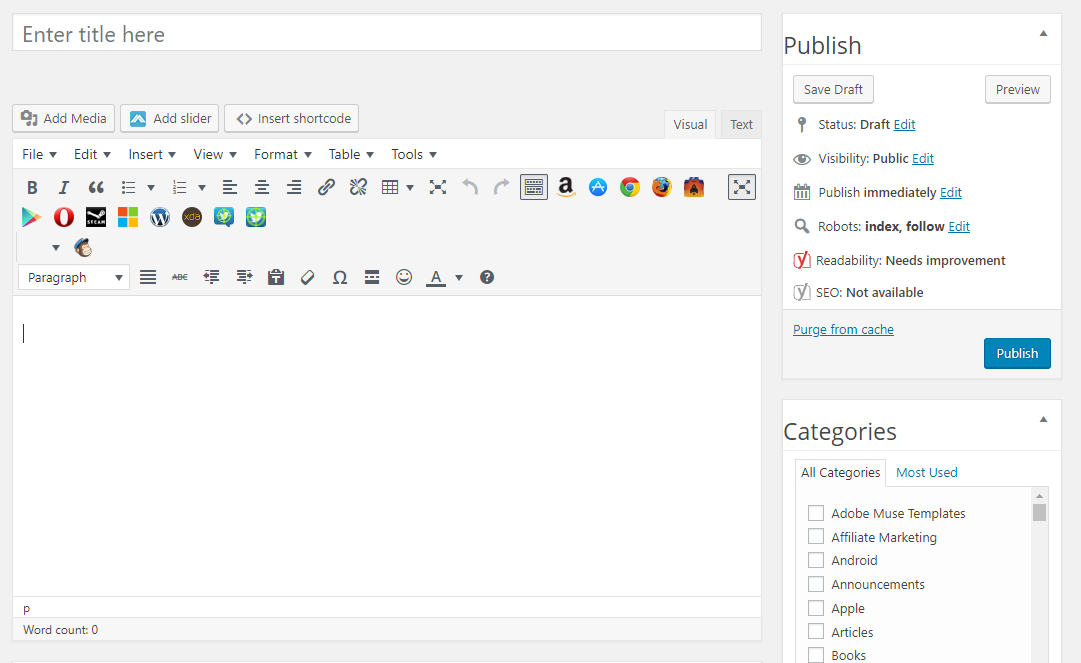
You don’t have to do anything special to create a new page or post with the new WordPress page builder. You just have to click Posts > Add New or Pages > Add New. Gutenberg Editor will open automatically. In fact, you have to install a special plugin to make the editor look like in the «old» version. Type the title, insert the text and pictures, push the “Publish” button – voila, you created a page or post.

Dealing with the Gutenberg Editor tools
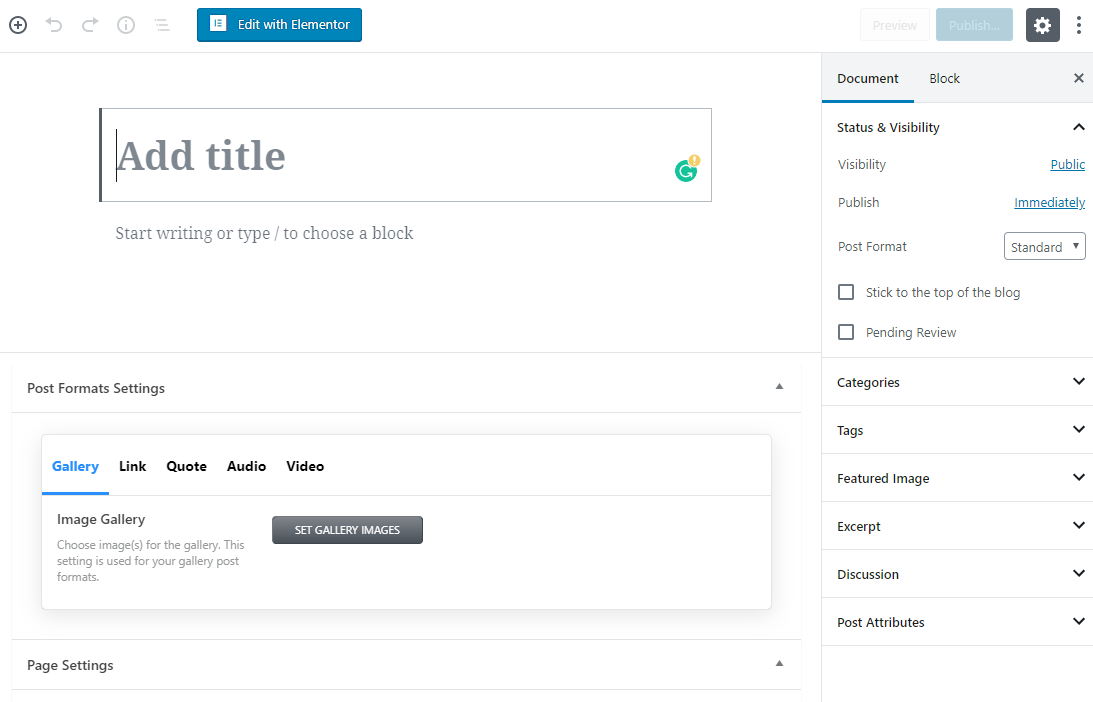
The picture you will see after opening the Gutenberg Editor I showed you a little earlier, and now let’s take a look at the tools, available from the start.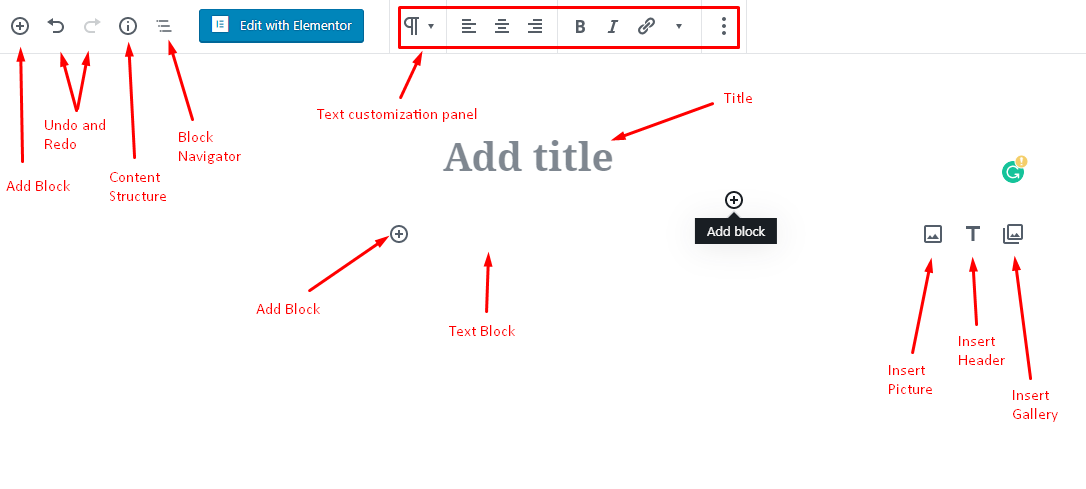
- Add Block. As you can see, there are three buttons that help you to add new blocks to the page. One in the upper left corner of the toolset and two – on the different sides of the block.
- Undo and Redo. It’d everything completely clear here – those two buttons allow you to easily fix some actions you don’t want to happen.
- Content Structure. When you will click on it – it will show you a little drop-down table with the number of user words, headings, paragraphs and blocks.
- Block Navigation. As I said previously – one of the most useful Gutenberg WordPress Editor – it gives you access to quick navigation through the page. When you click the block in the list it automatically opens for editing.
- Text customization panel. It opens when you start to edit a text block and offers you the most basic set of tools for text writing.
- Title. That’s rather clear too – you type the title of the page or post here.
- Insert Image, Insert Header, Insert Gallery. Those three buttons help you to add some content to decorate the text and make it more readable.
Right-side toolbar remained almost the same, so I will only mention the most sufficient details and functionalities that are the most important for the beginners.
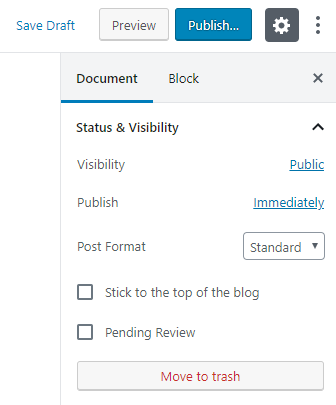
- Save Draft. You can save the page you already created and use it for the rest of your website.
- Preview. This one will show how the resulting page will look like.
- Publish. This button will make the page you created with Gutenberg Editor visible for everyone who will enter your website.
- Settings. If you don’t want the right-side toolbar to be visible you can remove it with this button.
- Show more. The options available with clicking to that button I will describe a little further.
The right-side toolbar has a “Document” and “Block” bars. The first one is visible by default and shows the tiles that contain settings for the whole page. The “Block” bar opens when you select a block and contains all the settings of it. In general, all the tiles remained the same they were in the Classic Editor. The expandable part of the menu that you can see after clicking the “Show more” button gives you an opportunity to customize the working field according to your taste.
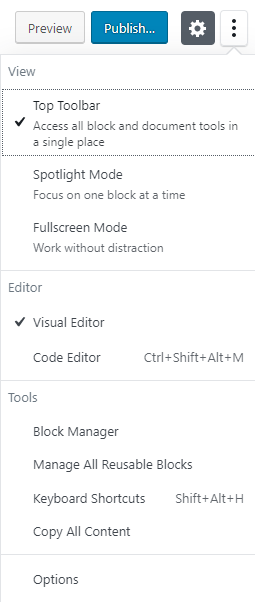
- Top Toolbar. This mode places the toolbar to the top of the screen, where it will be perfectly seen. It is convenient if you have a big page with lots of blocks on it – in that position, it won’t interfere with any of the blocks.
- Spotlight Mode. In this case, the toolbar is placed on the top of the block you are currently dealing with. That would be convenient for the pages with a wide, fullscreen layout or for people who like to have a match on the block that is chosen right now.
- Fullscreen Mode removes the upper and left-side WordPress 5.0 menu and stretches the working field to the whole screen width. In that mode, nothing disturbs you and you can see the whole picture more widely.
- Visual Editor. That is how you see the page right now – and how it will be seen by the visitors of your website.
- Code Editor. When you switch to this mode you will see, actually, the code, HTML, and CSS, and will be able to make some core changes and change the website from the core.
- Block Manager. When you click on this option you will open the list of all available blocks and make them unavailable in the list that is called by “Add block” button.
- Manage All Reusable Blocks. This option will move you to the list of all blocks you created by your own and saved or downloaded from the web. There you will be able to use, delete or make them unavailable.
- Keyboard Shortcuts. If you forgot some of the shortcuts – you can take a look here. This option opens a list of all available in the Gutenberg Editor keyboard hotkeys.
- Copy All Content. It is obvious from the title; this option just copies all the content you placed to the page.
- Options. Here you can choose what panels will be shown on the working field and remove any of them.
How to create a post (or page) using a new WordPress builder?
Now, when I briefly introduced you to the main functionalities, it is time to do some practice. One way or another, bare theoretic knowledge will be worthless if you won’t be able to create a website. That’s why I will show you an example of how to create a post. And meantime I will also show you the basics of how the available blocks work. The first thing you have to remember – every paragraph and header in Gutenberg Editor is a separate block. Even if you will paste a ready-made text – every paragraph of it will automatically become a separate block. That could be either convenient or not, but that is how the cookie crumbles.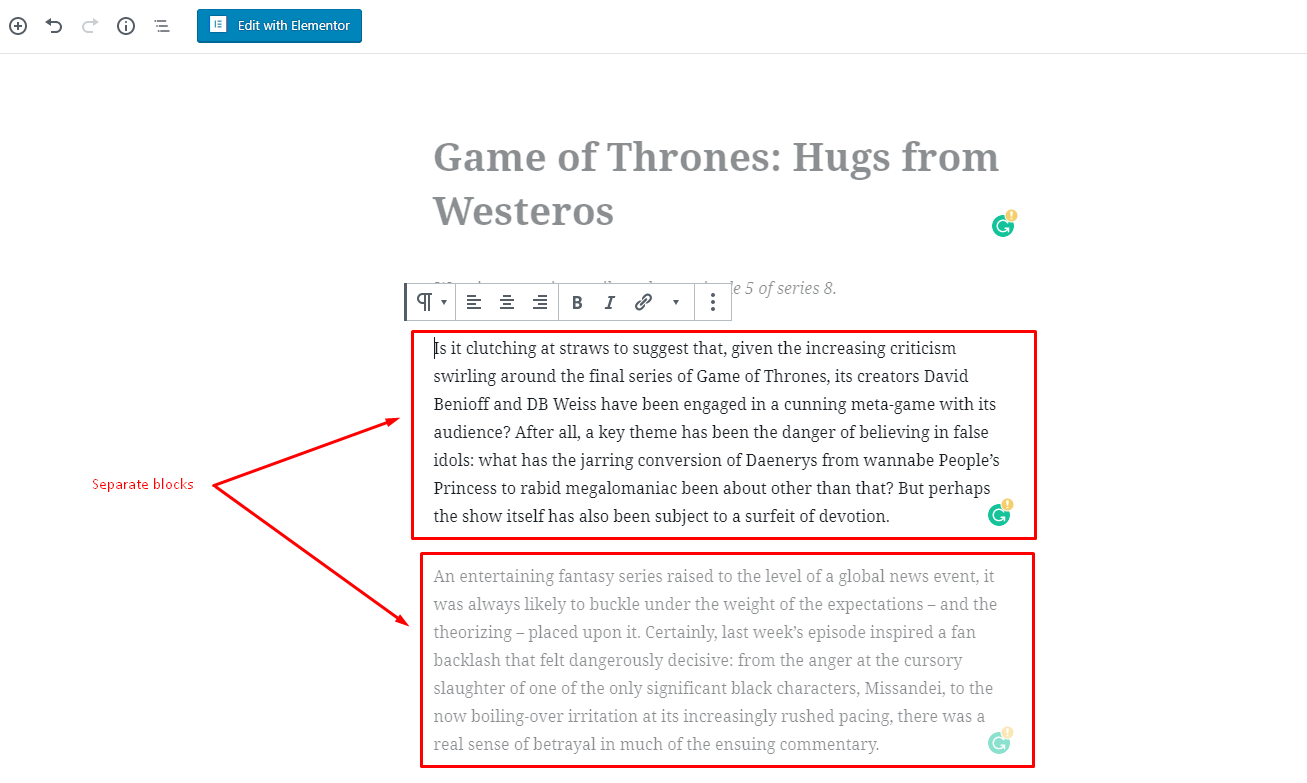

Adding images
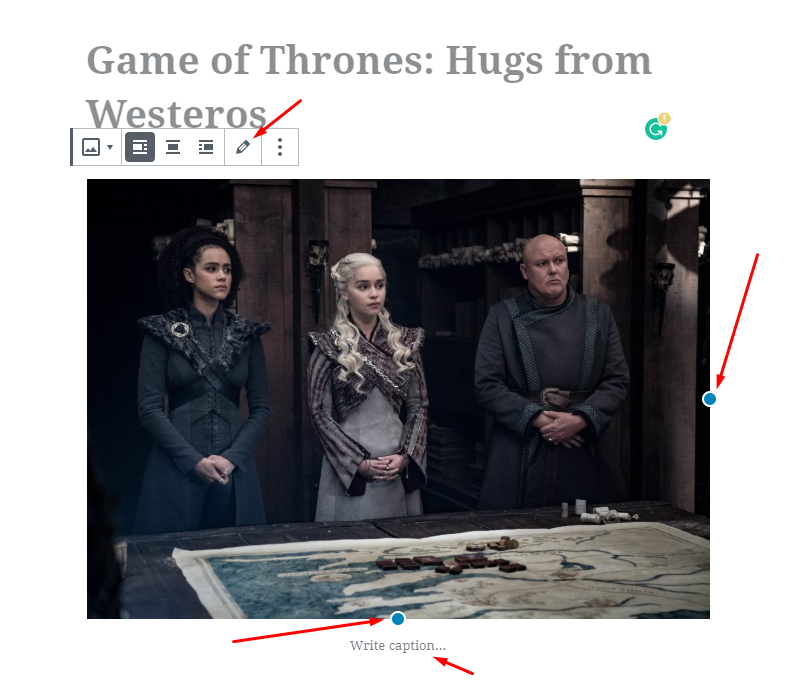
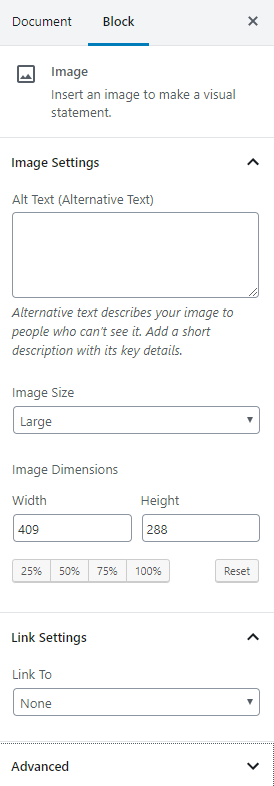
Of course, the post can’t contain the text only – that would be too boring, so let’s add some pictures. Any additional block you forgot to add could be included any time and to any place. The upper “Add block” button allows inserting a new block before or after any of the already placed content. Hover the pointer over the not selected block and you will see the “Add block” button. After clicking it you will see a drop-down list with the available blocks. Click the “Image” button.

Adding headings
To make the navigation easier and the text more understandable to readers you need headings. As I said previously – headings are also separate blocks in WordPress Gutenberg Editor. The upper toolbar allows you to choose the size (from H2 to H4), make the text bold and italic and add a link. In general – those are the same settings that are used for text. The right-side toolbar also allows you to pick the alignment and HTML anchor (that way the clickable tables of contents on the top of the page could be made).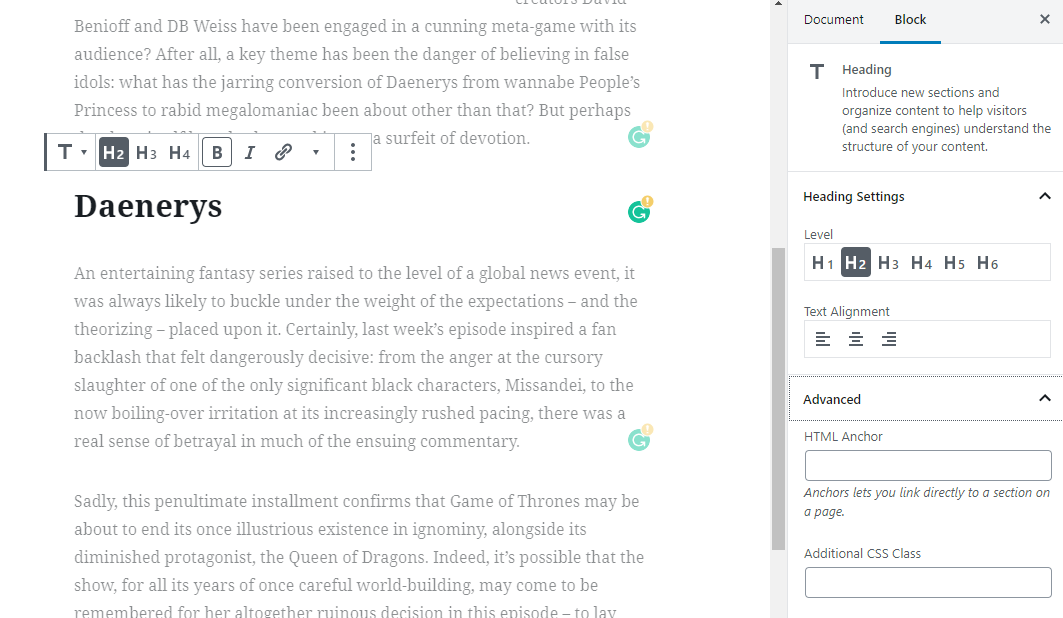
Adding image gallery
In Gutenberg Editor You can load an image gallery the same way as the single image (except downloading from URL). After you loaded the chosen images you can add some more any time you would like to with just clicking “Upload an image” button. You can add a caption to every picture just typing it over or click “Edit gallery” button on the upper toolbar and add captions, alt text and description from the media library. The “Block” bar of the right-side the toolbar allows to set the number of columns in the displayed gallery, crop the images (then they will be shown in similar sizes) and add links.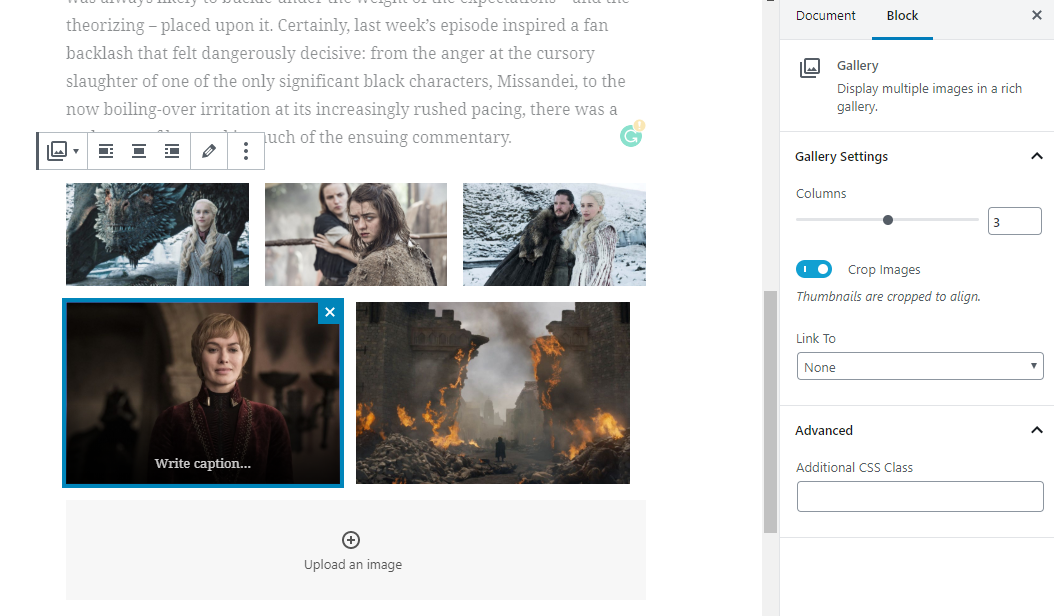
The other most used blocks WordPress Gutenberg tutorial
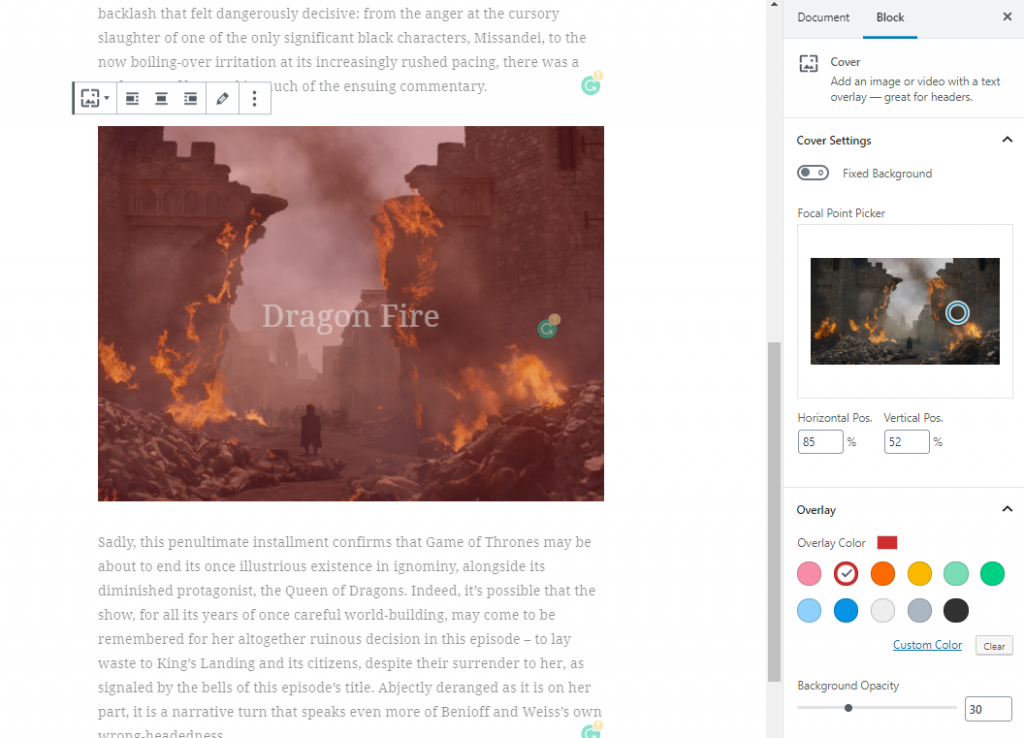
Cover
That is an overlaid with some color pictures with a text written over it. The upper toolbar offers all the options common for text or picture customization (clicking on the picture you can choose to customize it separately). In the “Block” tab of the right-side toolbar, you can choose the size and colors of text, focal point, overlay color and background opacity of the picture.

Media & Text
An excellent block for short and catchy phrases or news announcements. It adds to the page a picture with the short text to the left or to the right from it. All the customization options and toolbars are almost the same as for the Cover block – separate settings for the picture and for the text.

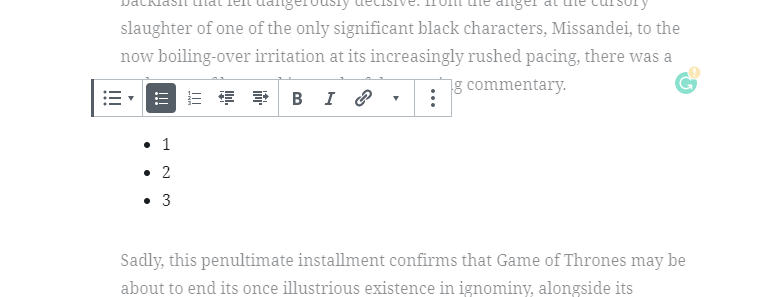
List
Yeah, just as paragraphs and headings are separate blocks, lists are too. When you want to add bulleted or numbered list to the text – you use this block. The upper toolbar allows to choose the type of the list, create additional levels of it and customize the text.
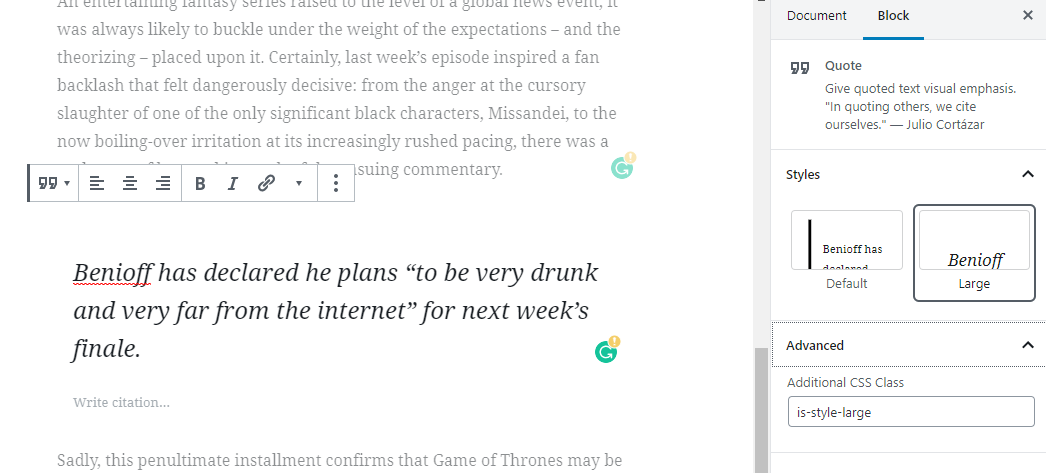
Quote
The most interesting or important phrases could be specially emphasized and that is what Quote block is for. The upper toolbar contains all the settings for text customization, so there’s nothing unique there. The right-side menu contains an option to choose between the two styles of quotation.
Video
If you want to add a YouTube or Vimeo video it is better to use specialized embedding block. However, Video block is perfect for the videos you want to download from the device you are creating a website from. You can write caption right under the video or click the “Edit” button and open it in the media library.
Embeds blocks
Gutenberg Editor has a set of blocks that really impressed me, and those are Embeds blocks. There’s a huge bunch of specialized blocks for the most popular social media like YouTube, Facebook, Instagram, and Twitter. Besides that, you can embed to your page some products from Amazon, TED or Vimeo videos, SoundCloud audio or Kickstarter offers. In the Classic Editor, you could do it only with a specialized plugin on board and almost for every media it was separate. And now you have all of them in one place.
How to add custom blocks to the new WordPress site builder?
Lots of developers who were eagerly waiting for the WordPress Gutenberg Editor to finally become available start creating plugins and templates for WordPress 5.0 more than a year ago. Some of them thought that it would be really cool to expand the site builder’s capabilities and add some new, custom blocks to its menu. That’s why by now there are lots of plugins for WordPress 5.0 that add new blocks to the Gutenberg menu. You can add them the same way as any of the plugins – download them to your computer, go Plugins > Add new > Upload plugin. After activation, you will see an additional set tile in your blocks list. I would like to recommend to you a few of them I consider to be the best.Getwid Gutenberg blocks


Gutenberg Blocks

Stackable
Gutenberry - Clean Blog WordPress Theme for Gutenberg editor


View Gutenberry – a new responsive WP theme for Gutenberg editor. Simple, fast, minimalistic, with visual editing options, Gutenberry is the best choice for the creative blog or other types of website. Due to its neutral design and light nude colors, the theme can be used for a great number of blog topics. It looks professionally while being simple in exploitation. You don't have to be a CSS guru or know HTML to maintain or edit the website with Gutenberry. The theme allows the selection from 5 incredibly harmonious home pages, such as Aqua, Crystal, Mauve, Lavender, and Nude. As well as their names, they look clear and natural, providing you also the option for blocks modifications. What is more, you can change the blog listing layouts as Gutenberry has 6 variants of blog listings. Gutenberry is WPML, Ecwid, and Retina ready. It has the advanced theme and background options in addition to the high responsiveness of the theme, functional admin panel, and convenient sample data installer. The template owns a SEO-friendly code that will give high traffic to your website. Importantly, any issues arising can be solved with a 24/7 long-time support that you receive with Gutenberry. Additional features of the theme are represented by the convenient dropdown menu, social media options, google web fonts, functional commenting system, cross-browser compatibility, and others.
Also, when getting Gutenberry, you get free ZeGuten plugin with 11 extra blocks of content. Paste, alter your content and use the possibilities provided by the additional widgets.
Notably, with Gutenberry, your blog visitors will not have to wait for loading the pages as it is extremely fast as proved by Google Page Speed and Gtmetrix.
Gutenberry WordPress template allows using all the benefits of Gutenberg editor with their best compatibility. Gutenberry is a fast, simple, neatly-designed theme that will give your website great results while demanding little to no efforts from your side.
ArchCorp - Architecture Construction Template for Gutenberg

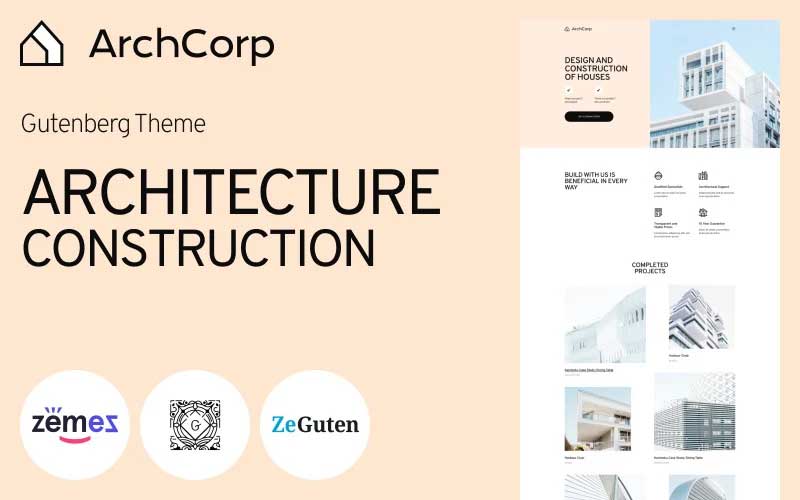
Suppose you need a powerful pre-made asset for your architecture-related project. In that case, we are happy to present to you ArchCorp. Based on Gutenberg WordPress Editor, this user- and creator-friendly theme requires no coding knowledge for customization. It supports the latest SEO standards and contains all the files needed for excellent content creation. Besides, ArchCorp comes with numerous advantages. Flexible infographics, premium stylization settings, multiple pre-installed plugins are only several of them. The list of other options includes:
- Plenty of pre-designed pages;
- Top widgets and eye-catching banners;
- Efficient navigation;
- Trendy social media icons and contact forms, etc.
Wrapping up
I guess this few tips will be quite enough to start dealing with the Gutenberg Editor. Of course, there are lots of details I didn’t mention in this little Gutenberg and WordPress 5.0 tutorial but most of them will become clear when you start creating your website. I hope this article was useful to you and helped to make the new WordPress page builder a little more understandable.
If you have any comments or tips – please feel free to leave them in the comment section below. I am trying my best to make the content as useful for you as possible.
Gutenberg Editor: A Clear Look Under The Hood [Free Ebook]
By clicking the button you agree to the Privacy Policy and Terms and Conditions.


Read Also
WordPress Editor of My Dreams, or Nightmares? [Gutenberg by WordPress]
Wix | What’s Your Best Visual Builder? The Unknown Side of the Page EditorWordPress WYSIWYG Editor Customization
Elementor VS Cornerstone. Is the Game Worth the Candle?
Elementor or Page Builder Sandwich: Which One Is Right For You?