JET Plugins for WordPress Elementor Builder [Jet elements for elementor]
Elementor builder has become an extremely scalable platform, and this scalability can be boosted using some extra plugins or add-ons. If you were using Elementor builder for a while, I’m pretty sure that you’ve already used some free add-ons from WordPress.org [ jet elements for elementor ]
For the record, I’ve also used some add-ons, namely Elementor Essential Add-ons and Elementor Addon Elements. Their free versions are quite nice, but if you want to get extra features, you will have to pay for the premium version.
This is the moment when you need to decide if you want to use a free plugin with limited functionalities and whether you want to get a premium plugin that comes packed with essential things like supports and free updates. You also need to learn where the most interesting and impressive features are cut out and where all the features and functionalities are available, from the moment of installation.
If I were you, I’d opt for the second option because most premium Elementor plugins cost less than you spend daily at Starbucks.
And what can Starbucks give you? Nothing but heartburn. But, an Elementor add-on will bring you years of joy.
Let’s say you’ve bought an Elementor WordPress theme, but you feel that you need to make it more powerful.
Now let’s have a look at some awesome premium Elementor plugins that you can get at our Elementor marketplace.
To show how awesome these plugins are, I’m going to use NoLimitz - Hosting Elementor WordPress theme; this theme contains most of the plugins we’re going to discuss here.
Let’s roll.
- JetBlocks Plugin
- JetTricks Plugin
- JetWooBuilder Plugin
- JetTabs Plugin
- JetParallax Plugin
- JetReviews Plugin
- JetMenu Plugin
- JetElements Plugin
- JetBlog Plugin
- JetPopup Plugin
- JetEngine
JetBlocks
Elementor Header & Footer Widgets of WordPress Elementor Builder Plugin
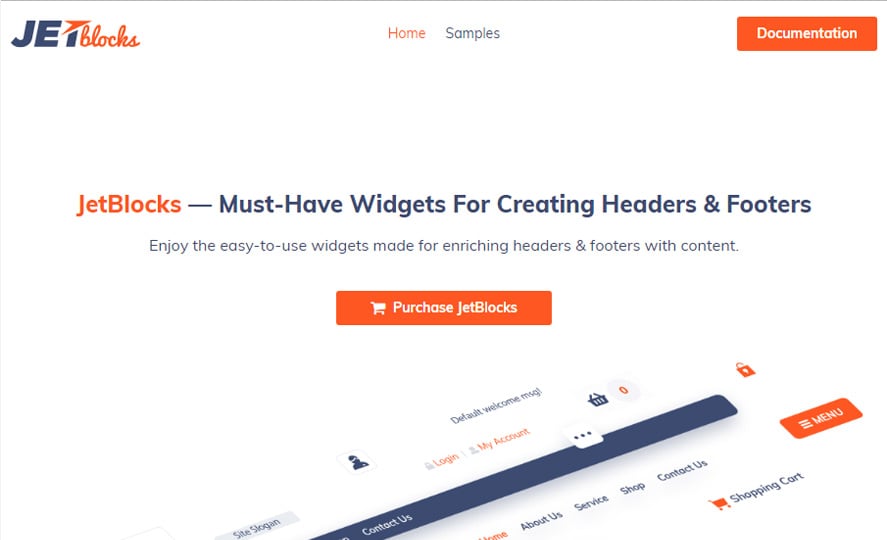
The JetBlocks plugin is one of its kind tool which you can use to add/create specific content that will perfectly fit into your website’s headers or footers.
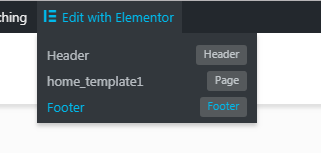
Back in the day when Elementor builder wasn’t capable of injecting its elements into headers and footers, one had to invent the wheel by trying to build custom headers or footers. Whereas now all you need is a JetBlocks plugin.
With its help you can add authorization links, hamburger panels, login forms, customize site logo, nav menu, registration forms, search forms, add WooCommerce cart using the convenient widgets made specifically for Elementor.
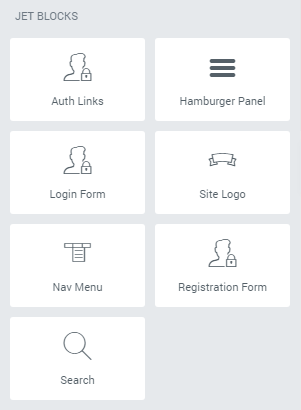
The most important thing is that all these manipulations are made from a single interface, you don’t have jump all around your WordPress admin [to theme options section then to Customize section and vice versa] trying to change website name, add items to the header and so on.
With this plugin, you can enjoy stunning customizations results in minutes. This is what it looks like when you try to edit NoLimitz’ menu with Elementor builder.

Within the Layout tab of the Header section setting, you will meet Jet Parallax this is another plugin from our collection we’ll discuss a little bit later.

With its help, you can add an image to your header that will make some moves. Just for laughs, I’ve added an image of a cartoon guy to the header, the image disappears when you hover it.
SEO Best Practices for a WordPress Blog Post
By clicking the button you agree to the Privacy Policy and Terms and Conditions.
JetTricks
Visual Effects Addon for Elementor WordPress Plugin
JetTricks is a plugin that allows adding different visual effects without ever needing to add a single line of code.
Have you ever seen this awesome feature on Instagram, where there are hotspots added to some image, and by clicking any of them, you can visit the product page of a tagged photo?
How can you do these tricks on your WordPress website? Let me show you.
First, we need some photo; I’ll use this item from Unsplash.
Now let’s get back to our admin.
First, you need to create a new section.

Inside you need to put Hotspots element (use search to find it).
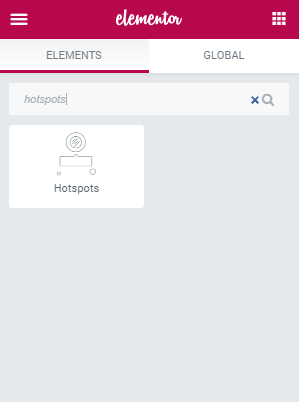
Now you need to add an image to the Hotspots element.
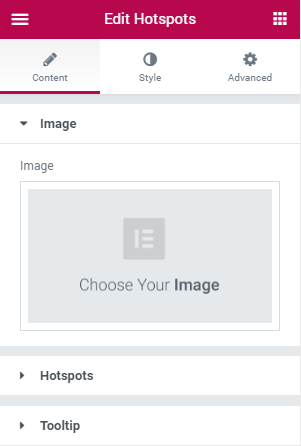
That’s going to be an image from Unsplash I’ve downloaded previously.
Here comes the image.
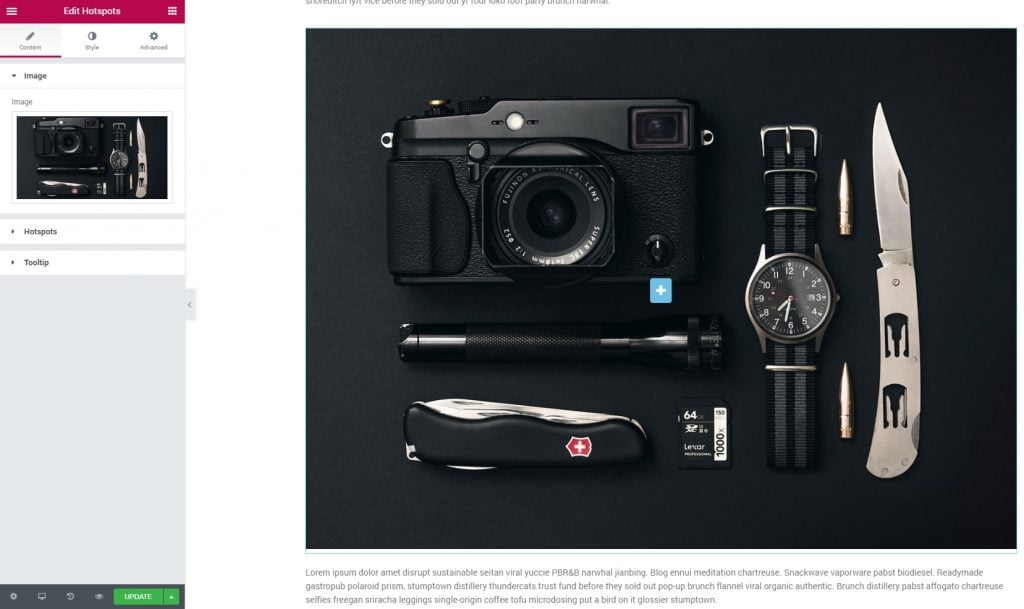
Here’s the first hotspot right in the center of the image, now let’s put it onto the memory card.
Open the Hotspots section, and press Item 1
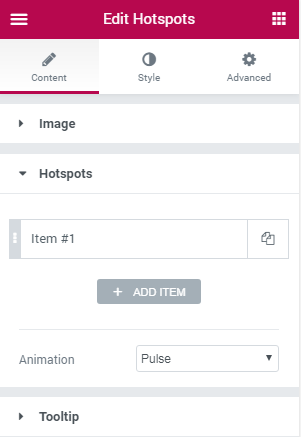
There you will find a bunch of settings including the content of the spot and its position in the photo.
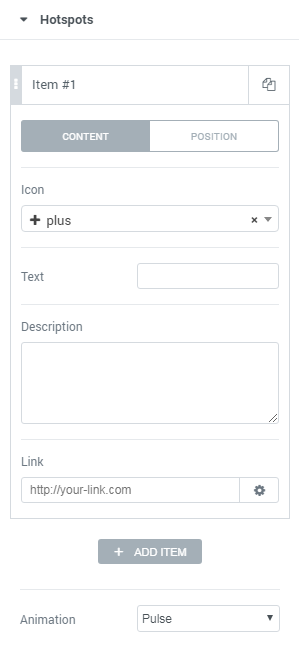
Now let’s change the position of a spot. By altering the percentage values you can easily move the hotspot.

Now let’s save this, and see how it looks in the frontend.
To see the tooltip with description just hover the hotspot.

Also, you can choose from several animation effects, i.e. ways how your button will wiggle.

Use JetTricks to add Parallax to different widgets, create unfolding sections, sticky columns and View More buttons.
What else can you create with Jet Tricks?
Sticky Columns
This is an additional functionality which makes it possible to make the columns "sticky" when one scrolls the section up and down.
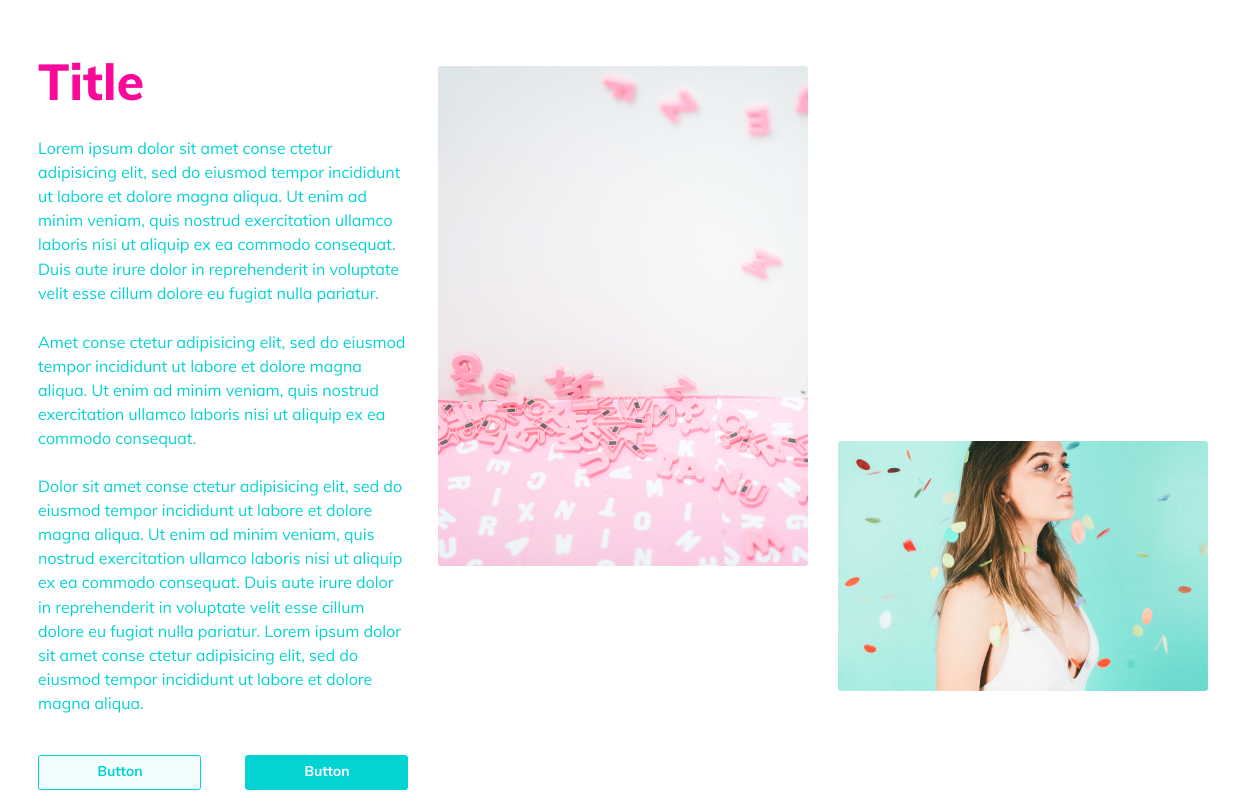
Unfold Sections
This widget is used to make the content added to the widget hidden or displayed beautifully.
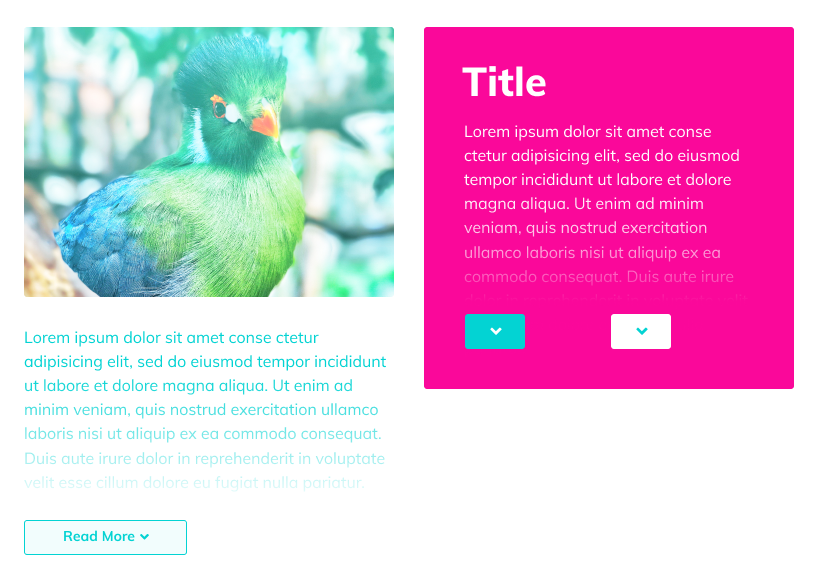
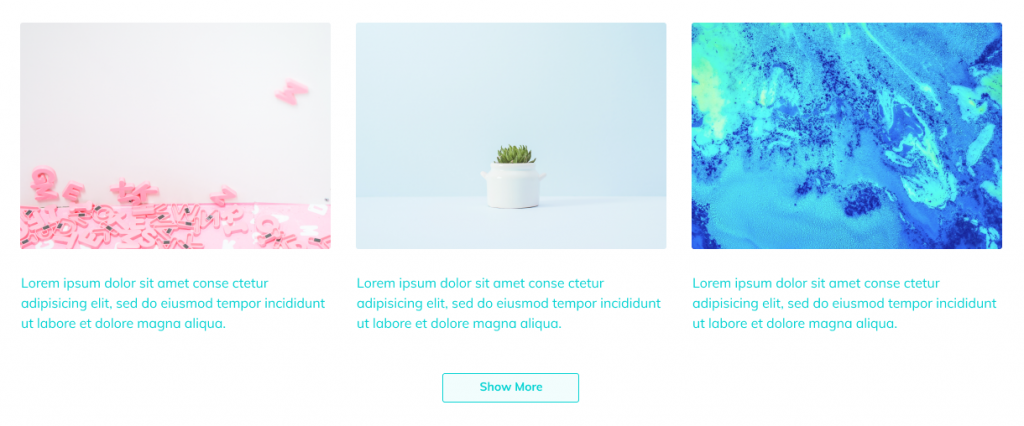
View More
This widget allows displaying sections and hiding them under the cut stylishly, making the page's content more visually compact.
Parallax Element
This functionality enables you to add parallax effect for versatile widgets and change parallax speed, enable or disable parallax for different devices, etc.
Soon after the launch of Elementor Page Builder, the developers have decided to create plugins to extend editor functionality. Today, both Elementor and Jet family plugins are available in the most ultimate set of tools for website building. This is ONE subscription service that has recently become available for purchase and further active use.
Supplied with over 8,500 items including top products like WordPress themes, graphics, and eCommerce templates, it costs $19/month. Besides, you’ll have access to expert service and professional support 24/7 without limits. You also have a chance to save on subscription if you read our MonsterPost blog. When purchasing the service, enter promo code BecomeThe1 in the corresponding field in your shopping cart.
JetWooBuilder
WooCommerce Page Builder Addon for Elementor WordPress Plugin

How many times have you cursed WooCommerce developers how making this indestructible product page layout.
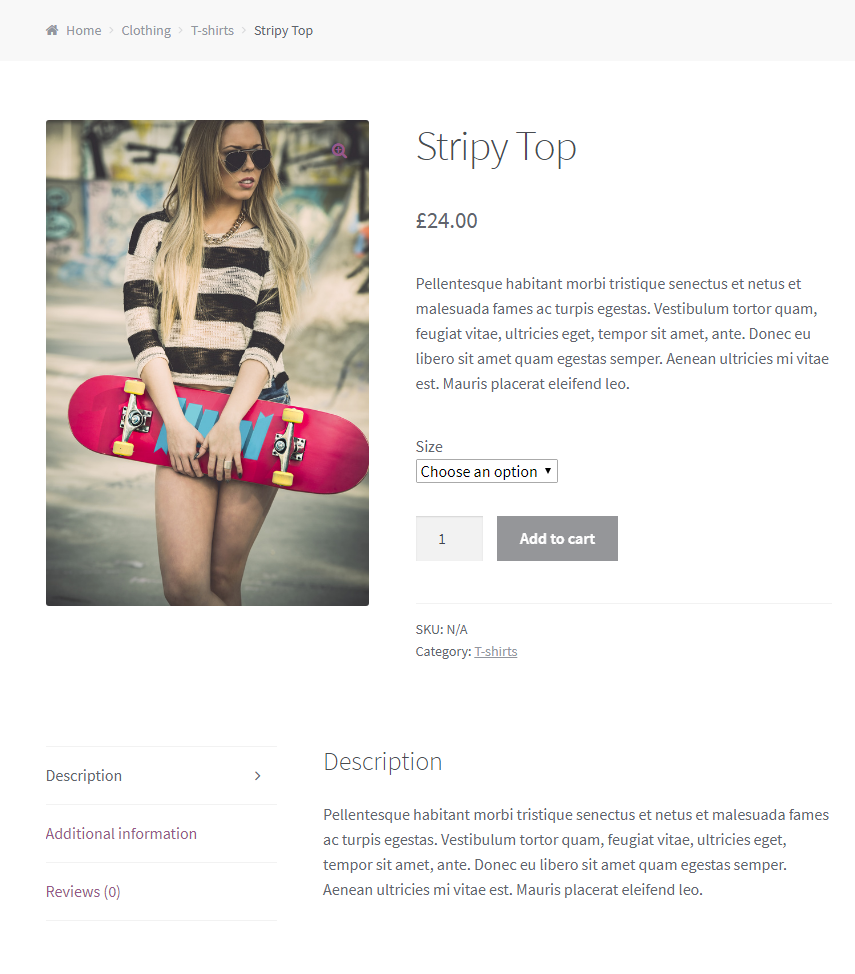
Luckily for you, there’s a JetWooBuilder plugin, with its help you can build custom product page templates and use them to present your products.
As anything else made with Elementor, this is extremely easy. Please watch this video to check out how you can create and apply custom Woo product page templates.
Please note! All manipulations with new Woo pages are made via drag’n’drop interface of Elementor builder.
Here’s a list of widgets you can use to create new page templates:
- Single Add to Cart widget
- Single Attributes widget
- Single Content widget
- Single Excerpt widget
- Single Images widget
- Single Meta widget
- Single Price widget
- Single Rating widget
- Single Related Products widget
- Single Reviews Form widget
- Single Sale Badge widget
- Single Sharing widget
- Single Tabs widget
- Single Title widget
- Single Upsells widget
JetTabs
Tabs and Accordions for Elementor Page Builder WordPress Plugin
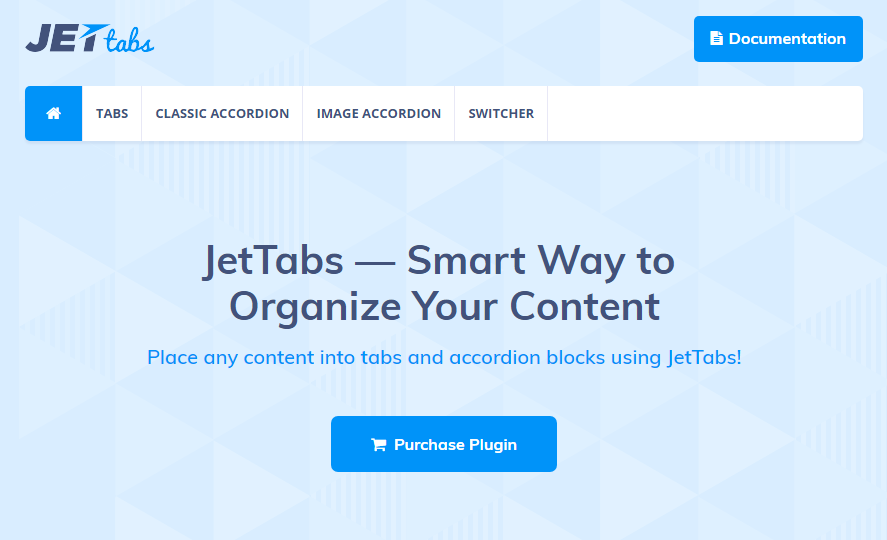
With JetTabs plugin, you can easily add tabs (with unlimited configurations of elements stored inside), accordion widgets (with vertical and horizontal layouts). With JetTabs plugin, you can create a new template to use them later.
It helps organize content and style it up according to one’s needs and preferences.
Elementor builder makes it possible to create well-structured tabs and accordion blocks, which make your web pages awesome.
Check out the walkthrough video to see how easily you can create a bunch of new tabs or accordions on your website.
What else is JetTabs plugin capable of?
Image Accordion
This widget is specially cut for building creative and eye-catching content, making it possible to add images into accordion items and show them up using attractive effects.

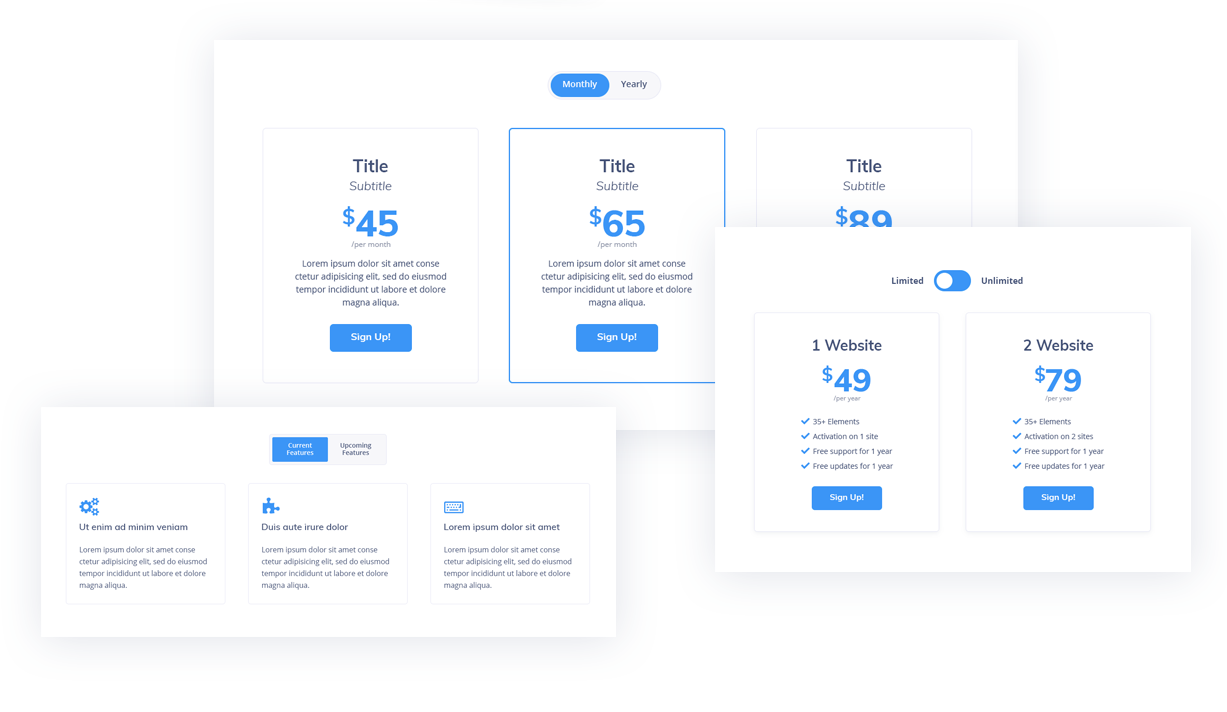
Switcher
This widget is a perfect asset for you if you need to display two different content blocks or to show then under different circumstances.
JetParallax
Addon for Elementor Page Builder WordPress Plugin
JetParallax plugin can help you create parallax backgrounds for various sections of you Elementor-powered website.
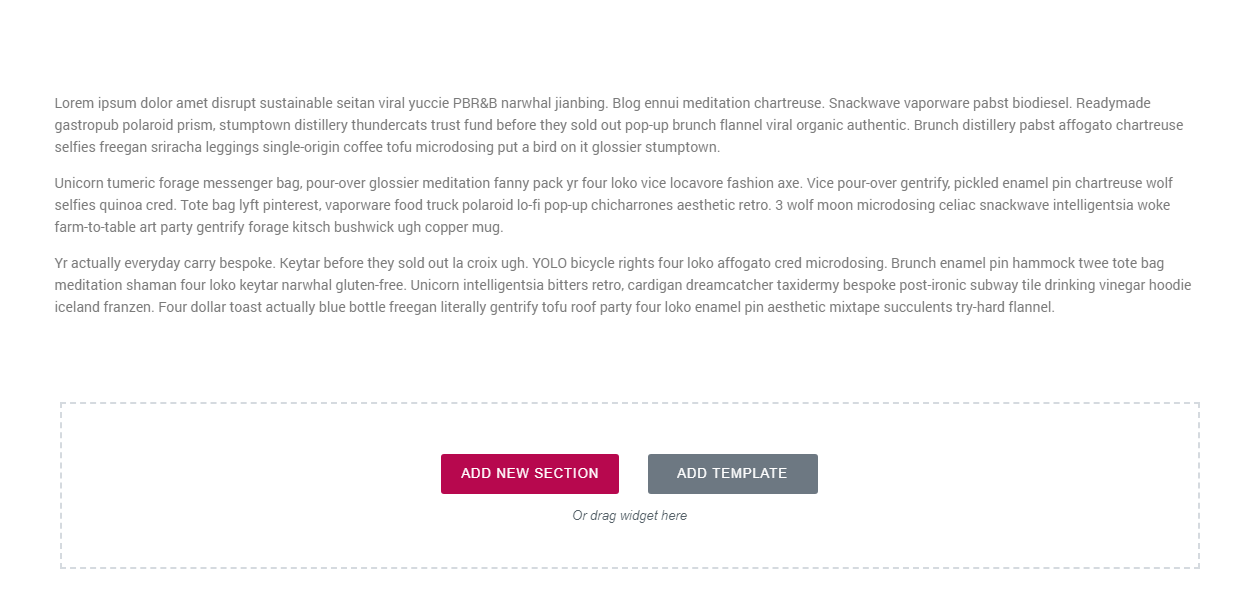
First, you need to create a new section.

Inside this section, you should add the content. I’ve used the Text Editor widget and added a few lines of lorem ipsum; now it looks like this.
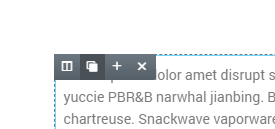
Now I’ll duplicate this test area, by pressing this button.
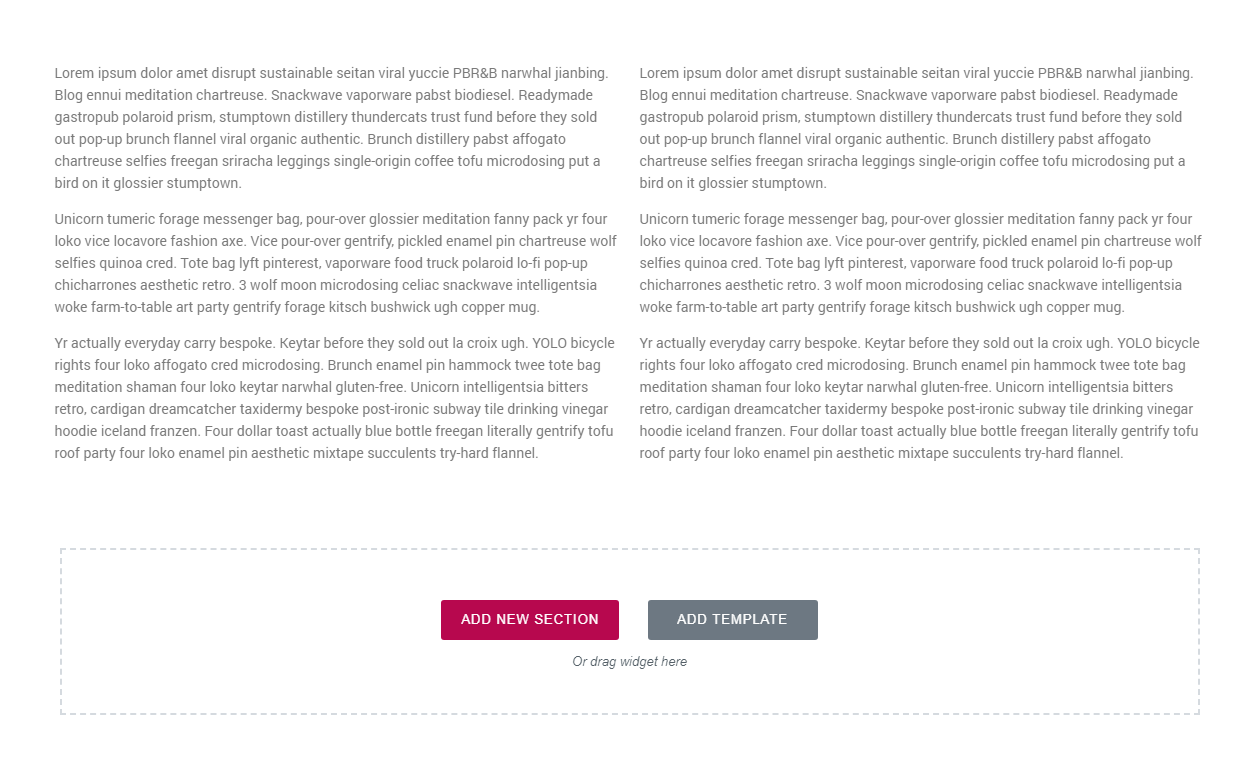
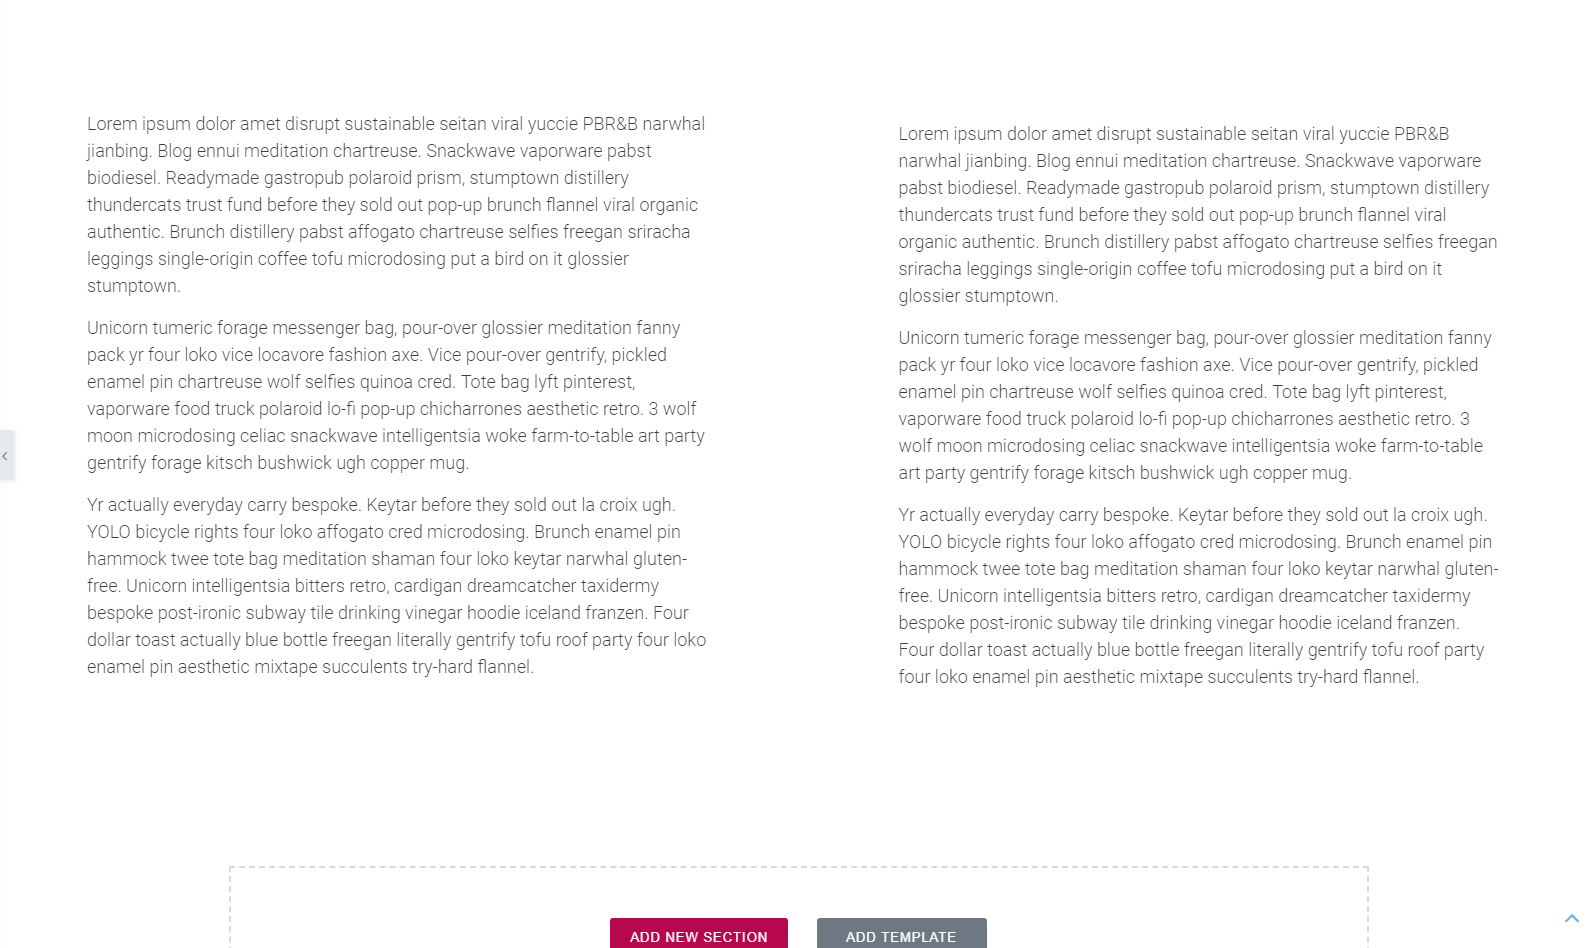
Now we have two identical columns.
The idea is to make this section, full-page with parallax background. To make it full-width you need to push the switch Stretch section and content width set to Full Width.
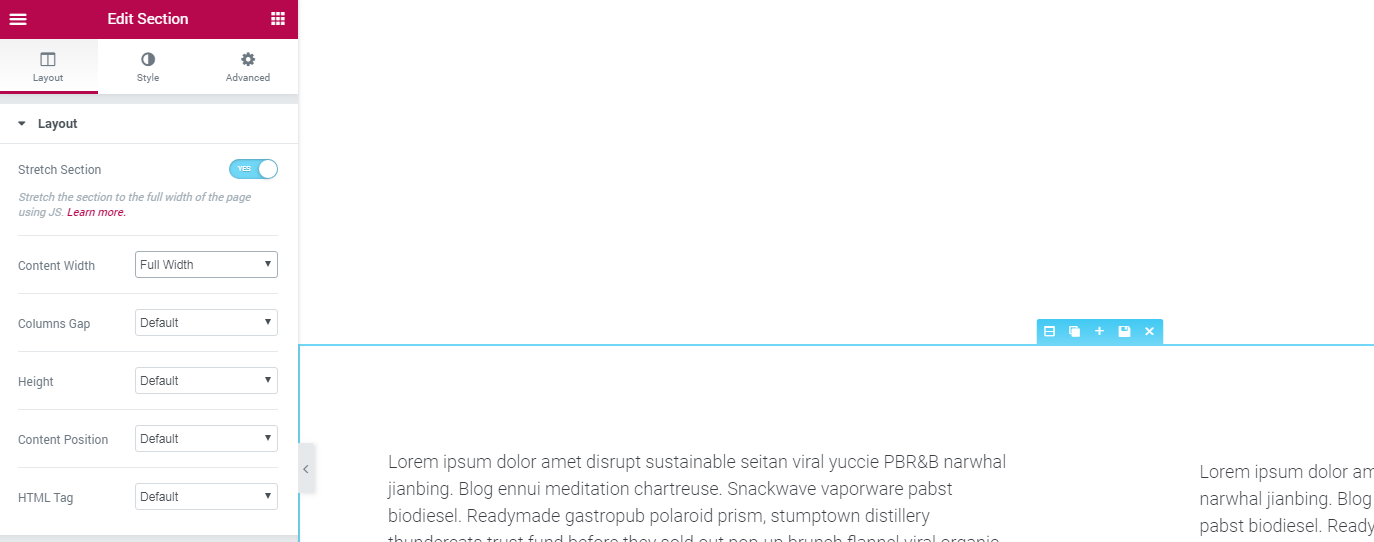
You can set value Height to Fit to Screen if you want your image to cover the whole area of the browser.
To make it look more solid, I’ve increased the font.
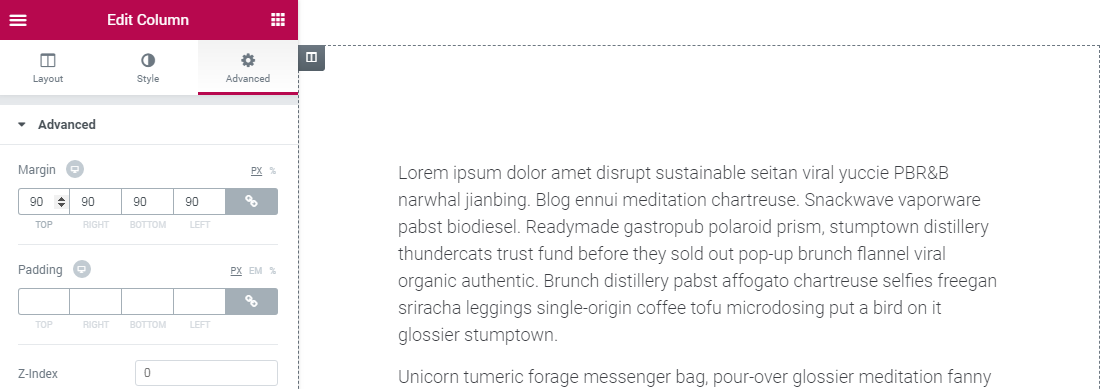
Now let’s increase the margin around the text, I think 90px will be ok. Click edit column, and go to Advanced tab, enter 90.
Now let’s add a background image.
In the section’s settings, you need to find Jet Parallax, it will be at the bottom.
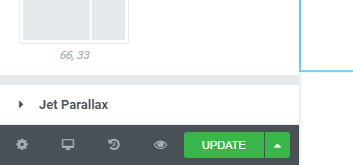
When you click it, you’ll be able to add some items what will move anyhow you want.
I will use the following settings:
- Speed - 28
- Parallax Type - Scroll
- X Position - 50
- Y Position - 40
- Background size - Auto
- Animation Property - Transform
As you can see the left column is barely readable.
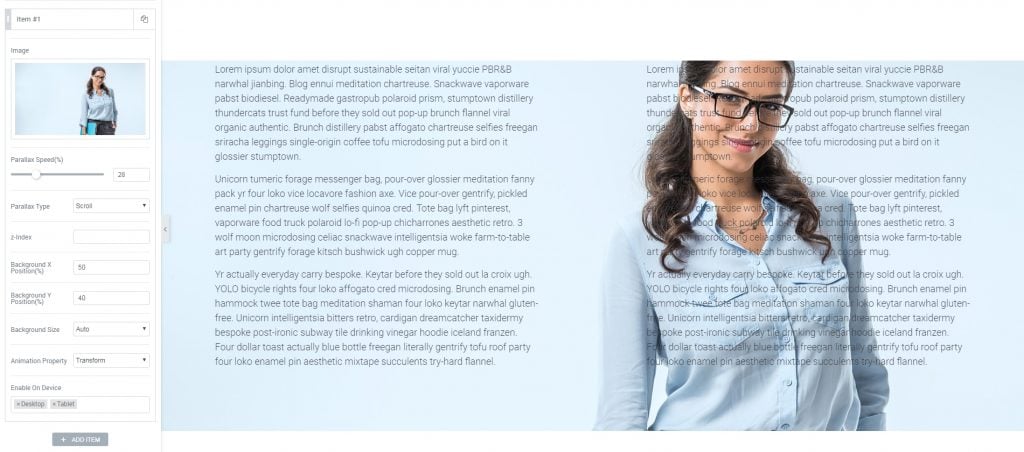
To fix this you can add a color overlay, and adjust its opacity. Go to the sections setting and exactly to the Background Overlay section.
I’ve used the following settings:
- Background Type - Classic
- Color - #ffffff
- Opacity - 0.75
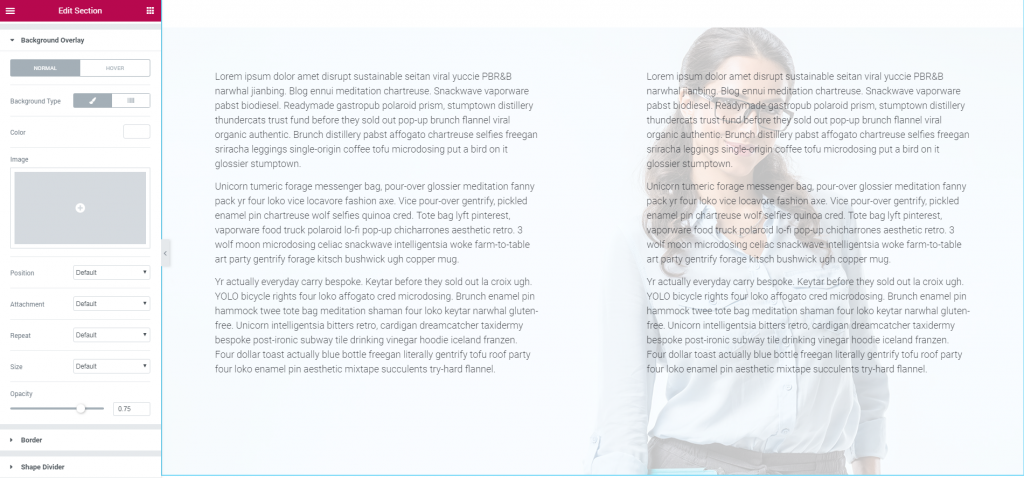
Now the text is legible.
Let’s see how it looks on the front-end.
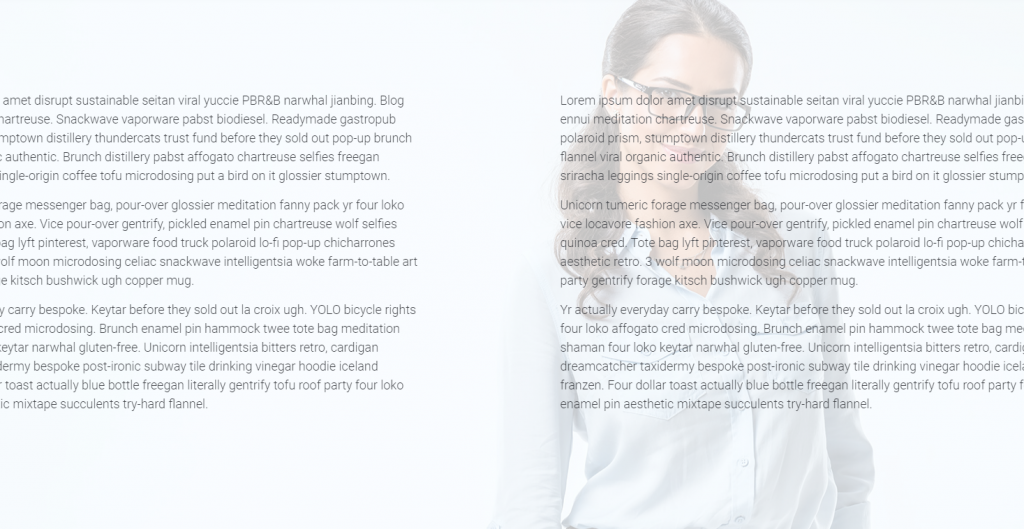
Looks nice, you can alter the opacity of an overlay to reach the best visual effect.
JetReviews
Reviews Widget for Elementor Page Builder WordPress Plugin

With JetReviews, you’ll be able to create excellent reviews and add them to any page you want.
Due to Elementor builder, JetReviews have multiple content and style settings that allow one to make the Review blocks look spectacular.
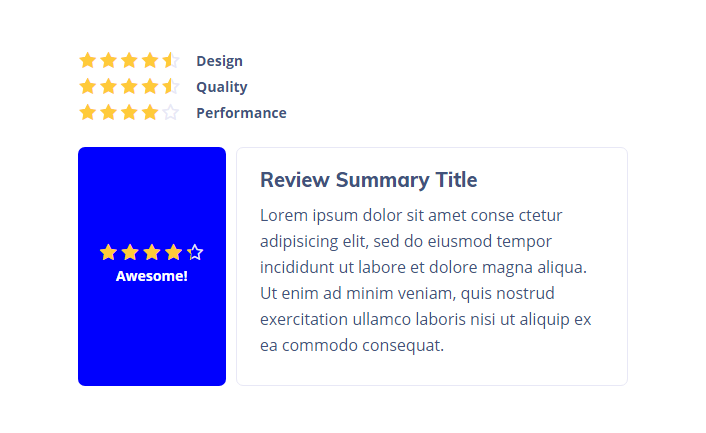
The reviews are proven to influence a person’s opinion in lots of ways, so if you’re bound to sharing your opinion with visitors, you’ll find JetReview plugin to be extremely efficient!
Review widget is just what one needs when thinking of adding eye-catching rating bars and review blocks, which display the percentages, stars, etc. This widget possesses every means to deliver your ideas and share your opinion on different matters just in few clicks.
JetMenu
Mega Menu for Elementor Page Builder WordPress Plugin
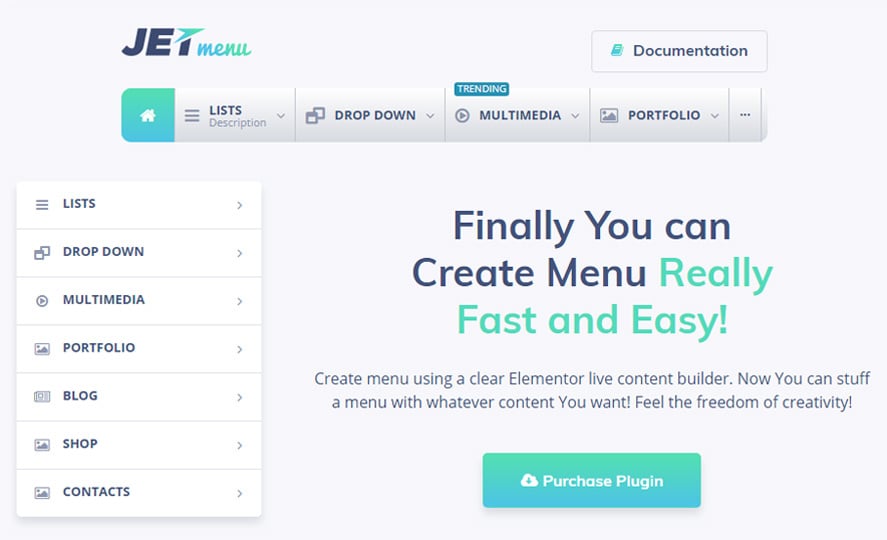
JetMenu is a plugin that assists you in creating and styling up a mega menu. You’ll be able to create content for the menu items and customize items appearance, add menu badges and icons, change menu item background - all this with JetMenu plugin, which is easy-to-use and has an intuitive and clear interface.
With JetMenu, you can style menu items using different fonts and colors. There are multiple settings to set the menu item shadows, customization options for Active and Hover mode, etc.
The plugin works in tandem with Elementor live page builder, allowing to add content to menu items in a drag-and-drop way. The content and style settings share the same treats as Elementor and JetElements. You’ll also get a Custom Menu module for Elementor, which allows you to add your menu to any page layout section you want.
How do you turn on Mega Menu?
When you need to turn on the Mega Menu you need to make a few steps.
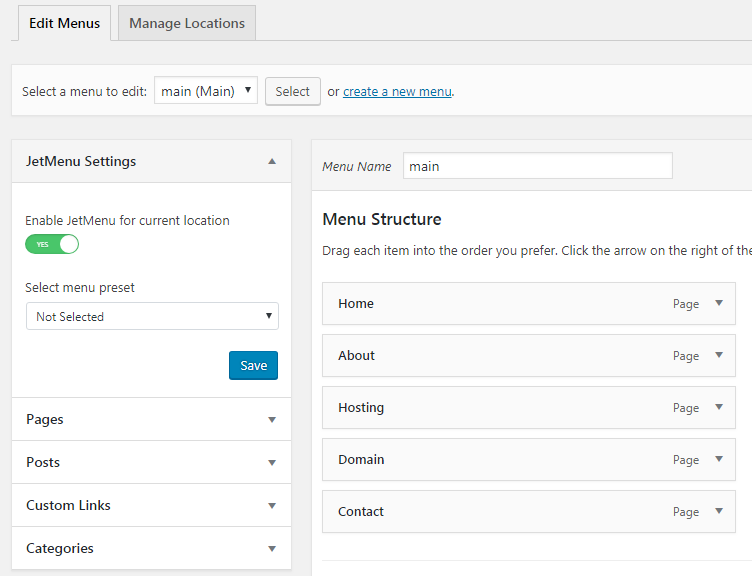
First of all, you need to go to the Menu section in your admin >> /wp-admin/nav-menus.php

After you've selected the menu, you need to enable JetMenu for your current menu locations. Change the position of a switch to Yes position.
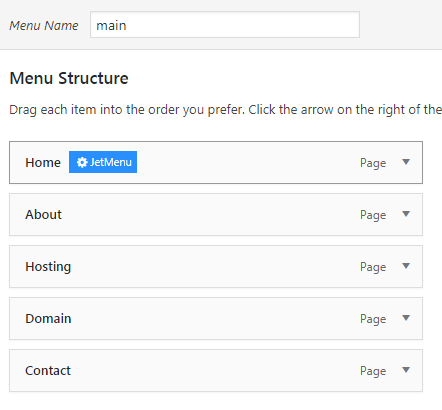
When you hover any menu item, you will see this blue JetMenu sign next to the item name.
To edit the menu item you need to press this sign, then you need to turn another switch to the Yes position.
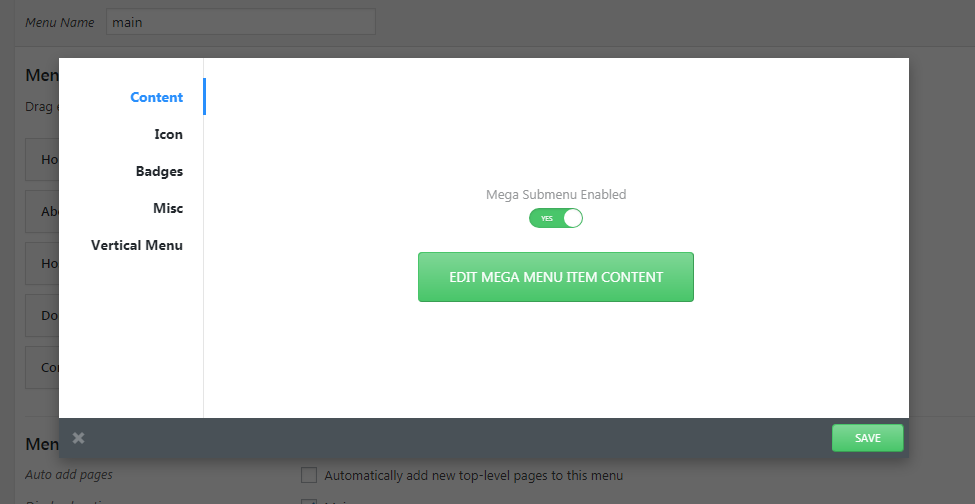
When you hit the big green button Elementor builder editor will start loading, there you can add various widgets and elements to your menu item. Here I've made some mess, I hope you're good at making mega menus.
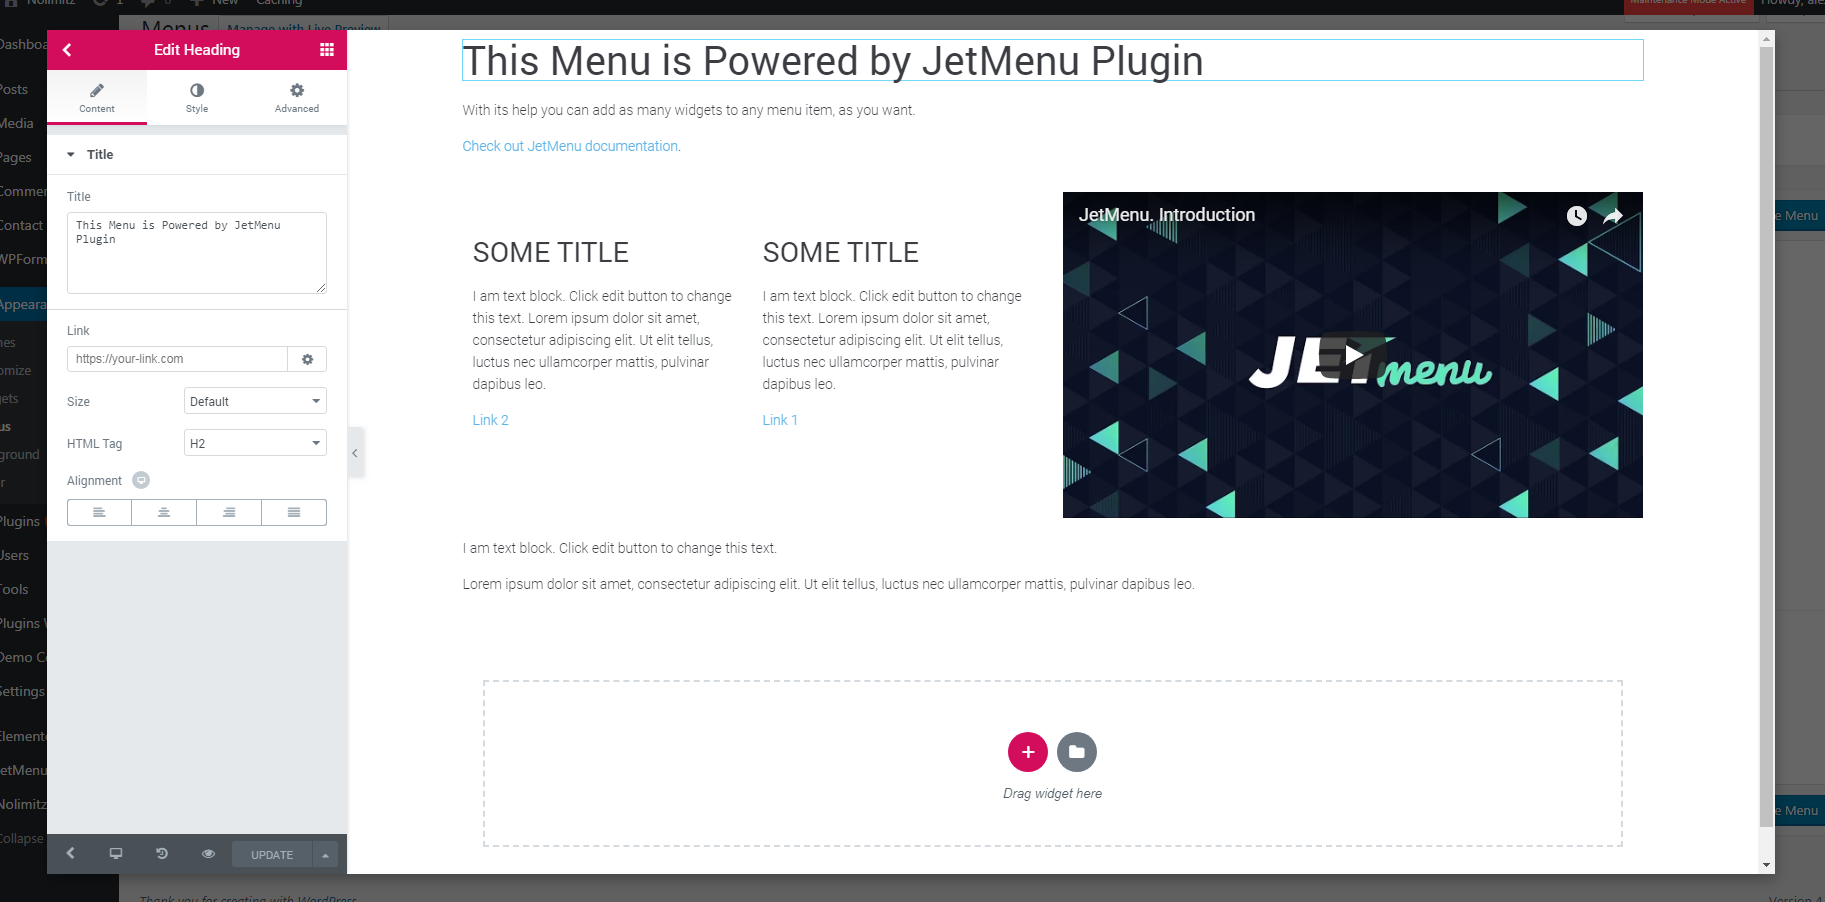
Please note! If you feel that you're unable to convert your regular menu to mega you can add MegaMenu widget to the header of your website.
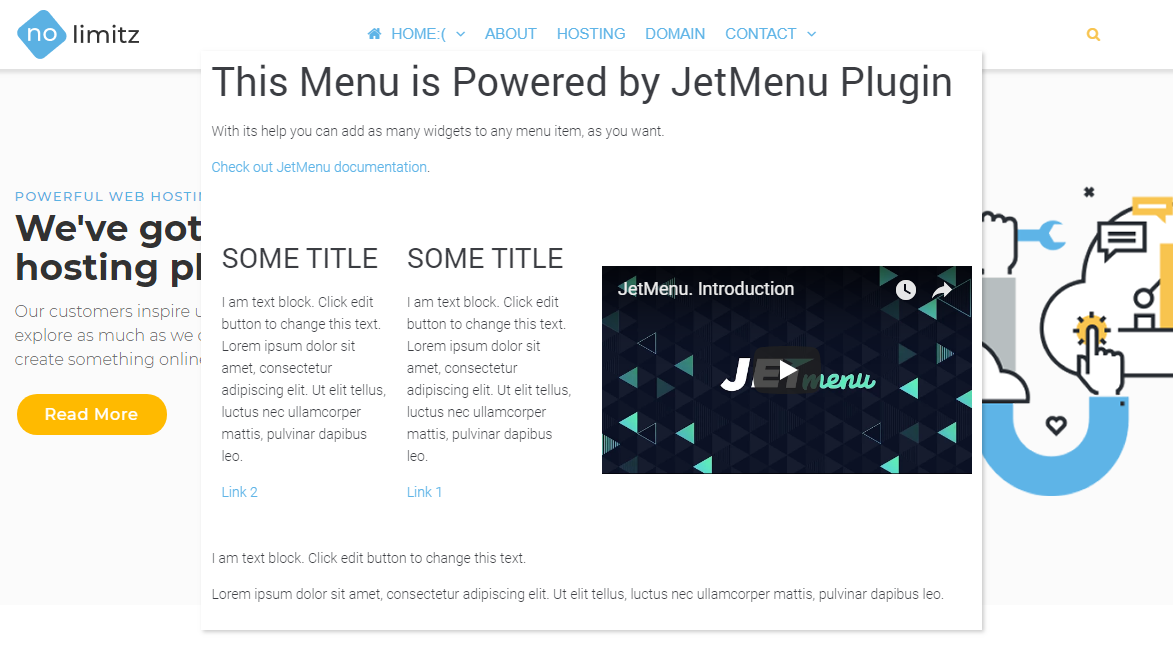
I was neither editing margins between elements, nor editing the width of the menu itself, here's how it looks on the front-end.
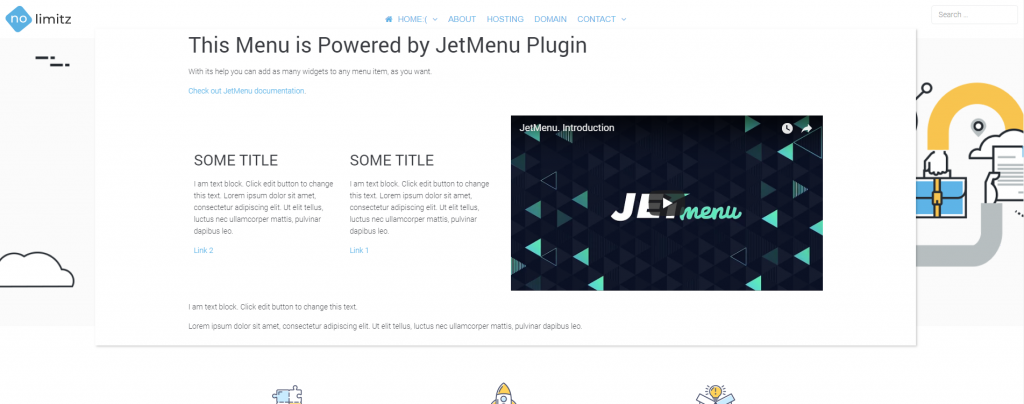
If you want to edit the looks of the menu you need to edit the Header section of your website with Elementor builder. There you can alter the width of the MegaMenu, increase padding, margins and so on. When the menu is wider than on the screen above it will look more organic.
JetElements
Addon for Elementor Page Builder WordPress Plugin - jet elements for elementor
jet elements for elementor is a plugin that adds extensive modules for Elementor live page builder, allowing to build different kinds of content with easiness and efficiency.
With JetElements You can add various custom blocks to your website’s page layout, containing additional modules, which are not included in the standard Elementor page builder elements bundle.
Use jet elements for elementor to extend Your content with 19 different modules which were created primarily to add timers, pricing tables and advanced sliders to Your website’s pages.
Here’s a small lifehack, you can get most of these plugins when you buy any Elementor WordPress theme.
JetBlog
Blogging Package for Elementor Page Builder WordPress Plugin
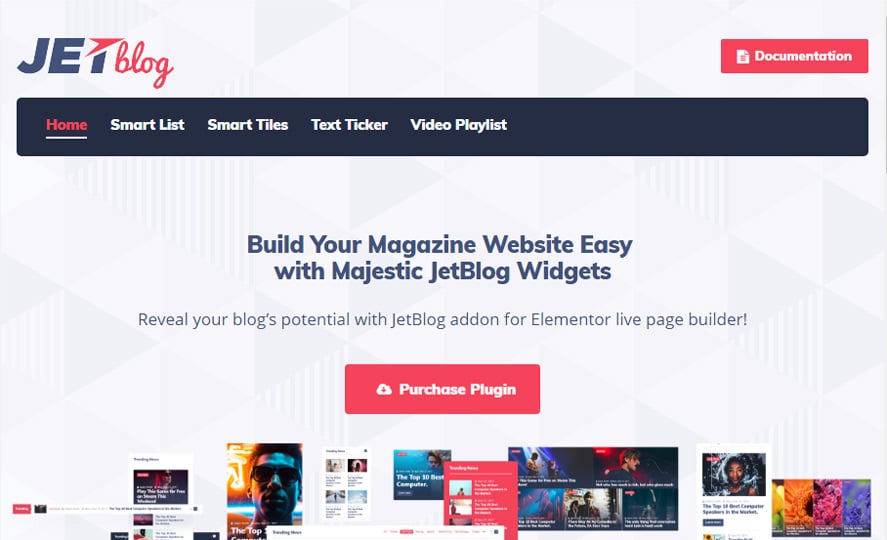
In case your WordPress theme’s blog layouts don’t have enough style, you can add some bling with the help of JetBlog plugin. The plugin will add a bunch of modules to your Elementor collection.
Smart Posts Listing
Smart Posts Listing module is the perfect tool for displaying your posts in the form of neat content blocks with an adjustable layout and customizable appearance. You can change the listing max width, featured post position, image size, style up post excerpts and meta information without ever touching a single line of code.

Smart Posts Tiles
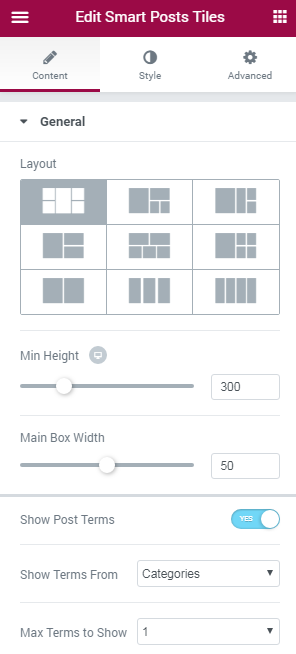
SmartPost Tiles module will assist you in adding your posts to the website’s page in the form of an eye-catching tiles block with a cool layout and an impeccable style.

This module has versatile style settings, allowing you to add a gap between boxes, create box overlays, change content appearance and meta information. It also has six pre-built layouts that will help you showcase your posts in an advantageous way.
Text Ticker
Text Ticker module was created to add an eye-catching ticker content module to website pages, which displays the recent and most important post titles to engage more visitors to read the recent publications. This module has multiple content settings, as well as loads of style settings such as container background type, post thumbnails to display, paging arrows and many more.

Video Playlist
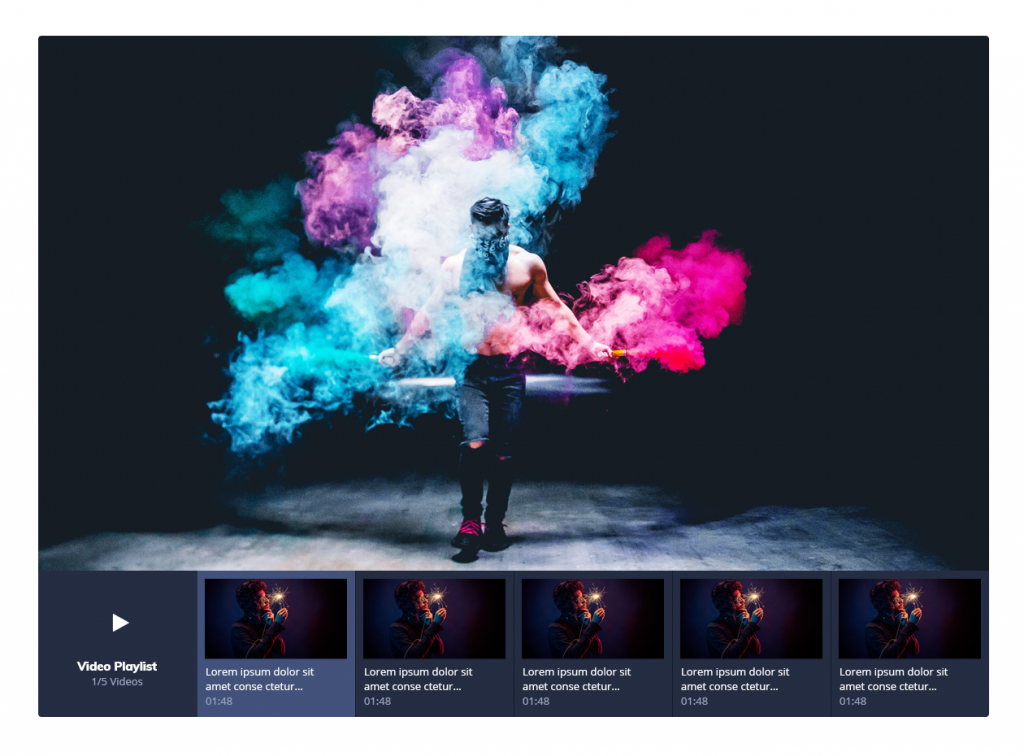
Video Playlist module allows you to add a video playlist to the web page built with Elementor live page builder. It is invaluable if you want to showcase the videos stylishly, arrange the playlist in a pixel-perfect layout, and change the style of the thumbnails, scrollbar styles, and thumbnail numbers or typography.
JetPopup
Popup Addon for Elementor WordPress Plugin
With this addon, you’ll be able to place important notes, trigger events, whatsoever, anywhere on your site’s page, without touching any single line of code.
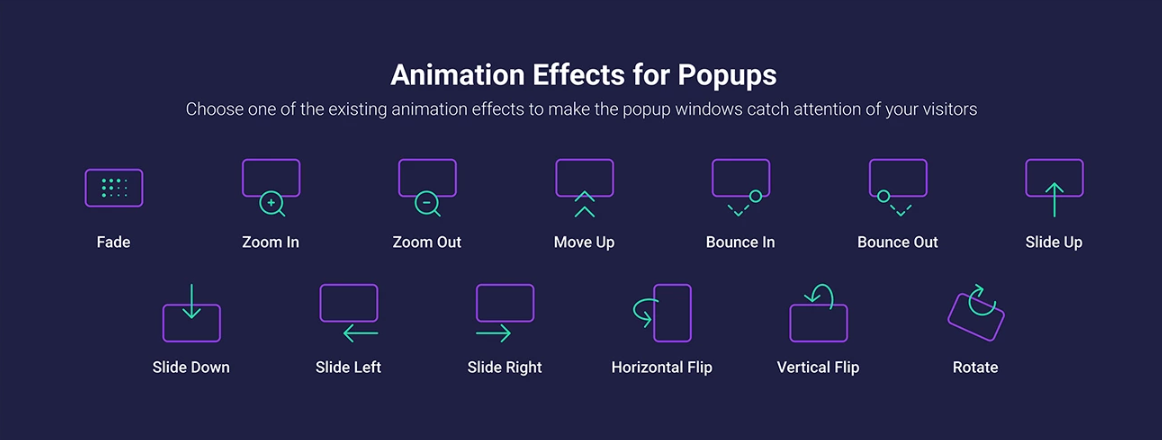
You can choose the visual effect for your popup animation: fading, zooming, sliding, rotating and so on.
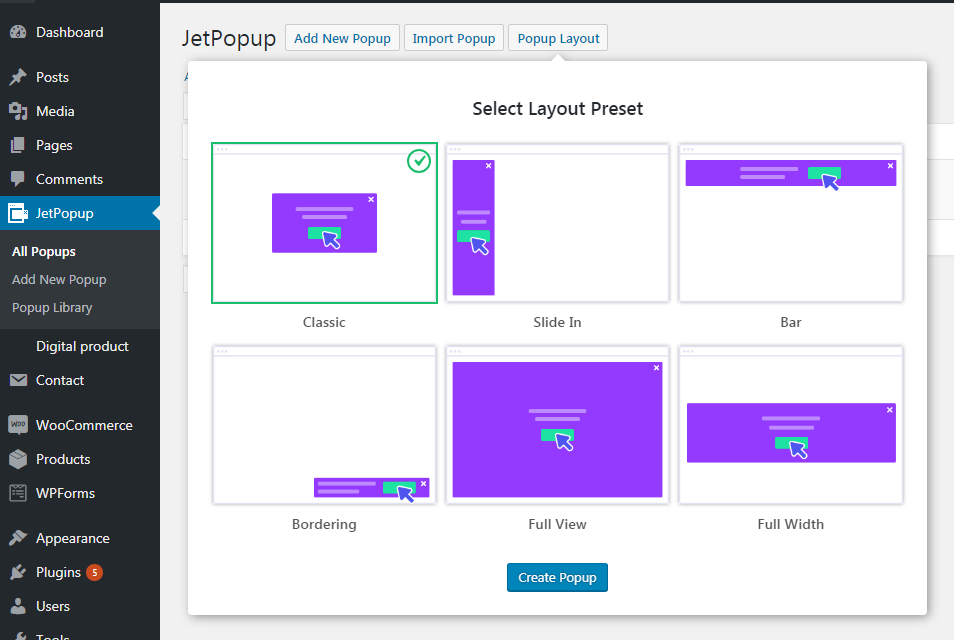
Also, choose the layout preset. It will look like this:
This addon will be very in handy to create a contact us and subscribe forms, for discounts, info cards, counters, etc.
JetEngine
Adding & Editing Dynamic Content with Elementor WordPress Plugin
JetEngin will fit you perfectly if you deal with blog posting. It allows you to work with the dynamic content managing it in a drag-and-drop way.
Choose the content you’d like to make dynamic using the set of widgets. Use different layouts to structurize your posts and taxonomy templates, add the calendar.
In addition, purchasing this addon you get JetSmartFilters for free!
Watch the video to see all of the advantages of the JetEngine.
Read Also
Top-30 Elementor WordPress Template
How to Install Elementor WordPress Template?
Do We Still Need Elementor if Everyone is Hyping About Gutenberg?
Elementor Marketplace Just Hit the Web Templates Market
A Complete Background Check on Elementor [Interview with Ben Pines, CMO of Elementor]
10 Lit WordPress Themes With Elementor Page Builder To Try in 2018
Elementor VS Cornerstone. Is the Game Worth the Candle?
Elementor or Page Builder Sandwich: Which One Is Right For You?
MotoPress vs Elementor. What’s the Best WordPress Front-end Page Builder?
Get more to your email
Subscribe to our newsletter and access exclusive content and offers available only to MonsterPost subscribers.


Leave a Reply
You must be logged in to post a comment.