- Website background settings
- Managing site’s colors
- Text styles
- Customize your site better with "Themes"
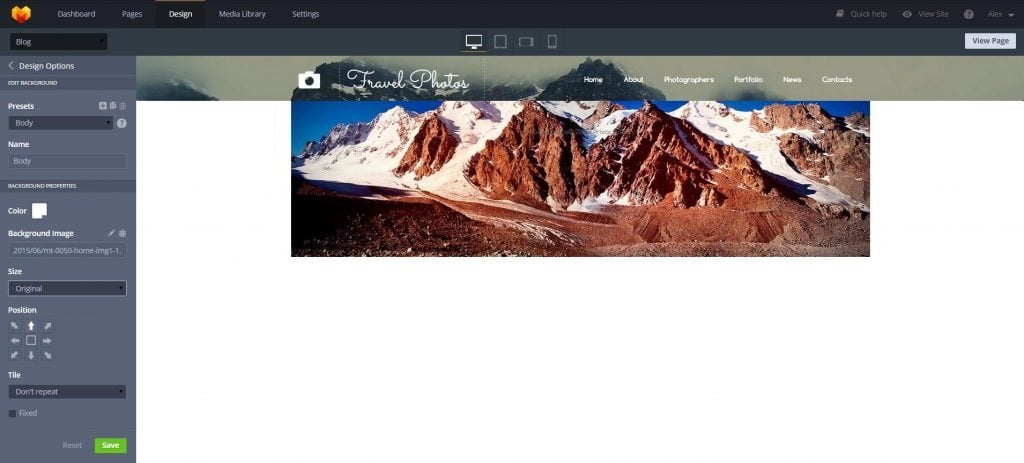
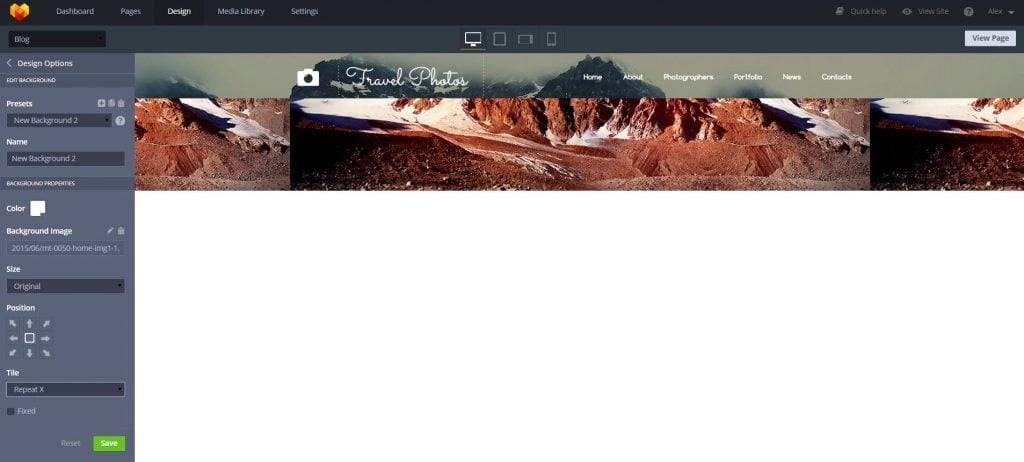
Managing the background
You can fill your background with a color or set some image as a background for the page. All the changes that you’ve made with the background need to be saved as single templates with their own names.
You should also specify the right size of the background image. There are three options:
- Original
- Cover
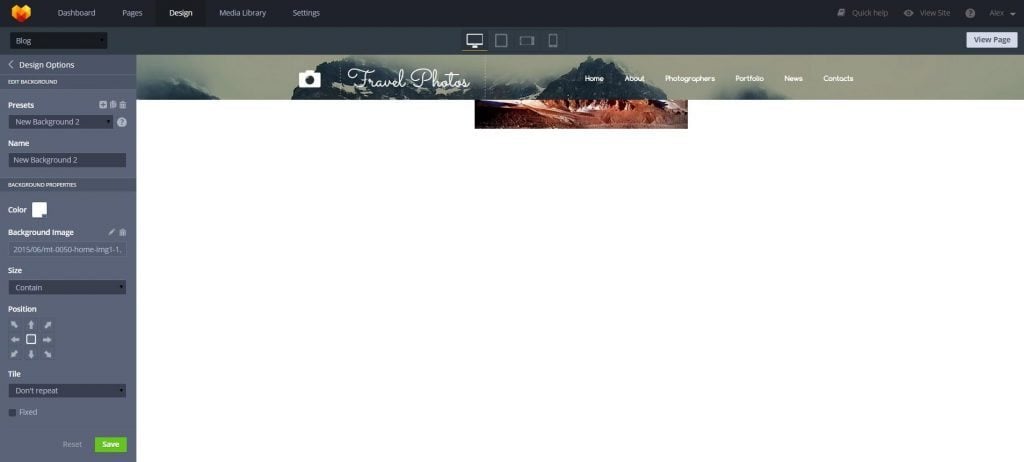
- Contain
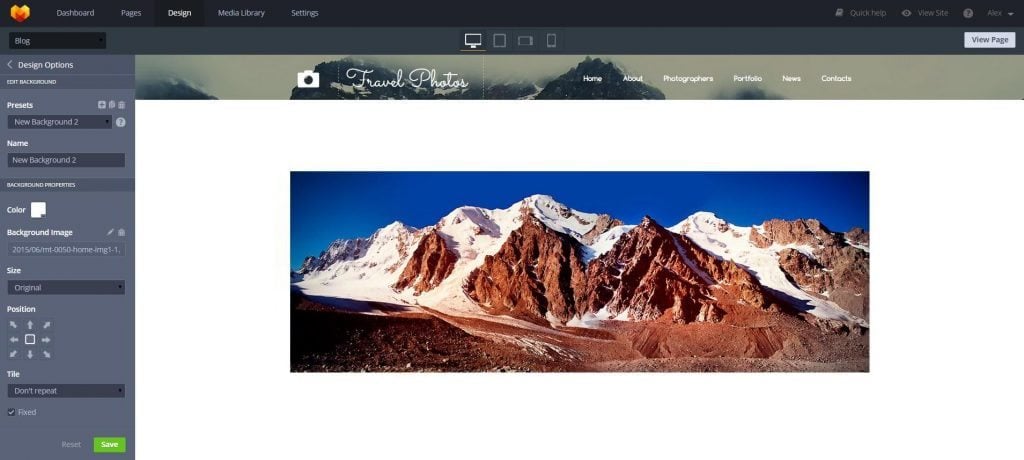
It’s better to use the "Original" size option when you want the image to be in its original form and size.
"Cover" size will stretch the image to the full screen width, while keeping all proportions.

"Contain" size option stretches the image to the height of the wrapped container.
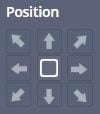
There is another useful tool called “Position” that allows you to center the image or align it to some side.
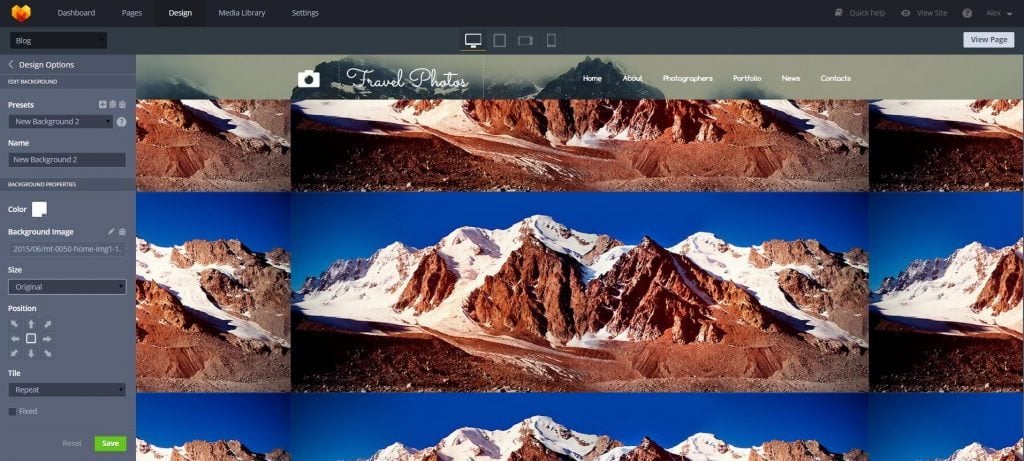
You can also repeat the background image on the page for a few times. To do this there are several options:
"Don’t repeat" - this option is used by default. Your background won’t repeat.
"Repeat" - this variant allows you to repeat the image several times throughout the page (using the original size of the image)
"Repeat X" - replicate the image by X-axis, i.e. horizontally.
"Repeat Y" - replicate the image by Y-axis, i.e. vertically.

"Fixed" option makes the background image stay in a fixed position. This option is enabled by default, but if you turn it off, the image will move up or down as you scroll the page.
Managing site’s colors
To manage the colors choose the special "Colors" tool on the Design Options toolbar.
There are 25 pre-defined and 5 primary colors in the palette. Depending on the chosen base color, system generates 5 additional colors for the site. You can edit each one of them.
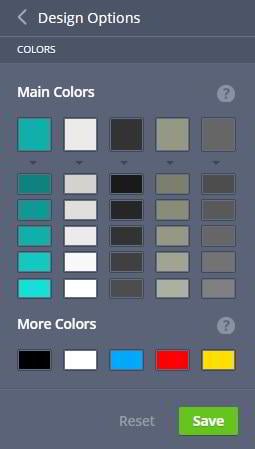
To change the color, please open the color palette and click on any of the selected colors in an automatic mode. For your convenience, the current color, which is used on the site is visible, as well as a new one, which can be used as an alternative after clicking on the “OK” button.
Use the “Reset” button if you want to erase all the changes that you’ve made. If everything is done right during saving the palette, you will see such message in the admin panel:

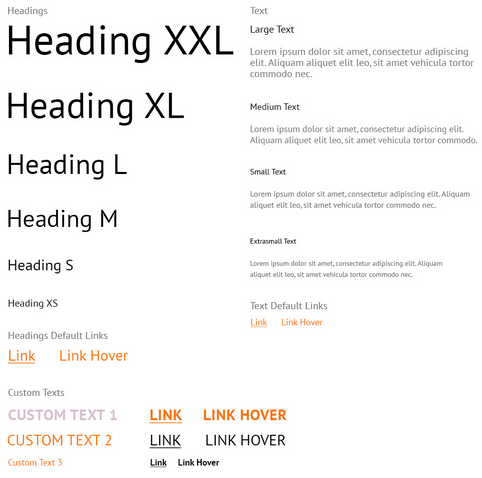
Working with the styles of the text
You can create a new style or edit an existing one in a special section called "Text Styles".
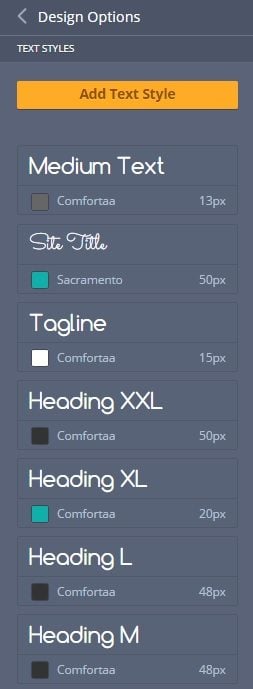
To add new styles for the text click on the "Add Text Style" button. New settings will appear after clicking on the button.
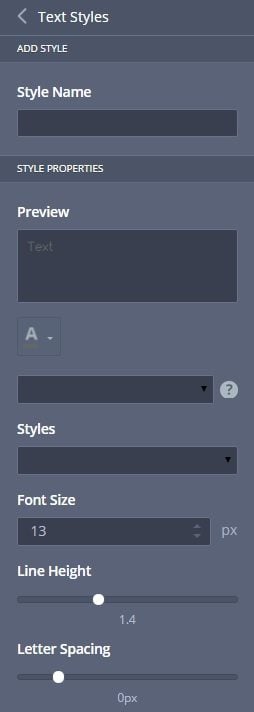
Style Name - field for naming the style. The length of the style name can vary from 2 to 200 characters.
Style Properties - option that contains the basic settings of the text.
Preview - view all the changes before posting: font, text size, color, etc.
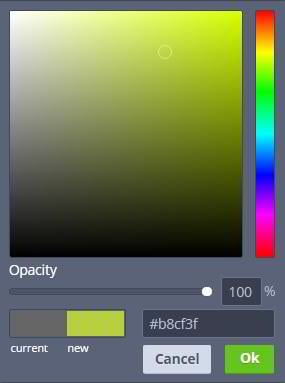
To change the color of the text, click on the “A” button. It looks like that:

After performing this, a window will open, through which you can use pre-defined and additional colors, or choose your own via the palette. You’ll also be able to see the difference between the current color and the alternative. To do this, check out two fields: current and new.
Line Height – an interline text spacing.
Letter Spacing – an option that adjusts the size of the text.
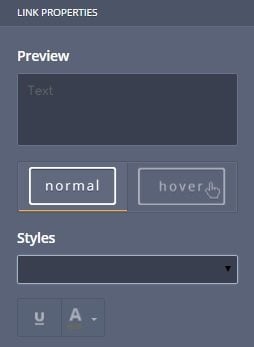
Link Properties - by using this feature you can customize the appearance of the links. Normal and Hover tools are used to configure the links when you move the cursor onto them. The default mode is Normal.
All the existing styles can be duplicated or deleted.
Customize your site better with "Themes" section
“Themes” is a section that includes all the settings for customizing the appearance of the site.
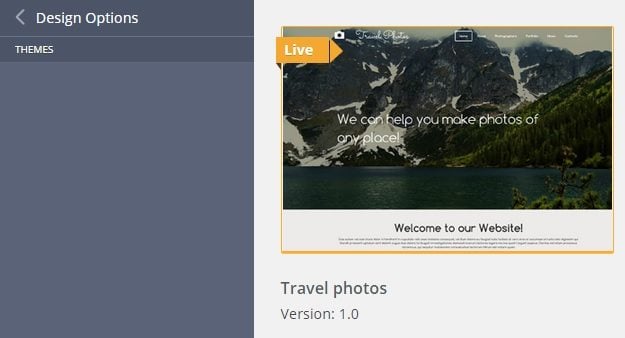
It includes options that will help to change the color of the template, fonts, text styles, lists, backgrounds and widgets.
Colors
You can choose from over 30 color schemes, 5 of which are basic, 20 are additional and 5 more are standard.
Fonts
This section contains a collection of custom fonts from Google Fonts, which can be used to customize your template texts.
Text Styles
There are 15 pre-defined styles.
Lists
If you want to use new styles for lists, you must enter the Lists section. Here you can manage them in a text editor.
Backgrounds
You can choose a background among three available options, 2 of them are additional.
Widgets
This section includes 4 categories: Images, Buttons, Menus and Dividers.
Images
There are 5 pre-defined image styles.
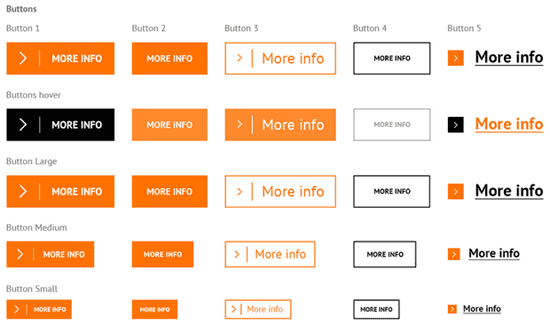
Buttons
You can easily change design of the buttons that will appear on the site. There are 5 main variants of the button styles and 3 additional.
To study our previous lessons please follow the links: