
- What is Localhost?
- What is WordPress?
- Why Install WordPress on Localhost?
- Methods to Install WordPress on Localhost
- Concluding Ideas
In this article, we'll review how to install WordPress on localhost, why one may want to do this, the basic approaches to doing this, and other points relevant to the localhost/WordPress issue. The information is aimed primarily at the beginners as we'll observe the basic points to gain a comprehensive understanding of what it is and why it might be needed.
What is Localhost?

Simply put, this is your personal local computer. Thus, when you have a page on WP, you buy hosting in a supplier, and your site gets its place on the Internet, so all people using the global web can view your page. When you have local hosting, you place a special server app on your PC, and only you can view and work with your site. The reasons for this will be observed further in the article.
What is WordPress?


This is a content management system, which you need to run a blog for your personal or professional needs. Here, we are talking about WordPress.org. You can read about the difference between WP products in our article. The CMS is downloaded from this place and installed on your computer, with the further acquirement of the necessary attributes, such as hosting, domain, deciding on the issues related to design, functionalities, etc. This software requires additional steps to launch the site, and the latter one needs customization.
Why Install WordPress on Localhost?
Why might you necessitate the option of using localhost if nobody will view your blog, which is primarily intended to be published?
- The reason why this option may be suitable is for devising a page before transferring it to the live server.
- Also, you might need a lot of testing of the site features before making it public.
- The other cause is learning all the peculiarities of how to develop the page.
- Localhost/WordPress allows one to make modifications without an internet connection, which is beneficial as it makes all the operations fast and not dependent on the connection speed.
- Also, developers employ WordPress localhost mode to produce and test themes and plugins.
- What's more, if you set up WordPress locally, this will help you to perform the probable shifts without downtime. This means the visitors will not meet the flaws or break of the site, and when the latter one will be completely ready, it might be published or renewed.
- Finally, when you install WordPress locally, you can make a private blog, which nobody will see.

Methods to Install WordPress on Localhost
Localhost/Wordpress installation requires three basic actions:
- You should create an environment with the help of a local host server.
- Download WP from WordPress.org.
- Install WP on the localhost.
These three stages will be reviewed in more detail later in this article.
Stage 1. The setup WordPress on localhost requires special software. There are several alternatives that you may find in various tutorials, such as WAMP, XAMPP, MAMP, and some others. You can pick any of them and find the appropriate variant either for Windows, Mac, or Linux. What is the essence of this software? Mainly, all of them are solution stacks uniting platforms, such as PHP (Perl, Python), Apache, MySQL.
We'll take MAMP, which fits Mac OS and Windows, as it is more user-friendly. However, other tools are also quite comfortable to work with. Thus, XAMPP has variations for all the OS.
The first move here is to install MAMP from its official site. Download the program and install performing the regular installation steps on your PC.
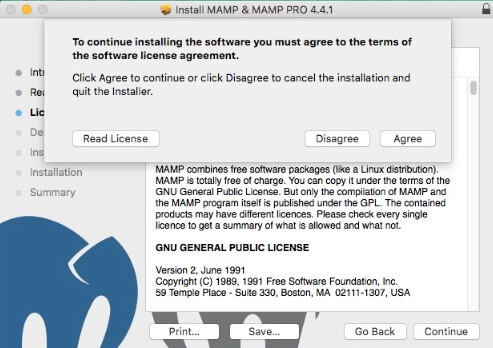

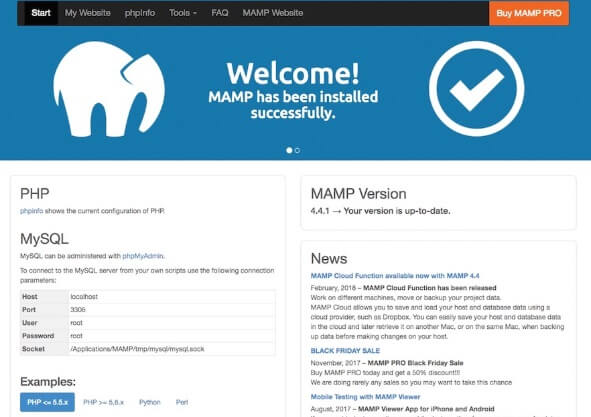
Here we use MAMP on Mac OS. However, other variations will be similar to this process with particular details relating to the OS. So, after clicking “Install” and going on with the offered steps there, you should run MAMP on your PC, clicking “Start Servers.”
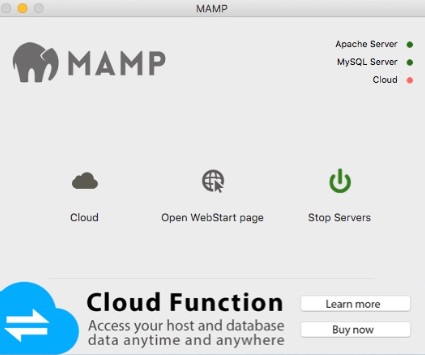

After this, you'll see the success page, and this will indicate that the environment is formed.

Stage 2. The next move will be to install WP on your computer. You'll need to go to the official site, download it, and unpack the zip file. A more detailed guide can be accessed in the article on our blog.
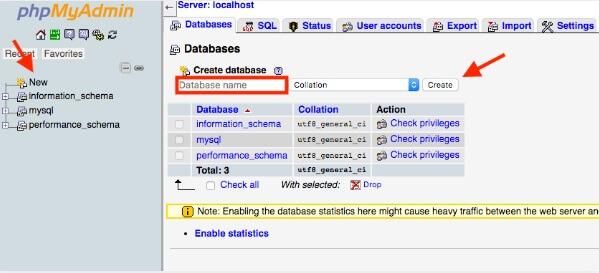
Stage 3. Installing WordPress locally needs database creation. You should move to localhost/phpmyadmin in your browser, open it, and click “New”. Here you'll give a name to the database, and then push “Create.”

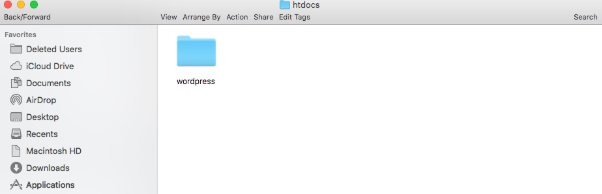
The next action is to copy the unpacked WP folder, go to the MAMP directory, open “htdocs” folder, and put the WP folder there.

After this, type localhost/wordpress on the address bar in your browser and hit Enter. Then follow the regular steps offered on the screen, like selecting the language, and then continue with the Welcome message and press “Let's go!” button.
On the further page, you'll need to fill in the name of your database and the other required information.
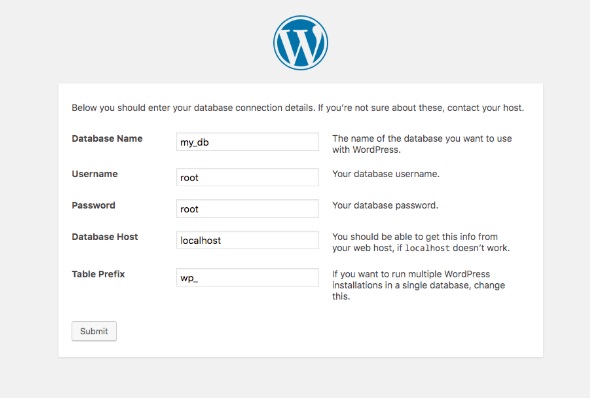

The username and password will be “root.” After completing this, press “Submit” and then “Run the installation.”
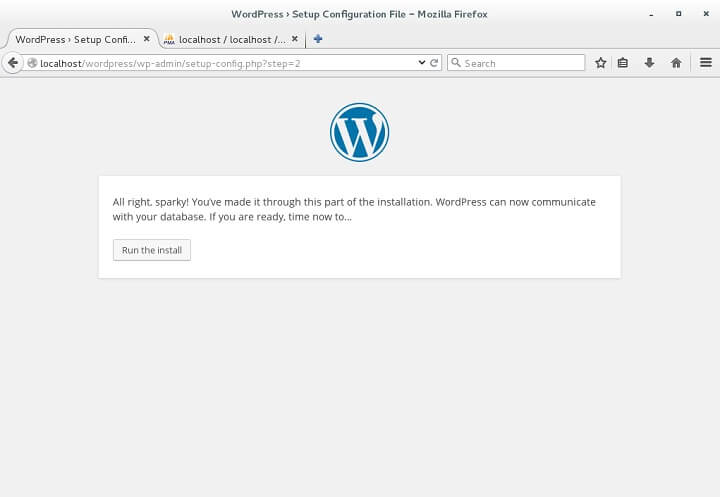

The following admin information window will ask for the basic data, which you'll need to give. In the end, press “Install WordPress,” and that's all.
Now you can login to your localhost/WordPress site and use it.
Concluding Ideas
Installing WordPress locally is not difficult, although you'll have to gain a clear understanding of what tools you’ll necessitate and the sequence of the procedure you'll have to perform. After accomplishing these actions successfully, you'll be able to develop your blog, manage and test all the elements there without anyone viewing these procedures. When you are ready to publish your blog, you are able to transfer it to a live site with the help of a hosting supplier. To find out about the major suppliers in the industry, you can read the related article.
Now you are familiar with the basic steps of how to install WordPress locally, why you might need to do this, and which tools you'll necessitate. I hope this article was helpful, and if you have something to add, please do so.
Best Plugins For A New WordPress Site [Free Ebook]
By clicking the button you agree to the Privacy Policy and Terms and Conditions.
Read Also
How to Install WordPress to Your Hosting
WordPress 101: Start Your Website with These Online Courses
25 Hottest Free WordPress Themes for Business
How to Delete a WordPress Blog?