
- Why WordPress?
- Why Convert Muse to WordPress?
- Converting Muse to WordPress Step-by-step
- Over to You Now
Hello everyone! As you probably know, Muse is shutting down. They released the final feature improvement of Muse on March 26, 2018. Technical support of Muse will continue until March 26, 2020. Then, the product will be fully discontinued and unsupported.
If you love creating websites with the simple Muse builder, you may be quite disappointed about this news. However, you’ve got to adapt to modern website trends and move on. Adobe suggests that you switch to their present-day solutions, such as Adobe XD, Adobe Spark, or Adobe Portfolio. However, many users prefer converting Muse to WordPress instead.

Why WordPress?
Many factors speak in favor of converting Adobe Muse to WordPress. Currently, WordPress is the most desired and popular engine for running websites. It allows you to create flexible blogs and scalable WooCommerce e-stores. WordPress is admired for its:
- Ease of use. It’s the most comprehensive CMS with a convenient admin panel.
- Extendibility. You can add nearly any feature to your WordPress site using plugins. No CMS beats WordPress in terms of plugin variety and power. Many WordPress plugins are actually free and highly useful.
- Reliability. WordPress core is secure. It prevents malware and hacker attacks.
- Strong SEO. Again, the code behind WordPress is very clean and simple. This makes it easy for search engines to index content. In addition to this, each page, post, and image inside WordPress has its metadata for more precise optimization.
- Multi-user capabilities. If you’re not the only one behind your company’s WordPress site, you can easily add new users to WordPress and precisely delineate their editing permissions.
- It’s browser-based. You can access the dashboard of your website from any PC or handheld device in the world. Moreover, you don’t need any HTML editing or FTP software to work with it.
Hopefully, this convinces you that WordPress is the best option to migrate your Muse website to. Admittedly, converting Muse to WordPress will definitely take some time. But don’t get discouraged; even a WordPress newbie can accomplish it.
Why Convert Muse to WordPress?
Muse and WordPress work well together. There are several cases when you may want to take advantage of using Adobe Muse and WordPress. For example:
- You run one or several Muse websites and feel it’s time you switch them over to WordPress to keep growing.
- You’re used to creating websites with Muse. In this case, you can use Adobe Muse to create a WordPress theme or website.
- You feel that a certain Adobe Muse theme best meets the needs of your project. You may want to use it now and later convert it into a WordPress site. See some of the best Adobe Muse templates for inspiration.


So, we’ve figured out why and when it makes perfect sense to convert Adobe Muse to WordPress. Now, it’s time to learn how you can do this.
Converting Muse to WordPress Step-by-step
To convert Muse to WordPress, you need a tool designed specifically for this purpose. Typically, these tools come in the form of WordPress plugins.
Currently, there are several Muse-to-WordPress converters you can use. They are:
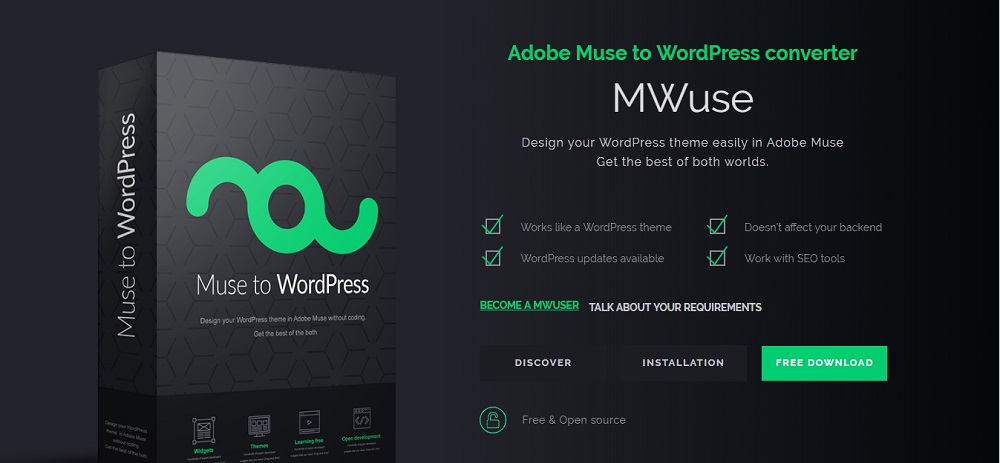
- MWuse is free and open-source software that lets you bring the worlds of Adobe Muse and WordPress together. MWuse lets you create your design with Adobe Muse and make it dynamic with WordPress. If you have a WooCommerce website, you can also convert it with MWuse. Most excitingly, this plugin is free and really high-quality. That’s why I’ll be using it for this review.
- Then, there’s Muse to WordPress Converter by ResponsiveMuse. Using Adobe Muse with WordPress is also not a big deal with it. This is a premium converter with a yearly subscription that costs $79. There’s also an option to subscribe for 3 months for $29.

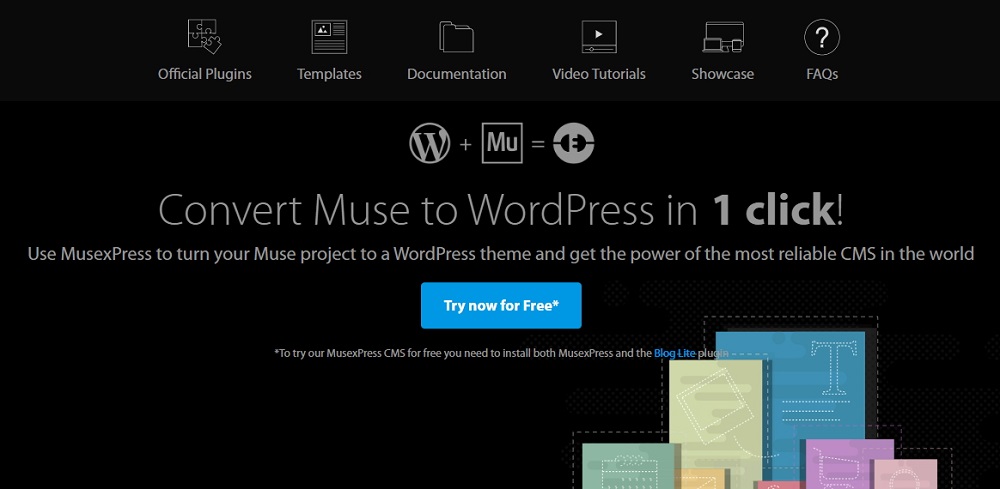
- MusexPress is another premium option for using WordPress and Adobe Muse together. This plugin is also free. However, to convert booking forms and e-commerce functionality on your site with MusexPress, you’ll have to purchase additional plugins.


These are pretty much all the sound options available to use Muse and WordPress together. As I’ve mentioned, I chose the free MWuse for this tutorial. Let’s get started with our step-by-step instructions.


Step #1: Preparation and WordPress Installation
You can start either with a live host or localhost. I chose to convert Adobe Muse to WordPress on WampServer localhost. In this case, the conversion process takes less time. When I’m completely done with the conversion, I’ll upload the created WordPress site to the live server.
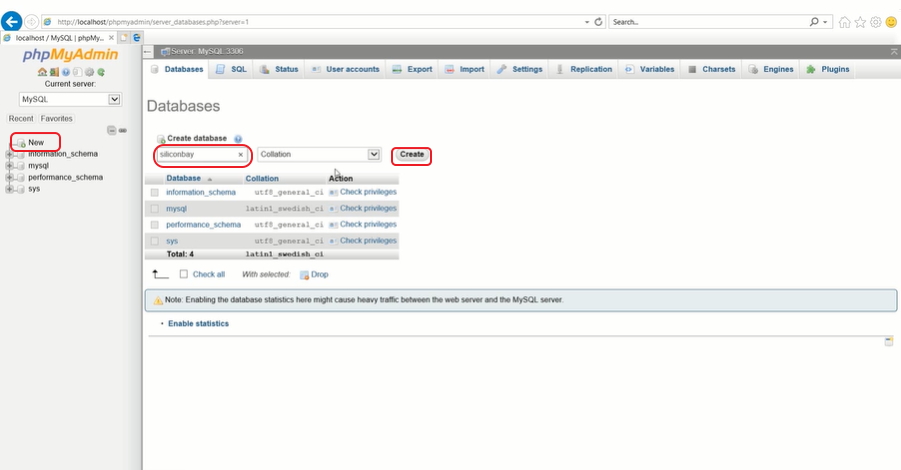
First of all, you’ve got to create a clean database for your new WordPress website. To do this, access your PhpMyAdmin tool, click ‘New’ on the left, and enter your database name. Then click ‘Create’.

Next, you need to create a new database user. For this, first, click on the database name on the left. Then, click where it says ‘Privileges’ on the right.
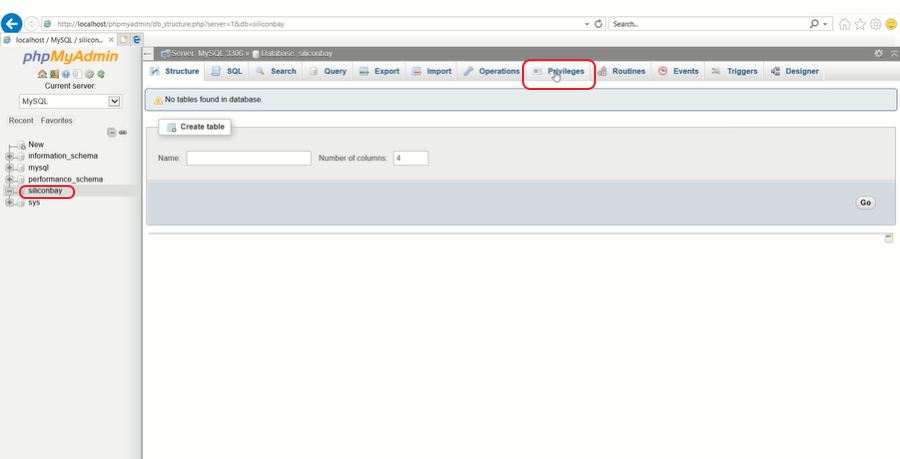

Click ‘Add User Account’ and enter a new username. Then, provide a password. If you work on a live server, make sure that your password is strong. Next tick ‘Check All’ under ‘Global privileges’ to give your new user all the rights to work with your new database.
Next, you’ve got to install WordPress. I won’t go into much detail here as you can read a comprehensive guide on the WordPress official website. In general, to install WordPress, you have to do the following.
Download the latest version of WordPress at wordpress.org. Upload the engine’s .zip to the root folder on your server. Unzip it. Next, open your browser, and type ‘your site URL’/+wordpress in the address bar. In case you use localhost, it will be http://localhost/wordpress. You’ll see the welcoming screen of WordPress installer. Complete the following steps:
- Select your site’s language. You can later change it in your dashboard if necessary.
- Next, enter the details of the database you created earlier.
- Enter your new admin panel details. If you’re installing it on a live host, make sure your password is strong.
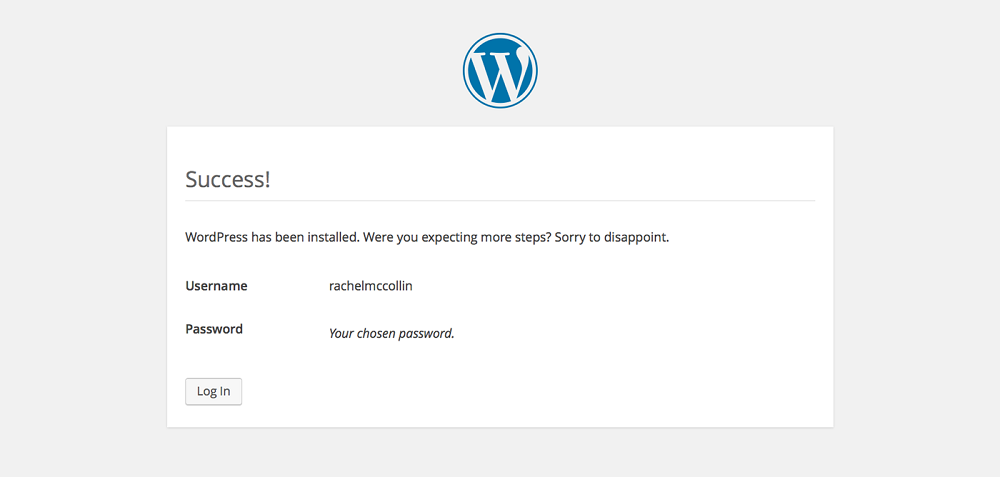
Once you’ve completed these steps, you’ll see a success message informing you that WordPress is now installed.

Step #2: Install Your Muse-to-WordPress Converter
Now, open your WordPress site dashboard (go to URL + /wp-admin or localhost/wordpress/wp-admin). Next go to ‘Plugins’ -> ‘Add New’.


Inside the ‘Plugins’ interface search for MWuse on the right. Once you see the search results, click on ‘Install’ next to MWuse. After you see it installed, click ‘Activate’. That’s it!


Step #3: Connecting Adobe Muse to WordPress
The next thing you’ve got to do is to connect Adobe Muse and WordPress. MWuse will help you with this. Once the Muse website and the new WordPress site are connected, their designs will automatically synchronize, so that you don’t have to upload a zipped Muse file to your WordPress website every time you make any changes in Muse.
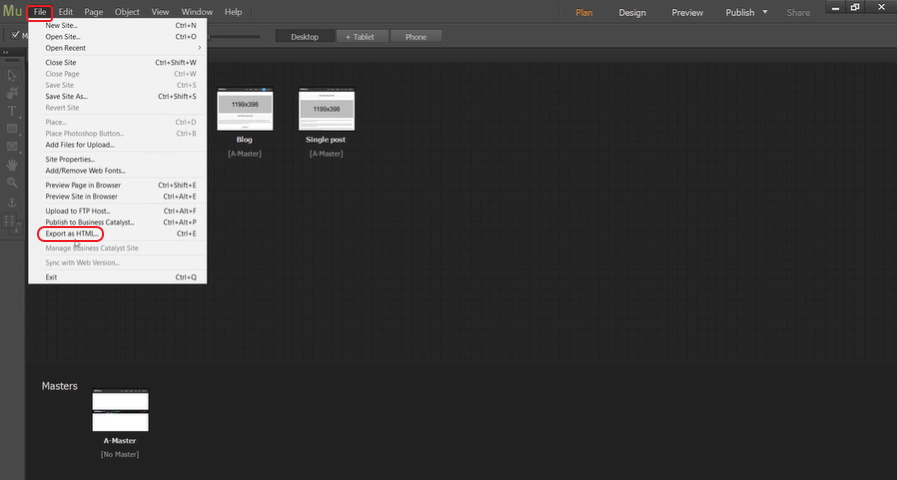
So, to start using Muse with WordPress, you’ve got to open up Muse first. Go to ‘File’ -> ‘Export as HTML’.

Next, in the new window, enter your site’s domain name if you will be working with a live server or just any domain name if you work locally. Then, choose where you’d like to save the Muse HTML file.
Again, if you’re working on a live server, you can save the exported file anywhere on your PC. Then, you go to your server’s file manager and go to wordpress/tmw-themes. Create a new folder there and give it a name. Then, upload the exported file to the created folder.
But if you work locally, then you just have to select the right file path when exporting the Muse file. Go to wamp/www/wordpress/tmw-themes and create a new folder there. Give this folder a name. Select this folder in Muse and export the file. Press ‘OK’ and see the export to be completed.


Now, go back to your WordPress site admin panel and go to MWuse -> ‘General Settings’. If you’ve exported/uploaded the Muse file to the right place, you’ll see the name of the folder you created next to ‘Muse Default Project’. Leave everything else as default. Make sure that ‘Synchronize Muse and WordPress pages automatically’ is checked.
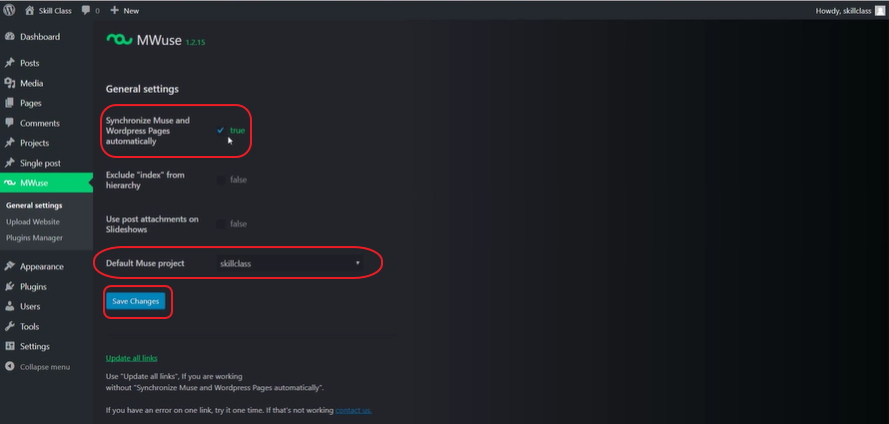

Then, click ‘Update all links’ below.
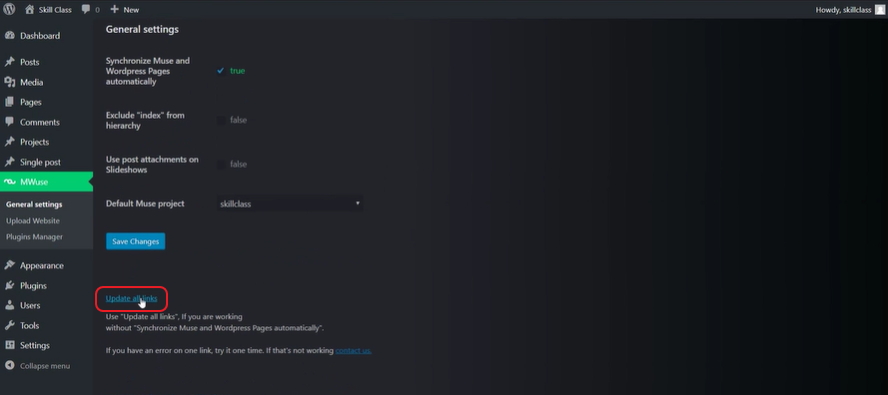

If you go further down this page now, you’ll see your project files listed. On the left, you’ll see your default Muse HTML pages, while on the right you’ll see the corresponding WordPress pages.


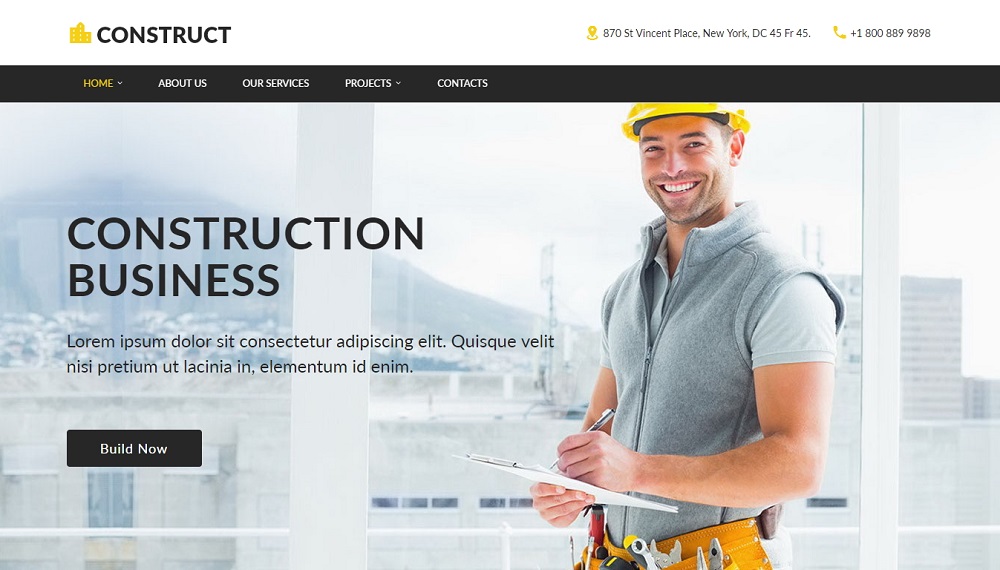
Congrats! You’ve successfully connected Muse and WordPress. Now, you can visit your WordPress website, and you’ll see your Muse design appear there.
Of course, this will likely be the case that not all elements of the exported website will look/function the way they should. For example, your ‘Read more’ buttons may lead nowhere, and some top navigation links may be empty. No worries! This is what you’ll be fixing in the next step.
Step #4: Getting Your Website Working Correctly
So, you’ve got your Muse design on, and now you just have to fix the things that aren’t working so far.
First of all, you may see some extra links appear in the top menu. These are linking to the default WordPress pages that you’re missing. Go to ‘Pages’ and create the missing ones. This will get your navigation function the way it is expected.
Next, you’ll see the ‘Read More’ buttons on the Blog page not working. Consider manually adding your blog posts from Muse to WordPress. This is the fastest way to get them to function correctly.
Now, you should see your WordPress website all shiny! If you have some other customizations you’d like to implement, you’re more than welcome. Now is the time.

Over to You Now
I’ve just reviewed how you can convert Adobe Muse to WordPress with the help of an open-source plugin. As you can see, this process doesn’t take much time. Even though the design imported to WordPress requires a brushover, it is still great to work with. So, even if you’re a seasoned Muse lover, do not hesitate to keep up with the times using Muse with WordPress.
Have you ever converted Muse to WordPress? Which plugin did you use to facilitate the process? Share any thoughts and questions below.
Stay tuned!
Best Plugins For A New WordPress Site [Free Ebook]
By clicking the button you agree to the Privacy Policy and Terms and Conditions.
Read Also
Dreamweaver vs. WordPress: What is the Difference?
Top 5 Creative Adobe CC Apps for Web Designers
21 Amazing Code-Free Parallax Scrolling Sites
Web Design And TemplateMonster For A Small And Medium Business