100+ Carefully Selected Photoshop Text Effect Tutorials
If your next design project involves some manipulation with typography, the following Photoshop tutorials are being listed to help you out in making awesome text effects. Using these thorough guides, you’ll be able to easily pick up some relevant skills and then seamlessly carve out very beautiful text effects.
We’ve rounded only latest techniques so, even if you’re habitual of making high-end typography stuff, these Photoshop text effect tutorials are sure to assist you in your design creations – mainly because we compiled them carefully and selected only the best ones. Of course, you will need a great font to work with, and TemplateMonster fonts sets will help you with that.
And now, it's time to unleash your creativity and try experimenting with these styles.
UI Tips For Web Design Enthusiasts [Free Ebook]
By clicking the button you agree to the Privacy Policy and Terms and Conditions.
Alternatively go check out the newly-added list of 40 hottest Photoshop typography tutorials for fashioning plain text.
* * *
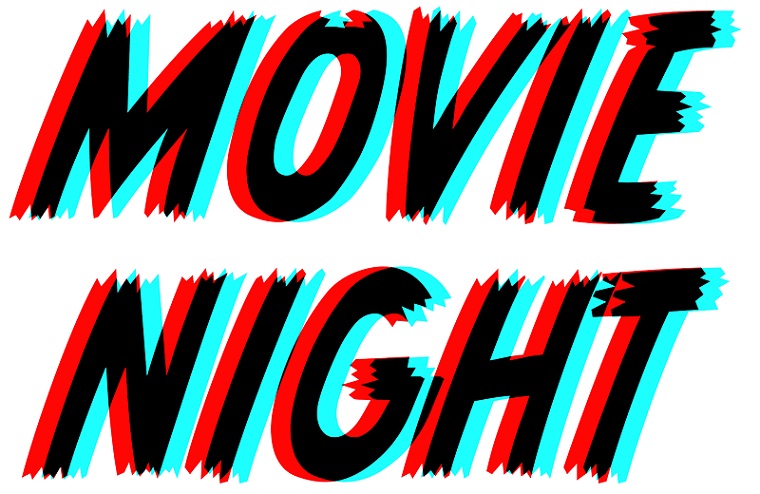
Retro 3D Text
***
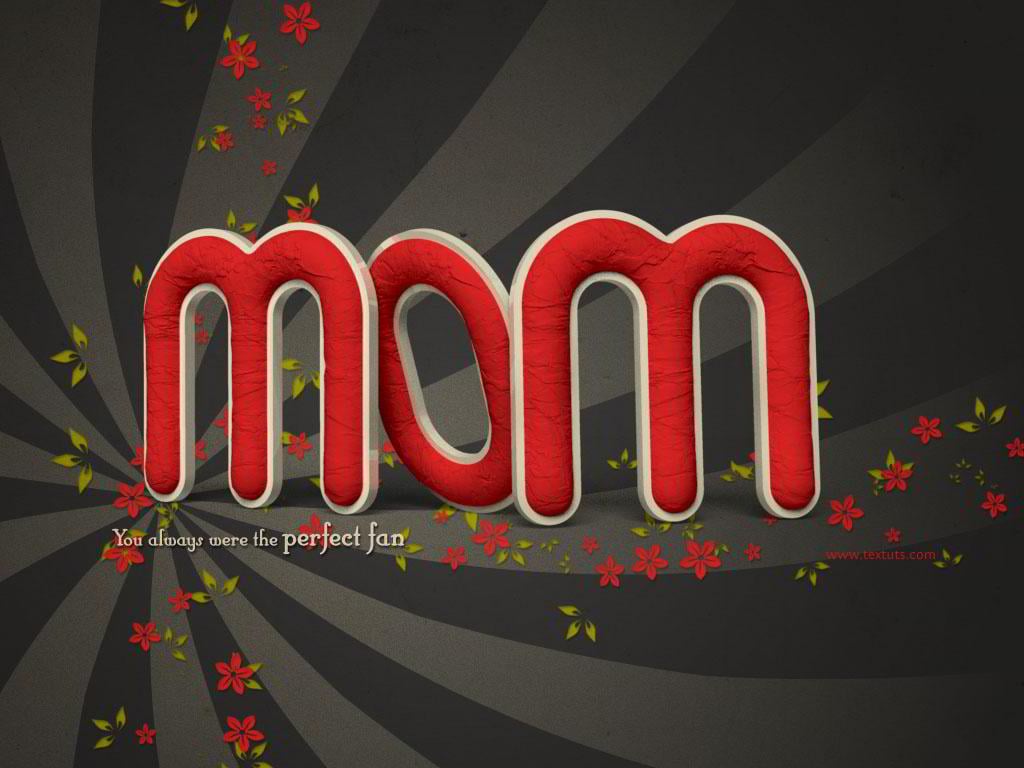
Crumpled Paper Textured 3D Text Effect In Photoshop CS5
* * *
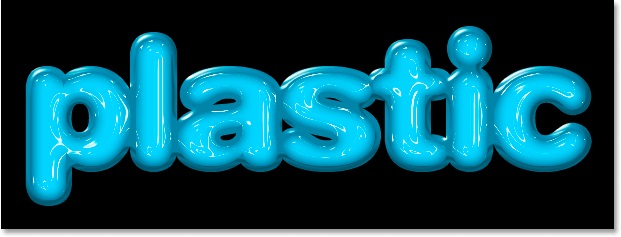
Plastic Text with Layer Styles
***
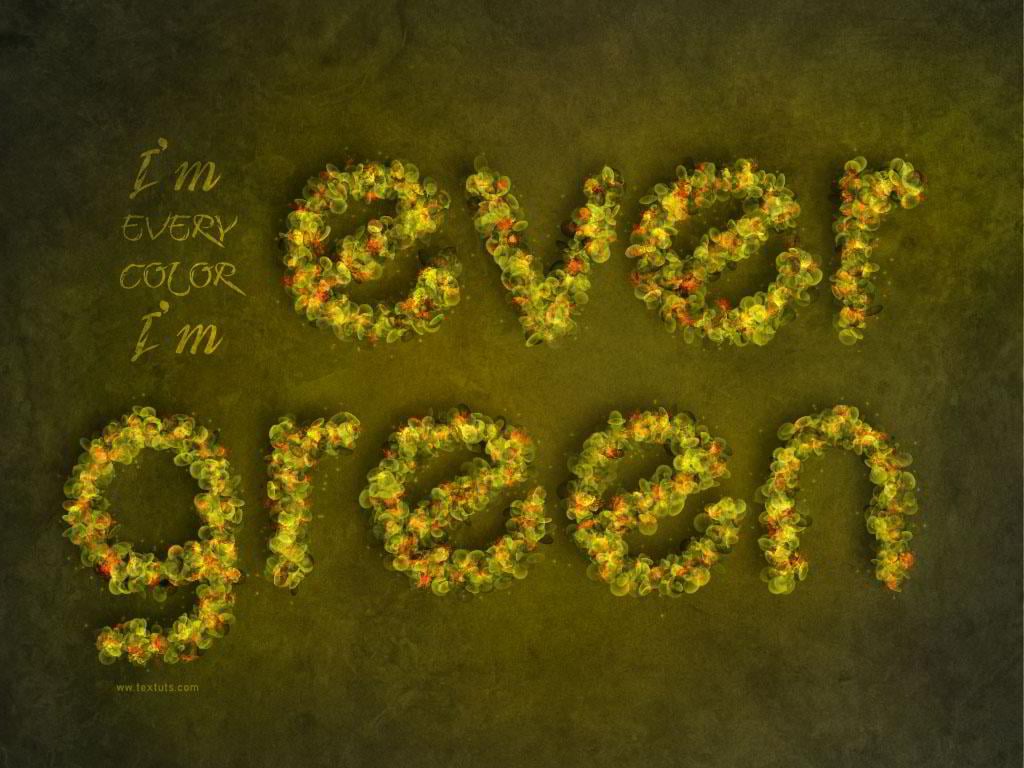
Fantasy Spring Text Effect
* * *
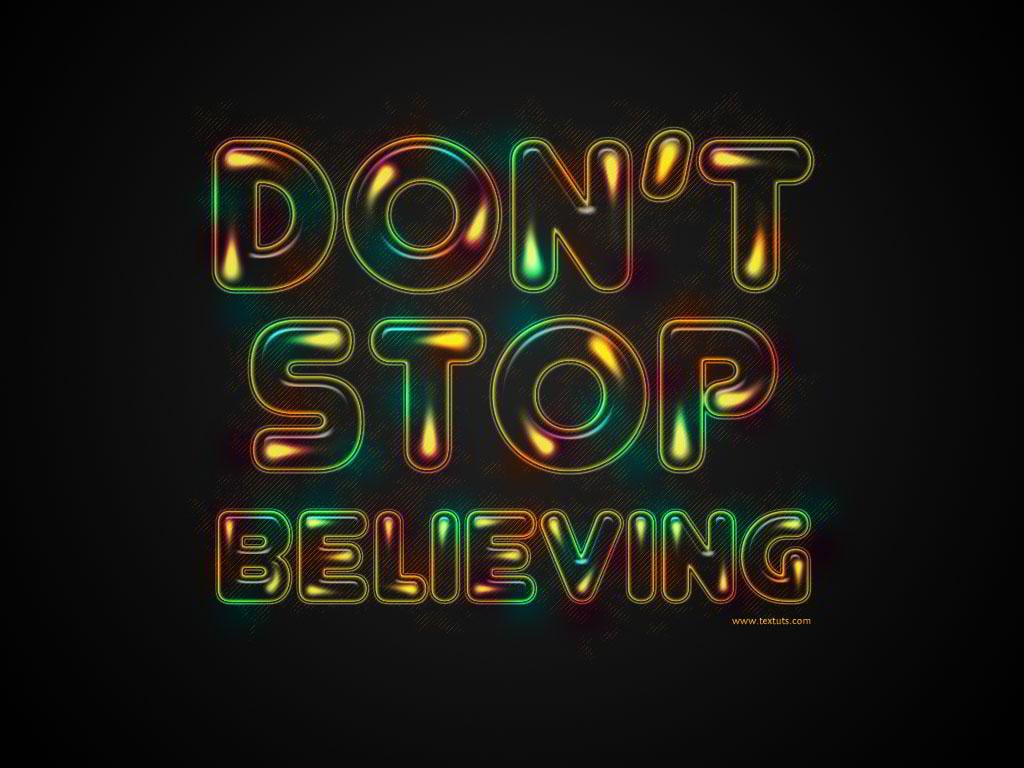
Colorful Retro Text Effect
* * *
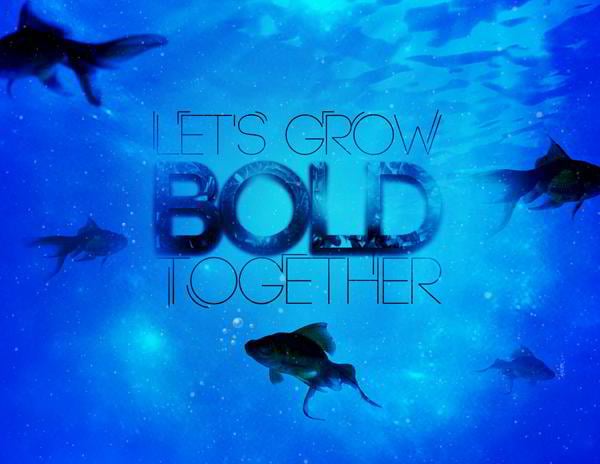
Create an Underwater Typography Scene
* * *
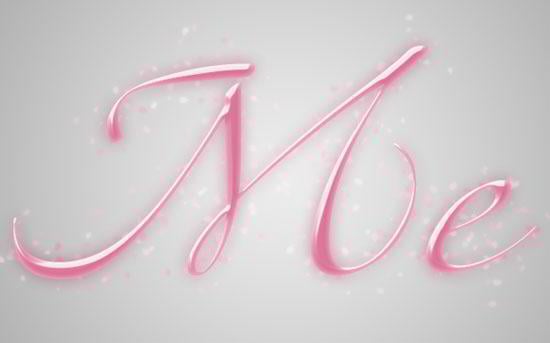
Blossom Text Effect
* * *
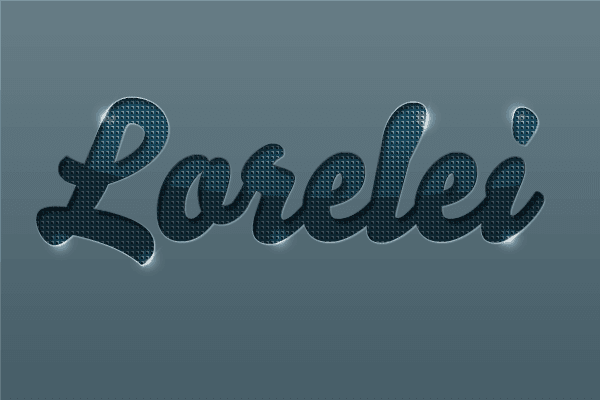
Designed Stylish Embossed Text with Metallic Glow
* * *
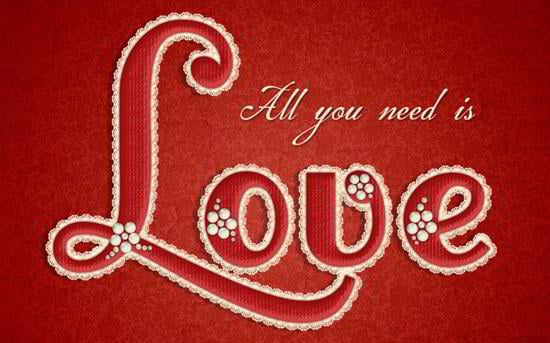
Lace Stroke Text Effect
* * *
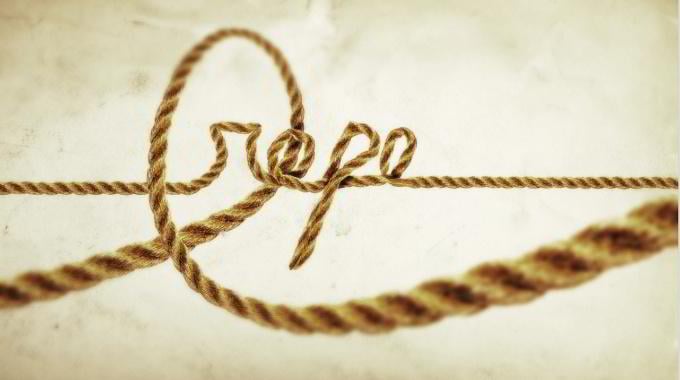
Cool Text Effect with the Puppet Warp Tool in Photoshop CS5
* * *
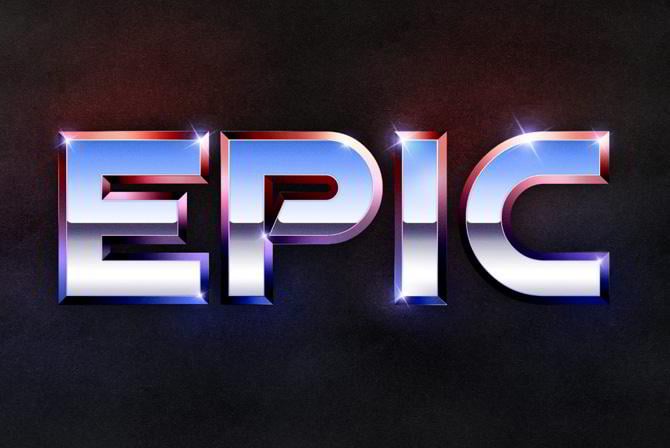
Recreate the Epic 80's Metal Text Effect in Photoshop
* * *
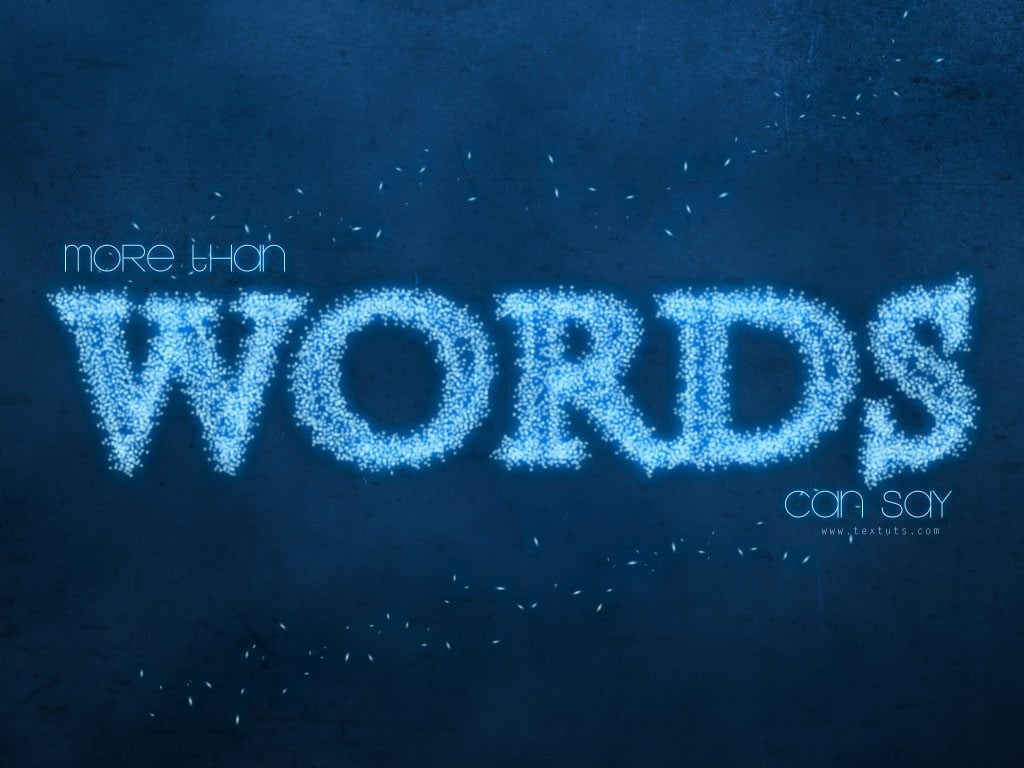
Simple Fireflies Text Effect
* * *
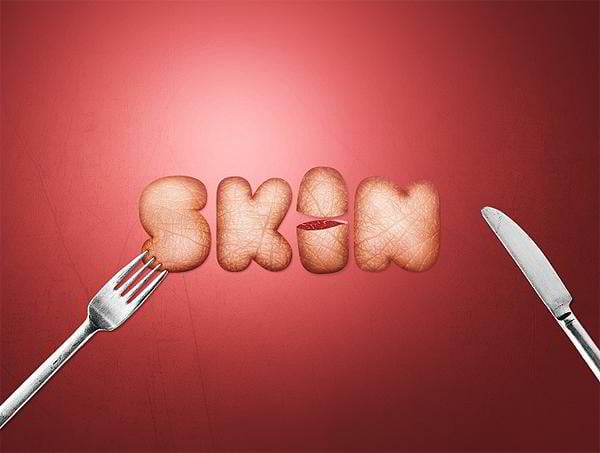
Design a Skin-Textured Typography Scene in Photoshop
* * *
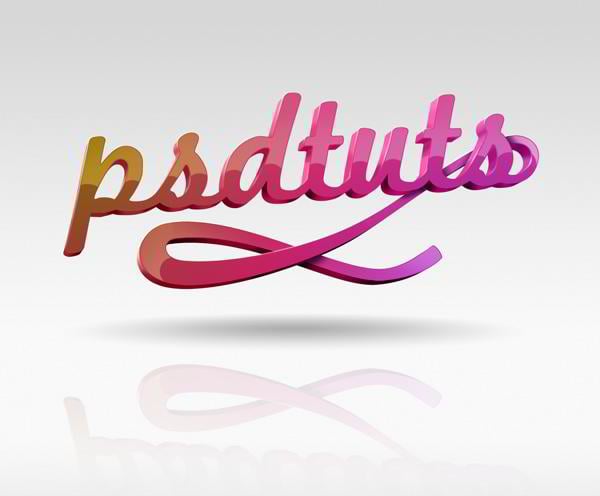
Create Super Glossy 3D Typography in Illustrator and Photoshop
* * *
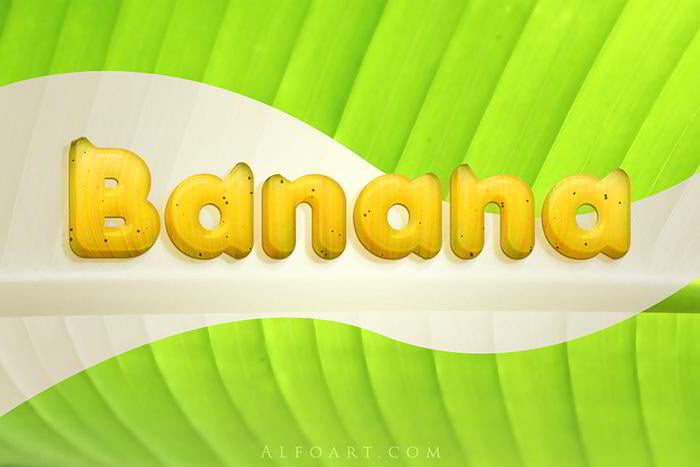
Banana Style Text Effect
* * *
Text in Stitches

* * *
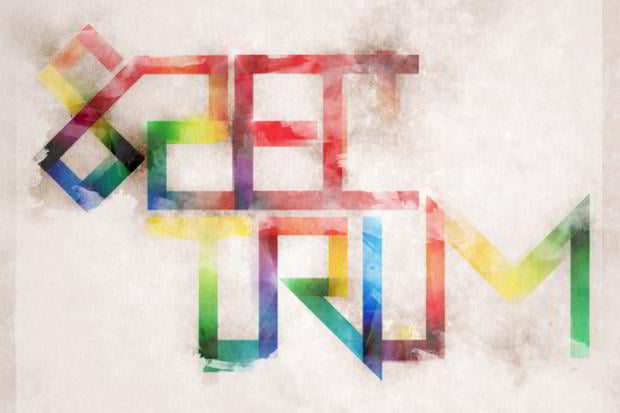
Create a Distressed Vector Typographic Poster Design
* * *
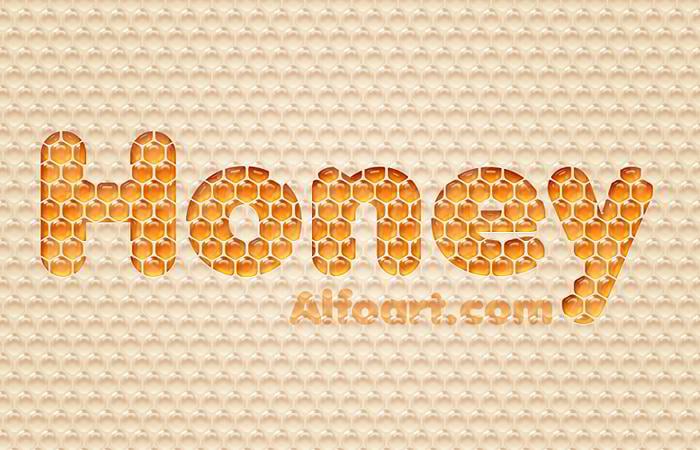
Honey Bubbles Text Effect
* * *
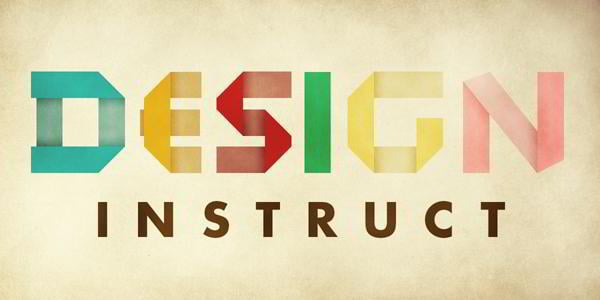
Creating Retro Folded Typography Using Photoshop
* * *
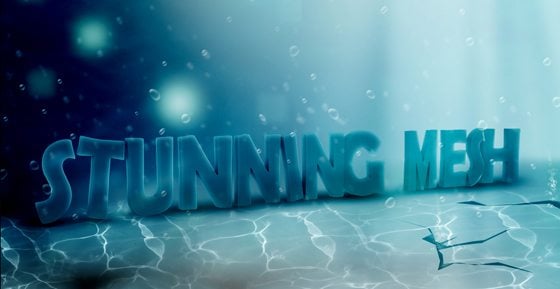
Underwater 3D Text Effect in Photoshop
* * *
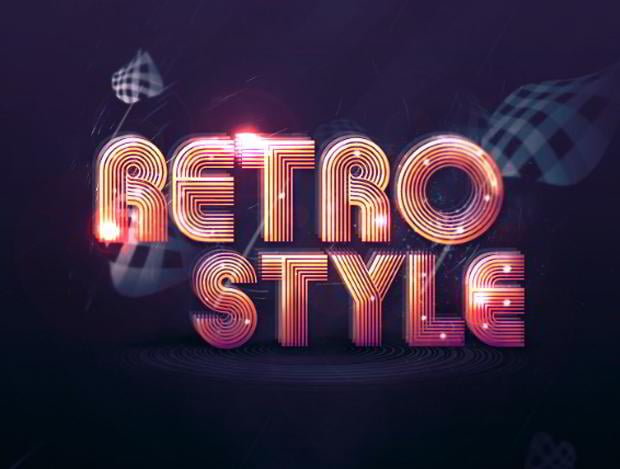
Create Abstract Shining Text Effect with Groovy Font in Photoshop
* * *
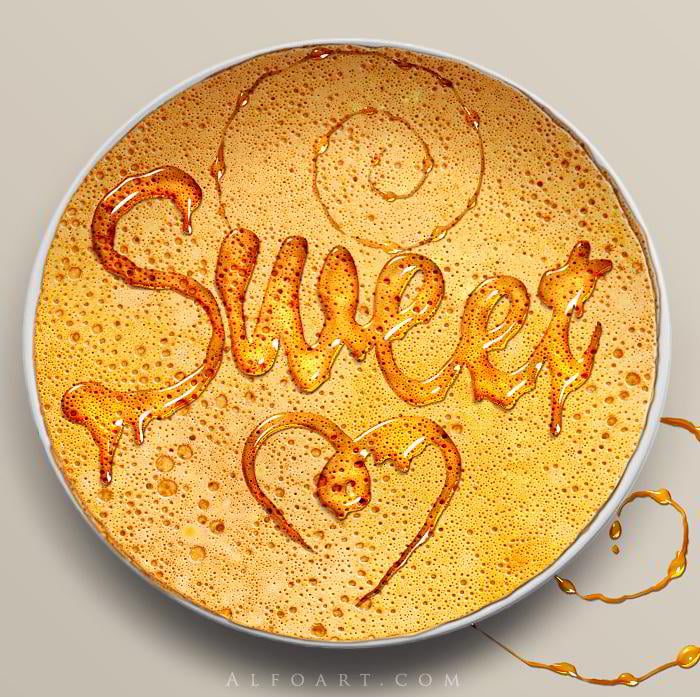
Honey Leaking Effect on the Delicious Pancake
* * *
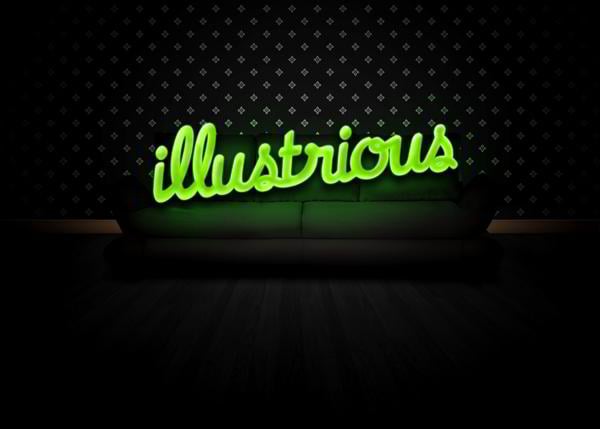
Make Illustrious Type Using Airbrushing Techniques
* * *
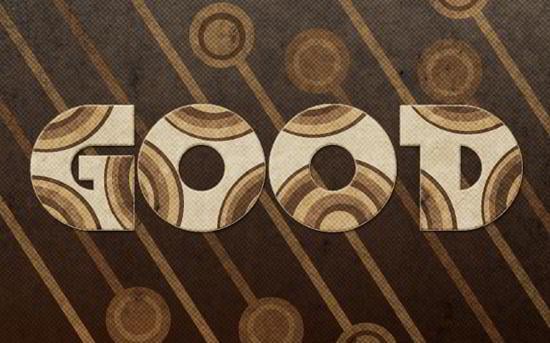
Circles Text Effect
* * *
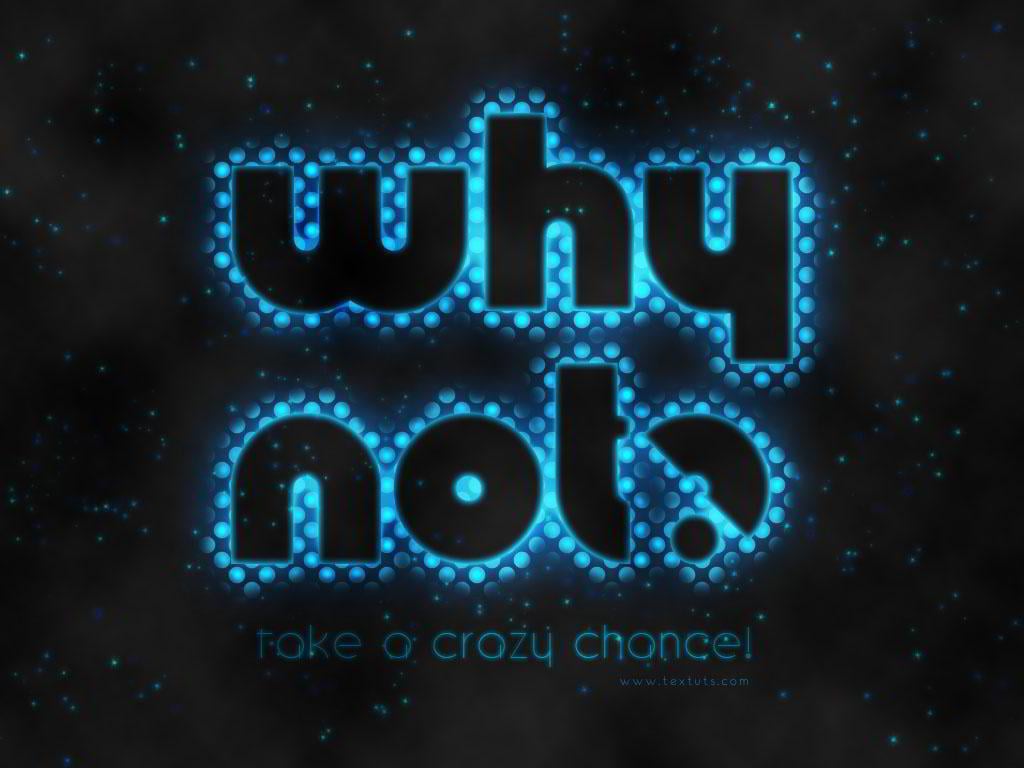
Glowing Polkadots Text Effect
* * *
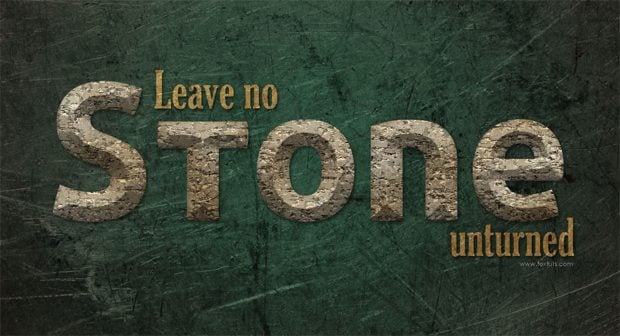
Stone Text Effect
* * *
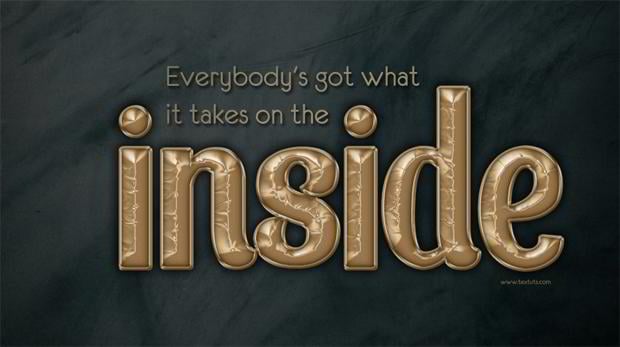
Leather Text Effect
* * *
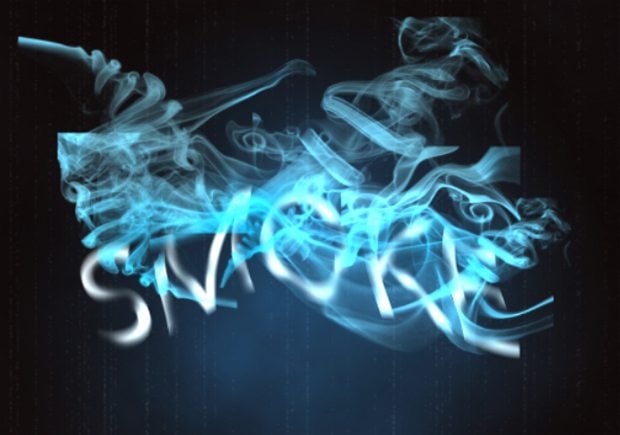
Photoshop Smoke Text Tutorial in 10 Minutes
* * *
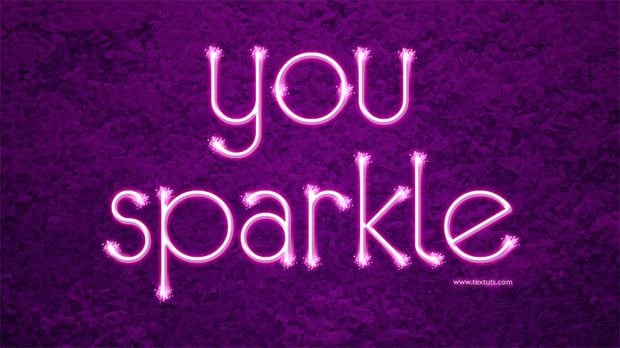
Sparkling Text Effect
* * *
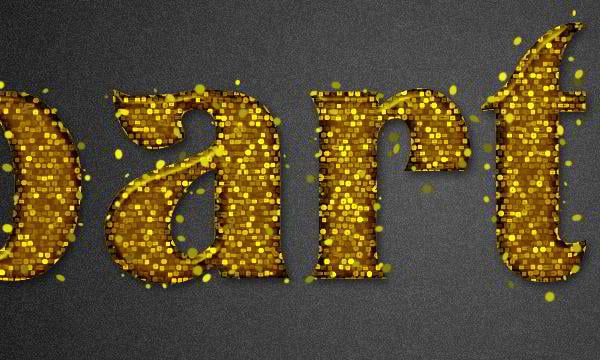
Learn to Create Party Text Effect
* * *
Wave’s text effect

* * *
Best Tutorials For Creative Text Effects In Illustrator
Being a designer, you are always in search for new ideas to be used in your typographic artwork. Adobe Illustrator, where you spend most of your working hours, offers a bunch of text effects that can be applied to some of your design projects. We know that you do not have spare time to spend it on studying text effects techniques by yourself, so we have gathered the most popular tutorials to this article for your convenience.
Check below for more information.
Chocolate Bar Text Effect comes either in milk or dark chocolate option and looks natural enough. Experiment with your design by using this technique.

***
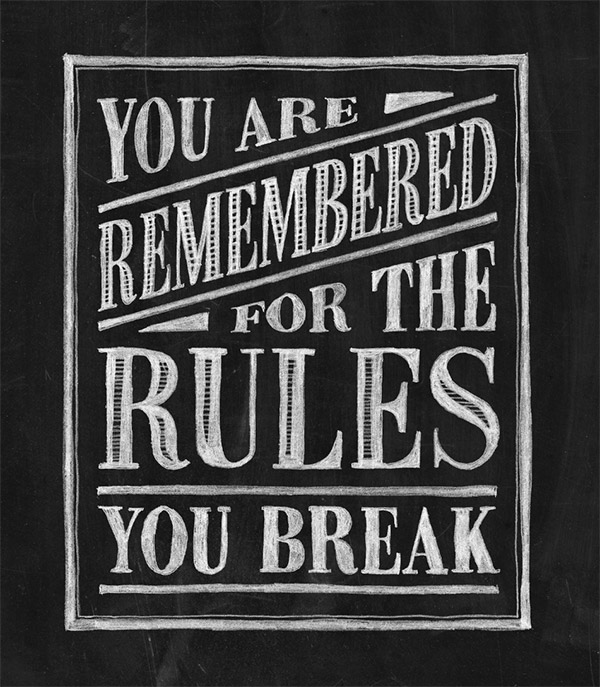
The Brush Studio effect features 91 art brushes, 18 rustic scribble styles, 15 pattern brushes, 40 ornaments, 22 framing components, two sets of lettering and much more. It looks like words are written on chalkboard with a piece of chalk.
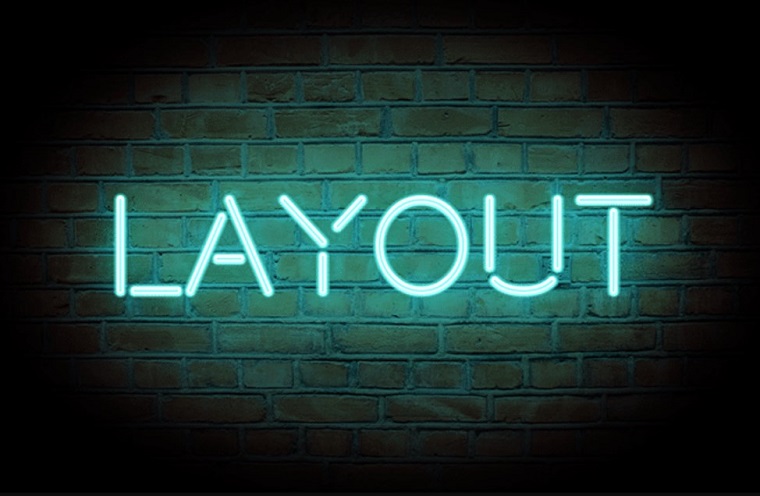
Neon glow effect will make your letters look like neon highlights them. This effect appears to be very realistic. If you are working on tablets, remember the pressure sensitivity.
Сhecklist-Typography Pdf [Free Ebook]
By clicking the button you agree to the Privacy Policy and Terms and Conditions.
Retro Futuristic Typography. If you are a big fan of Star Wars, this effect will blow your mind.
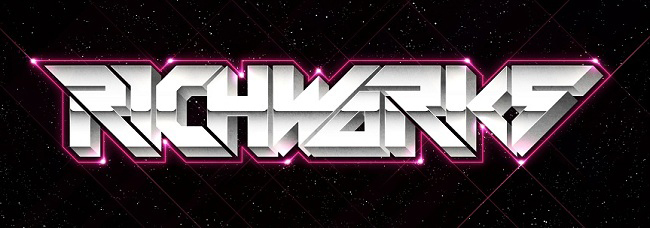
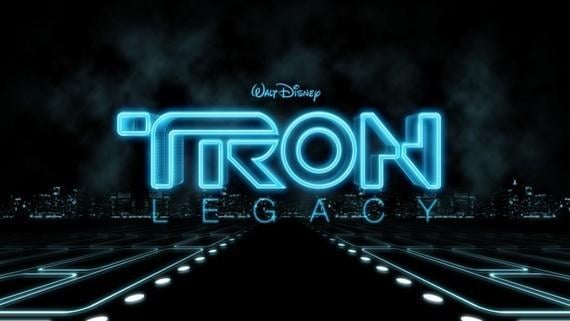
Tron Legacy Style is a reproducing of the logo shown in the eponymous movie. To get started with this effect, you have to work in Adobe Illustrator, Adobe Photoshop and Cinema 4D.
This is not the whole list of available effects, we have covered just a small part of them, the rest you may found at the selection of the helpful and informative tutorials. If you have created your project using one of the above-noted techniques, do not forget to share it with us in the comments below.
Photoshop Text Effect Tutorials... Can Do Better?
Despite the relative tendency to asceticism in today’s web design, awesome typography solutions will never lose their relevance.
The essence is simple: the universe of web design rotates around the content, namely round the information core every website possesses. Typography and design are inseparable like Siamese twins, which in most cases can’t exist individually as all their vital organs are common and work for life support of the whole organism.
But let’s return to the virtual objects...
To sell your service or at least make the user know something about you is not an easy task, as to absorb a piece of information we should notice and read it at first. Website owners are ready to play every possible and the most incredible tricks to catch visitor’s attention and direct it onto their content. Here text and typography may become utterly useful instruments in the dexterous hands of expert developers that will drill into customers’ minds even before they notice the intrusion.
Thanks to Adobe Corporation, designers have a wonderful polygon for their big and small experiments; we are talking about Adobe Photoshop and related software, of course. However, even the greatest Photoshop wizard won’t lose a single chance to learn something new and fresh in order to apply the artistic technique in current or future project and produce a 'Wow' effect in the web community.
Most of the designers browse their favorite resources in search of useful creative tutorials on regular bases. If you are one of them, we’d try to please you with a compilation of the best recent step-by-step text effect tutorials that were scattered all over the web. Now all of them are in one place, like precious gems in a box, for your convenient and time-saving experience. By the way, all stuff you’ll come across is free to view, read and learn. Use it and don’t let your visitors be bored online.
* * *
30 Insanely Creative Typography Designs with Jaw-Dropping Effect

* * *
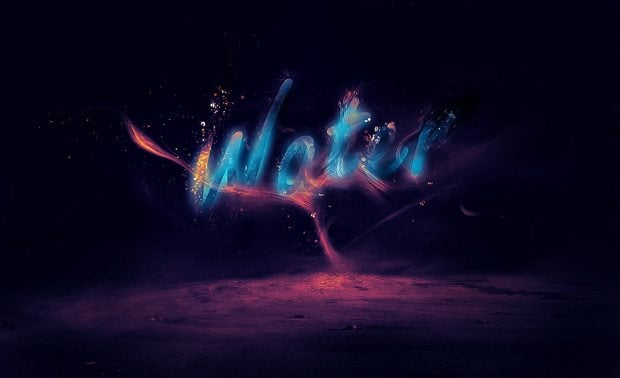
Create a Glowing Liquid Text with Water Splash Effect in Photoshop
* * *
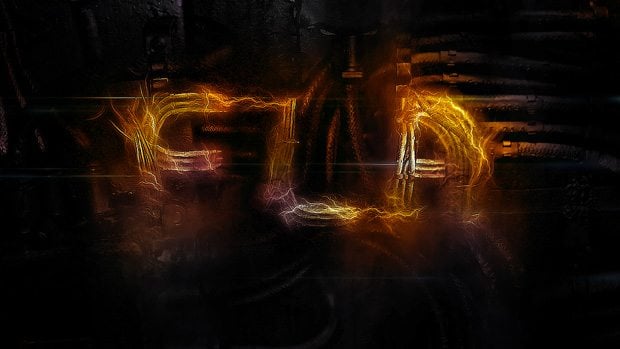
Create Electrified Metal Text Effect in Photoshop
* * *
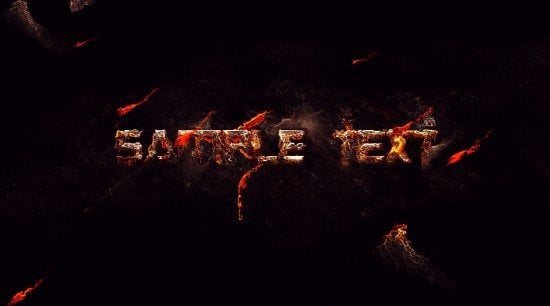
Create Melted Metal Text Effect in Photoshop
* * *
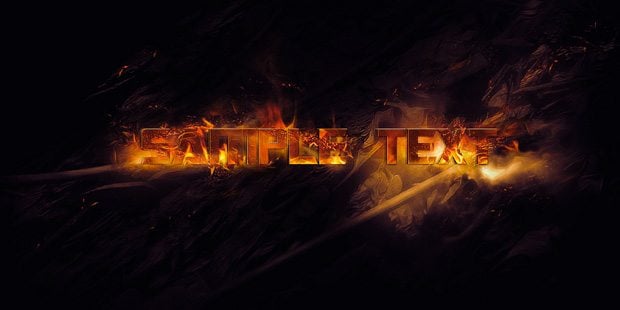
Create Burning Typography with Sparkles Effect in Photoshop
* * *
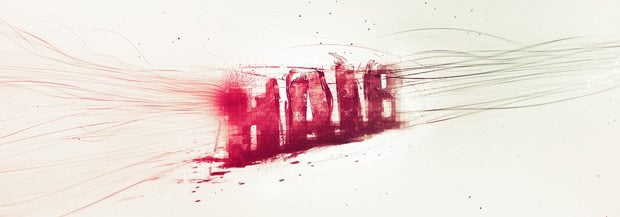
Design Abstract Text Effect with Pen Tool and Grunge Brush Decoration in Photoshop
* * *
Design an Interesting Cloud Text Effect in Photoshop

* * *
Dot-Cutout Paper Text Effect

* * *
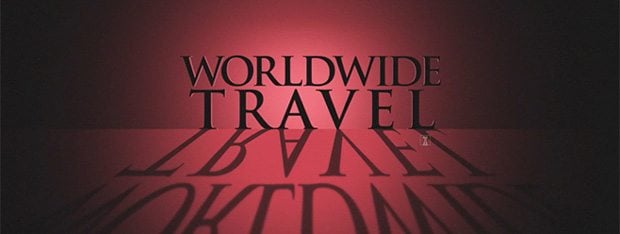
Create a 3D Title Effect with Layer Styles and Smart Objects
* * *
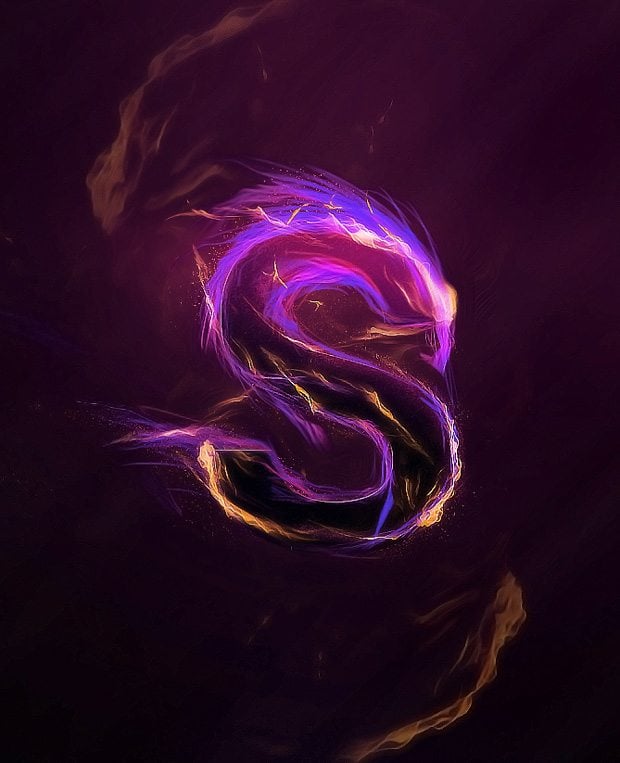
Design Magical Fire Energy Text Effect in Photoshop
* * *
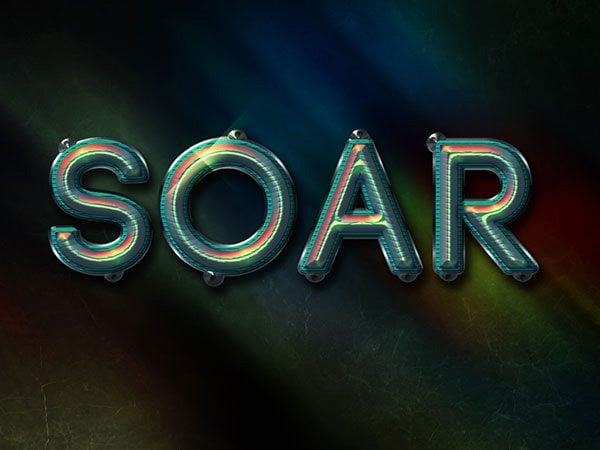
Colorful Futuristic Text Effect
***
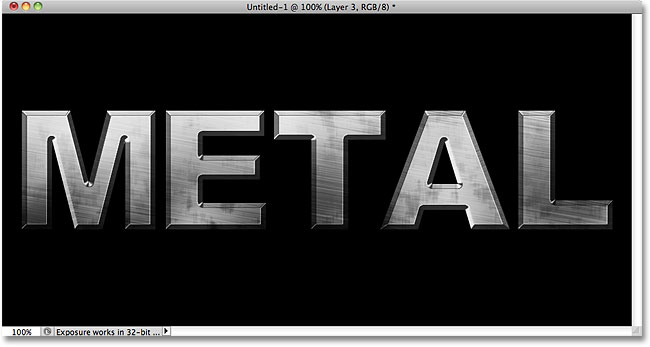
Metal Text Effect In Photoshop
* * *
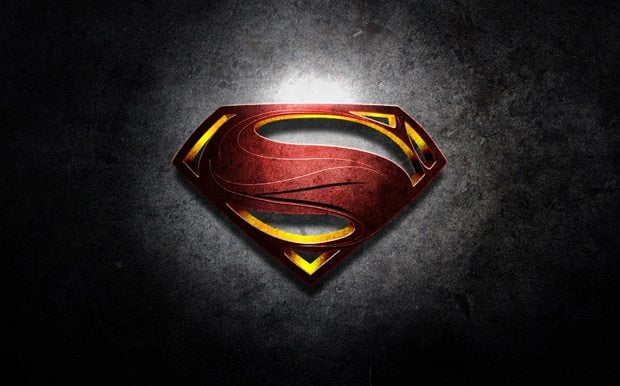
Man of Steel Symbol in Illustrator and Photoshop
* * *
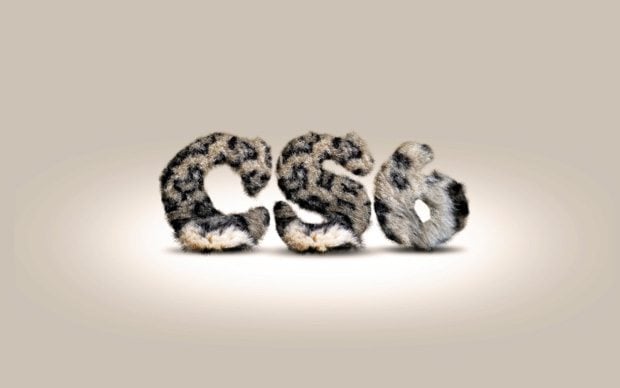
Easy Furry Text in Photoshop
* * *
Create a Cross Stitch Effect in Photoshop

* * *
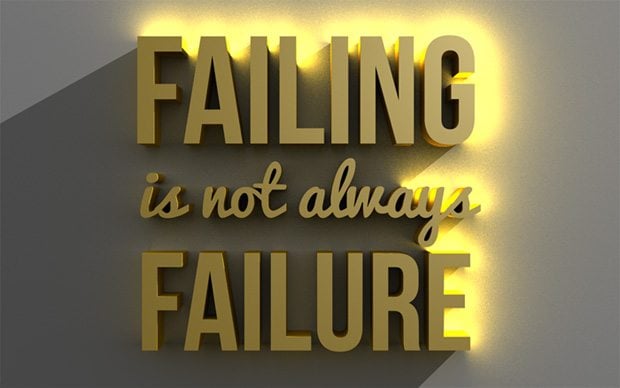
Create Inspirational 3D Gold Text with Photoshop Extended
* * *
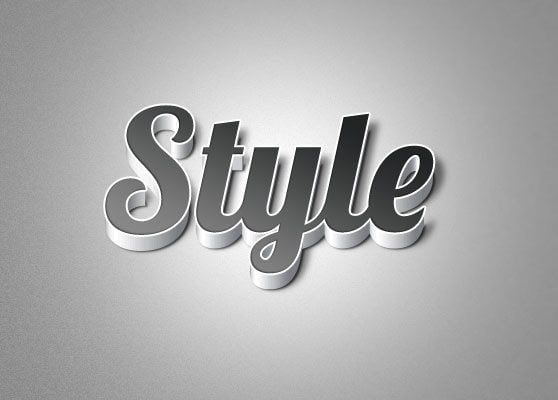
Create a Quick and Easy 3D Type Effect
* * *
Graffiti Text Effect in Photoshop

* * *
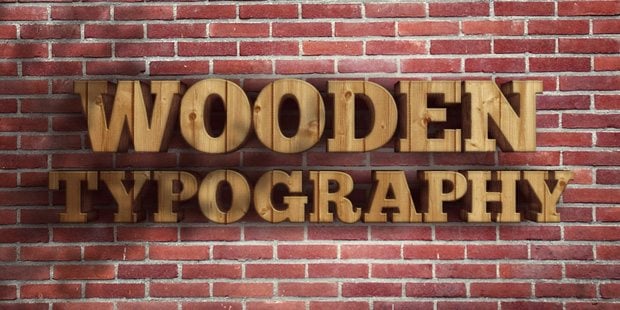
Create a Realistic Wooden 3D Text Image
* * *
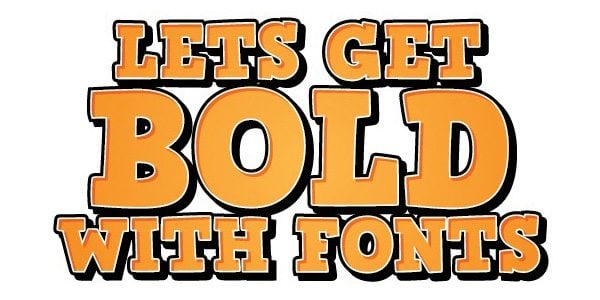
Creating Bold Text That Stands Out
* * *
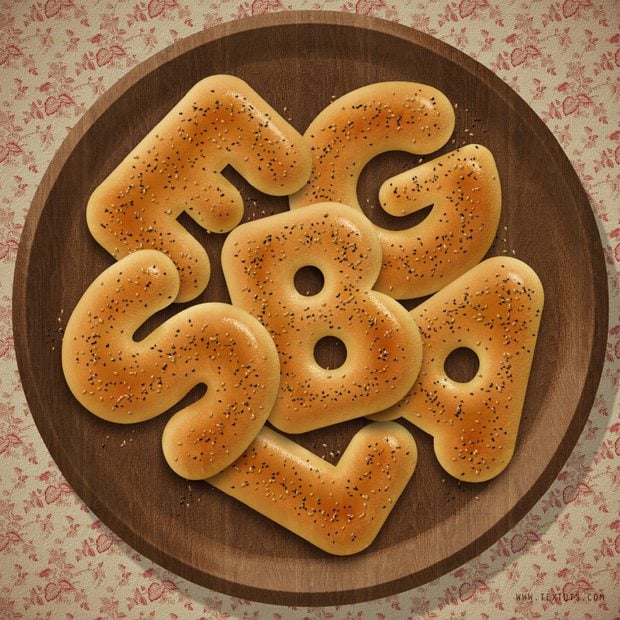
Delicious Bagels Text Effect
* * *
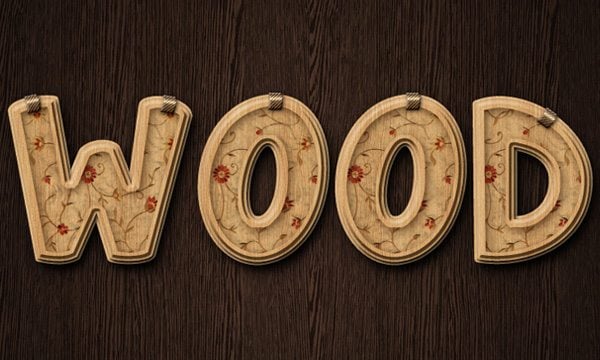
Decorated Wood Text Effect
* * *
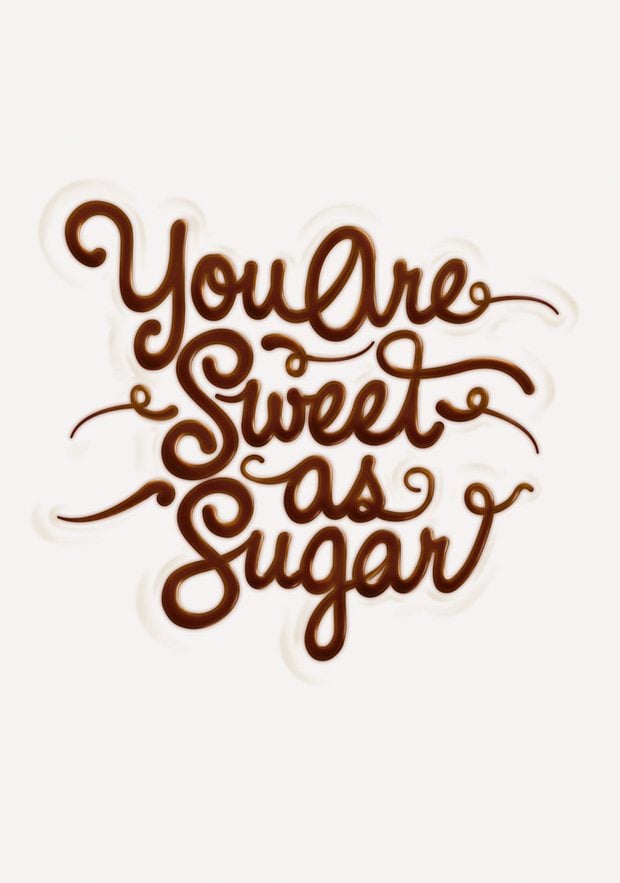
Adobe Illustrator & Photoshop Tutorial: Type That’s Fit to Eat
* * *
Stay involved!
Guys, we would highly appreciate your feedback on the topic. Do you agree that typography has crucial significance for the website? Please, let us know what tutorials seemed really inspiring and what websites do you usually surf in search of recent Photoshop goodies to learn.
* * *
Engagingly Written 15 Photoshop Text Effect Tutorials
When it comes to applying unique text elements, DIY is the best decision. Though this activity is a bit time-consuming the result, as a rule, is really astonishing. Nowadays all around the web you can find thousands of tutorials that allow creating breathtaking design elements. Into this post we included 15 latest Photoshop text effect tutorials to help you stay up to date on the latest trends and techniques.
Here you will find really cool grunge, metal, light, fire and lots of other text effects; using them you will learn how some of the best designers create their unique styles. Feel free to mix these effects into your designs.
* * *
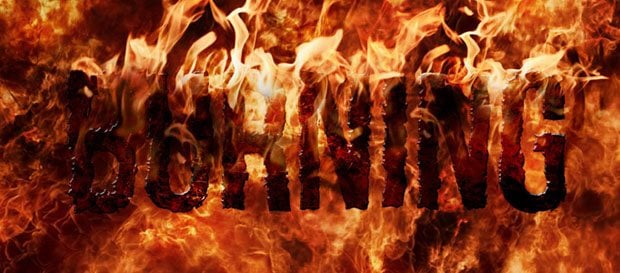
How to Create Burning Text
* * *
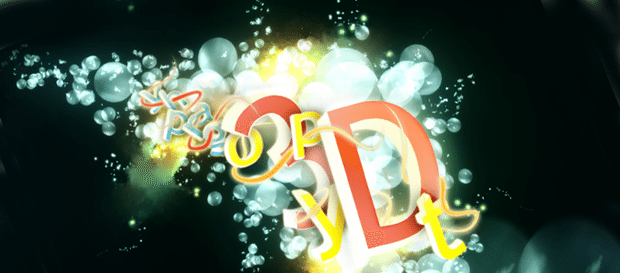
Designing Bubble Text
* * *
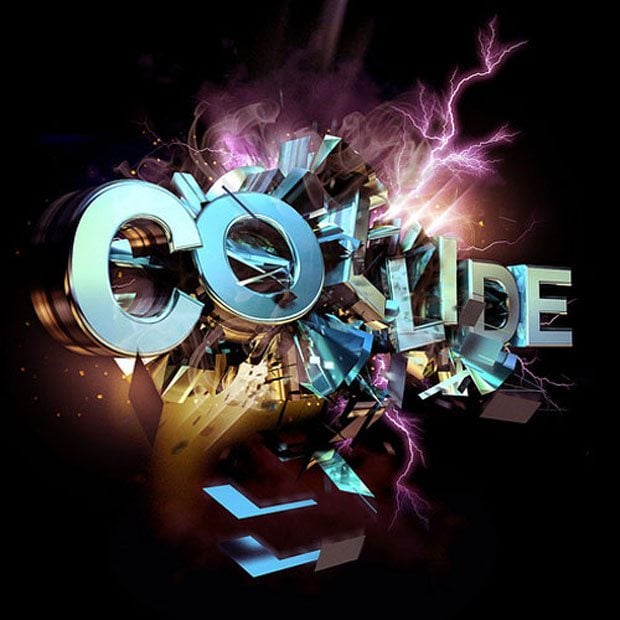
Explosive Typographic Effect
* * *
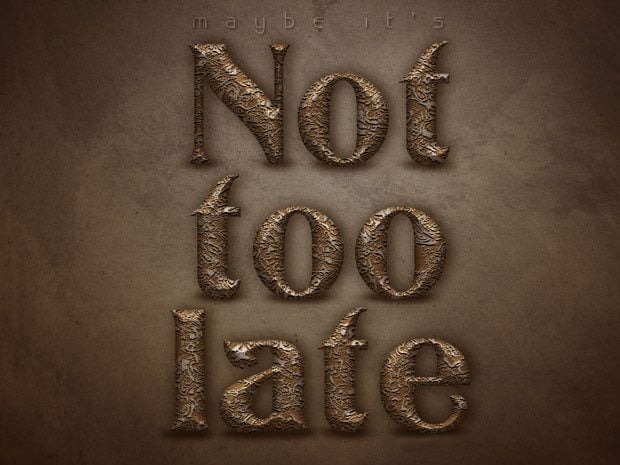
Old Decorated Metal Text Effect
* * *
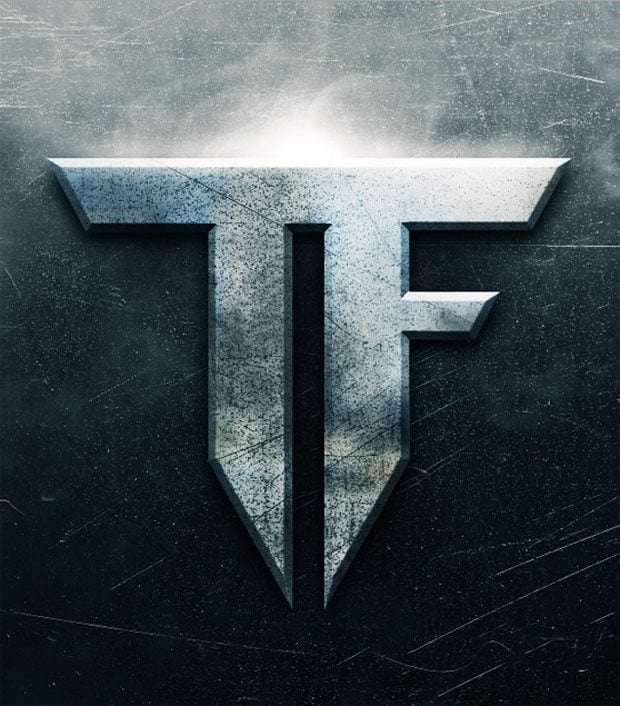
Metallic Logo
* * *
Awesome Lighting Effect

* * *
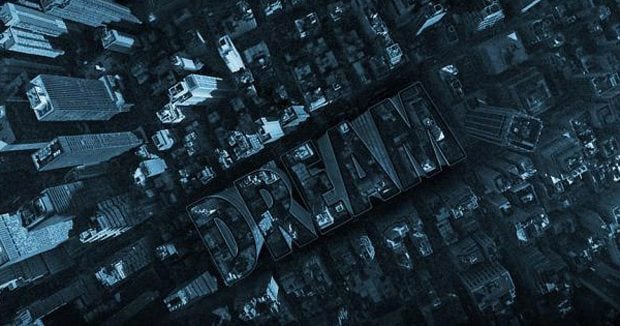
Creating Inception-style Typography
* * *
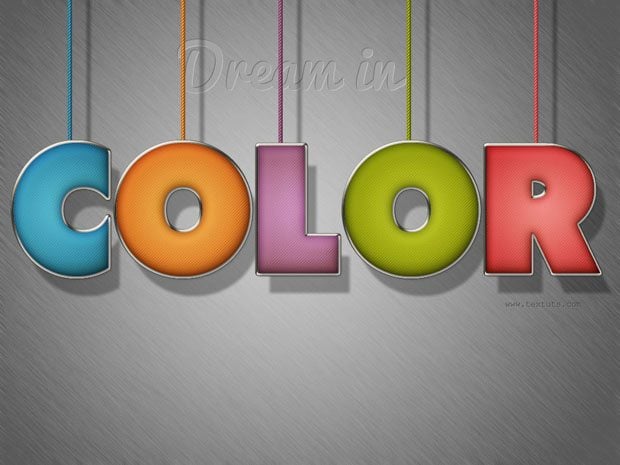
Colorful Stuffed Text Effect
* * *
Bright Tinsel Text Effect

* * *
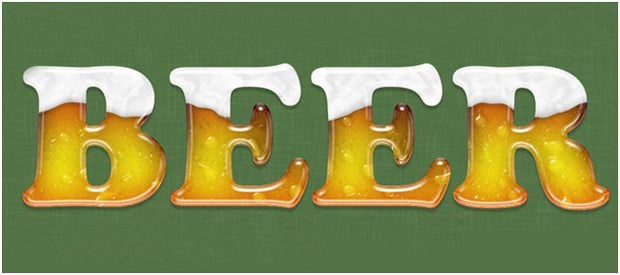
Icy Beer Text
* * *
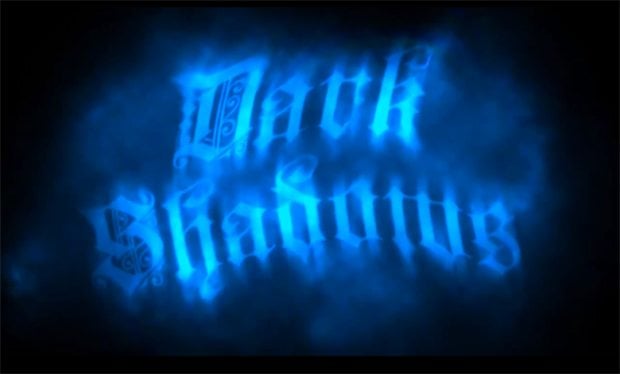
Spooky Text Effect
* * *
How to Create Futuristic Text

* * *
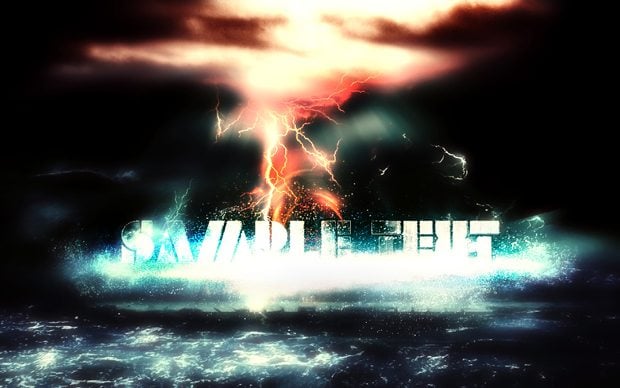
Awesome Splashing Ocean Text Effect
* * *
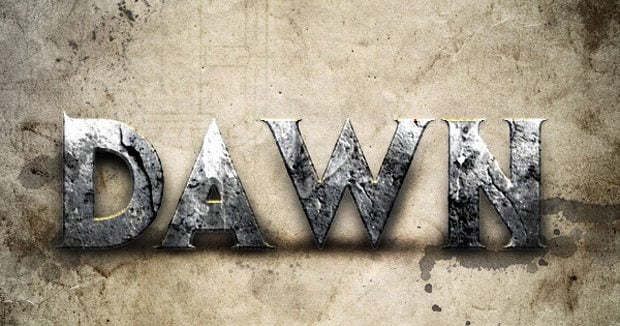
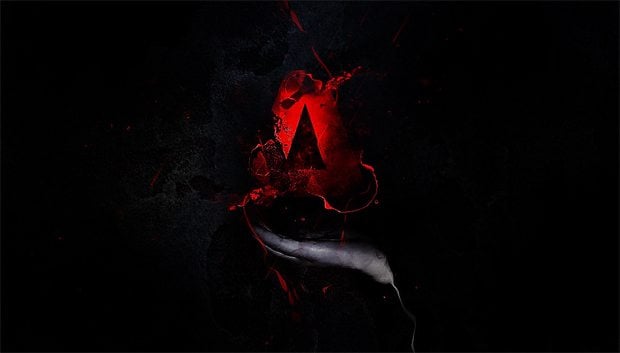
Dawn of War Style Text Effect
* * *
These Photoshop Text Effect Tutorials Will Burn Your Hands. Go Get Your Oven-Glove!
Time passes but Photoshop is still the best image editing software used to created outstanding visual effect both for commercial purposes and for entertainment.
With Photoshop text effects you can make most designs stand out, and it is not that hard! Typography is defined as the art and technique of arranging type, type design, and modifying type glyph. With Photoshop and the right skills and techniques at your disposal you can push the limits of typography to the edge. This article is one of the most interesting "vessels" of Photoshop text effects tutorials that we were able to find. Feel free to use them.
***
Turquoise Metallic Text Effect
***
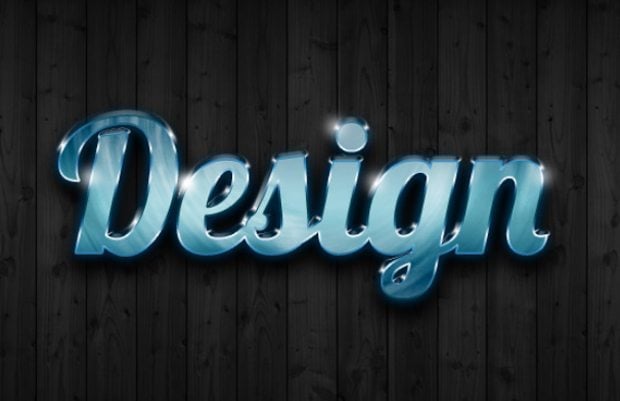
Photoshop Quick Tip: Ultra Glossy Text Effect
***
Awesome Lighting Effect Creation for Text
***
Simple Abstract Text Effect
***
Perfect Gold Text Effect in Photoshop
***
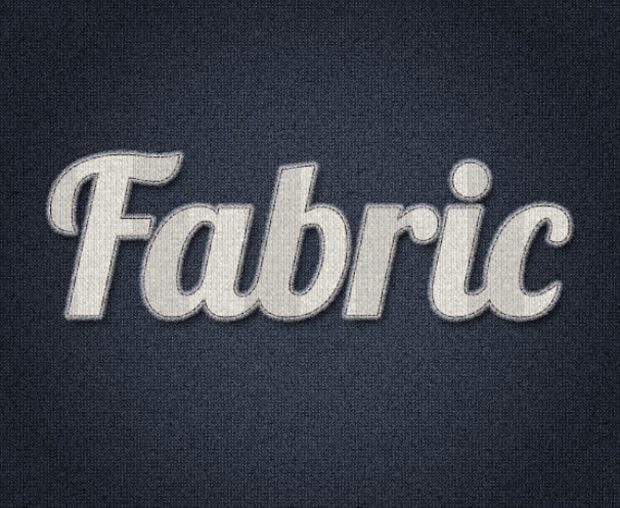
Create an Easy Stitched Fabric Type Style in Photoshop
***
Create Burning Typography with Sparkles Effect in Photoshop
***
Soft Sleek Text Effect
***
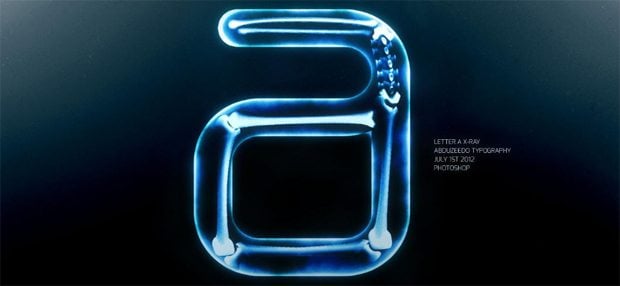
Easy X-Ray Typography in Photoshop
***
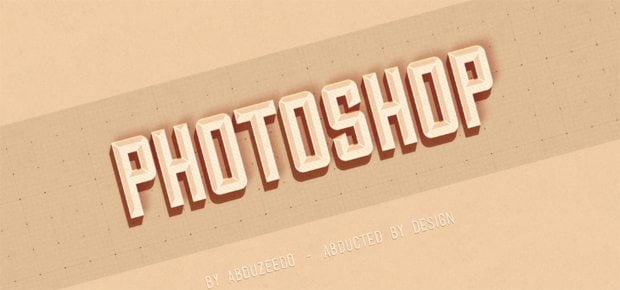
Hipster Text Effect in Photoshop CS6
***
Chalk Text Effect
***
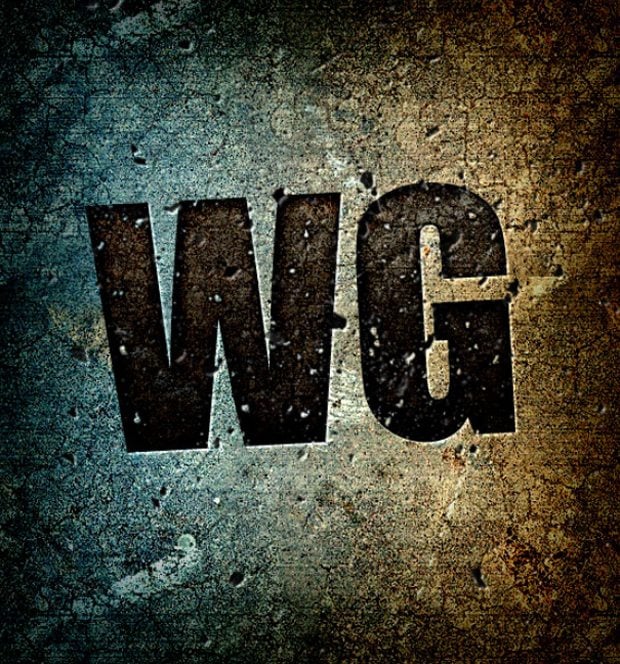
Creating an Embedded Concrete Effect Using Layer Styles Only
***
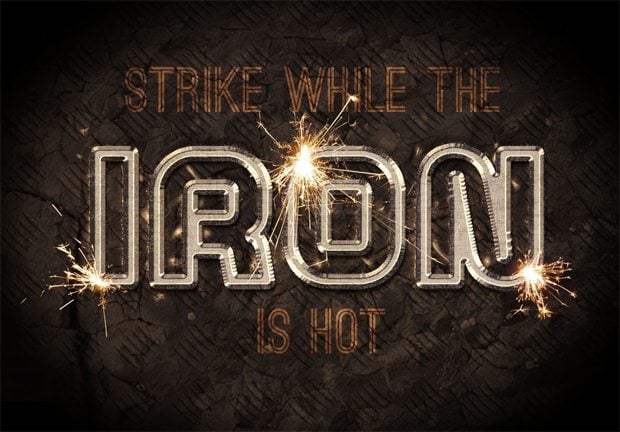
Sparkling Iron Text Effect
***
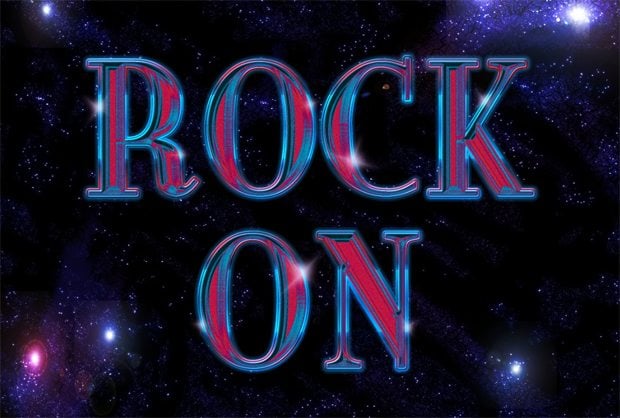
Retro Space Text Effect
***
Wrapped Gift Box Text Effect
***
Design Simple Grungy Text Effect with Custom Brush in Photoshop
***
Design a Snowy Arctic Text Effect in Photoshop
***
Create Abstract Layered Text with Decorative Lighting Effect in Photoshop
***
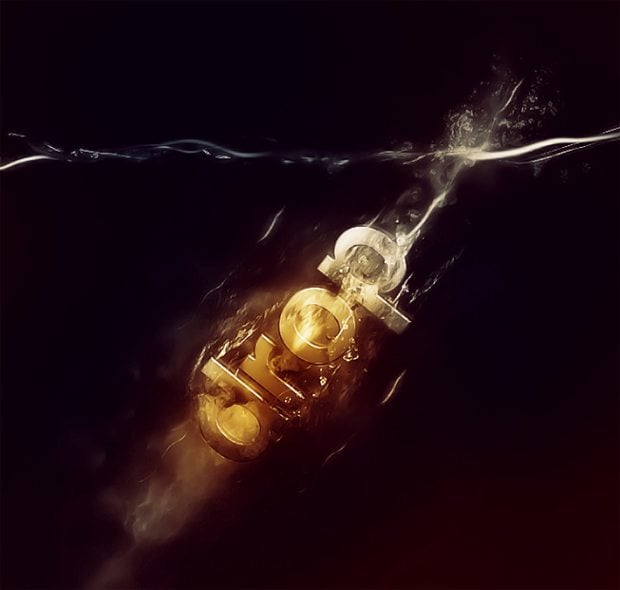
Design a “Texts Drop in Water” Typography Effect in Photoshop
***
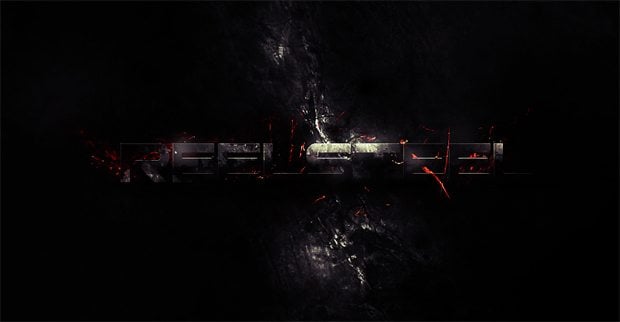
Create a “Real Steel” Film Poster Inspired Text Effect in Photoshop
***
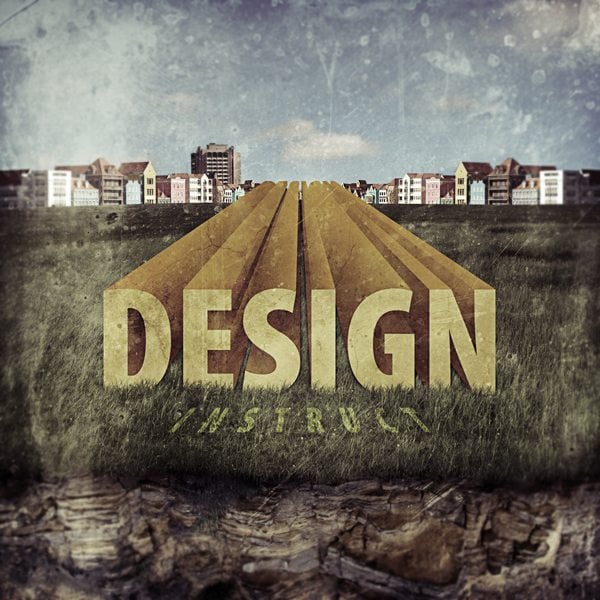
3D Text Effect
***
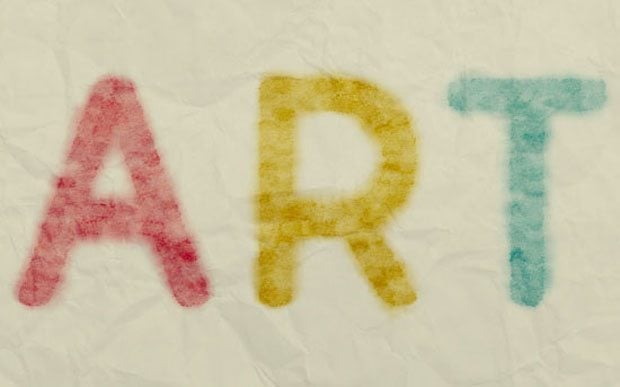
Watercolors Effect
***
Modern Photoshop Text Effects Tutorials
Typography is crucial for any online project as it is very important to create a unique style style of your works. This compilation is dedicated to the newest Photoshop text effects tutorials.
For this reason, we've prepared some tutorials that explain you all the peculiarities of creating professional typography effects for all kinds of art works.
Some other interesting blog posts hand-picked for you.
- Free Star Wars Fonts
- Free Festive Fonts
- Free Poster Fonts
- Free Caligraphic Fonts
- Free Alternatives to Helvetica
- Free Jass Age Fonts
- Free Slab Serif Fonts
3D effects are commonly used in typography and we can achieve great results by adjusting the light, creating necessary forms and underscoring the correct comfortable space.
Volumetric Rubber and Glass in Photoshop CS6
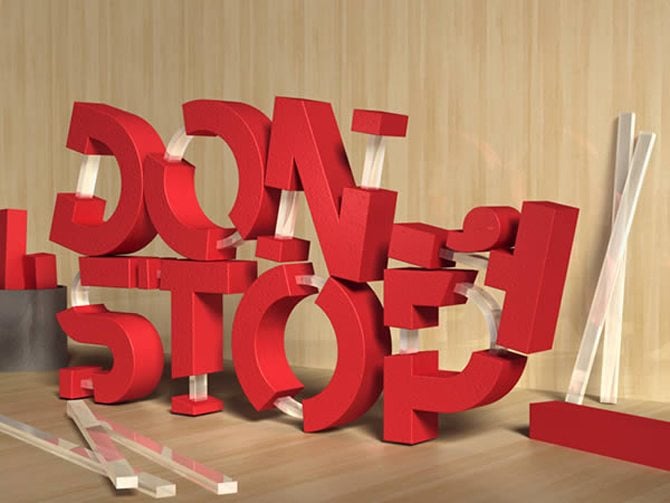
First of all, write down the text and define what kind of style you need to give it. The next step is to tune all the chosen panels: 3D and the Properties. Then move on to creating texture and color scheme of the text. The last steps are: selecting and adding glass or rubber effects to the text, and adjusting the lights and shadows.
Frozen Text Effect
Firstly, we are going to fill our background with Paint Bucket Tool. Secondly, we build Layer Curves for making directly to create an ice effect. Writing the text using the Trojan Pro font. Then draw a tracery in the soft light mode. Chalk outlines brush edges of the text and applies the “Accented Edges Filter” to underline the colors.
Spray Paint Text Effect
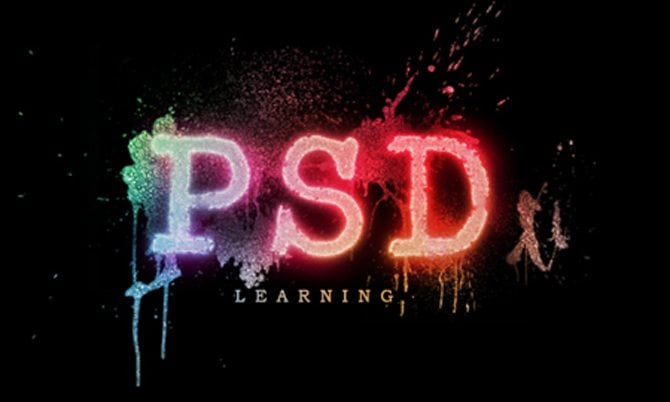
With each text effect is becoming easier to explain how? What? And where? So this tutorial will not much differ from the other. Creating of it is similar. So we make a new document, composing a few splats in the middle of the page. Next we add the text, choosing the font so that it was grungy. Apply the command “Gaussian Blur” and make it a little brighter. Use soft round brush and add color overlay, outer glow, inner glow. Then add strokes in different bright colors and again add a “Gaussian blur”. Finishing the work save all layers in one final.
Metal Text Effect
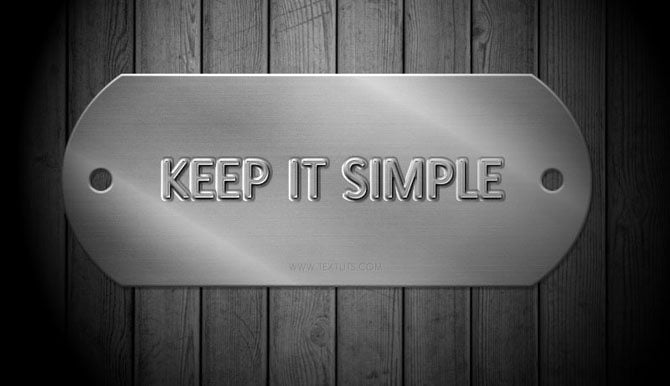
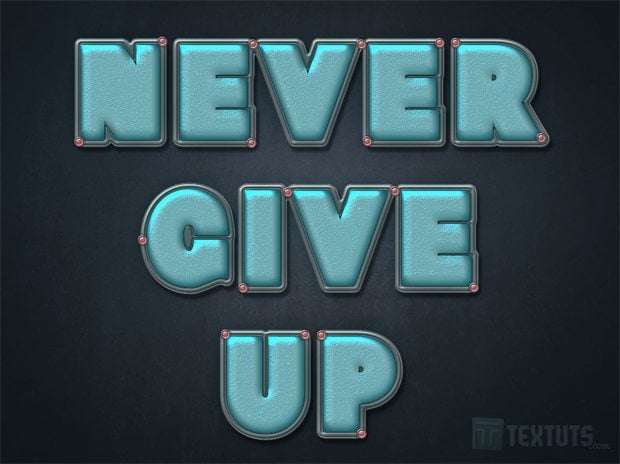
In this tutorial we will learn how to create the embossed metal effect. Let's activate the Rulers and create a horizontal guide. Drag the guide to the center and create the form that you need with the Scale function. Use the Rectangular Marquee Tool to draw holes on both sides and make sure they are symmetric. In order to give the material larger dimensions and give the text a stamping effect, we must give contour, gradient overlay, drop shadow. The next step is to create the text and make it color shielding. Next – apply, bevel and emboss inscription in the center of the plate. Give it contour, gradient overlay, drop shadow, and combine all the layers in one.
Kiwi-Inspired Photoshop Text Effects
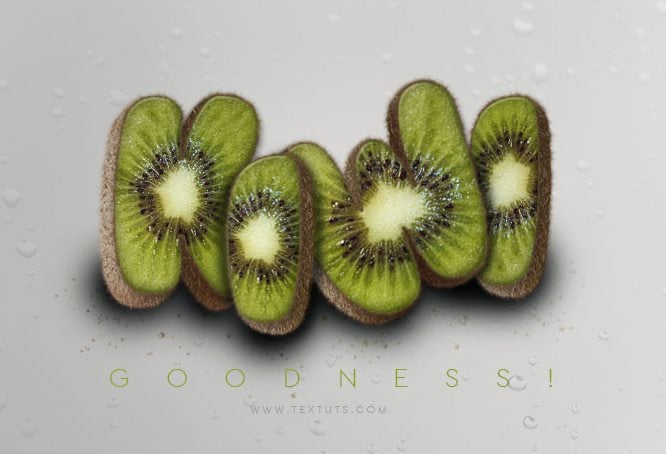
It's time to taste, delicious dessert! However, this effect is quite difficult create. The matter is that kiwi is a three-dimensional object with many details.
After creating a new document, we construct the background gradient. Then proceed to creating the text using the font “Bubblegum”. Now we will edit the fruit. Firstly, we set up the color balance. Secondly, we cut the fruit into pieces in order to create the illusion of volume and lay them on each other. With small pieces, we will customize the look of the words. All difficult tasks end here. it is more important to connecting the layers with separate parts and creating the effect of living drops.
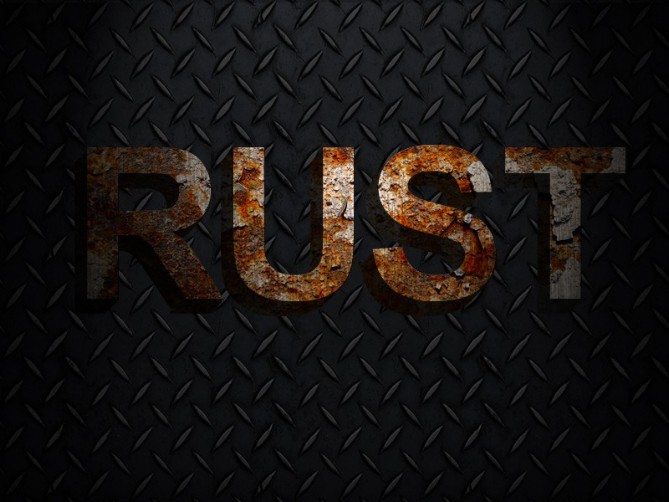
Rusty Photoshop Text Effects
Start with the black background and set foreground as hazel color. Find “Clouds” command and adjust brightness. Next, go to the command Sprayed Strokes, then to the – “Add Noise”. Once complete, we will use Splatter and Unsharp Mask commands. To create a new text we need to switch to the type tool. Finally we use : “Inner shadow” and “Liner Dodge” – if you want to change the direction.
3D Flowery Photoshop Text Effects

Set up the background color and use gradient tool to mark the circle. The next step is to create a 3D text and apply the surface gradient alternately to each letter. To emphasize the same color apply the gradient overlay. The next task is to add flower swirls on both the letters themselves and the background around the letters. The last step is to create glowing stars with the help of Soft Brush Tool.
Offset Path Photoshop Text Effects
At first we produce a plain path. With the “Direct Selection Tool” you lightly may choose the place you want to edit and draw a little circle there. Now use the circle to mark important places. Then in Path section we utilize 10px Offset and repeat this step. Load the background photo. Then we transfer the vector on the picture and go to Invert and Photo Filter command.
Bio Theme Logo Text Effect
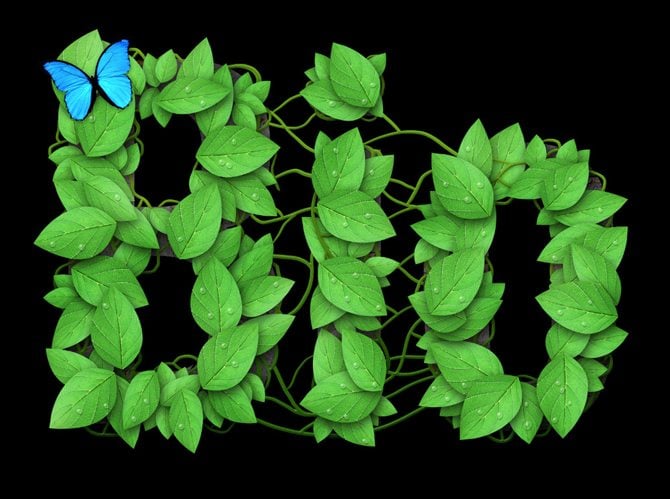
The leaf texture was created separately with the help of "Warp". To acheive this effect we need to create green text on the black background. Then place the leaf alternately on each letter in different directions. Next, mark approximately the verges with white, where will be curl branches of our leaves. Then with "Bevel and Emboss" turn them to living and volumetric. Use Drop Shadow to fix 3D effect. After that we draw a vine that will connect the text and a butterfly that sits on the first letter.
Dynamic Particle Explosion Text Effect
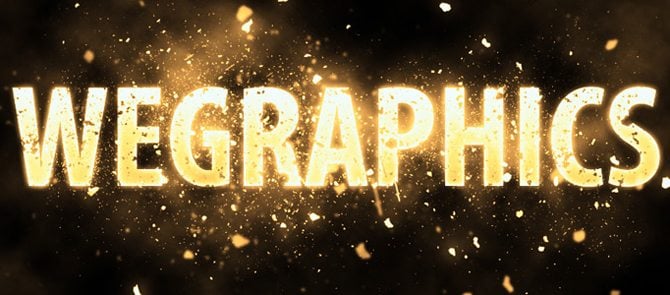
Write down the text using heavy bold font. Switch to “Outer Glow”, “Inner Glow” and “Gradient Overlay”. Use “Clouds” layers and start clicking with white brush, to create an explosion effect. Also use bigger brushes and “Gaussian Blur” to produce more realistic motion. Next, use “Rasterize Type” command.
I hope that creator’s inspiration will not drain and you will gladly use the newest effects.
***
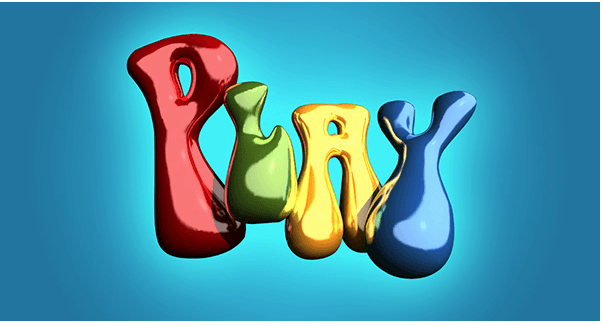
Inflated Text Using 3D
FAQ: Photoshop Text Effects
It is a set of actions that are applied to text to make it look more interesting and attractive.
With their help, you can decorate your design not only with a good-looking font but also with some original effects.
Nope, you just need to follow the tutorial and apply the effect on the text.
Read Also
20 Best Photoshop Video Tutorials to Watch in 2020
40 Free Photoshop Gradient Packs Needed For Design
Get more to your email
Subscribe to our newsletter and access exclusive content and offers available only to MonsterPost subscribers.








Leave a Reply
You must be logged in to post a comment.