How To Create a Magento Store
We genuinely believe that everyone should try to become an internet entrepreneur. One of the best ways to start making money online is to start selling something. But how can you sell anything without having your own store? Well, yes, you can sell products through social media platforms, but you should understand that having your own store is potentially much better. Having your own platform gives you many benefits, such as independence, for example.
That’s why we started this series of articles on how to start the stores using different CMS. Today we are going to take a look at the Magento CMS. Let’s see how you can work with it and how easy is setting the Magento store up.
Update:
Magento themes grow smarter and more functional. TemplateMonster is proud to be the first digital marketplace that has started to sell AMP-ready Magento themes. Accelerated Mobile Pages technology will make your web store load in less than 1 second on the screens of the smaller handheld devices. Moreover, your eCommerce project will become so more noticeable in the search results, welcoming the web customers to browse your inventory from Google carousel. As a result, you can boost your online revenue and win the hearts of the online customers with a seamless mobile shopping experience.
How to install the Magento CMS
Each and every CMS requires you to upload the files onto the hosting prior to installation. We have already shown you how to do that in our ‘How to create a website in 2017’ article.
When you are done with uploading files, you can move on to Magento engine installation process. Open your browser and in the address bar type your 'domain name/path to your Magento directory'. You should see the Sample Data Installer welcome screen. Please follow the instructions below to install Magento.
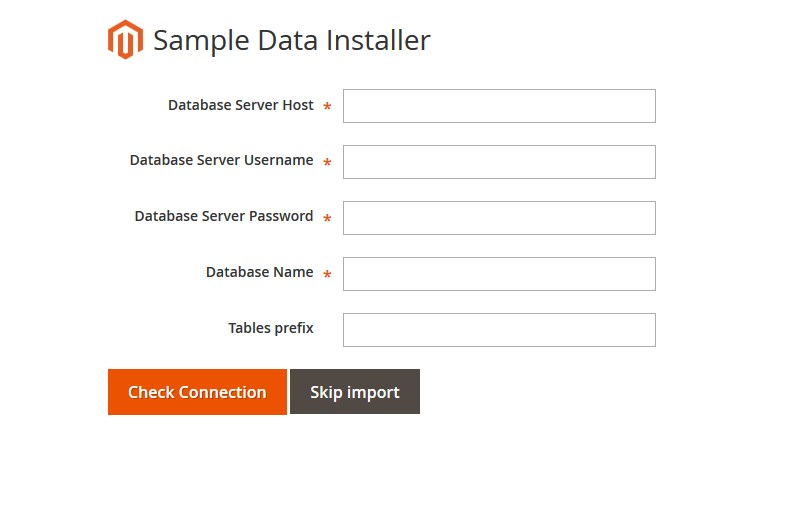
Fill in all the information regarding the host and database. If you are not sure how to do that correctly, make sure you check out the article I linked above. That’s where I explained the basics.
[sapcer]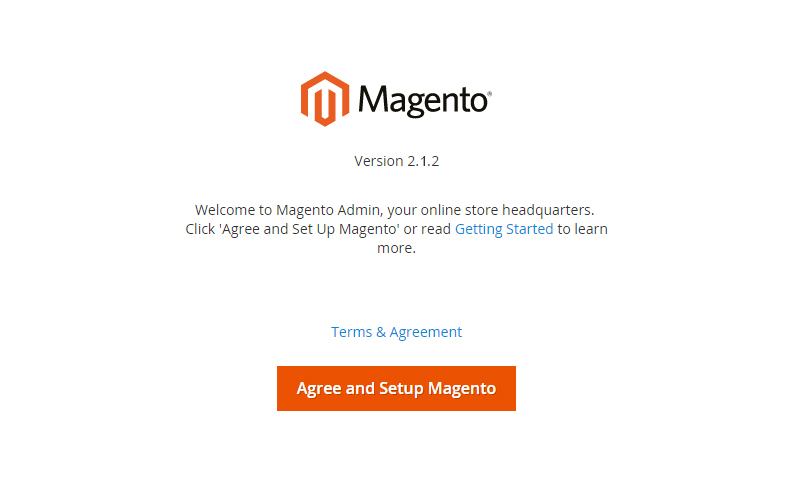
If you agree to the Terms click the "Agree and Setup Magento" to continue the installation.
Click the "Start Readiness Check" button to check your server settings compatibility with the Magento 2 engine requirements.
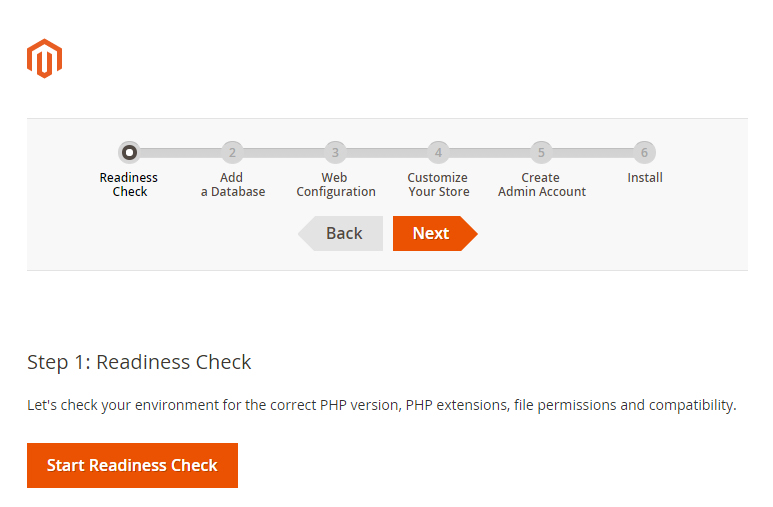
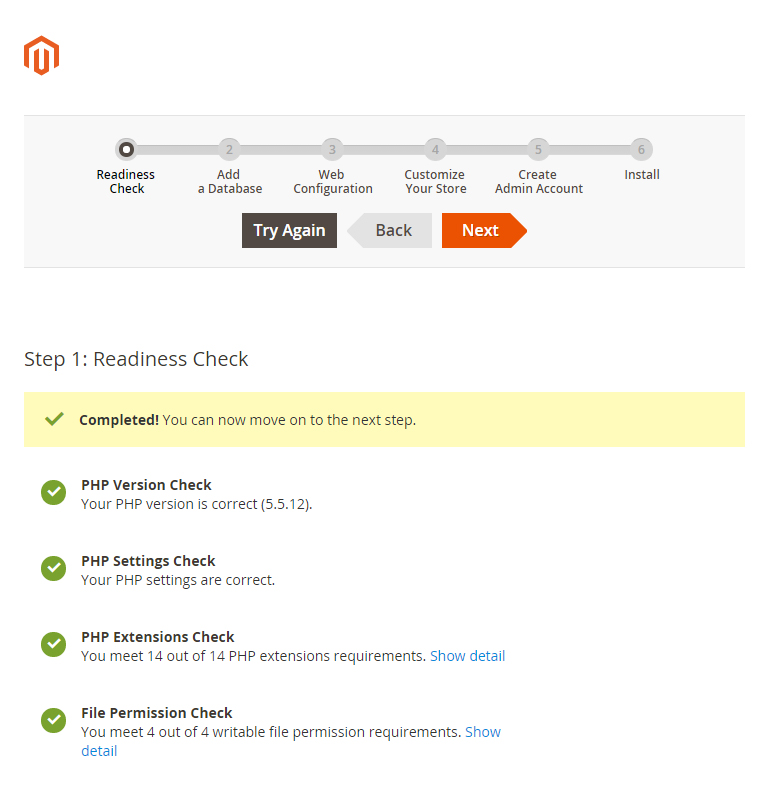
Once the process is done, click Next button.
Here you need to input the database details and some initial settings. Add a Database – input your host name, database name, database user, and password. Contact your hosting provider, if you don't have the necessary details.
Make sure that you have a database created for the Magento installation. Remember, it should be clear and shall not contain any tables.
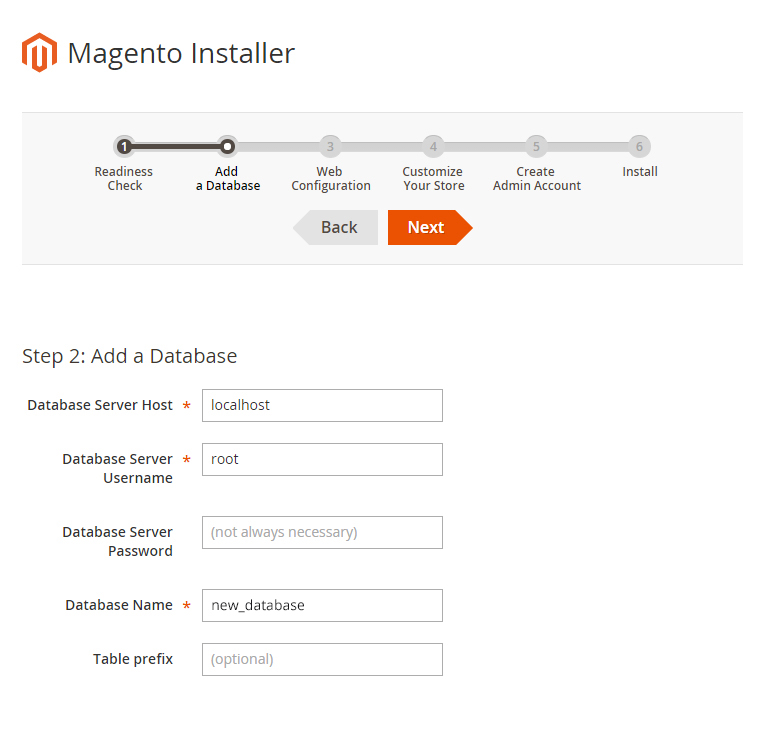
If everything is correct, click Next button.

Here you can change Magento admin panel URL and the main store address. Other settings you can leave unchanged.
When you are done, click Next button.
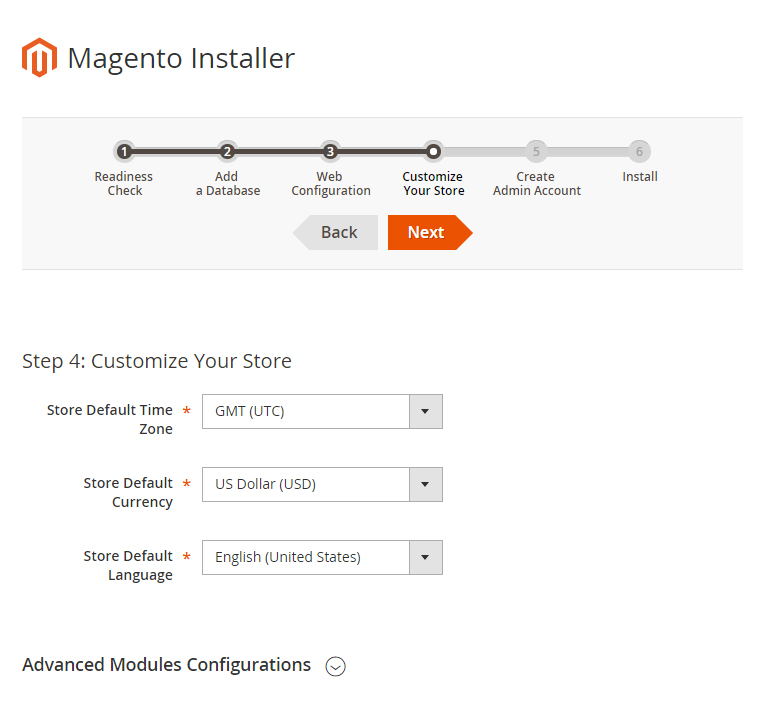
Select the required time zone, default currency, and store language. You can select default modules that should/shouldn't be installed, in the Advanced Modules Configurations section. We recommend you not to perform changes in this section.
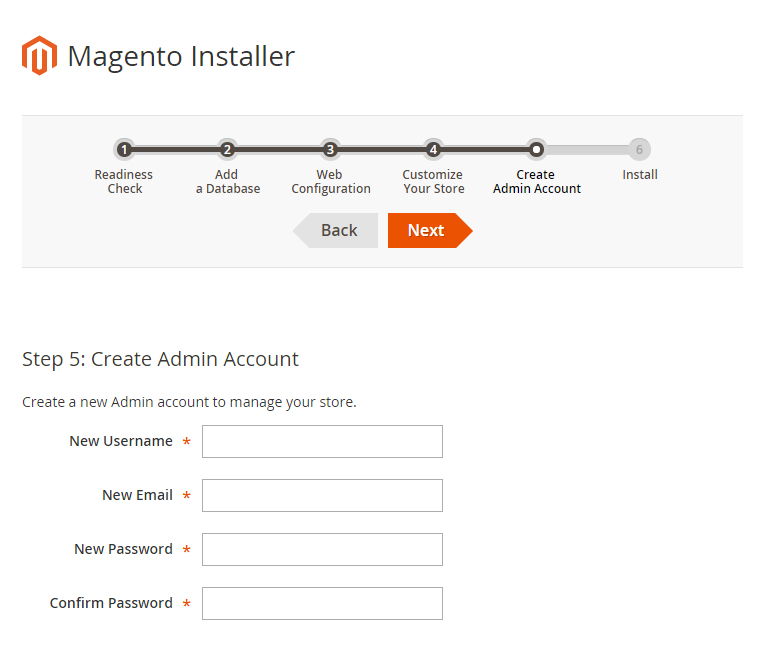
Here you need to input personal details for the store owner. You also will need to specify the log-in data for web-site administrator.
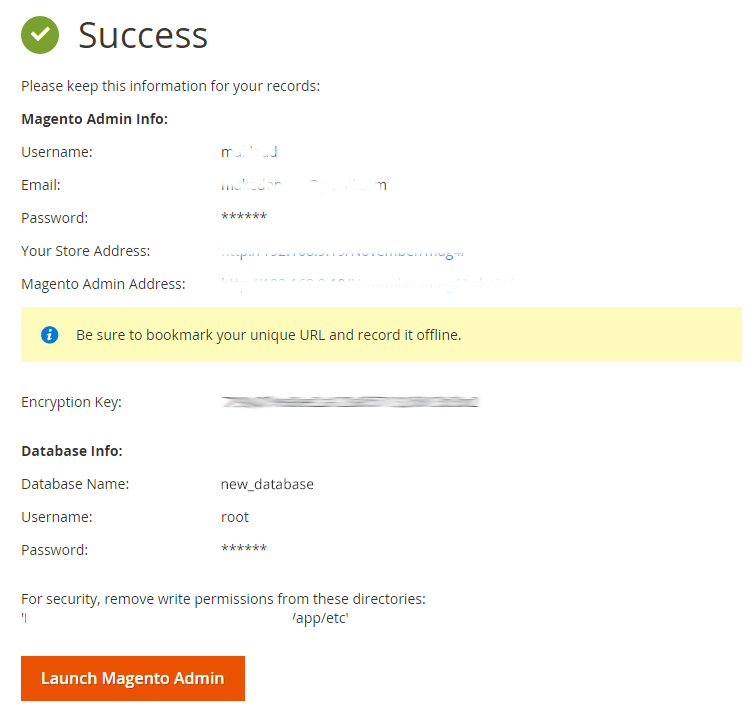
The store configuration is done. Press the Install Now button to start the store installation process.
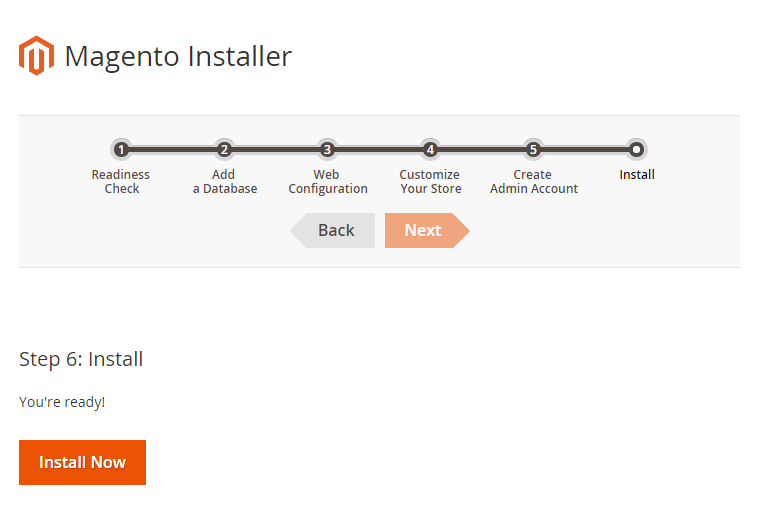
This is the final installation step. Copy the generated encryption key and keep it safe.
Activate your theme
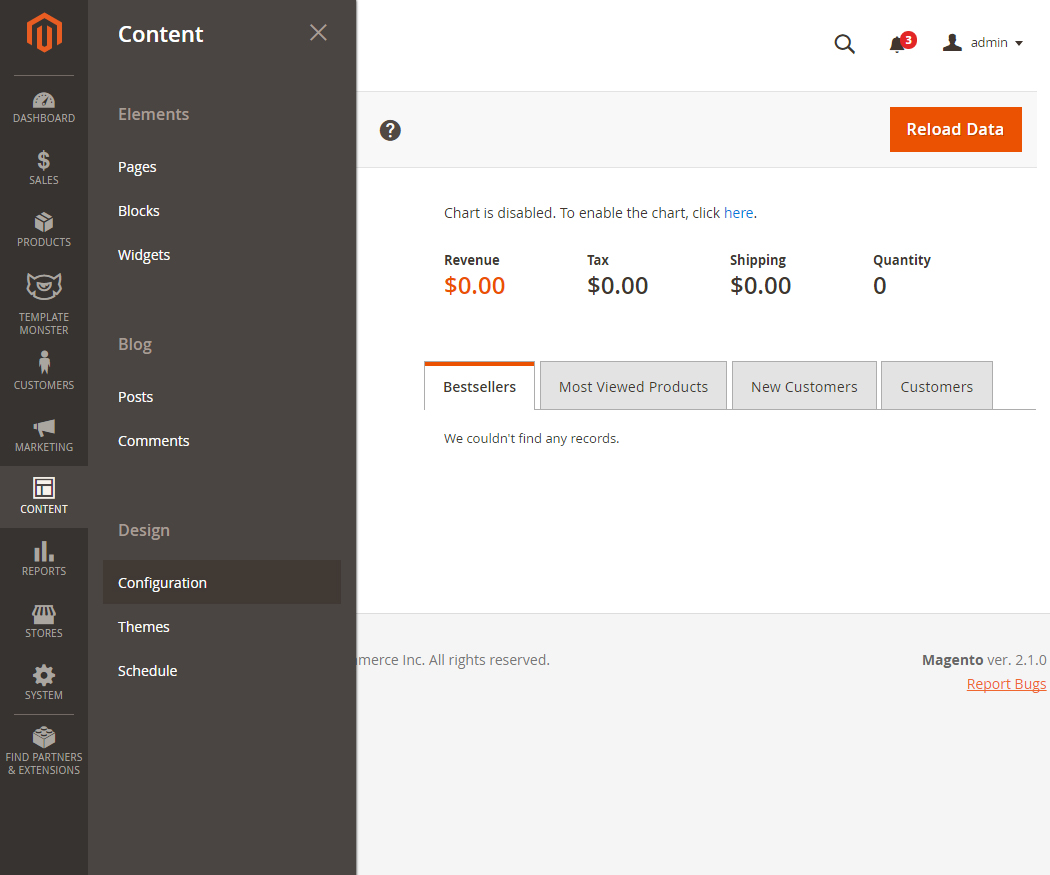
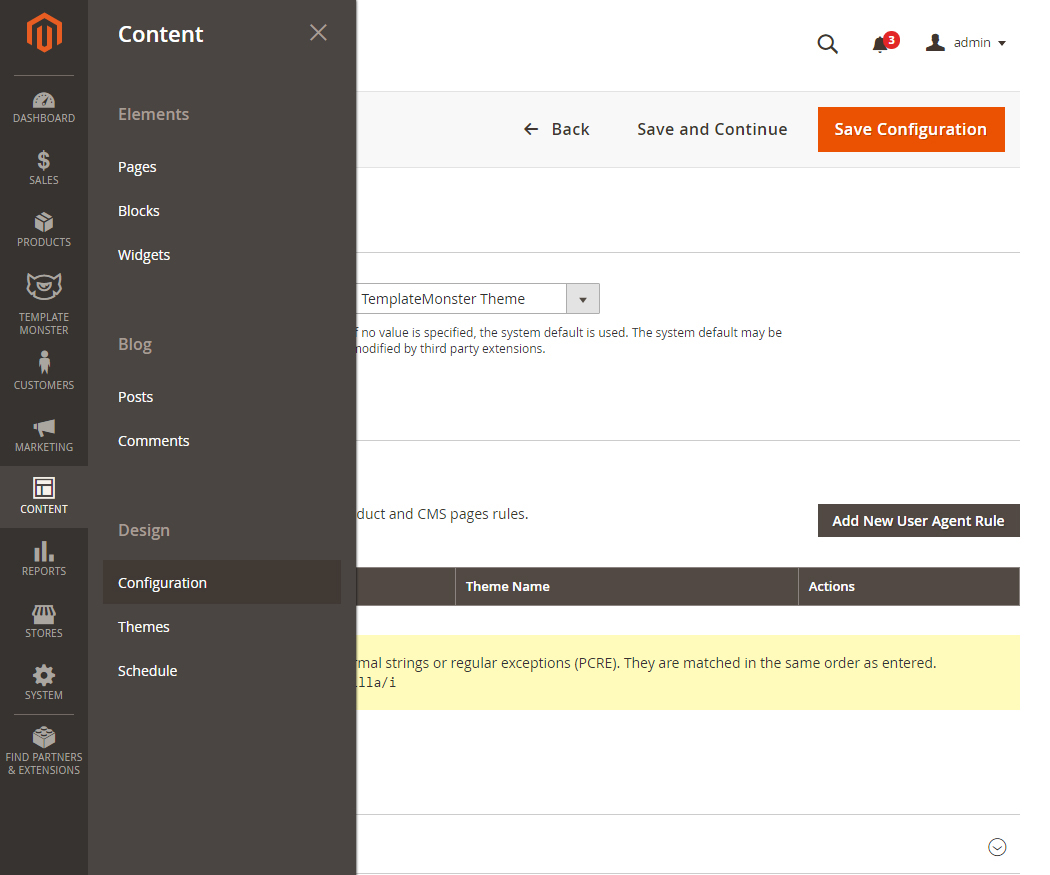
Open Magento admin panel and navigate to Content > Configuration menu.
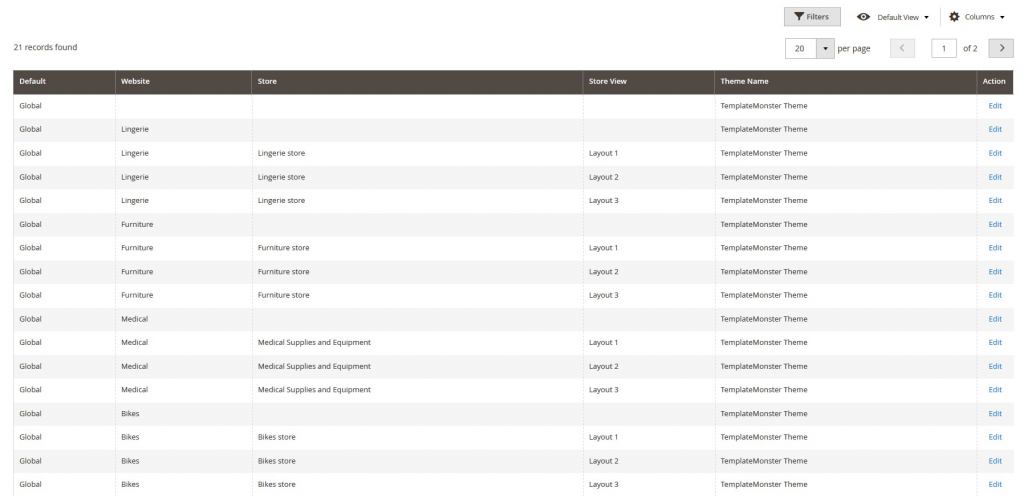
In the list of stores, you need click edit at Global-Main Website. Also, you can click edit for a particular store view if you have them.
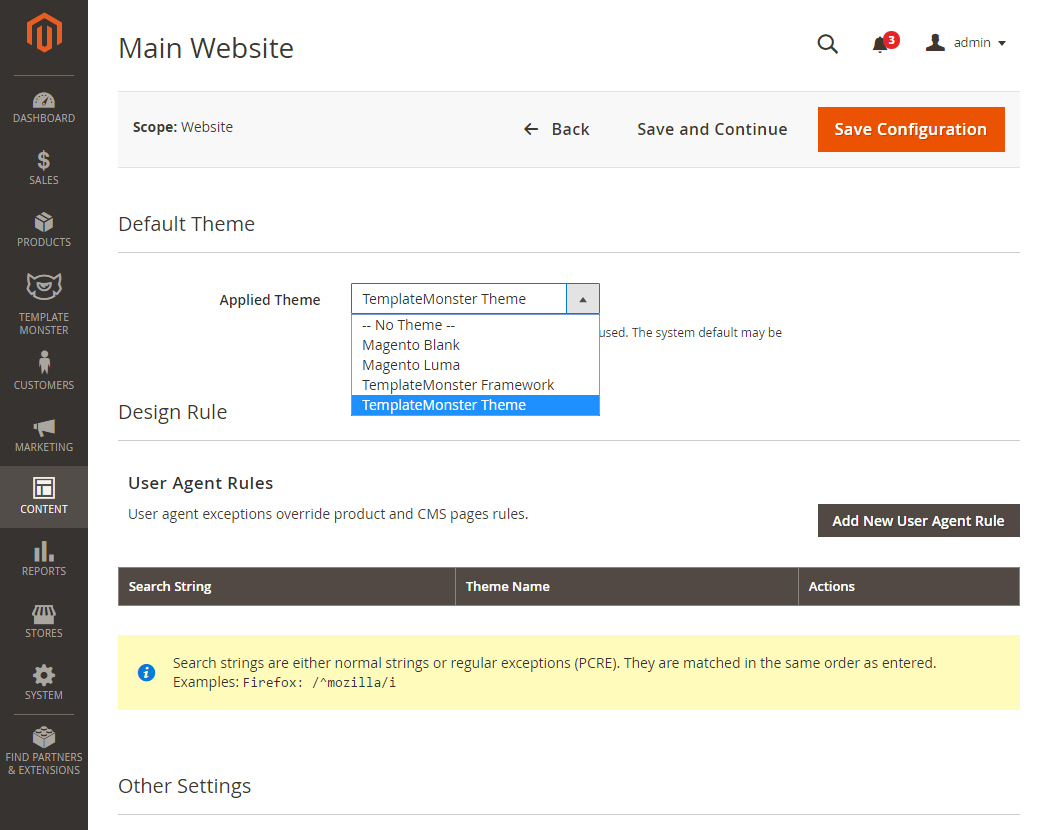
In the Default Theme click Applied Theme drop-down list select the required theme, then click Save Configuration button.
Logo configuration
Please follow these steps when setting up logo image included into the theme package [you can view it on the Live Demo page].
Open the Magento admin panel and select Content > Configuration in the side menu.
In the list of stores, you need click edit at Global-Main Website. Also, you can click edit for a particular store view if you have them.

Select the "Header" tab, and upload your logo.
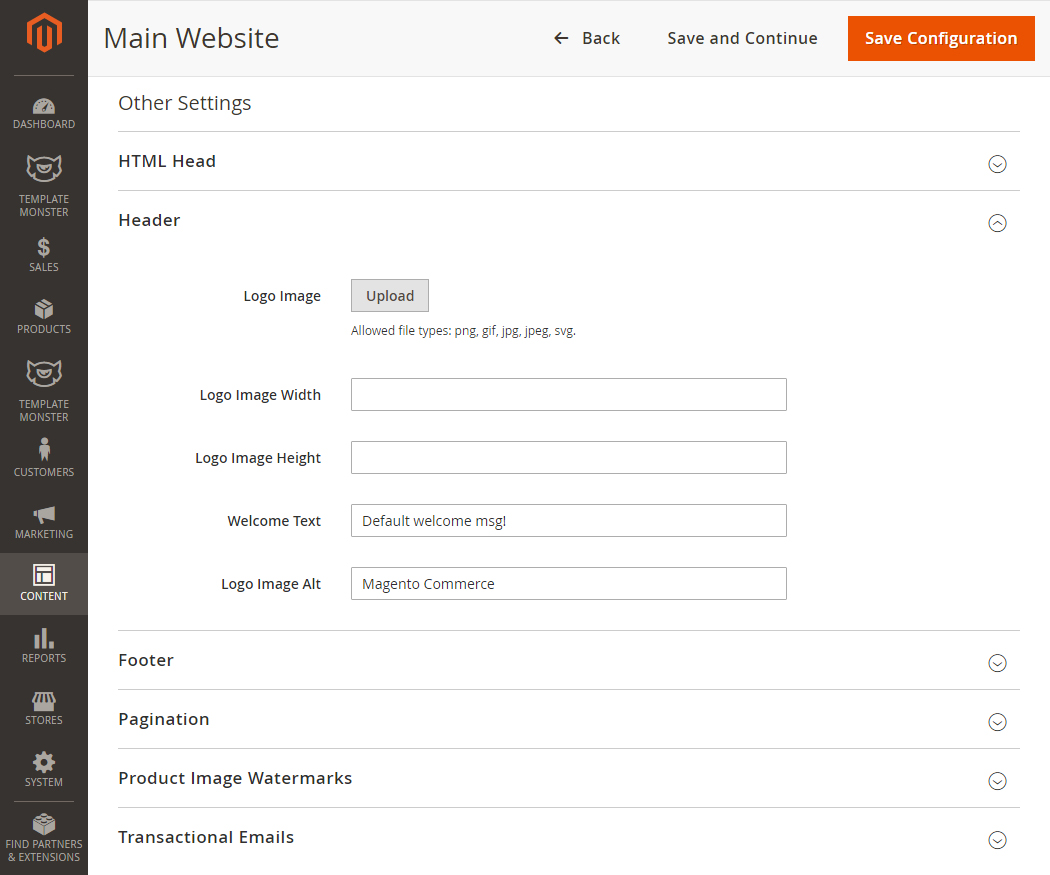
Click "Save Config" button.
In order to install your company logo, you need to upload the logo image file into the /images folder of your Magento theme.
You can change the Logo using the Theme Options module.
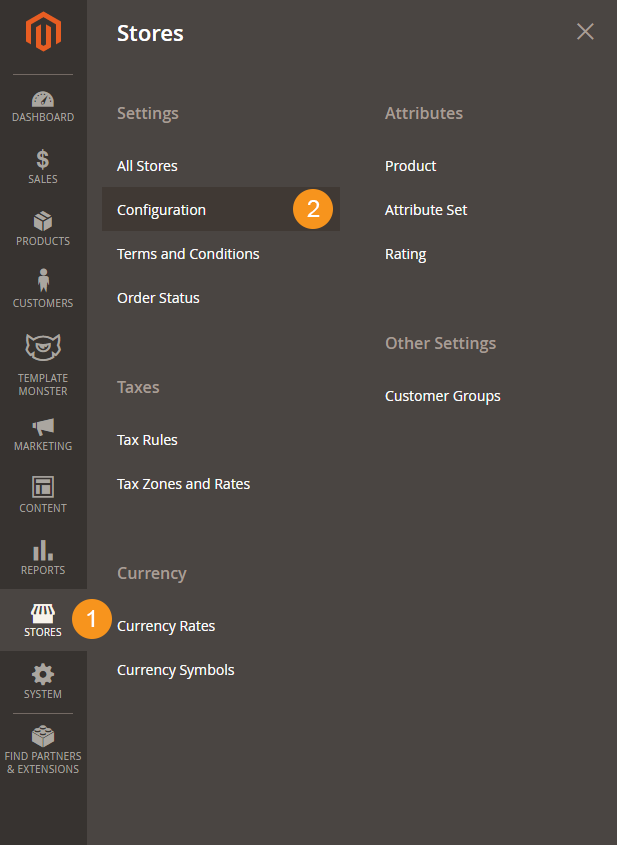
In order to change the Logo, click the Stores > Settings > Configuration.
Then choose the TEMPLATEMONSTER > Theme Options in the left side menu and you'll move to the module settings interface.
Navigate to General tab > Logo Settings.
The Theme Options module features will be described later in the chapter TM Extensions Settings.
Pages configuration
In order to make your template look exactly like our Live Demo, you need to set up store pages in a specific way. We provide all the files with the pages source code. You need to add them into Magento admin panel as per the instructions below using the settings table. Settings table is located on the Technical details page on the template preview page. The documentation file contains the link to this page:
The main template page will be affected the most. It usually contains the following elements: banners, slider, gallery, etc.
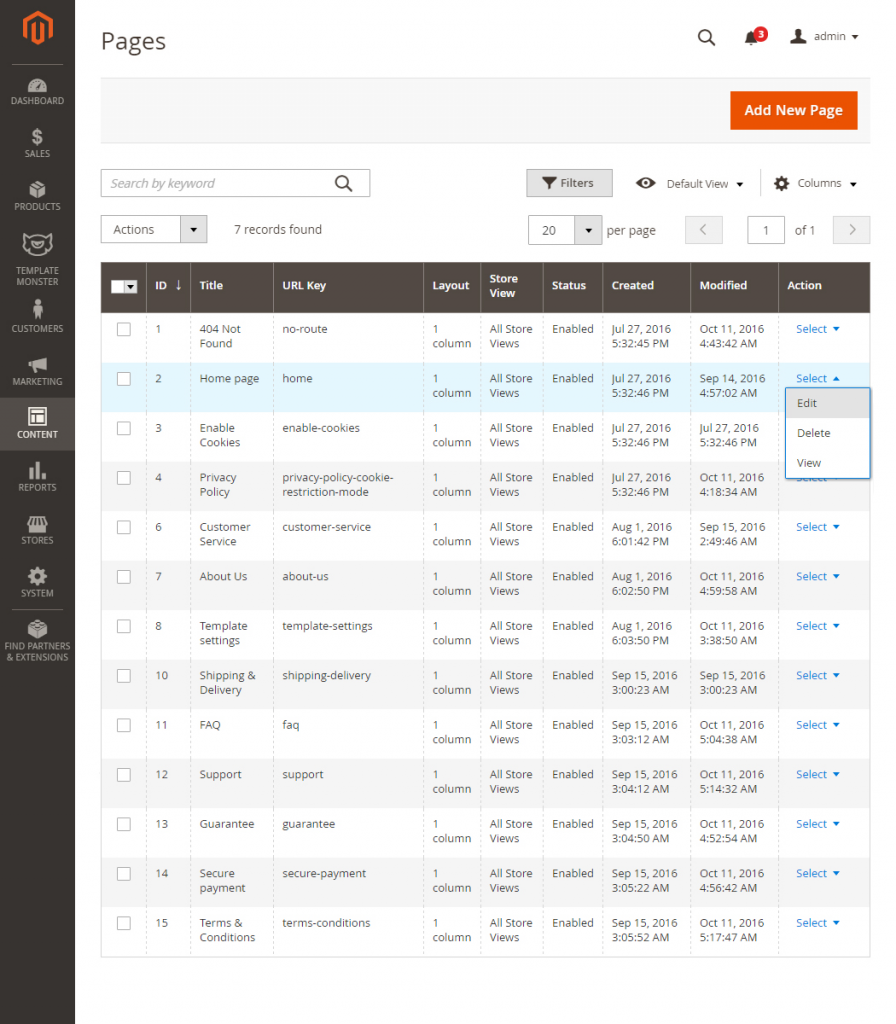
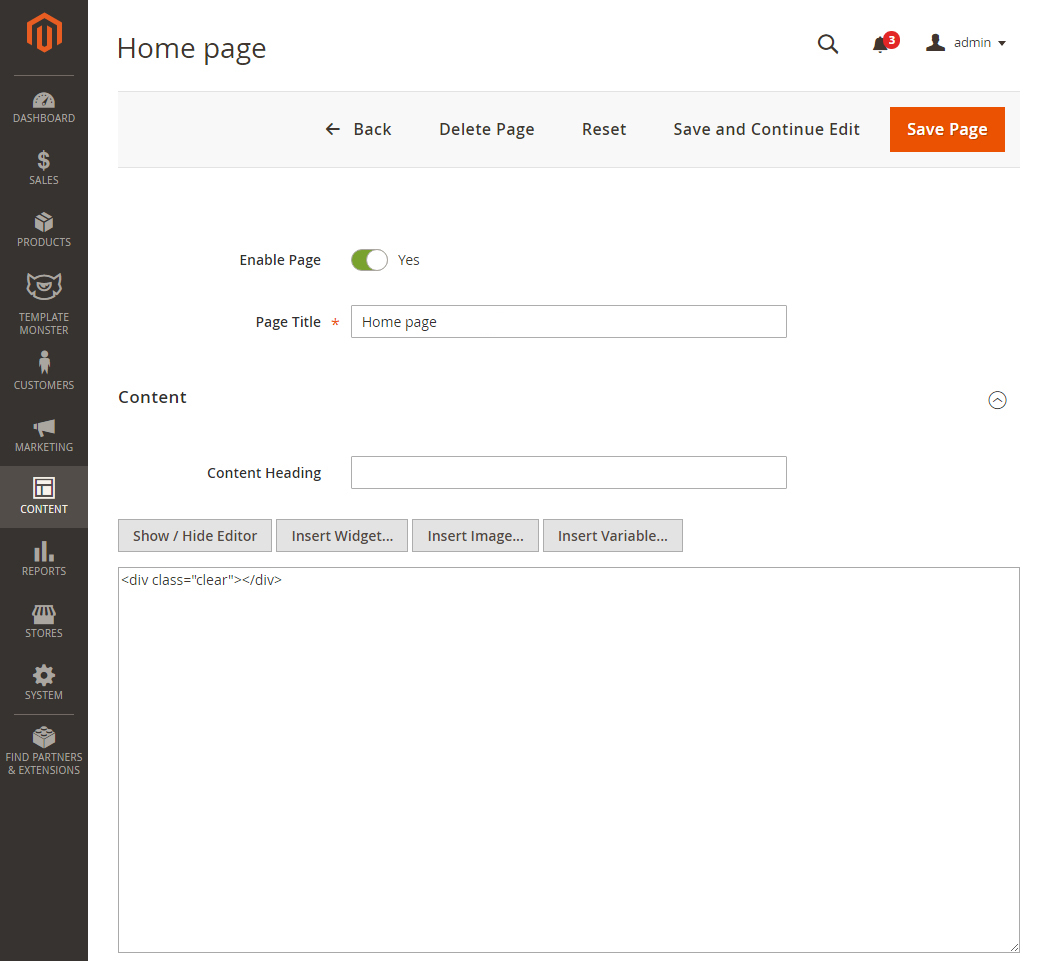
From the top menu select Content > Pages. Here you can find all the store pages. Home page, About Us and Customer Service should already be available, so you don't need to add them. You only need to update the pages HTML and XML content. Open any of them in order to get the access to the content.
Open the page and select the Content tab. It contains the HTML code of the page. You can take the page HTML code from the appropriate source file. You can see the list of source files included in the "Template Settings" section on your templates preview page. Copy the code from the source file and paste it into the content area.
When you are done with the HTML code, switch to "Design" tab. It contains the page XML code. XML code allows you to add Magento static blocks and widgets to the page. The XML code should be copied the same way as the HTML from the source file. Copy the XML code to the "Layout Update XML" area.
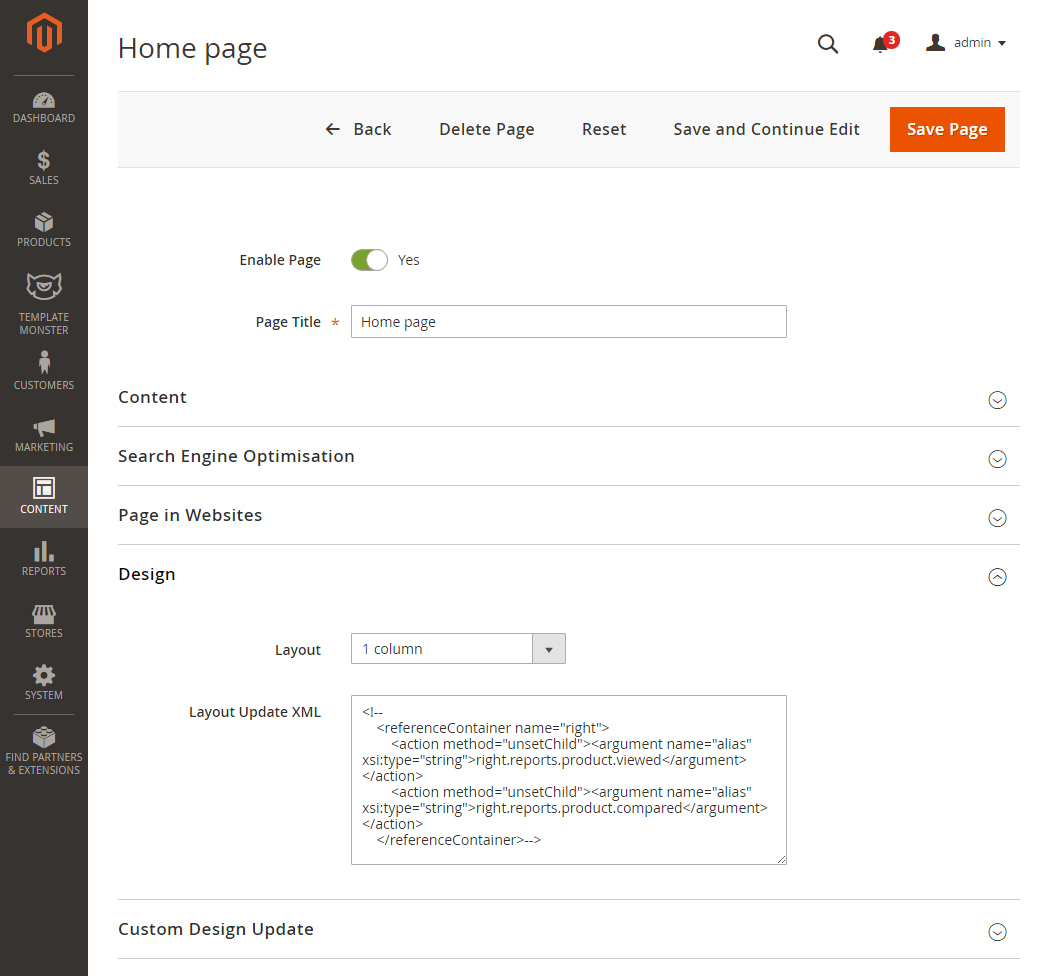
Don't forget to select the valid "Layout" option.
In case you need to add a new page, click the "Add New Page" button in the top right corner.
Static blocks configuration
When you are done with the pages configuring, you need to configure the static blocks. The procedure is similar: you need to copy the code from the source files and paste it to the corresponding fields in the Magento admin panel. You need to use a similar table but for the static blocks.
Block ID may vary in your Magento installation. You can get correct block id from Content > Blocks section in Admin panel.
In the top menu navigate to Content > Blocks.
In the top right corner click the "Add New block" button to add a new static block.
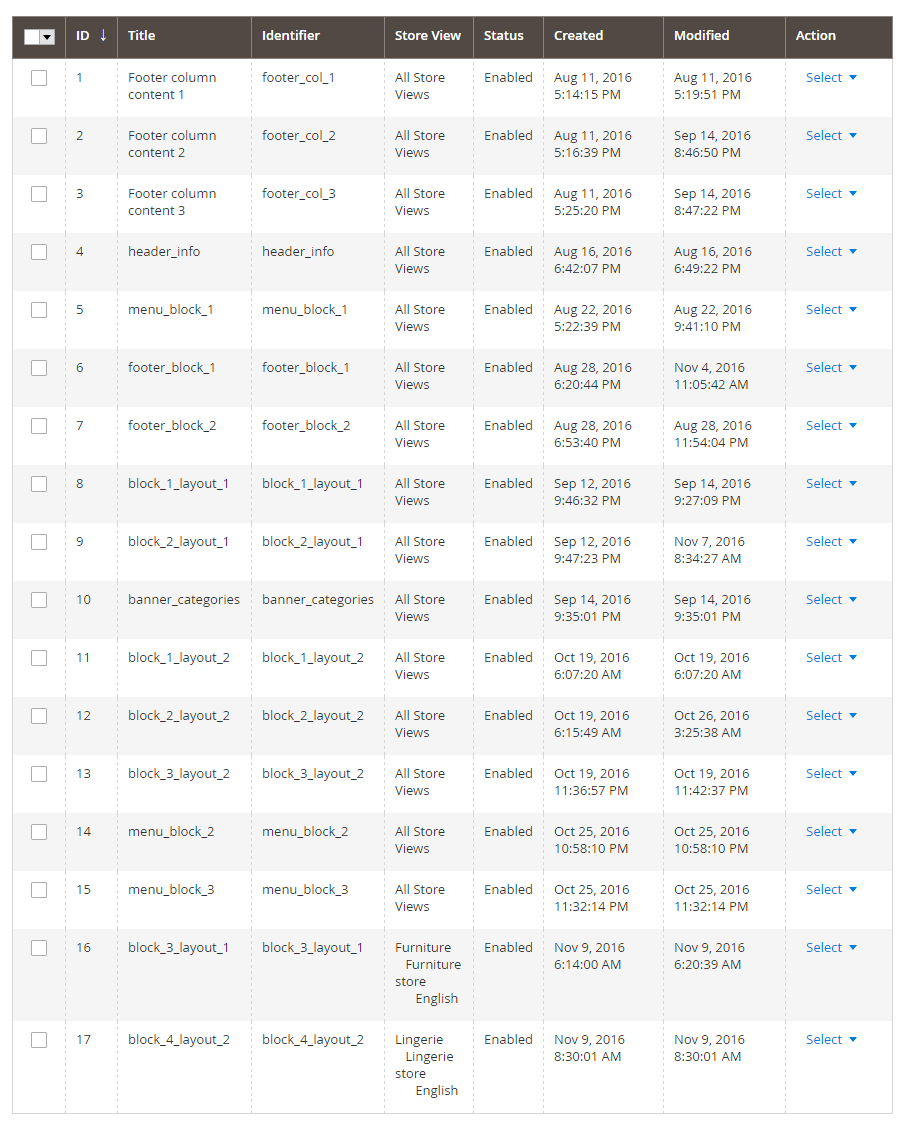
Specify the block name and identifier. You can get the block details from the table at the template configuration page [check the Pages Configuration part].
Open the block source file and copy the HTML code into the content area.
NOTE: some templates do not contain any static blocks, so the table can be empty.
How to display our blocks with static content?
In the top menu navigate to Content > Widgets.
In the top right corner click the "Add Widget" button to add a new widget.
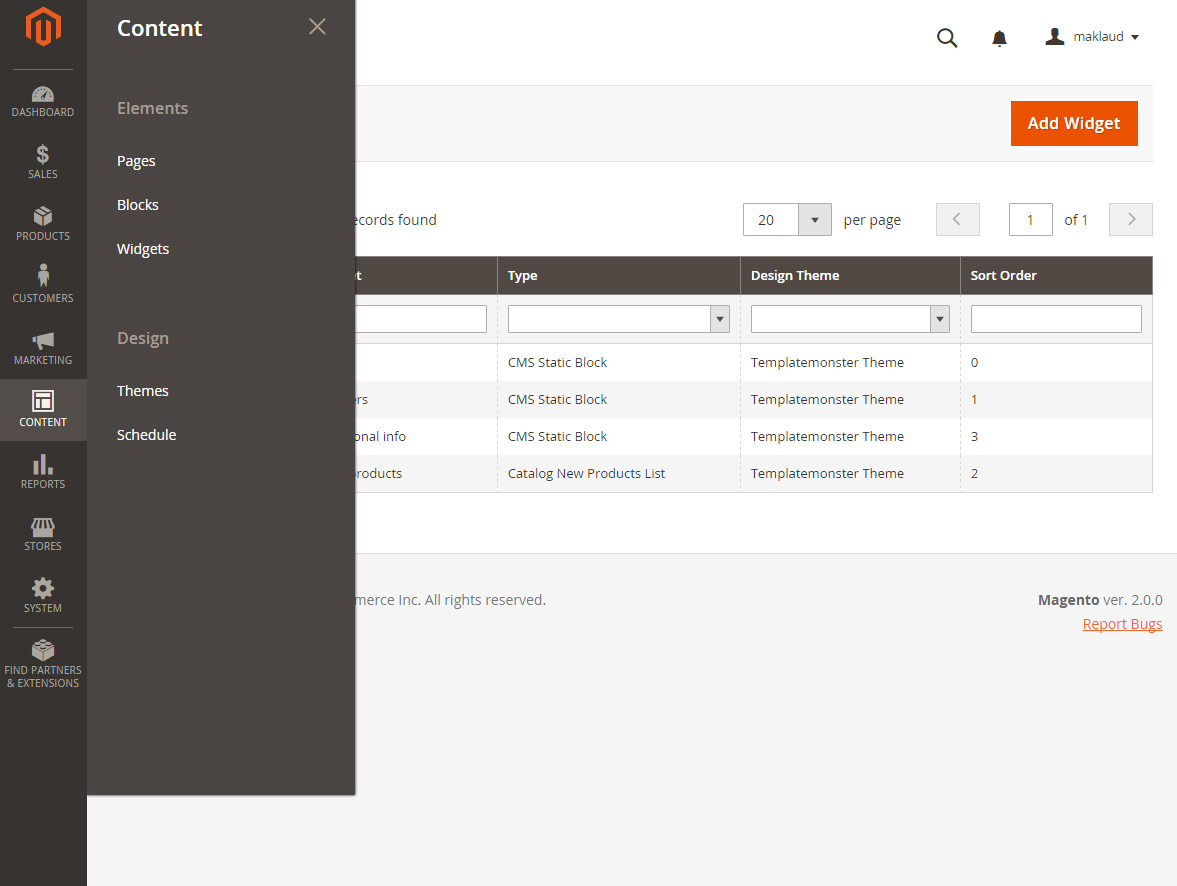
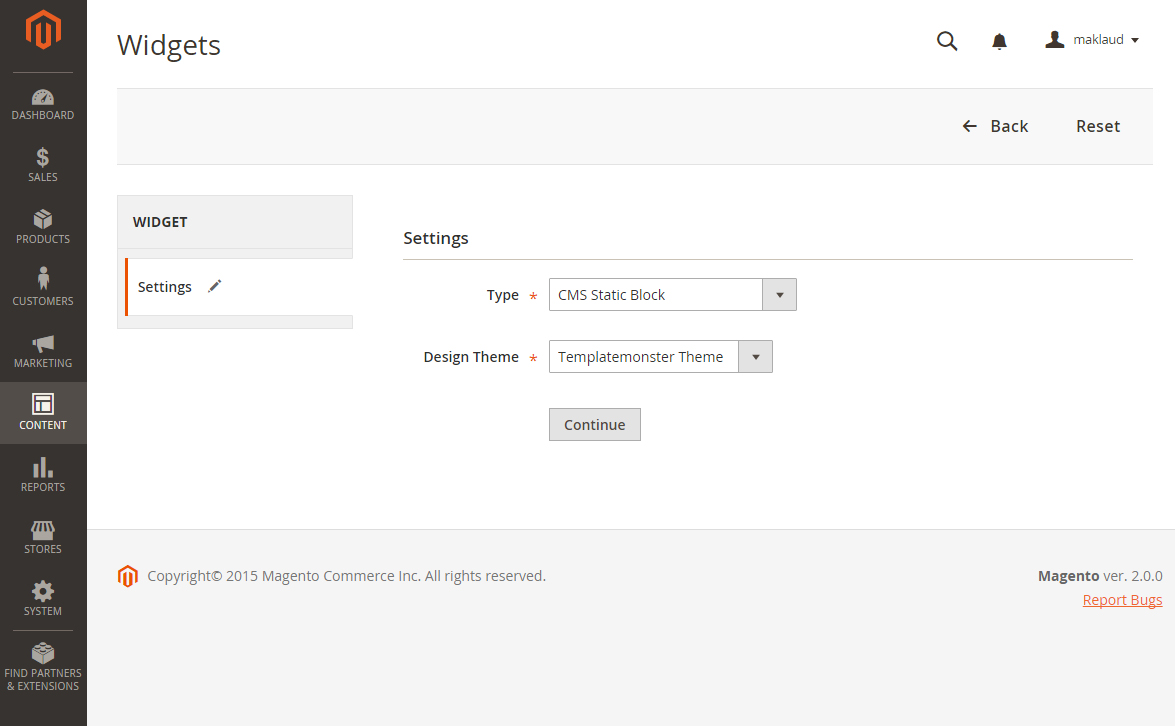
Specify the widget type CMS Static Block and theme that you want to apply the widget to, then click Continue button.
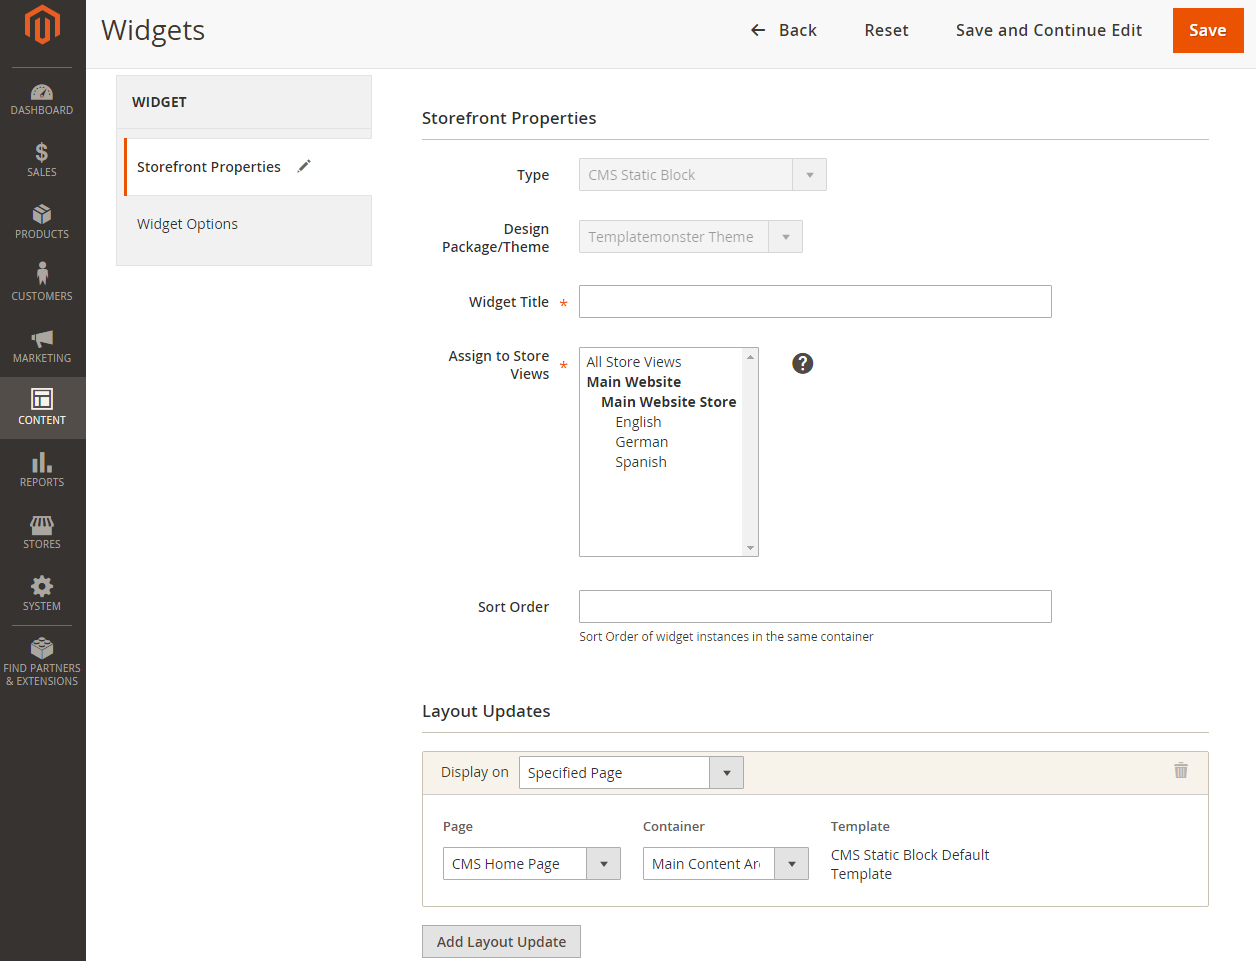
On the next page in the Widget Title field enter the name of the widget which will be displayed in the admin panel. In the Assign to Store Views field you need to select store views which will display the widget. In the Layout Updates block click Add Layout Update button. In the Display On the field you can select pages where the widget will be displayed on. Depending on selected pages you will have an opportunity to fill in the additional fields.
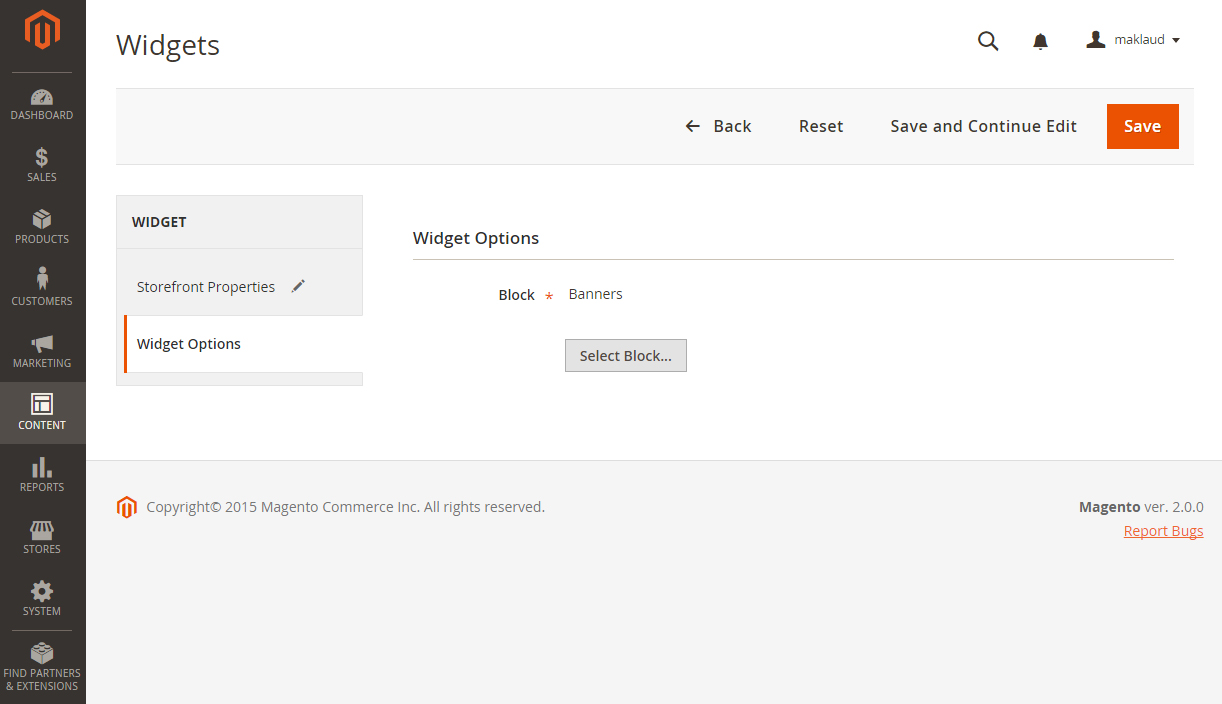
In the left sidebar click Widget Options tab and select the static block you are referring to. Don't forget to save changes.
When you are done configuring store pages and blocks, your store is ready to go.
Theme Options
In order to customize the module, click the Stores > Settings > Configuration.
Then choose the TEMPLATEMONSTER > Theme Options in the left side menu and you'll move to the module settings interface.
Click on the Store View: Default Config.
Select a Store View from the options dropdown.
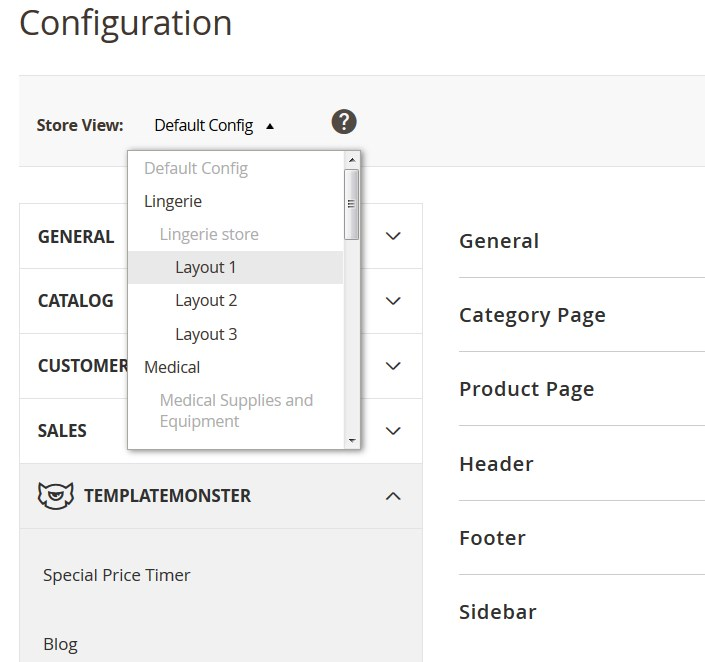
Confirm the scope switching in the pop-up window. Press "OK" to confirm.

After that process, we can see a new tab called Theme color settings under the General one.
The Tab structure is as follows:
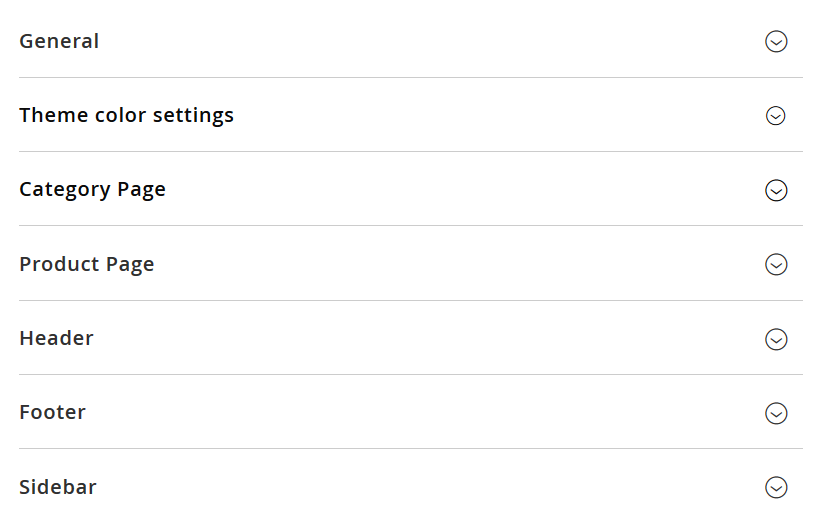
Exploring the General settings tab
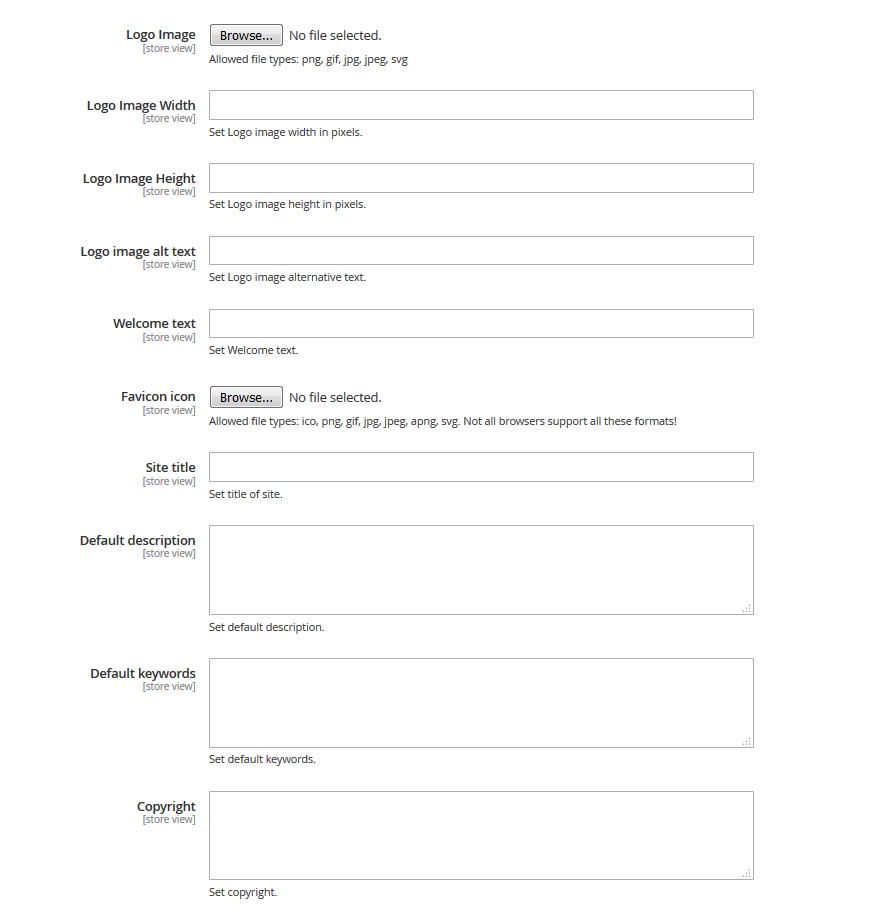
Let's review the options available:
- Logo Image - you can upload your logotype image [Allowed file types: png, gif, jpg, jpeg, svg].
- Logo Image Width - set a Logo image width in pixels.
- Logo Image Height - set a Logo image height in pixels.
- Logo image alt text - set a Logo image alternative text.
- Welcome text - you can change default welcome text.
- Favicon icon - allowed file types: ico, png, gif, jpg, jpeg, apng, svg.
- Site title - set a title site on homepage.
- Default description - you can input default description for your store.
- Default keywords - input keywords for your store.
- Copyright - input your copyright.
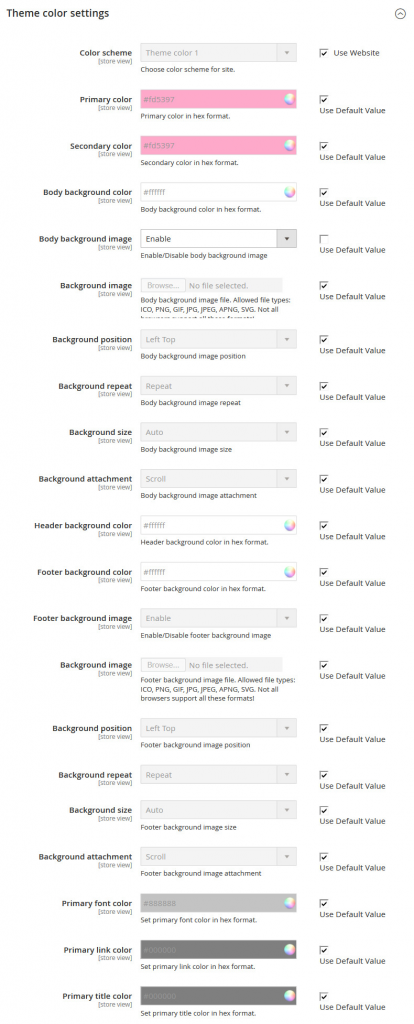
Theme color settings
Let's review the options available:
Uncheck Use Website to change the layout settings.
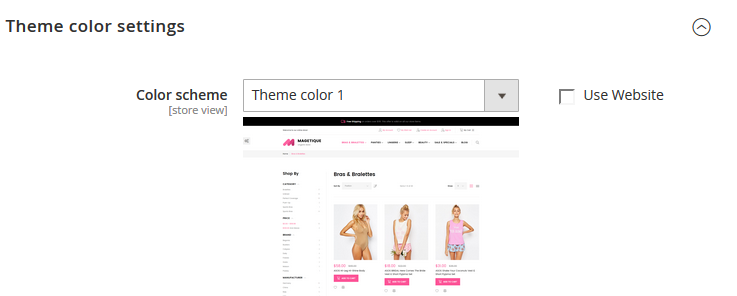
This is the place where you can change the colors and backgrounds all around your store. Everything is as simple as working with the customization tool in WordPress. You can change any color and background image in a few clicks.
How to edit the header and footer
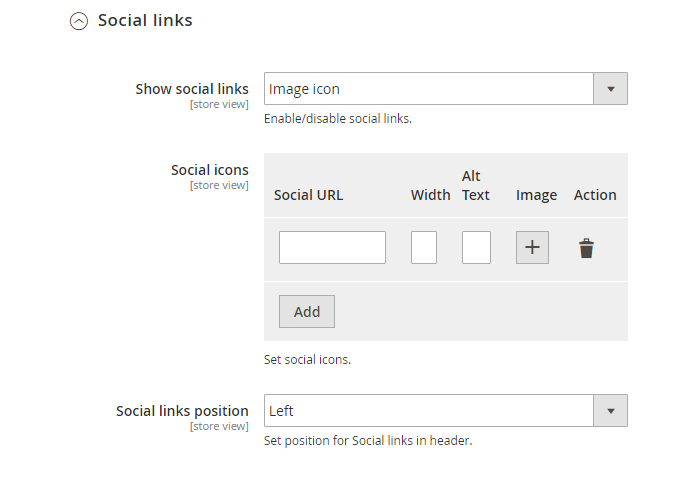
In the Header tab, you have one Social links section.

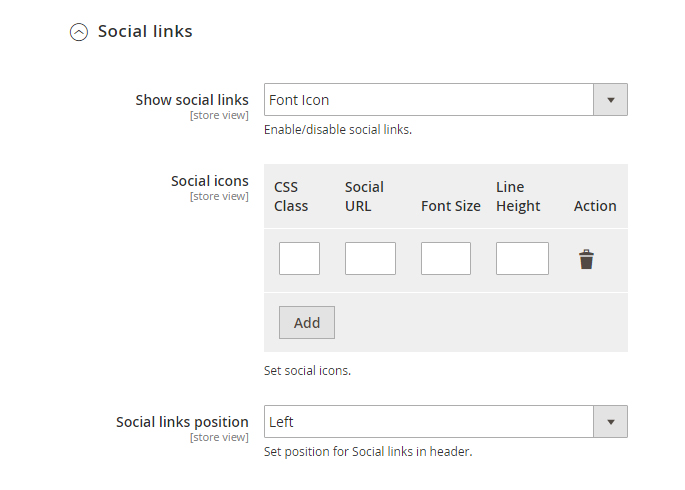
You can add link to your social network using Font Icon or Image icon.
In order to add the URL with image, you need to add the social URL, width of icon, alternative text to image and upload image.
In order to add the URL with Font Icon, you need add icon CSS Class, social url, set font size and line height.
Let’s take a look at the footer settings.
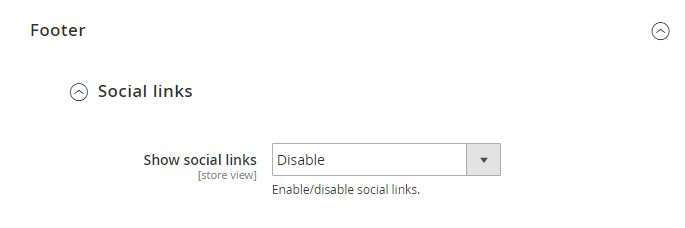
In footer you can add social link and set position
In order to add the URL with image, you need add social url, width of icon, alternative text to image and upload image.
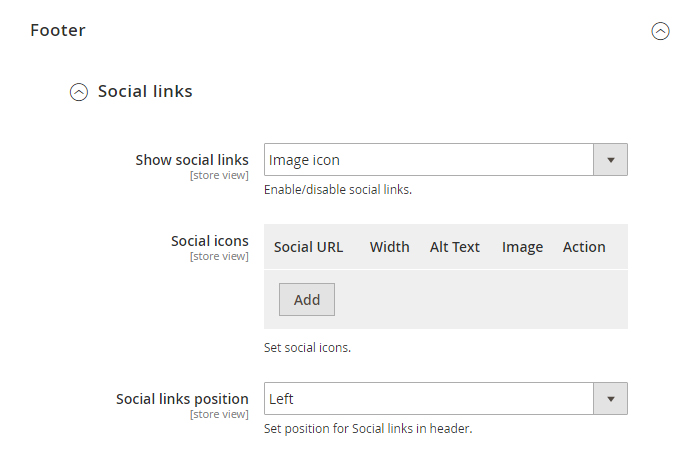
In order to add the URL with Font Icon, you need add icon CSS Class, social url, set font size and line height.

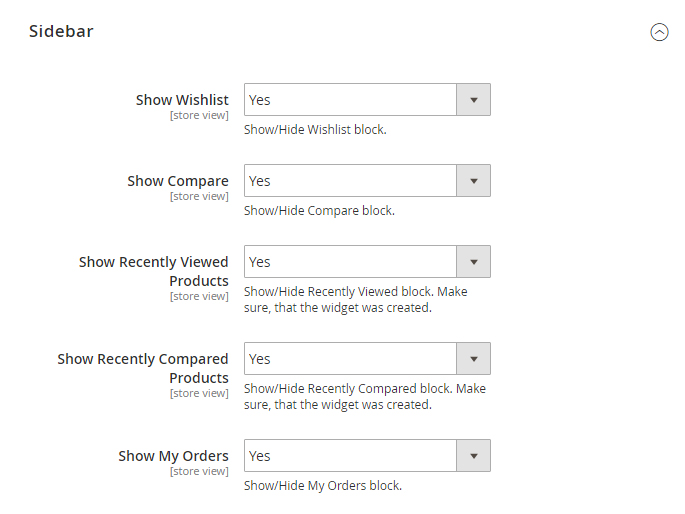
Customizing the sidebar
You can customize the sidebar to your needs using the TemplatMonster Theme Settings module. You’ll be able to choose what should be displayed on your sidebar and what you want your customers to see while working with your store.
Magento engine is a great solution for your online store. The default engine package contains all the modules necessary for successful sales. Open source allows you to offer really outstanding merchant possibilities for your customers. If you choose one of the templates from our marketplace, you can be sure that you’ll be provided with the most detailed documentation, so don’t be scared to start your Magento store, we’re here for you!
By the way, here is a short list of our bestsellers among the Magento premium themes:
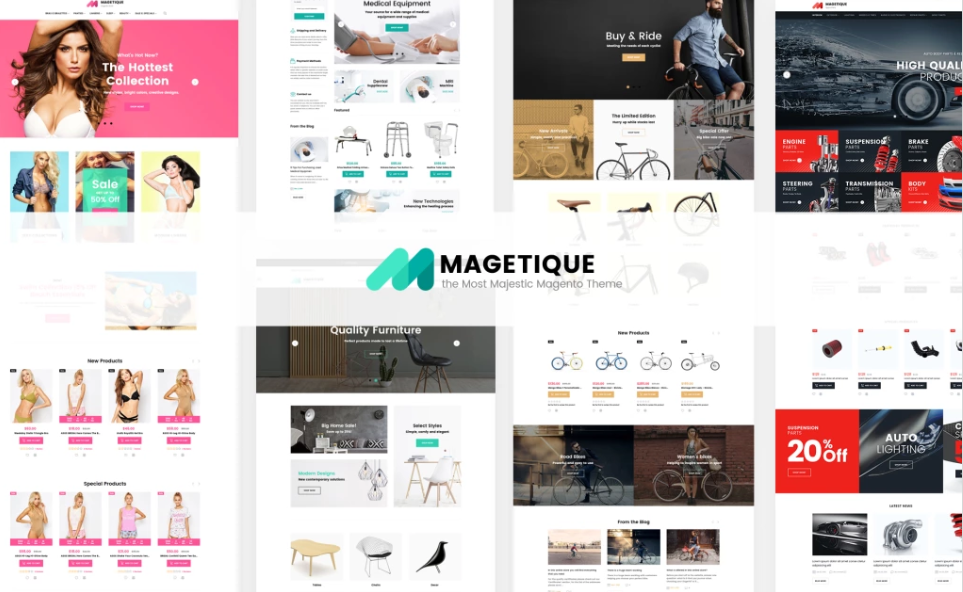
Magetique - The Most Comprehensive Multipurpose Magento 2 Theme
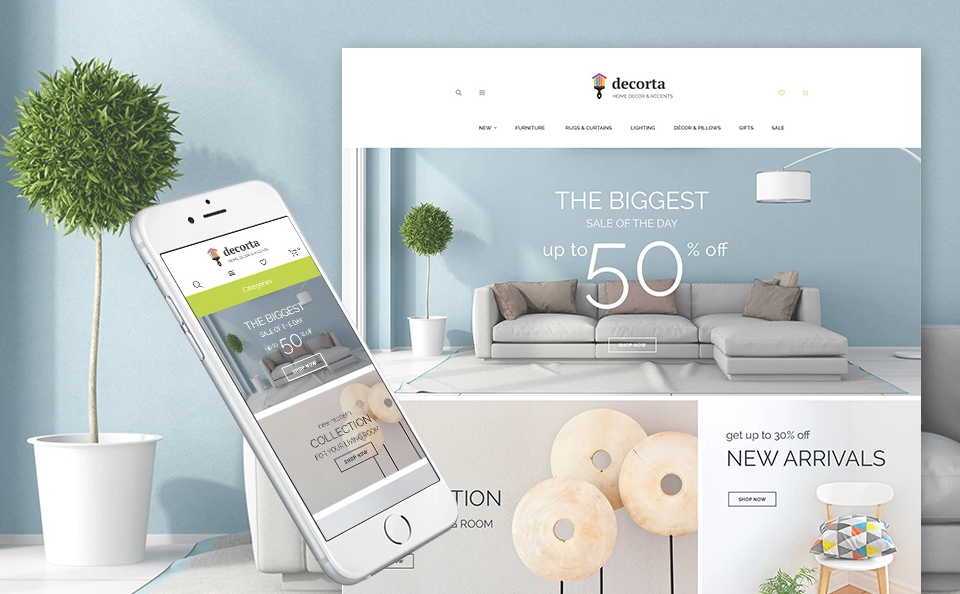
Decorta - Home Deco Responsive Magento 2 Theme
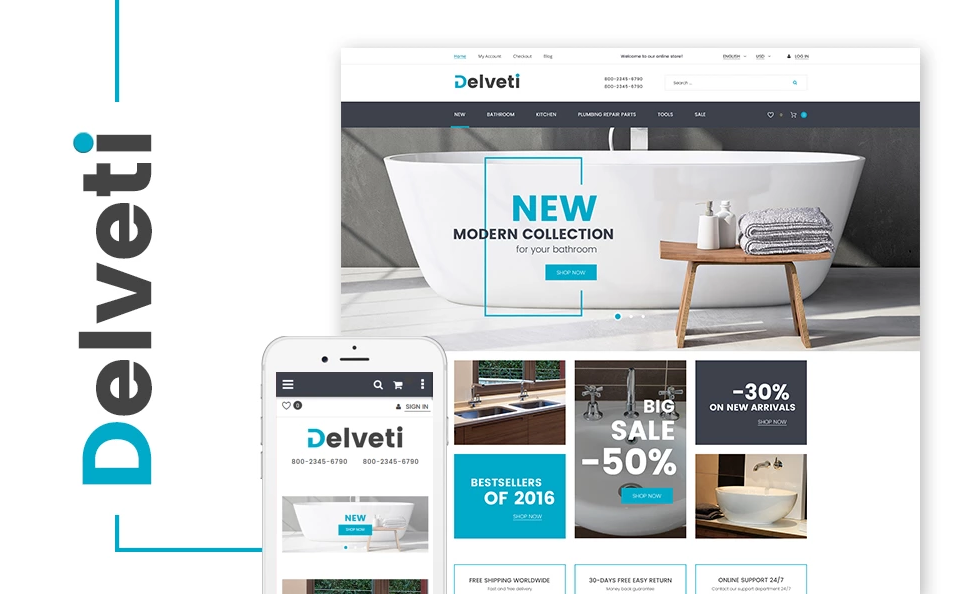
Delveti - Plumbing Supplies Magento Theme
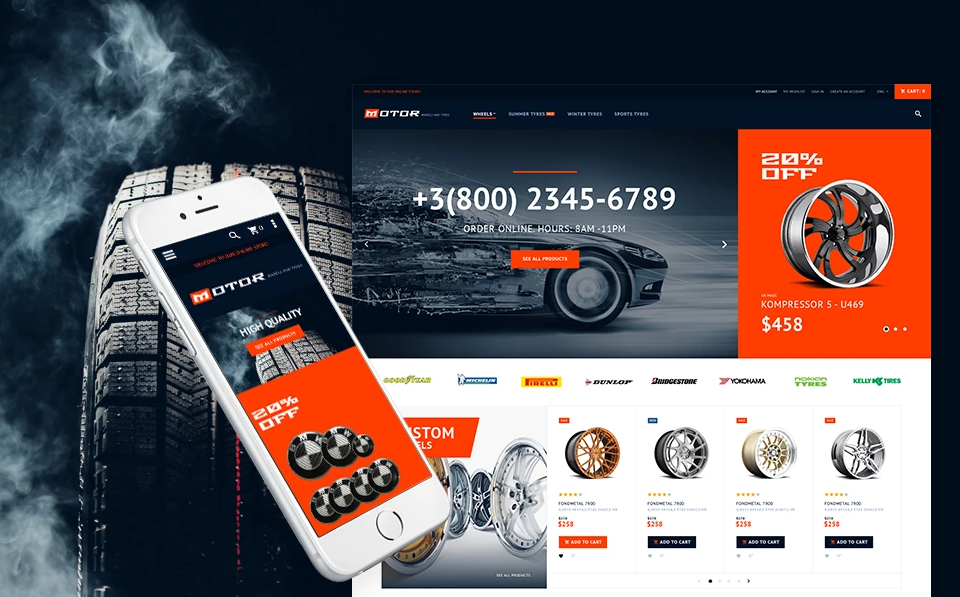
Motor - Car Services Magento Theme
In case you’re not planning to run your own store, how about a portfolio or a landing page for your company? You can take a look at the full list of our premium themes, you’ll definitely find something useful there.
Related Posts
- How to Create Special Price Counter in Magento Store
- Make Your Magento Store Multi-Device Friendly
- The Best Magento Themes 2017 to Build Your eStore Today
- Must-Follow Magento Web Designing Trends For Exceptional Growth
- Boost Your Store with Top-Notch Magento Extensions [Giveaway]
- Methods of Upgrading to Magento Without Any Loss of Data
Don’t miss out these all-time favourites
- The best hosting for a WordPress website. Tap our link to get the best price on the market with 82% off. If HostPapa didn’t impress you check out other alternatives.
- Monthly SEO service and On-Page SEO - to increase your website organic traffic.
- Website Installation service - to get your template up and running within just 6 hours without hassle. No minute is wasted and the work is going.
- ONE Membership - to download unlimited number of WordPress themes, plugins, ppt and other products within one license. Since bigger is always better.

Creative writer passionate about WordPress and all that technical stuff. Meet Alex in person on LinkedIn.
Get more to your email
Subscribe to our newsletter and access exclusive content and offers available only to MonsterPost subscribers.

Leave a Reply
You must be logged in to post a comment.