Elementor Tutorial: How to Create Video Masks in Elementor Free?
Today we'll be doing a video masking tutorial inspired by Cyberpunk 2077 website. This page is a really cool example of how you could integrate videos into landing pages, without scaring off people. If you are a cyberpunk fan, you’ll be interested in how to recreate this hero section.
So, this is the video and this is the mask that we’ve created in this tutorial. This was not meant to completely replicate the original design, but rather to give you some context of what we'll be doing today.

And we'll also have a look at some other examples of how you could mask your videos and the process itself is actually very, very simple.
In this tutorial, we'll be using a free web-based tool Figma. Everything that we're going to do in this video will be accomplished with this free tool, and then simply dropped into the Elementor video library and applied on top of a video. Check out the video below to see all of the detailed instructions:
Elementor Tutorial: How to Create Video Masks in Elementor Free?
So, let’s dive into the step by step instruction on how to create a video mask in Elementor. This is what we're going to start with. You’ll learn how to apply this mask on top of a video, so it all looks organic and blends with the background.
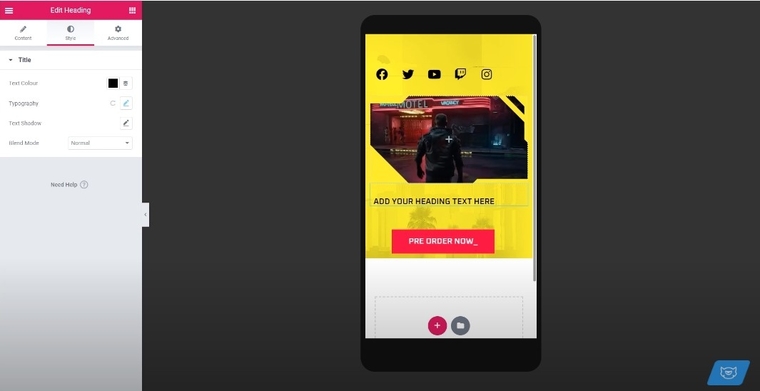
Another advantage of this method is that it's still going to work on a mobile device. However, there may not be enough space to put a video on the mobile version of your page, but there is still such an option. So, you will learn how to do that as well.
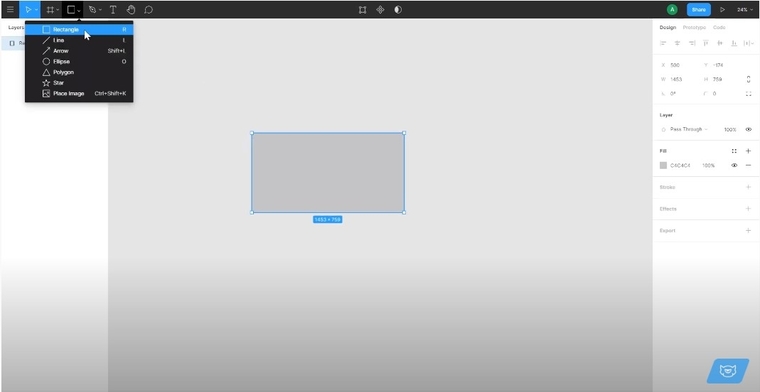
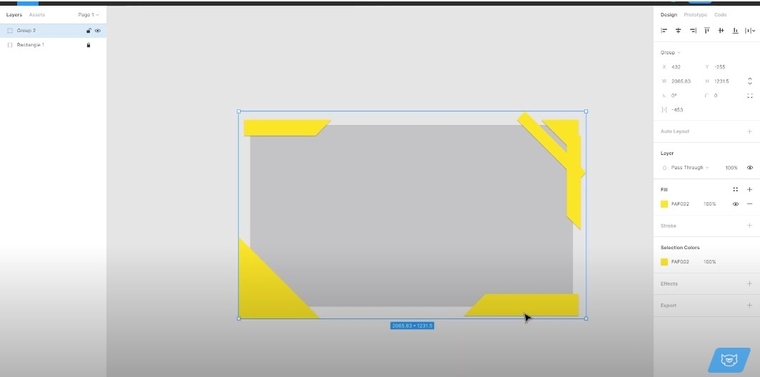
1. Let's start fresh here in Figma. What we're about to do is create a new shape. Grab the rectangle or press R and draw any random shape. The dimensions are not important just yet - because we're gonna change them.
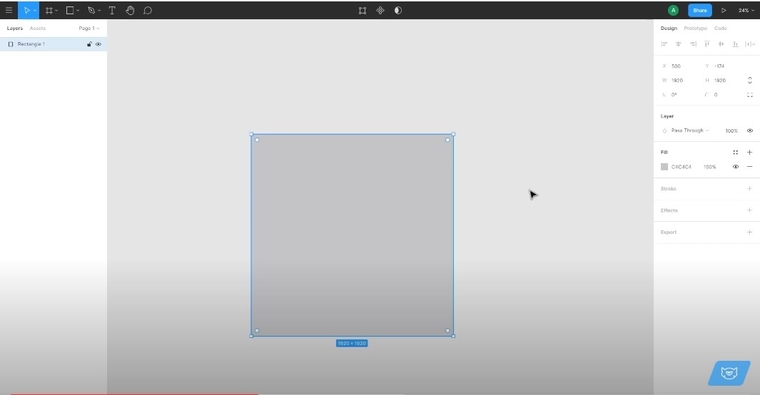
2. Go to the design panel on your right and type in the parameters for the width and the height of the shape and it should match the dimensions of your video.
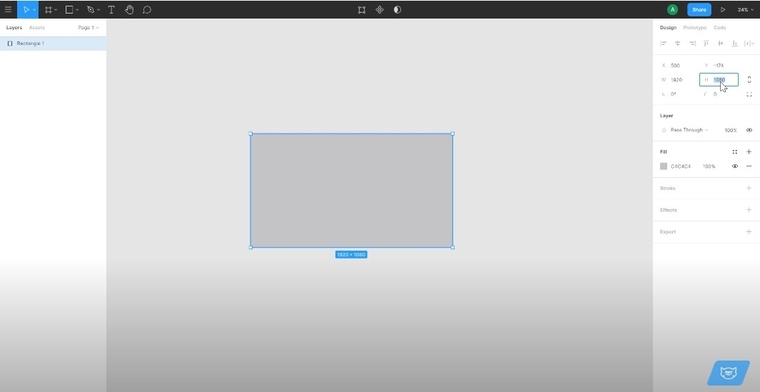
It is not so crucial for it to be the exact same number of pixels for the width, for the height, but it is important that this particular shape that you're drawing right now, will match the dimensions of your video. Whether it is 1:1 or 16:9, the examples are shown below.
1:1
16:9
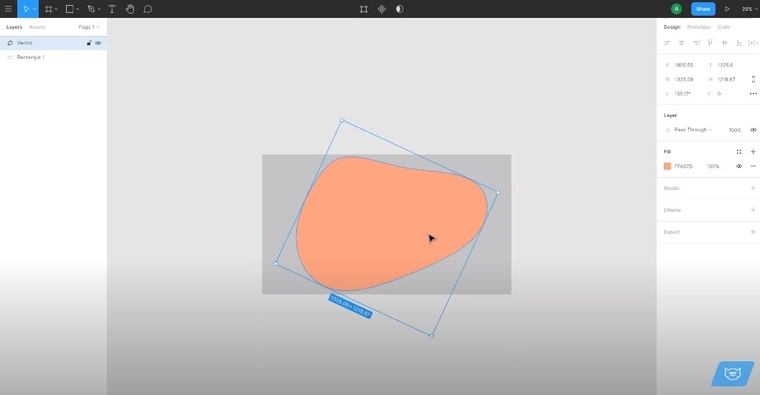
3. Now just leave it there. You can lock it if you feel more comfortable doing that and we're gonna start drawing the mask. We’re gonna use the pen tool - P on the keyboard. Let’s create a simple shape.
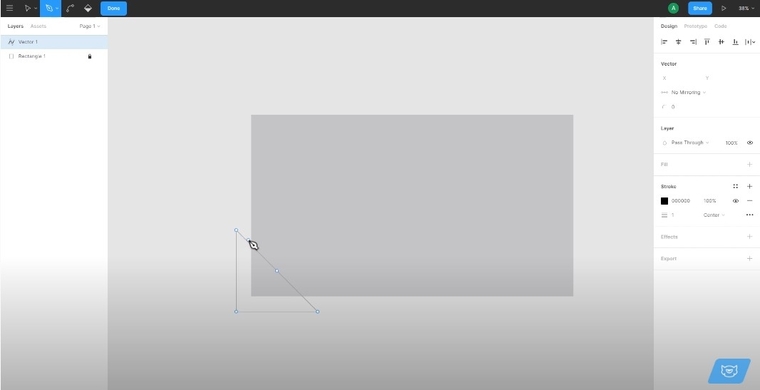
4. Now, let’s proceed to draw something that resembles the original shape from the game website.

5. Create the 45-degree angle with this line by simply pressing Shift. This is going to give you a perfect angle if this is what you're looking for.
Don't make it perfect on the outside, just make sure that the inside shape that you're drawing matches the design that you are going for. That it is rather perfect on the inside and not on the outside.
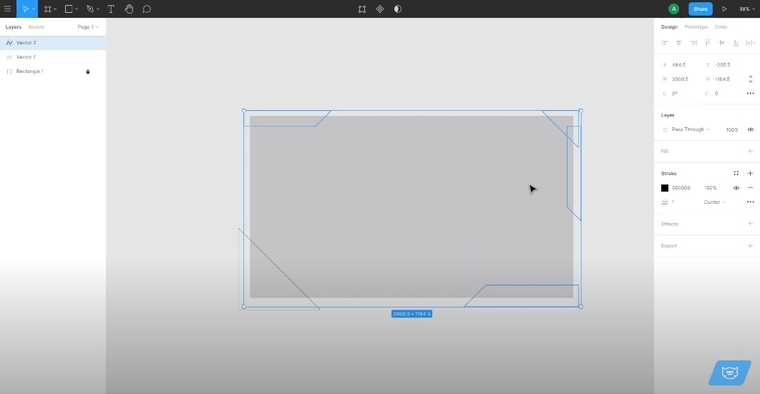
6. Now we're going to finish up the shape by drawing a rectangle holding Shift and then rotating it until it's about 45 degrees and place it over the first shape that we created.
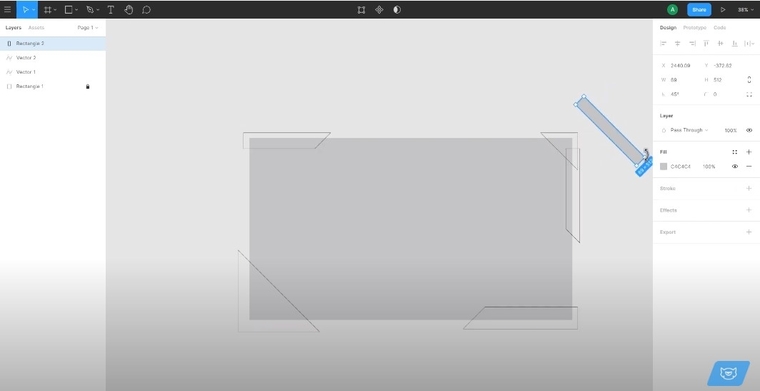
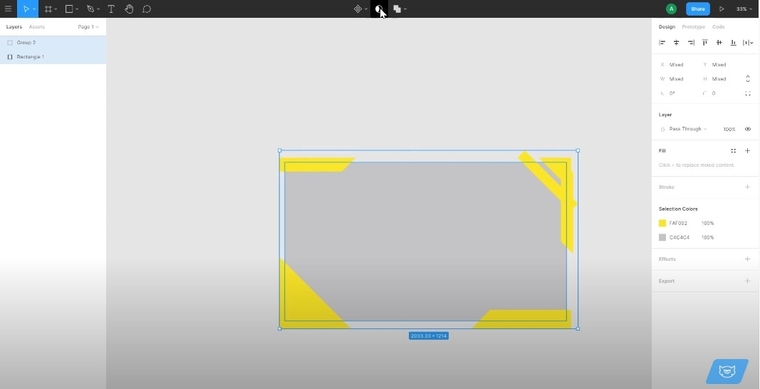
7. Now, we’ll need to fill the shapes that we have with color. Hold Shift and press X to switch from Stroke to Fill.
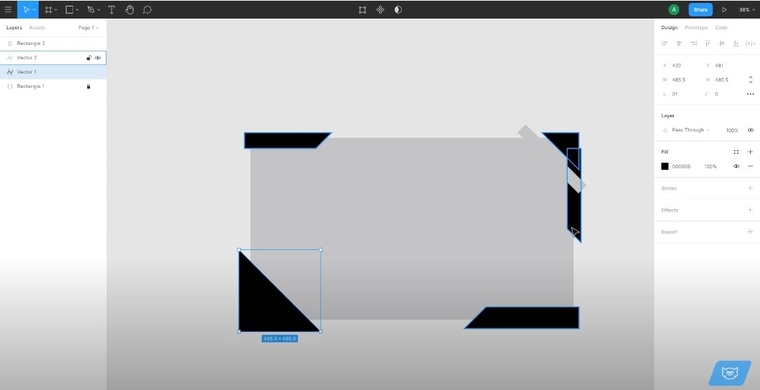
8. When all of our shapes are filled, let’s group them by pressing Ctrl+G. In the design panel on the right, in the selection of colors - you’ll need to paste the colors of your shape.
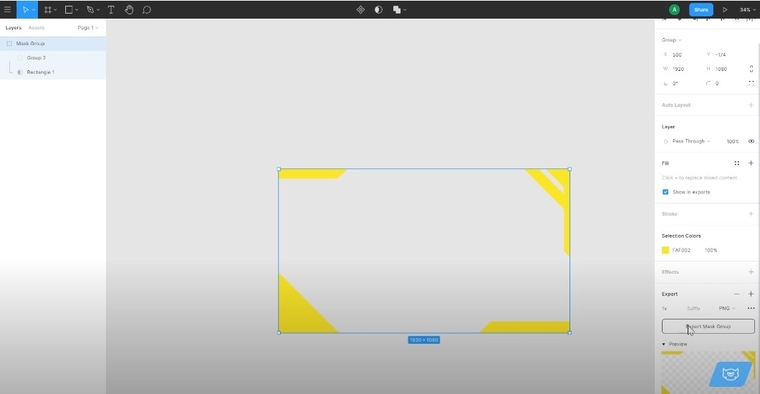
9. Now as this part is done, unlock the rectangle so we can select it, and let's mask this pattern that we just drew. We’ll need the rectangle, which is going to be the mask placed underneath the pattern. Now, we're going to select both of these and click "Use as mask" - what it is going to do is simply clip the pattern to the shape of the rectangle.
10. Select the parent group and click on it. Go to "Export" and click "Export mask group". This will allow you to download the .png of this particular group, so you can later insert it in Elementor. We're downloading .png because .png is the format that allows you to have a transparent background and you do need a transparent background for this purpose.
Note: Before we export the .png file, let's rename it to something more recognizable.
11. Go back to the Elementor panel. Let’s quickly go through the structure of this particular section. In this case, it's just the inner section and what we are about to do is only possible, if you're working with sections. You can’t do the same thing with a column and you can’t do the same thing with the video widget. We're going to do this the easiest way and the most fail-proof way.

12. First, let’s temporarily remove the background image. Next, go to the settings of this section, go to Style and in the Style tab, then go to Backgrounds and select video. It is available in all the latest versions of the free Elementor page builder. Here you can either place a link to a YouTube video, or a Vimeo video, or just the video file hosted somewhere else, even in your media library.
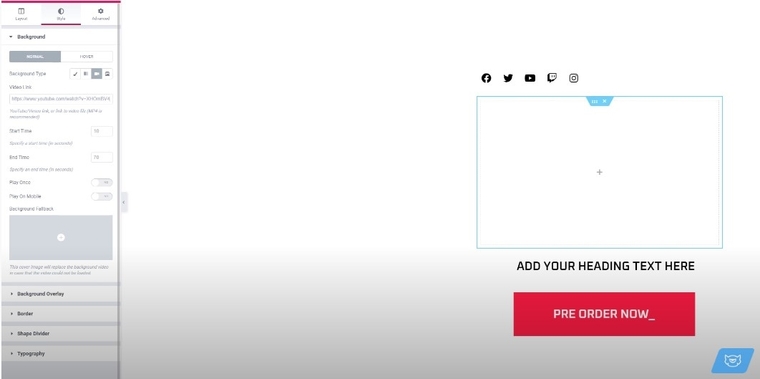
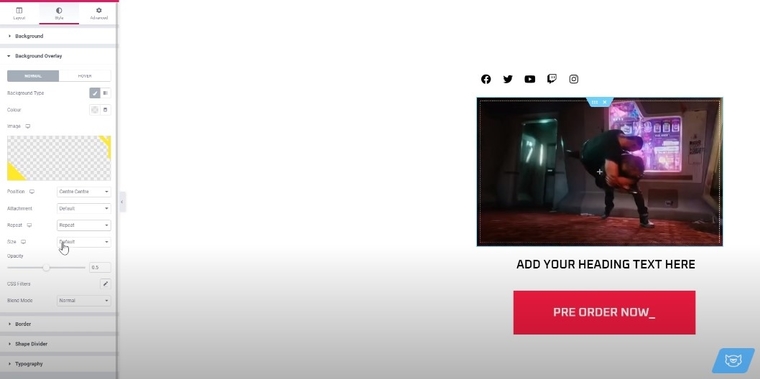
13. Now, go to background overlays. We can add our masks and this is what it's going to look like at the beginning. But it is not exactly what we want. This is why we need to tweak a couple of settings. In this particular case, we should leave the Position and Attachment settings as it. In the Repeat settings, choose No Repeat, and the size will be Cover. Move the opacity slider up - just so this overlay is not transparent anymore.
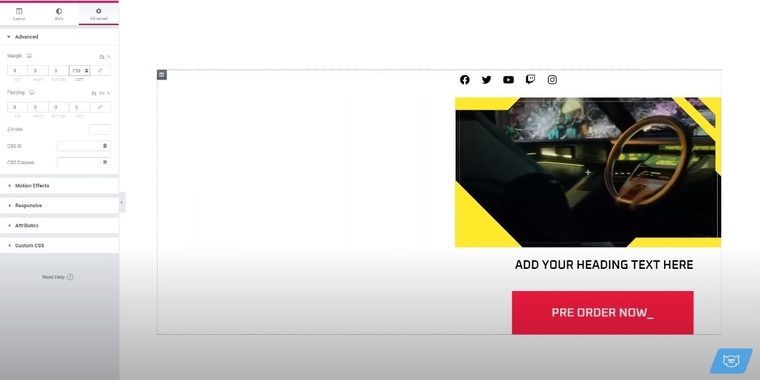
14. Now if we want the size of our video to match up with the size of our section, we need to tweak the size of this particular column in which this inner section is placed. We need to tweak a couple of settings because in this case it is an inner section and it's placed inside of a column.
We’re using margins to adjust the width of the column by moving it to the right. To adjust the height, use the Minimum Height slider in the section settings. This is how we're going to match up the size of the video with the size of the column and make sure that our overlay perfectly covers it.
15. Now, let's place our background image back here. This exact same process will totally work with any other kind of a mask, with any other kind of shape that you want to put on top of your video.
That’s it for this Elementor video mask quick tip. If you liked the video, make sure to give it a thumbs up and subscribe to TemplateMonster’s YouTube channel for more Elementor tutorials!
Read Also
Neomorphism Elementor Pro Tutorial
Elementor Tutorial: How to Create Video Masks in Elementor Free?
3 Easy Ways To Create Blob Shapes In Elementor
Create Elementor Slider with Custom CSS
Don’t miss out these all-time favourites
- The best hosting for a WordPress website. Tap our link to get the best price on the market with 82% off. If HostPapa didn’t impress you check out other alternatives.
- Monthly SEO service and On-Page SEO - to increase your website organic traffic.
- Website Installation service - to get your template up and running within just 6 hours without hassle. No minute is wasted and the work is going.
- ONE Membership - to download unlimited number of WordPress themes, plugins, ppt and other products within one license. Since bigger is always better.

Irene is a content writer who loves reporting on the latest web design and online marketing trends, WordPress and eCommerce solutions. Apart from writing tech articles, she’s keen on photography and has a couple of cool Photoshop image retouching tricks up her sleeve. You can connect with Irene on Twitter.
Get more to your email
Subscribe to our newsletter and access exclusive content and offers available only to MonsterPost subscribers.

Leave a Reply
You must be logged in to post a comment.