Elementor Text Editor: Step-by-Step Tutorial to Create Animated Text with Free & Pro Versions
- How to Create Text Animation in Elementor Text Editor
- How to Animate Text with Elementor Pro
- How to Animate Text with Free Elementor Version
Times of the faceless and static websites are over. What’s really valuable – personality, originality, boldness.
The websites that grip the world’s attention often have gradients, rule-breaking typography, 3D & artistic illustrations, quite apart from the Parallax Effect and overlapping layers. Extraordinary UX/UI design is undoubtedly a must-have nowadays.

But the realization of the complex design solution is not always possible due to financial reasons or the lack of technical skills. One of the simplest ways to spice up the design is to create an animated text.
It’s a cherry on top that doesn’t overburden the page but adds dynamic and vivacity. A homepage with animated text looks way more interesting and catchy. Plus, adding this effect is not a big deal for WordPress users.
So, if you work with Elementor and want to brush up your website, this tutorial can be handy!
Regardless of your technical skills and Elementor version, you will learn how to create two animated text effects with Elementor text editor in less than one hour. So, make yourself comfortable, run Elementor, and let’s add some icing on the cake! 🙂
Here's a video-tutorial if you prefer watching over reading. Alexandra will teach you how to create text animations with motion effects in Elementor PRO and free.
How to Create Text Animation in Elementor Text Editor
In this tutorial, we will create two text animations: one with a free version and one with a Pro. So, regardless of the Elementor version, you will be able to mix up your website with a professionally-looking effect.
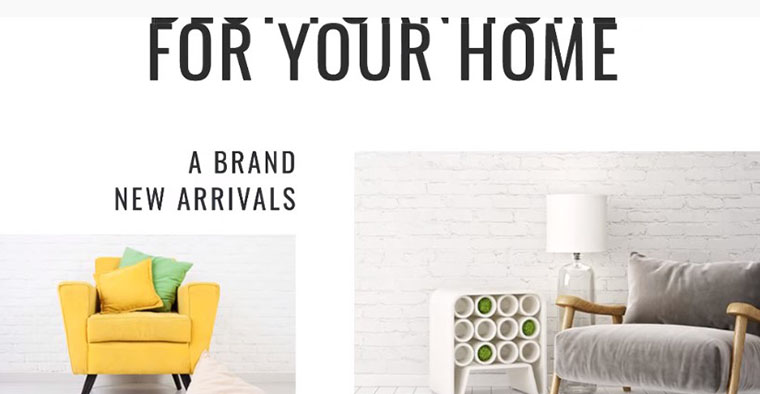
Two headings roll from different sides and start scaling up as you reach the middle of the page, which looks amazing. This scrolling effect is customizable – you can change pretty much everything.
This effect is also available within a free version, and still looks interesting – the text slides up from nowhere. This is an entrance animation, so it doesn’t reoccur. It appears the second time only when you reload the page.
Both animations will work on mobile.
How to Animate Text with Elementor Pro
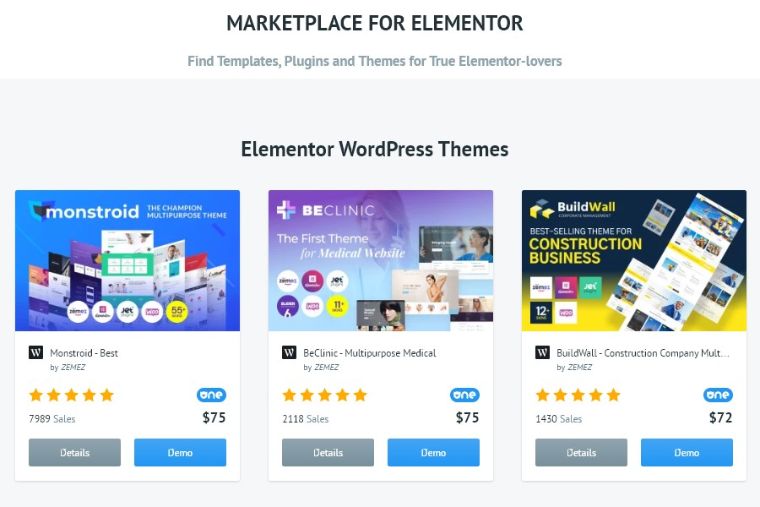
If you already have a theme for your website, you can proceed to the next step. Otherwise, pick up a theme first. This marketplace has dozens of Elementor themes, templates, and plugins for different purposes and pockets. Once you download the product, it automatically appears in Elementor.
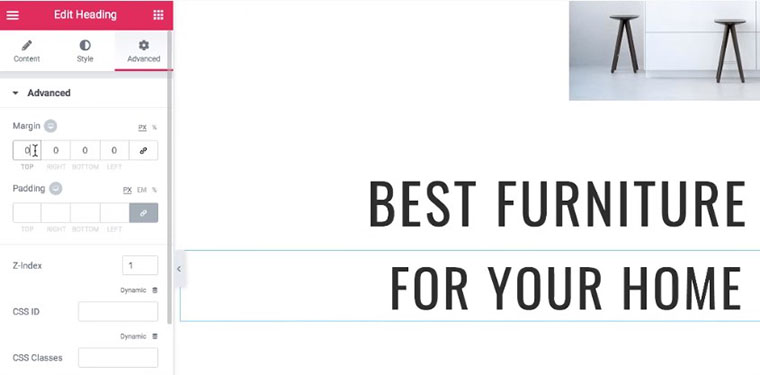
Now, open Elementor > Elements > Heading and drop the widget to the workspace. Add a new section with a heading with a default style. Give it a title – the same title will appear on the website.
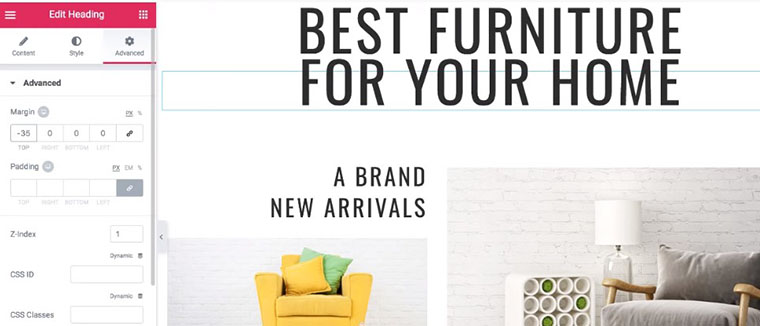
Now, duplicate the widget, create the second heading, and give it a title. You can play with the location of the headings – go to Advanced and change the Margin. Check out the difference:
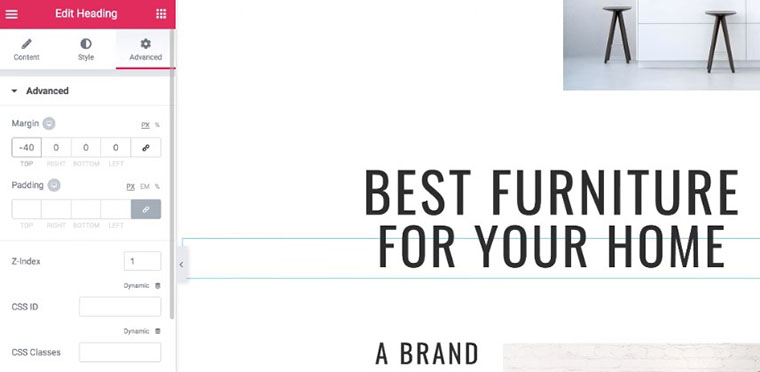
As we brought the second heading a little bit up, the elements of the composition started looking more unified.
Now, set the first heading to slide from the left (or whatever you find appealing): Advanced > Motion Effects > Scrolling Effects > enable (make sure you selected the first heading only).
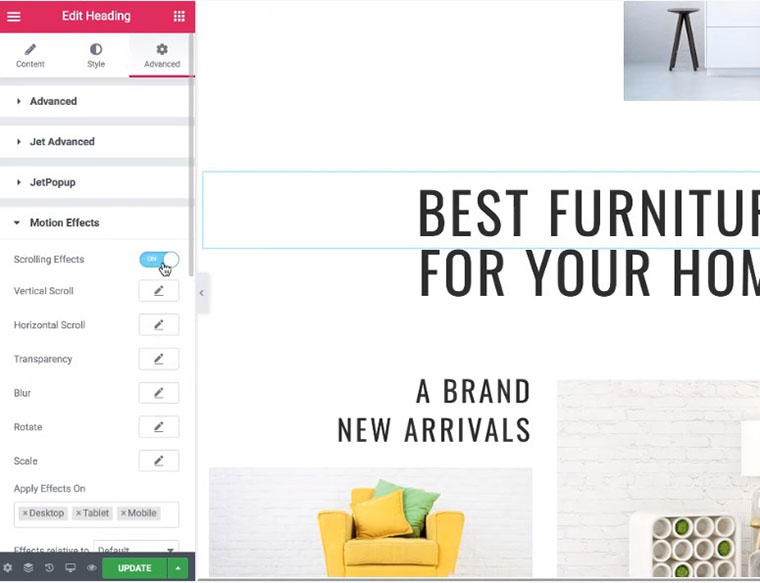
Then, configure the Horizontal Scroll. By default, you have a speed set to 4 and the Viewport goes from 0% to 100%. If you set the Viewport values from 0% to 50%, the first heading will slide from the left and stop in the middle of the page as you scroll down.
If you leave it at 100%, the heading will keep on sliding as you scroll down and it will look weird.
It’s important to set Effects relative to the Viewport to “give a signal” to the effect to stop the scrolling right at the point that is set in the Viewport.
Now, let’s do the same thing with the second heading. Click on it > Scrolling Effects > Horizontal Scroll (to left) > Viewport (0% - 50%).
As the two headings slide to the middle of the page, they form one heading – one comprehensible sentence.
It already looks pretty good but let’s make it more complex and interesting 🙂
Select the second heading > Scale. By default, you have the same settings as for the Horizontal Scroll. It means that the heading starts scaling right from the start. But it would look more interesting if the second heading started scaling once it reaches the first heading and forms the comprehensible sentence.
To check out if the assumption is correct, grab the Viewport slider and move it from 0% to 50%. Now, the second heading will grow, once it reaches 50% of the Viewport.
The tricky thing about this tweak lies in keeping the balance, so the elements don’t look disproportional. Speed will help us to overcome it but let’s apply the Scale effect to the first heading.
Select the first heading > Scale > Viewport (50% - 100%). From now, when the sliding animation stops, the scaling one begins.
Now, as you scroll, the first heading starts getting bigger first, then the second joins in. But it doesn’t really look good because the second heading grows a little bit faster and overlaps with the first one:
You can fix it in two ways:
- change the Margin of the second heading (-30 or -35 instead of 40):

- change the speed of the scale (Advanced > Motion Effects > Scale > Speed (less than 4).
In this case, 4 is indeed suitable, so we will leave it like that. But now, the first heading starts scaling up before the second reaches the middle of the page. To fix it, go to the Horizontal Scroll of the second heading and play around with the settings – slow down the speed and tweak the Viewport slider.
It’s impossible to name exact parameters because you customize a completely different website with other designs, fonts, sizes, etc. So, just experiment on that and see which settings make the effect look the most appealing.
So, if you keep track of the steps made in this tutorial, you now created an awesome scrolling effect. Congrats!
How to Animate Text with Free Elementor Version
A great thing about the Elementor text editor is that you can apply a wide range of effects even with a free version. So, let’s try it out!
To animate text, we will use Entrance Animation – the only available Motion Effects animation in the free version. There are several available variations but we will use Slide in Up.
So, create a new section: go to Elements > Heading, drop it to the workspace, and title it (this title will appear on the website).
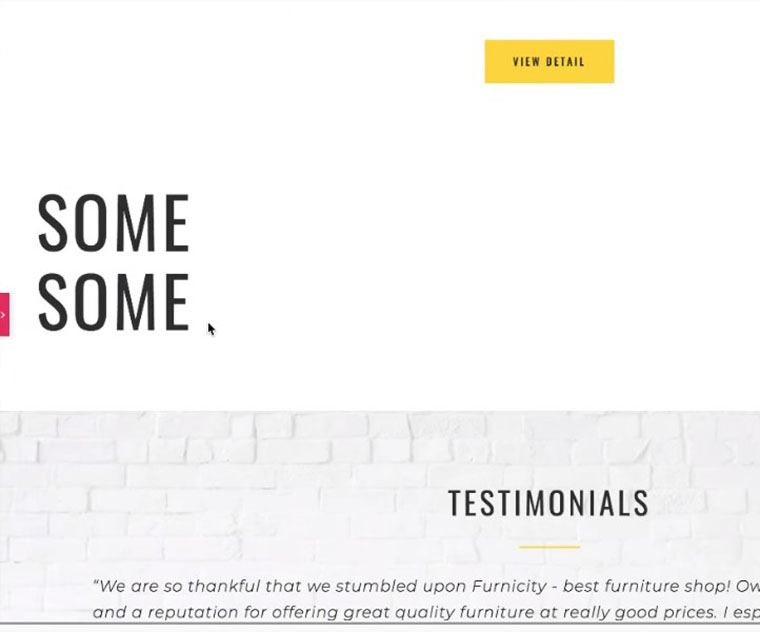
Our goal lies in creating an effect when the text appears underneath a covered space, like out of nowhere.
For that, we will need to customize the background but the Elementor text over image option isn’t available, so we can’t work with a background image or with gradients. In this case, we can work with a solid color only as a background but first things first.
Now, create a second section with a simple structure right down the first one. Then, go to Style, set the color to white, change the Height to Min Height in the Layout, and set it to 90.
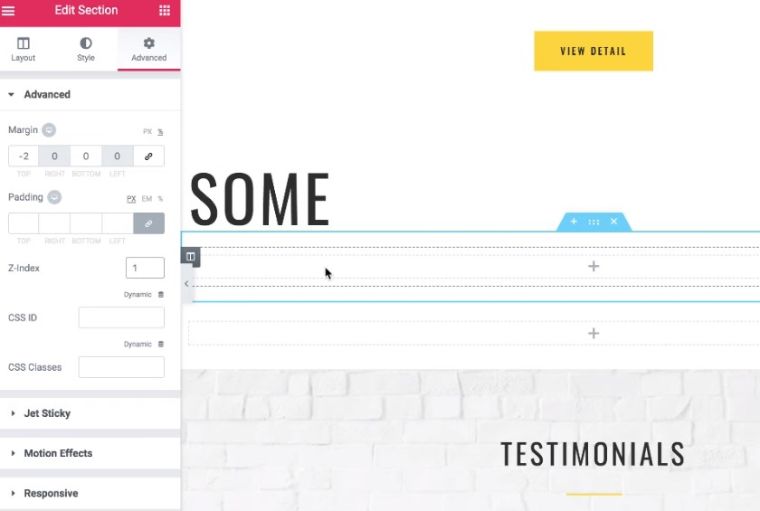
Now, let’s move the section up a little bit: go to Advanced > Margin and set it to -2%. Note that there are both pixels and percents, so if you are uncertain working with pixels, just use percents.
You can also play with margin because again, the layouts, styles, fonts are different and parameters used in this tutorial might not apply to your website at all, so don’t follow the numbers blindly.
Well, time to apply the Entrance Animation. Go to Motion Effects > Entrance Animation > Slides in Up > Animation Duration (fast, in this case).
To create the second level of the animation, duplicate the section with the text and the section with a white background that serves as a cover for our text. Then, select the second line, go to Advanced, and change the negative Margin somewhere to -102 to bring it up a bit.
Now, the composition looks like a single thing – two lines look connected.
If you feel confused working with so many layers, use the Navigator (the second bottom left icon). There, you can easily access all Sections and the elements they contain.
Also, you might face difficulties if your cover sections don’t overlap the text but are underneath it. To fix it, use Advanced > Z-index that determines the exact position of the section and works pretty much the same as a Photoshop layers system. The object with a higher Z-index is going to be on the object with the lower index.
The section that has to cover the first heading has Z-index of 1 and, obviously, it also covers the second line of our heading.
To bring it back up, we need to set the higher index, which is 2. But there is one more section (second white background) that has to cover the second text section, so let’s give it an index of 3.

As you see, the gap between the first and the second lines is too big and the text is too small. The issue appears in mobile devices and invisible in the desktop version. So, to fix it, switch to the mobile view (fourth left bottom icon).
Go to Advanced and check out if the Margin value should be changed (probably, there shouldn’t be any Margin at all). Also, you can go to Style > Typography and change its size. Apparently, different types and sizes of typography look good for mobile and desktop versions.
In this tutorial, you familiarize yourself with the conception of creating animated text in the Elementor text editor but all websites with their themes and templates are unique, so, in most cases, you have to play with the values and parameters.
Don’t be afraid of it because the best result is often reached by trial and error.
And don’t be afraid to ask any questions in the comments! We will try to help you ASAP 🙂
Elementor text animation FAQ
It is a page builder app that makes website creation even more simple than it is with the help of WordPress. It allows you to compose every page of a website like a puzzle – by dragging elements and dropping them to the page.
It is a type of animation that looks like a text that appears and floats through the page from someplace beyond the borders of the screen.
Static websites are outdated. Modern sites are dynamic and use lots of animations. Text animation is an original and cool way to step out of the line.
Read Also
How To Add A Background Video To Your Pages With Elementor: Elementor video background Tuts
Create a Responsive WordPress Website with Elementor [Free Webinar]
Elementor Menu Tutorials: How to Create a Hamburger Menu & How to create Elementor Mega Menu
20+ Best Elementor Add-ons 2020 Free & Premium
Don’t miss out these all-time favourites
- The best hosting for a WordPress website. Tap our link to get the best price on the market with 82% off. If HostPapa didn’t impress you check out other alternatives.
- Monthly SEO service and On-Page SEO - to increase your website organic traffic.
- Website Installation service - to get your template up and running within just 6 hours without hassle. No minute is wasted and the work is going.
- ONE Membership - to download unlimited number of WordPress themes, plugins, ppt and other products within one license. Since bigger is always better.

A freelancer, who is nuts about traveling, art, and learning foreign languages. Excited about exploring new cultures. Particularly jazzed about conveying ideas with words in an outstanding way. Instagram
Get more to your email
Subscribe to our newsletter and access exclusive content and offers available only to MonsterPost subscribers.

Leave a Reply
You must be logged in to post a comment.