- A Brief Introduction to Photoshop Actions
- Downloading actions
- Installing actions
- Using actions
- Creating a new action
- In conclusion
A Brief Introduction to Photoshop Actions
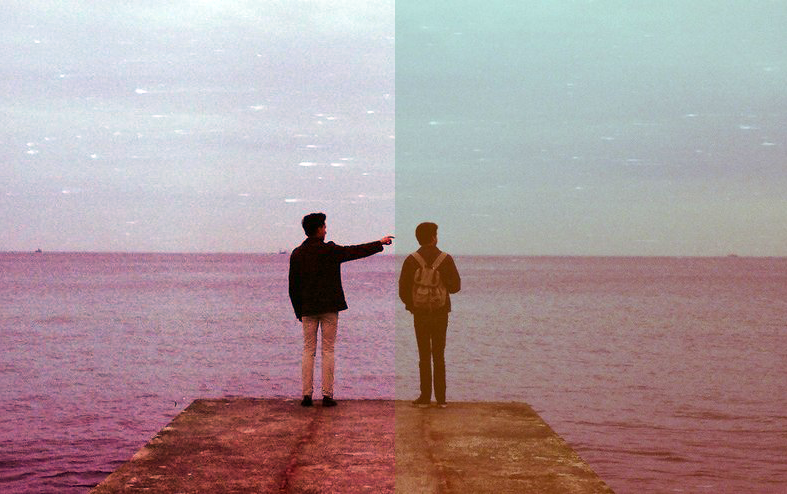
Photoshop Actions are a series of shortcuts that can help you recreate a particular editing style for a Photoshop project. They can save you hours of work and frustration. Use them to speed up your workflow and avoid the monotonous and meticulous process of repeating each technical step every time you want to change the image.
Downloading Actions
There is a great variety of sites that offer Photoshop Actions for aspiring artists and photographers. Here are the most popular:
Installing Actions
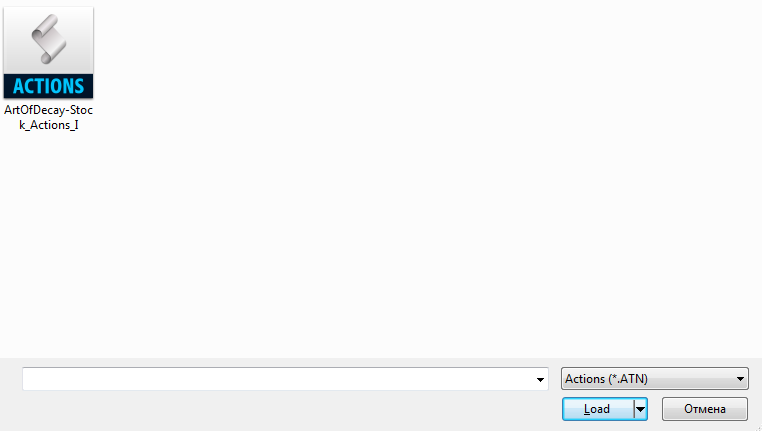
- After downloading the .zip archive with your Actions, open it and extract the .atn file.
- Open Photoshop
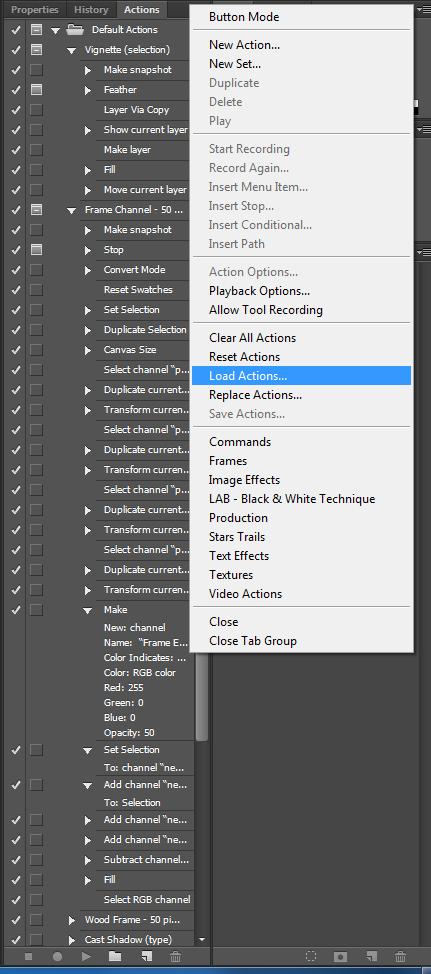
- Choose the actions panel.
- Choose the flyout menu, which is on the upper right corner of the Actions panel
- Click Load Actions
- Move the .atn file
Using Actions
After finishing the installation, you can run the action on any image that you require.
- First, you need to select the action that you want to use, then proceed by clicking on the play selection icon.
- At the bottom of the panel, click on the play button
- See the result

Creating a new action
Actions ought to be placed on an action set. It doesn’t matter whether you have a hundred actions in a single action set or only one, the rule stays the same. To set up a new action, do the following:
- At the bottom of the Actions palette, select the New Action Set icon.
- Then, choose a name for your new set.
At the bottom of the New Action dialog box, you can see several options. You can assign a keyboard shortcut to your new action, using any of the Function Keys, along with the Shift key or the Ctrl key. Also, there is a Color option. It gives you an opportunity to assign a specific color to your action. Unless you are using your actions through a Button Mode, you can feel free to ignore both of those options.
To start the recording process, click on a Record button. Then, you will see your newly built action in the action set inside the Actions palette. At the bottom of the palette, the Record button will turn red, which means that you are in the recording mode.
In conclusion
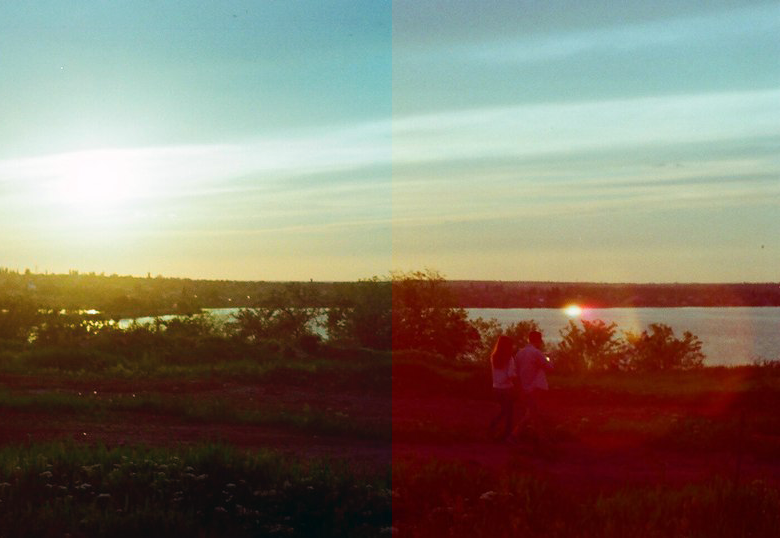
Now, your working palette is limited only by your imagination. Remember that not all images work well with all actions. Use actions wisely and you will soon discover just how vastly they can inspire you and help with developing your creativity. Never be afraid to try out new things and spend time editing your work before showing it to the world. If you will make the effort and work hard, you will soon achieve stunning results and prove yourself to be a fantastic artist. To learn more about the sophisticated world of web design, you can visit our blog.

Read Also
Adobe Photoshop Tricks to Give a Stunning Look to Your Images
How To Layout A Book In Adobe InDesign
Free Adobe Photoshop Tutorials For Beginners
Top 5 Creative Adobe CC Apps for Web Designers
How To Create Paragraph Styles In Adobe InDesign

Get more to your email
Subscribe to our newsletter and access exclusive content and offers available only to MonsterPost subscribers.

Leave a Reply
You must be logged in to post a comment.