
In this tutorial, I want to tell you how to use the inline option available in the new Elementor 2.5 Update. Make sure that you have updated your Elementor Page Builder to version 2.5 before searching for this option.
Basically, what this option allows you to do is to place several widgets next to each other in the same column. And before you start using this option it would be wise to purchase a good pre-developed website template, like the Monstroid2 multipurpose template. It has many skins and pre-developed templates for various website projects. Monstroid2 also includes a dozen useful WordPress plugins. Moreover, we use this WordPress theme as an example.
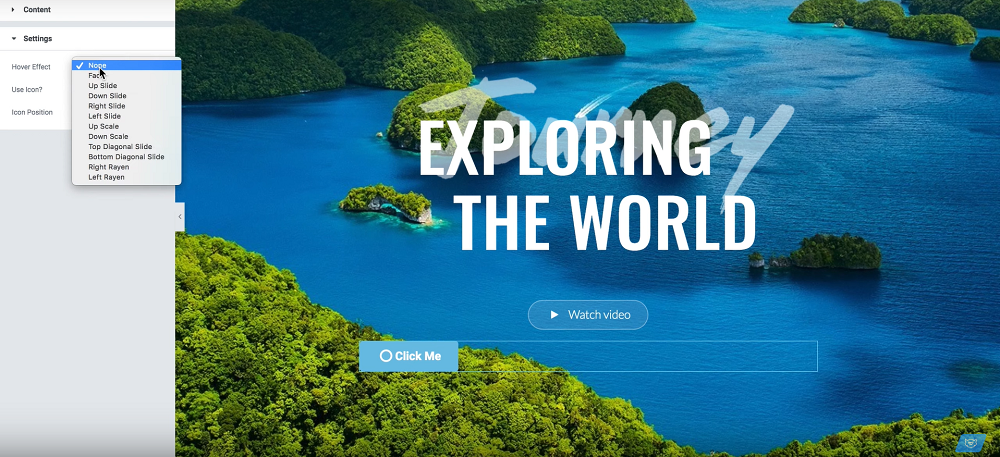
So, let’s take a look at this option. Imagine that you have created a new section with a button on in the middle of a column. Like this:


In this case, you can play with the design. You can change the design of the buttons. Instead of using a default button you can use a free button widget that comes with JetElements plugin included in Monstroid2 WordPress theme. In this case, you can easily add icons and animations. Such an option provides you with more choices. Or you can use the default Elementor button if you want to go that route.

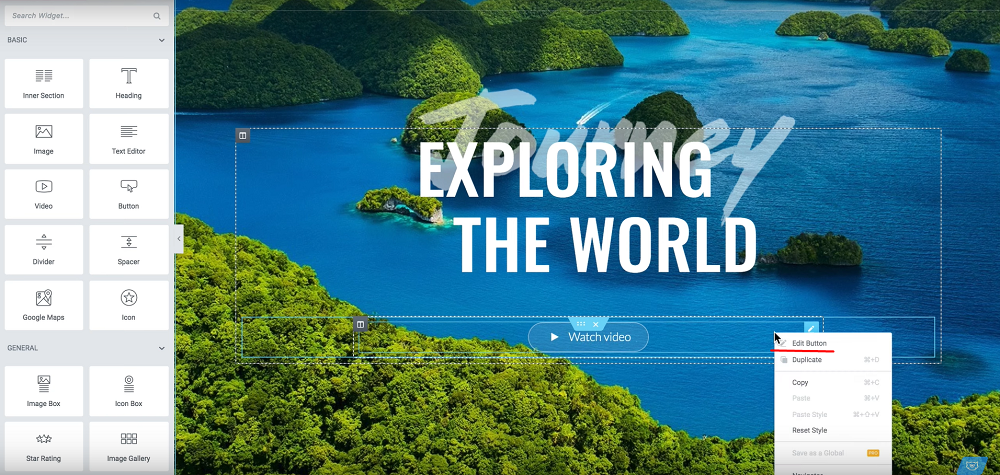
Imagine you want to place one more button in close proximity to the button that we already have. It will be easier with Elementor version 2.5. In previous versions, you had to choose a layout that included two columns and then customize them. Now, you can simply click on the widget and choose the proper option.

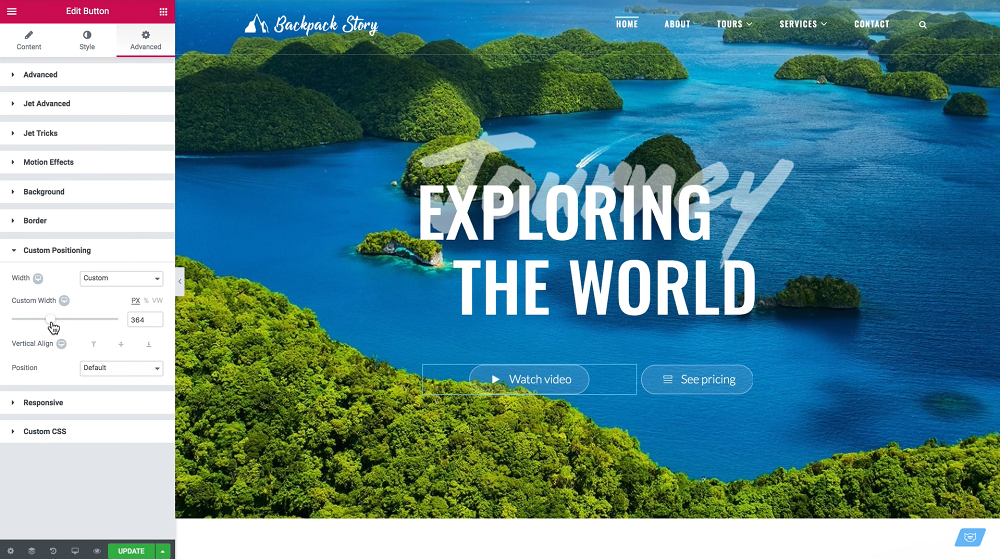
Then you go to Advanced and choose a custom positioning option.
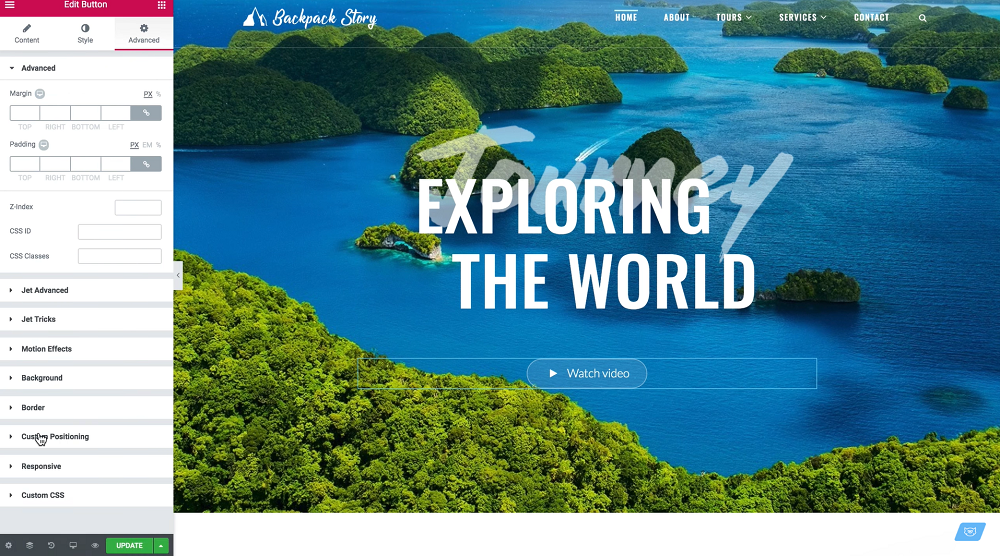

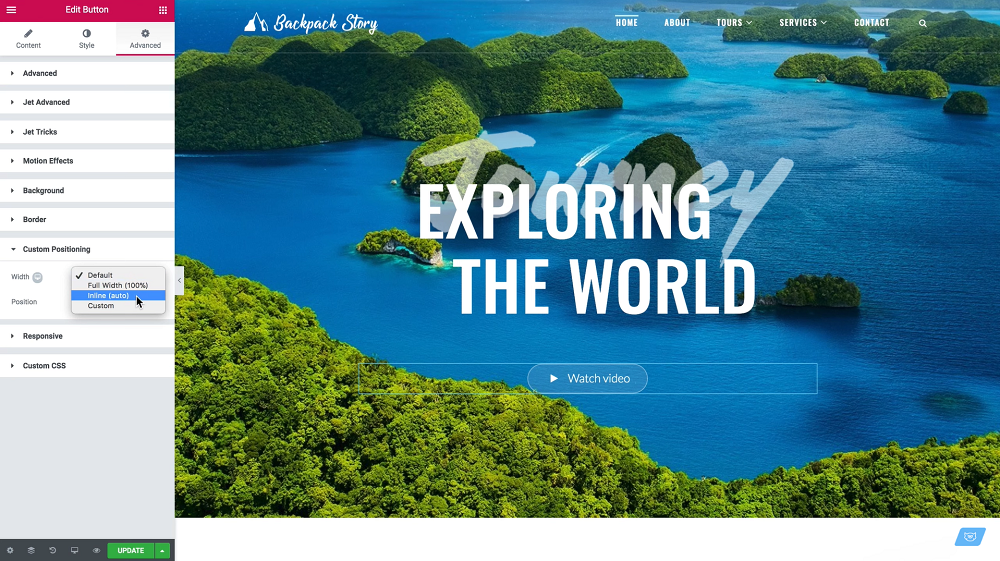
In custom positioning, you will find width options. You can choose among Default, Full Width, Inline, and Custom options. We will talk about the Custom options later. If you choose a Full Width option then your button will occupy the whole width of the column. And if you want to place more buttons into this column then choose the Inline option. It allows you to crop all the empty space.

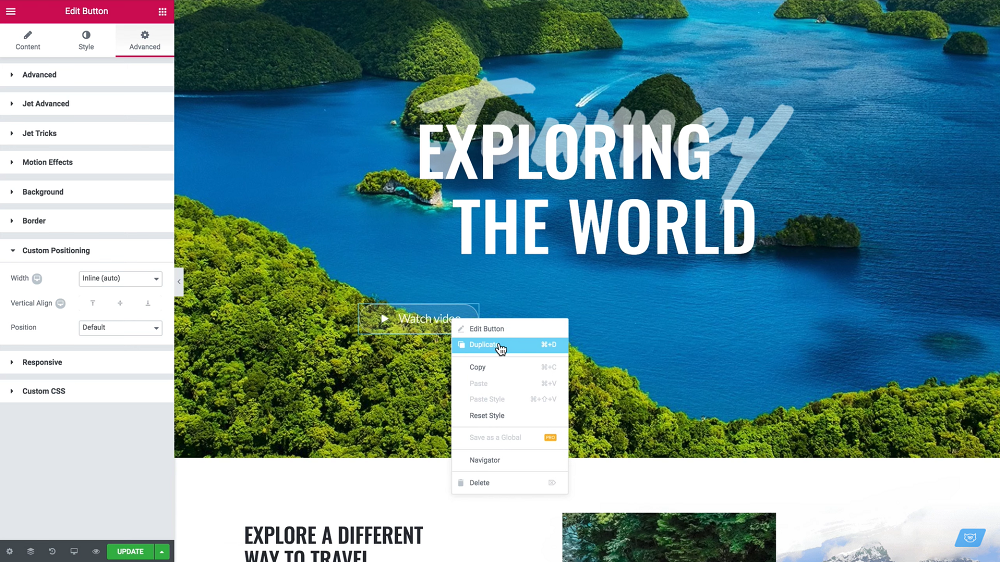
Then, in order to create a new button, you simply duplicate it as shown on the screenshot. Simply click with the right mouse button and choose the duplicate option. You can also find various options for the button style.

And this is what you see after all the steps we have made so far.

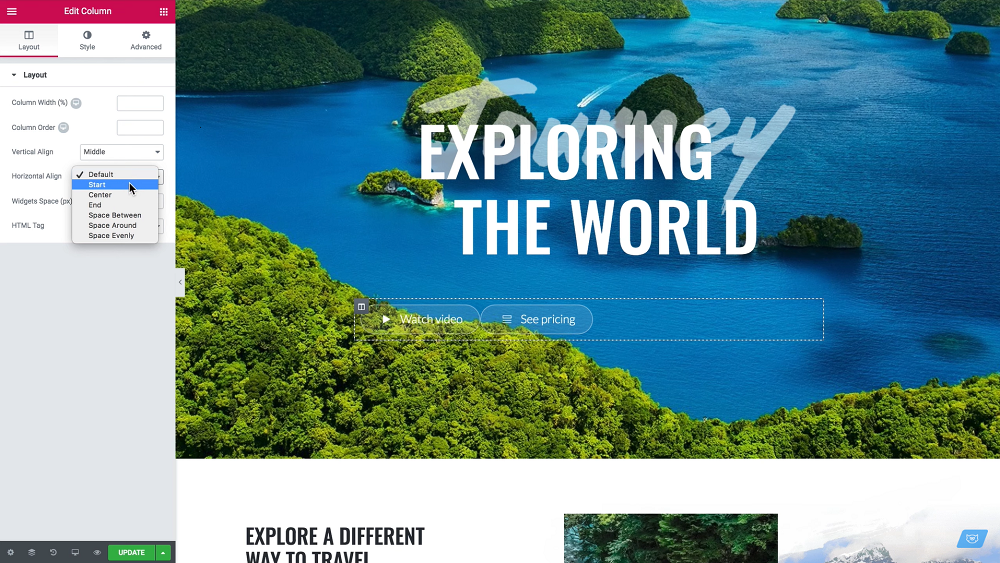
It already gives you more options, yet it still doesn’t look very good. As you can see, these buttons are grouped on the left end of the widget. And if you want to change the buttons’ location then click on the edit column button. It is pretty simple and you do not need to touch the settings for the section.

Here you can find Horizontal and Vertical Align. In this review, we do not show you how the Vertical align tool works, but it works in the same way as the horizontal tool–just vertically. Horizontal Align has six options. The Start option positions buttons in the left part of the column (like on the screen). The Center option positions all the elements in the center. And as it is now obvious, the End option aligns elements to the right part of the column. Even if you have just a few elements, it would be a good idea to separate them somehow.

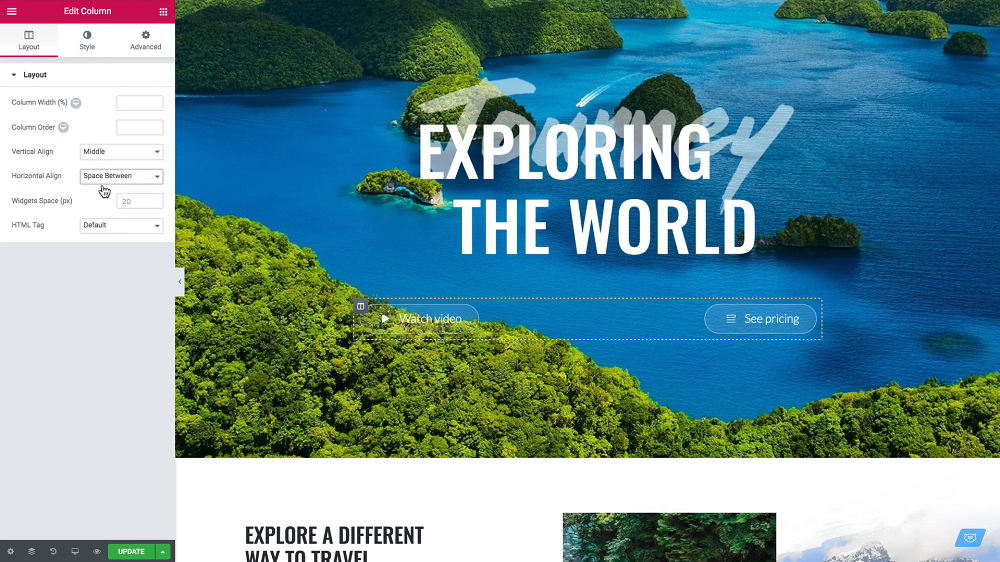
In this case, you can use the Space Between option that will separate buttons and place a whole empty column space between them.
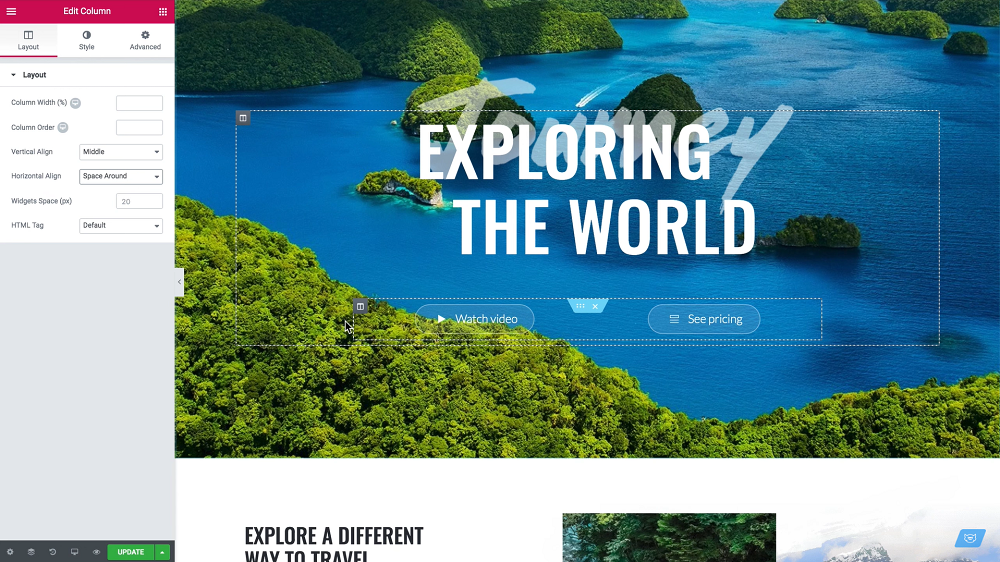
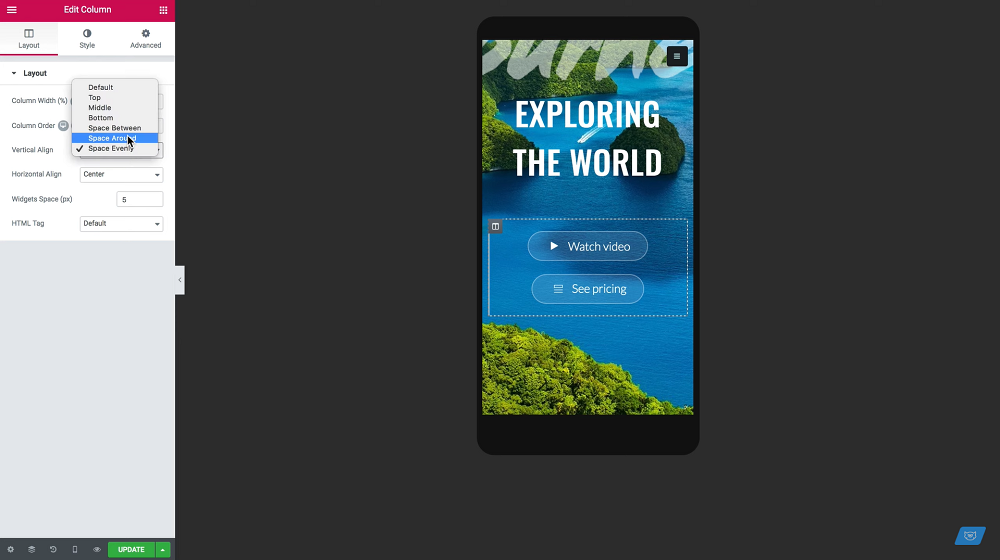
The Space Around option will add an even amount of space on each side of the column, or any other widget.
The Spread Evenly option aligns buttons symmetrically inside the column with an equal amount of empty space on the borders and center of the column.


There are even more customization possibilities. Imagine that I want to place them a bit closer to each other; the Space Evenly settings align them. In this case, I go to the settings of the section and change the parameters as I wish. I recommend you to use this opportunity and play with the design a bit. Moreover, it works not only for buttons but for any other widgets as well.
Now. Remember when we were talking about width options we skipped the Custom width option? Let’s take a look at it. This feature allows you to customize the amount of space around your widget.

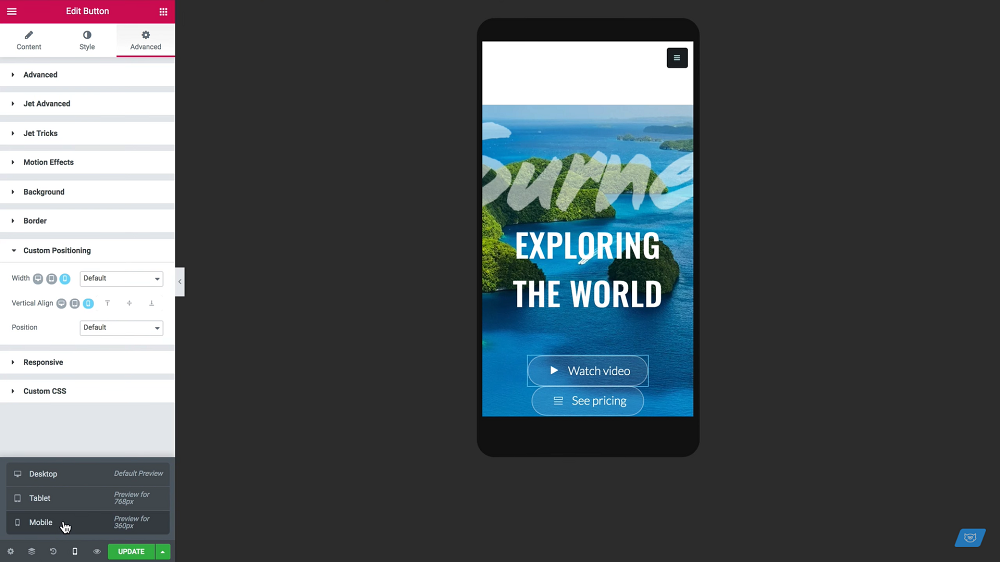
Moreover, you can customize the width around the widget for every type of device separately. It will make your website really responsive. And you can check how everything works due to the included Responsive Mode. And you can keep customizing space and widgets while using this Mode.
And now let’s play with Vertical Align. At first, you have to change the Current position option to Default in the Layout option menu. And as I mentioned previously, it allows you to use the same options as the Horizontal Align.
And that is pretty much all about how to use Inner Positioning in Elementor version 2.5. I really hope you know everything about it now. So use this knowledge for future projects and do not forget to check the Monstroid2 WordPress theme used in this video.


Read Also
Meet New Features in Elementor 2.5 [Review]
Elementor From A to Z: Sheer Selection Of “How To” Tutorials
How to Set Up Blog Post Lists with Elementor Page Builder
How to Style and Customize Contact Forms with Elementor Page Builder