How to Generate Sitemap in Magento 2
SEO plays a major role in generating business for your ecommerce store. If your store ranks in a top position on organic search results, then you probably already get lots of traffic which can convert to sales. Therefore, you have to implement the best ecommerce SEO practices, and Sitemap is one of them.

What is Sitemap?
It is a plain text file which contains all the URLs of your Magento 2 store. Basically it's a model of your store content which will help both in performing SEO and giving users the ability to navigate through your online store. The configuration to index your store’s images can be done this way too. It also allows webmasters to add additional information to each URL of your store such as:
- Last Update Time
- Importance of each URL
- The frequency of changes
With the help of the above information, the web crawler can crawl your store easily and smartly which will improve its Search Engine Optimization (SEO). Not only that, the webmaster can also add those links which it isn’t aware of.
So, today in this tutorial, I am going to teach you how to generate sitemap in Magento 2
Let’s start it!
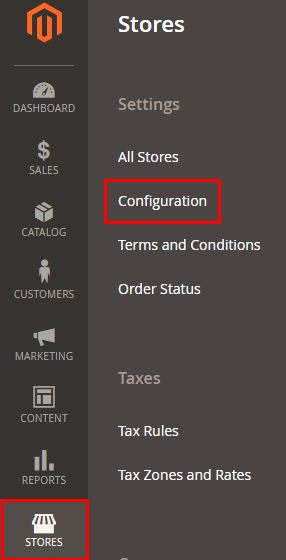
Navigate to STORES → Configuration from the admin panel of your store:
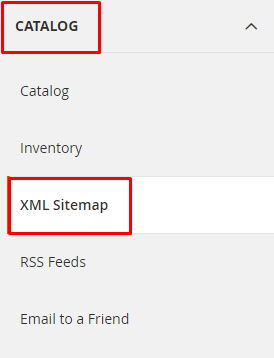
Then scroll down and click on XML Sitemap under the CATALOG tab:
Now here you have five sections:
- Categories Options
- Products Options
- CMS Pages Options
- Generation Settings
- Sitemap File Limits
Let’s look at each section one by one.
Unfold the Categories Options section. Here you will find two options: Frequency (Always, Hourly, Daily, Weekly, Monthly, Yearly, Never) and Priority. Set the frequency and the priority of new categories entries.
Note: Priority ranges from 0-1, where 0 means low priority and 1 means high priority. I have set it to 0.5; you can set yours according to your own requirements.

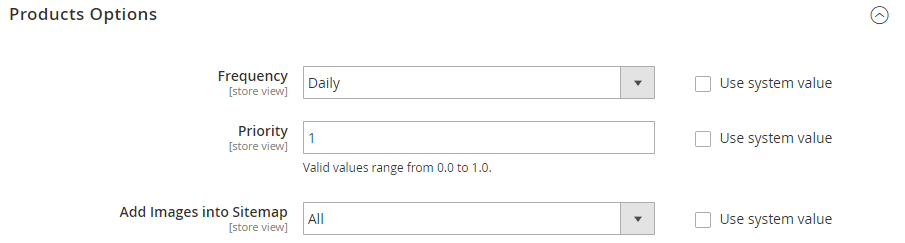
Now unfold the next section, Products Options. Here you can set the Frequency and Priority of new product entries. I have set the frequency as Daily and Priority as 1 (High). You can also enable product images entries into the sitemap:
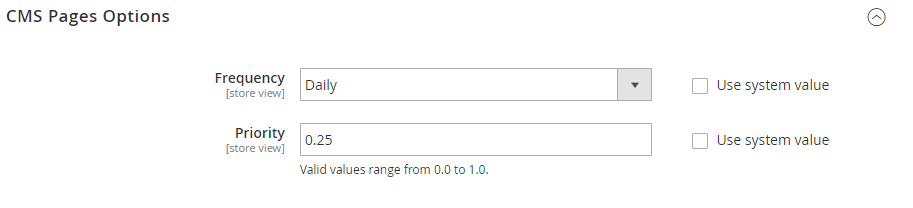
Now unfold CMS Pages Options, here you set the frequency and priority of CMS page entries the same way as in the previous sections. I have set the frequency as Daily and Priority as 0.25 (Low).
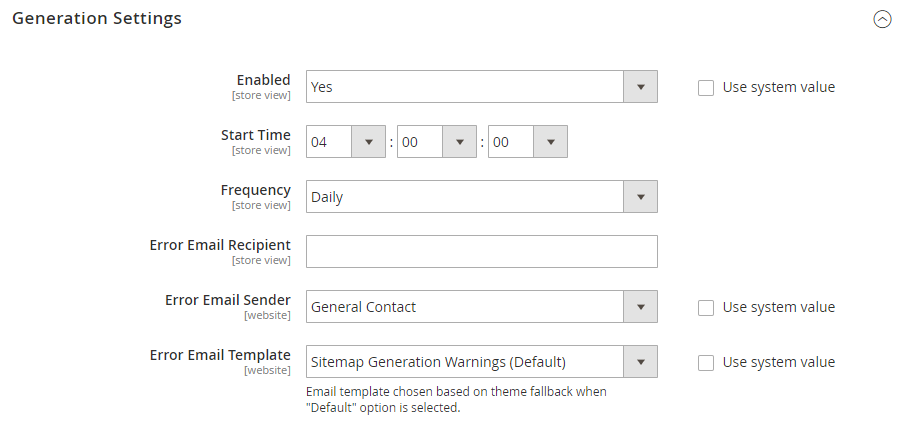
Now unfold the Generation Settings section. Here, select Yes from Enabled drop-down option to enable sitemap generation and you can also set its time delay.
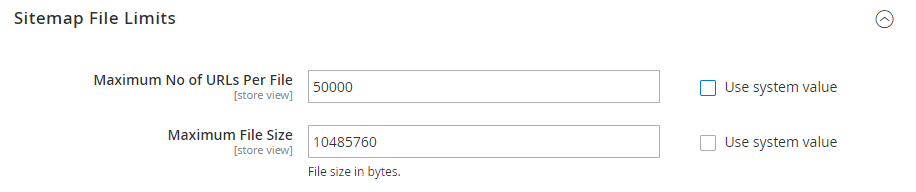
Now unfold the Sitemap File Limits section. Here you can set the URLs limit per file and also the maximum file size.
Now unfold the last section, Search Engine Submission Settings. If you want to add a reference of your store’s sitemap to the robots.txt file then select Yes from Enable Submission to Robots.txt drop-down option:

Now just click on Save Config from the top of the XML Sitemap Page:

Final Words
There are many factors through which you get visitors and sales onto your Magento 2 powered store. Organic traffic (i.e. without any external aids) is one of the best among them. With the help of this guide, you can generate a Magento 2 Sitemap for your online store quite easily.
Have any questions related to this tutorial? Please drop them in the comment box below!

Read Also
How to Create Product Attribute in Magento 2
Tips and Tricks for Magento Performance Improvement
F2 Free Magento Theme from TemplateMonster Compared to Luma
Top 10 Magento Themes to Start an eCommerce Packaging Business

Get more to your email
Subscribe to our newsletter and access exclusive content and offers available only to MonsterPost subscribers.

Leave a Reply
You must be logged in to post a comment.