How To Create a Classified Website in 7 Steps
Launching a site to promote and sell branded products is a must today. This is what gives brands maximum exposure on the web. But what if you want to earn some cash on your old T-shirts that you won’t wear anymore but they are still in too good a condition to throw away. Or maybe you are going to buy a new smartphone and want to cover part of its cost by selling your current device. Obviously, building the entire site to sell a few used items would be too much. In cases like these, most people need to know how to create a classified website to promote their stuff.
In general terms, a classifieds site is a place where people can buy and sell products by specific categories and locations. Sites of this kind drive a lot of traffic, e.g. Craiglist.org claims to have 60 million users monthly in the USA alone. That’s why if you build a successful classifieds site, it can become your cash cow.
Attention Shopify Theme Makers!
Start selling your Shopify themes at the TemplateMonster marketplace. Enjoy author-driven pricing and high commissions. Get a share of up to 70% for exclusive items, and 40% for non-exclusive ones.
That’s why if you build a successful classifieds site, it can become your cash cow.

There are many ways to monetize classifieds sites. The most popular of them is to charge fees for featured ads that will appear in the most prominent layout areas. It can be an upper slider on the homepage or the top of search results. Some ways to profit from classifieds sites include selling banner ads, publishing PPC ads in the empty layout space, promoting affiliate products, and there are many others.
Would you like to create your own classifieds site to earn on the side first and possibly grow it into your major source of income?
If you want to create a classified website step-by-step using one of the WordPress classifieds themes, I'll show you how to do it in 10 steps:
- Install an Advanced Search System
- Integrate Google Maps
- Create a Detailed Ad Page
- Add Widgets to Your Website Pages
- Emphasize Premium Ads
- Create an Advertiser Profile Page
- Embed an Ad Submission Form
- Add a Contact Form
- Launch a Blog for Better SEO
- Make Your Site Responsive
But first, I want to share the alternative way of creating a classifieds website with the help of a sitebuider.
Create a Classifieds Website in 7 Steps
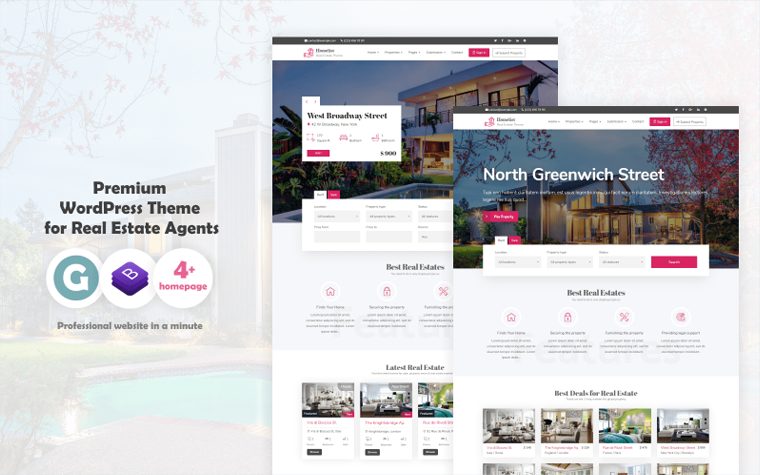
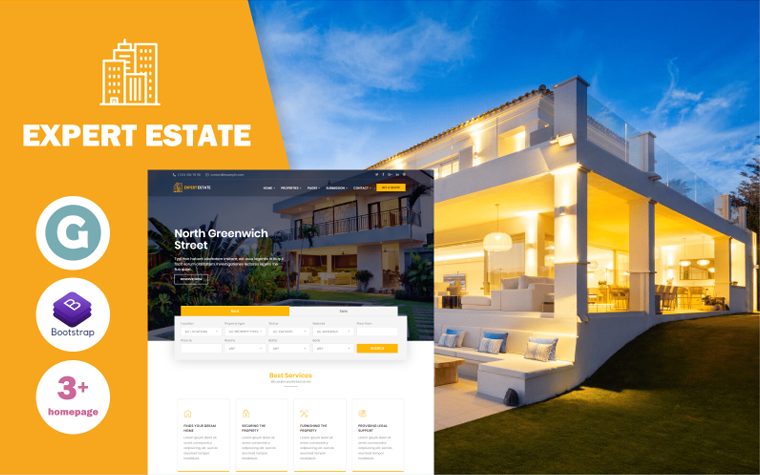
Here’s the ultimate guide on how to do it the fastest way possible, using one of the ready-made premium WordPress themes. We’ll skip the steps of how to choose a domain name, hosting, and other basics that you can find in this detailed post. In today’s guide, we’ll get straight to the point. As an example, we’ll use Dunk Dynamic Real Estate WordPress Theme. This WordPress classifieds theme was designed specifically for real estate but can be customized to any other niche. Check out the steps you need to take for building a classifieds site.
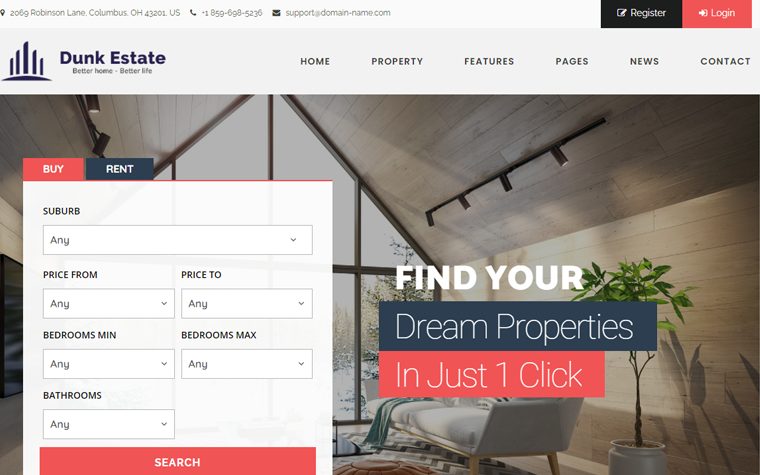
Step 1. Install an Advanced Search System
The core of every classifieds site is an advanced search system. Your site will have tons of ads, in which visitors can get lost. If you use an ordinary search, they will find it challenging and time-consuming to track down the right product. You must equip your search with filters so that people can skip irrelevant ads and focus only on those that matter.
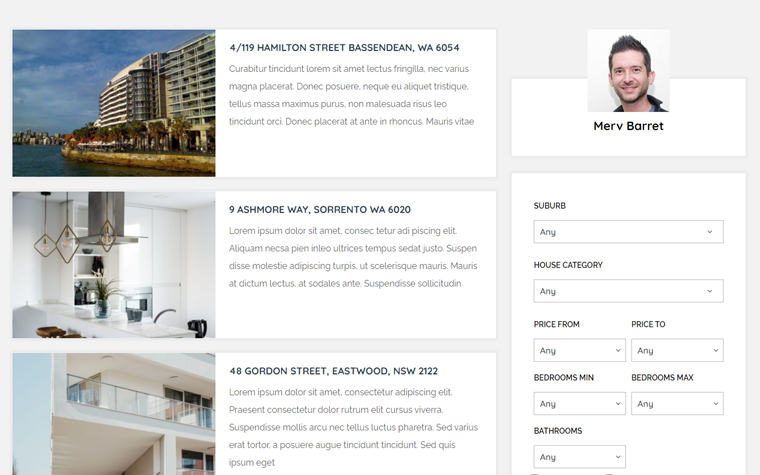
Such an advanced search comes integrated into Bellaina. It lets visitors specify different details to find the most suitable real estate ads. They can search properties by keyword, status, type, price, location, area, parking spots, and the number of bedrooms and bathrooms.

To bring relevant results to the top, this classified WordPress theme has sorting options. With their help, visitors can sort ads by price (from low to high and vice versa) and date (from new to old and vice versa). It’s also possible to choose the most comfortable mode of viewing ads, i.e. grid or list.
Step 2. Integrate Google Maps
New-Yorkers are unlikely to cross the country to get a used item from Los Angeles unless it’s something exclusive. Postage from LA will also cost them higher than, say, from nearby Pennsylvania. That’s why a classifieds site must display search results on a geo map so that people are able to see the nearest offerings to their own current locations.
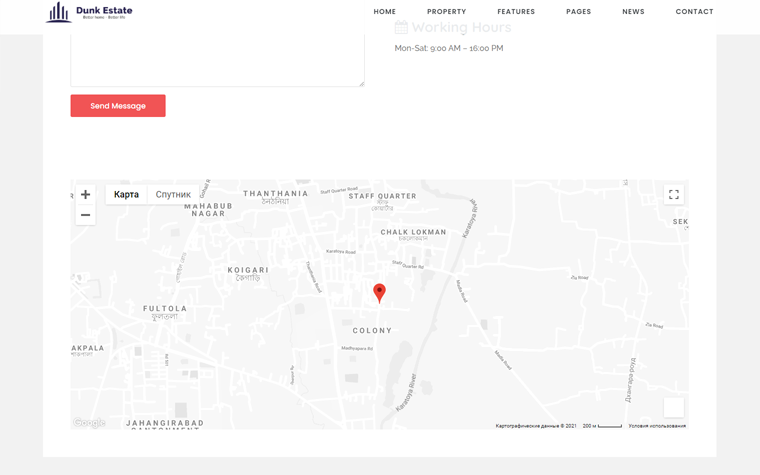
Bellaina is one of the best classified themes for WordPress, as it provides a location-based search. After visitors hit the search button, results show up on a map powered by Google Maps. They can preview each of them at once, by simply clicking on a corresponding marker. It will show them the chosen property with its photo, general features, and price. To get into more details, all they need to do is click on the preview box once again. It will redirect them to an individual page of that ad.
Step 3. Create a Detailed Ad Page
Ads on your site will convert only if people can access all the necessary information about the advertised products. That’s why a single ad page must contain multiple blocks that will reveal each and every detail about the offering. Just like in the case of Bellaina.
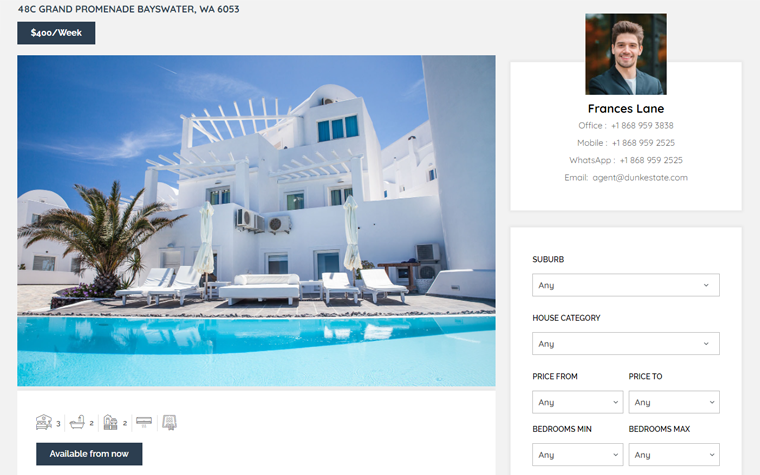
This classified ad WordPress theme has a content-rich page giving a full property overview. Visitors can read its summary, scan a list of the main features, and look through multiple images in a built-in gallery. The page is also equipped with a map showing the location of the chosen property. Under the map, there is a block with the realtor’s photo, contact details, and links to social profiles.
Step 4. Add Widgets to Your Website Pages
Besides presenting the main ad info in detail, you should always take an opportunity to offer people more. For example, you can engage them with some extra ads like related or latest offerings. That’s what widgets can help you with.
As you can see above, the ad page of Bellaina is not limited to the main details of that particular ad only. It provides much more information by means of widgets including related properties, recent posts, and comments, categories, newsletter form, calendar, etc. Widgets are also used to make navigation easier. There are tags, archives, and a search option in the sidebar of this classified ads WordPress theme.
Step 5. Create an Advertiser Profile Page
Another important feature of a classifieds site is an advertiser profile page. That’s where visitors can learn about the author of the ad, find his contact details, and view all the ads he posted. It’s especially helpful in those cases when a customer is satisfied with a certain advertiser and wants to deal with him again.
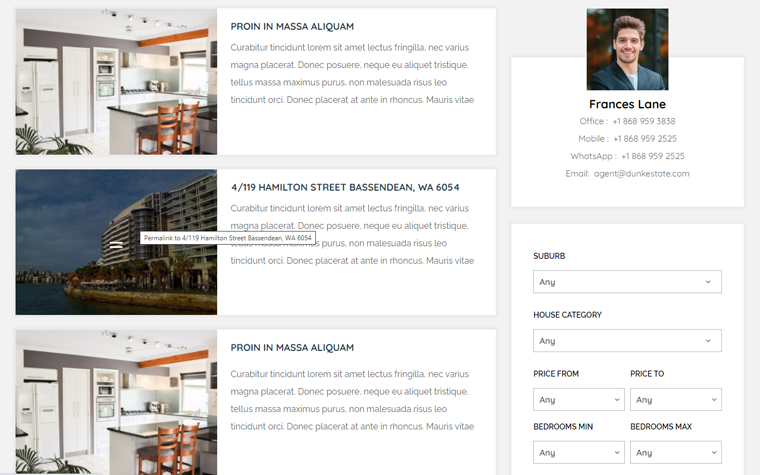
Bellaina has a pre-designed realtor profile with a photo, a block of text, contacts, and social links. On this page, people can also check out all of his active listings and find their whereabouts on the map.
Step 6. Add a Contact Form
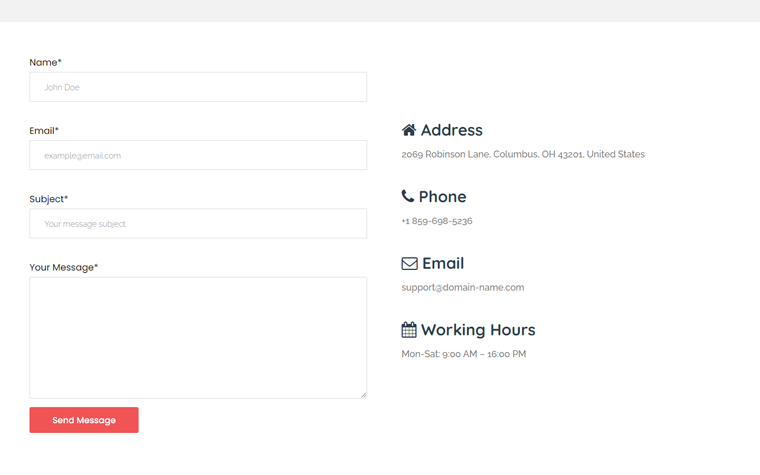
People contact advertisers from time to time, whether they need to find out some extra info or just make things clear. That's why your classifieds site needs a contact form like the one integrated into Bellaina. You don’t have to overload it with multiple fields. Instead, keep the form simple with the basic fields for the sender’s name, email, and message.
Step 7. Launch a Blog for Better SEO
If you are just starting out, you should drive traffic to your new classifieds site in every possible way. Creating a blog is one of them, as it will let you post keyword-rich content regularly. That way, your site will appear in search results because of more queries.
Real Estate WordPress Themes
Related Posts
- Facebook, LinkedIn, Google Ads? Which Advertising Platform is Better for Business Specific Objectives?
- How Too Many Ads Can Screw Up Your Website
- How to Turn Site Visitors into Leads. 3 Actionable Strategies [Free eBook]
- Programmatic Advertising 101 — a New Long-Read Post for Entrepreneurs
- Search and Display Advertising Challenges and How to Overcome Them?
- What You Need to Know About Quora’s New Advertising Tools
Don’t miss out these all-time favourites
- The best hosting for a WordPress website. Tap our link to get the best price on the market with 82% off. If HostPapa didn’t impress you check out other alternatives.
- Monthly SEO service and On-Page SEO - to increase your website organic traffic.
- Website Installation service - to get your template up and running within just 6 hours without hassle. No minute is wasted and the work is going.
- ONE Membership - to download unlimited number of WordPress themes, plugins, ppt and other products within one license. Since bigger is always better.

Posting contributed articles about the major web design highlights and novelties. Come across a handful of useful tutorials and guides shared by experts in the web design and online marketing fields.
Get more to your email
Subscribe to our newsletter and access exclusive content and offers available only to MonsterPost subscribers.

Leave a Reply
You must be logged in to post a comment.