
- Install WordPress Ubuntu: things to do before
- Installation and Configuration of Apache 2
- Installation of MySQL
- PHP installation
- Install WordPress on Ubuntu: tutorial
Ubuntu is a software operating system, which is Debian based. It’s open and completely free. Every six months it’s released, while its support for long term is released every two years. There are three crucial editions of this system: Server, Desktop, Core. They can all be run either on the computers or virtually. OpenStack being supported by this system is often used in cloud computing.


Install WordPress Ubuntu: things to do before
The process of WordPress’ installation on Ubuntu needs some preparations, about which we’re going to tell you in this article. Below you will find the necessary tutorials.
A “LAMP” includes the open-source software the group of which is recommended to be installed together: it enables web applications and sites to be hosted by the server. The mentioned group contains the operating system Linux, the web server Apache, MySQL (the storage of all website content) and PHP (it processes dynamic data).
Installation and Configuration of Apache 2
Apache Software Foundation maintained and developed Apache Web Server, which is an open and completely free web source. This server powers approximately half of all the websites around the world. Thanks to it, developers of sites may post their content and other data on the internet. In other words, when users request information through the address bar of a browser, the server delivers it to them.
In our guide all the procedures and commands were run on the Ubuntu 18.04 LTS system. The mentioned commands may be opened through Dash.
Preparation
The installation of the server is provided by package manager of Ubuntu, apt:


It’s a “sudo” command, which means that you execute the operations with root privileges. For verification you’ll be asked for a password. You should enter it, and then the packages for installation and the necessary disk space for them will be presented to you. Just press “Yes” and “Enter” to go forward.
Allowance of web traffic by Firewall adjustment
Now, after successfully following of all the recommendations above, you should verify if HTTPS and HTTP traffic are allowed. The presence of the Apache’s app profile may be checked in the following way:
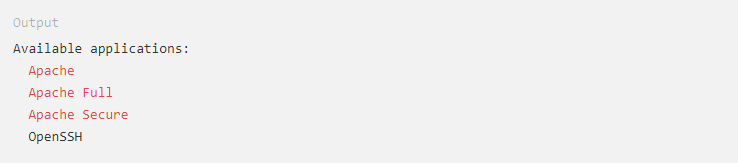

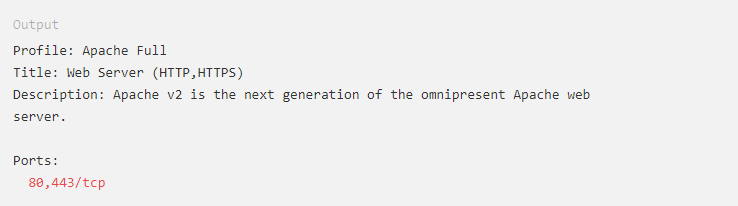
Below, the traffic should be enabled to the ports 80,443/tcp:
![]()


Your next step is:


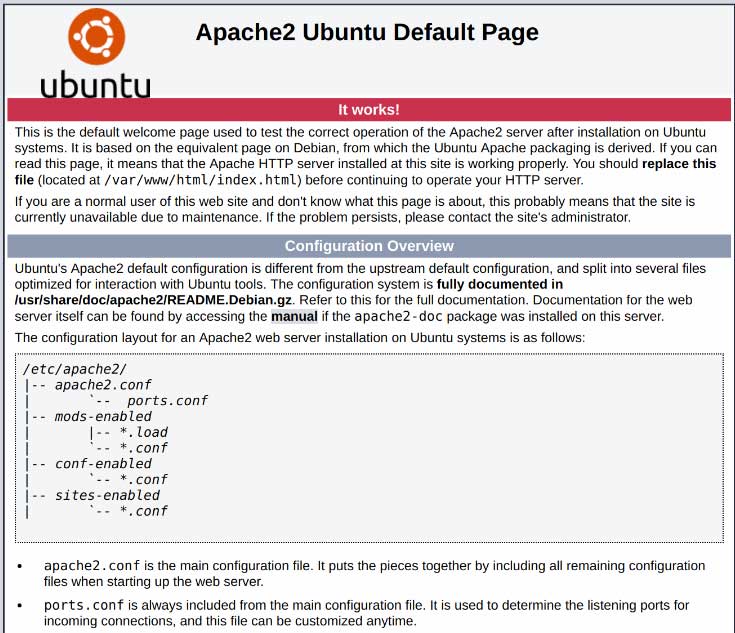
At this stage it would be better to inspect the accuracy of the previous actions. The procedure is quite simple: just open the web browser and visit the IP address of your server. If you don’t know it, look through our guide below.


If you’ve done everything right, you may see the following default page. So the server is installed correctly and is fully accessible.

How to find the IP address of your server
The connection to your server is done through SSH. For this you should know the IP address we’re talking about. We present to you two ways to find it using a command line.
In the first case, you should type the following text:
![]()

You’ll receive two to three addresses. All of them are correct, but nevertheless check out each of them, as usually only one address may be used on a computer.
Another way is to contact the outside party and ask how your server is seen:


No matter which method you choose, it’s necessary to do verification in order to see the default page.
Installation of MySQL
Once your server is working properly we may move to the next step to install WordPress Ubuntu: it’s a MySQL installation. In short, it’s a system of database management. Its main functions are organization and provision of access to the databases, where all the content and information of your website may be stored.
Here we start with the usage of apt:

As in Apache 2 installation the packages for installation and the necessary disk space for them will be presented to you. Type “Yes” to move further.
After finishing installation, run a script that provides the database system with security. As a result, access to the database is locked down and all kinds of defaults are removed. An interactive script is started in the following way:
![]()

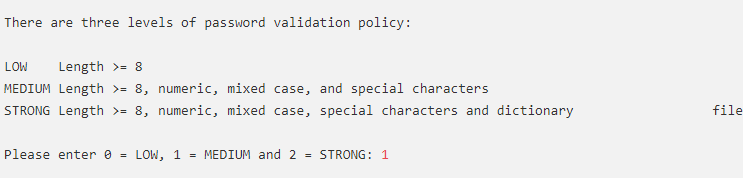
Then you’ll be asked about configuration of Validate Password Plugin. If you’re going to answer “Yes” just type “Y” but if not, press anything else to move further.
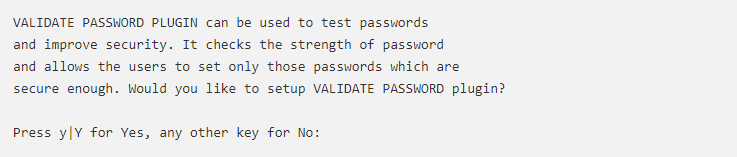

If you choose “Y” be ready to choose a level of the password check. Remember that if you enter “2” for the strongest level, there will be errors during password setting (the password doesn’t include any numbers, characters, common vocabulary words, or just letters).

No matter what previous actions you’ve done, you’ll be asked to choose a password for root user and then to confirm it. It’s an account with great benefits. Think well about your future password in order to make it reliable.
While checking your password, you may see the strength of the chosen password. Also you’ll be proposed to choose another password. If you want to leave your password, just type “N” as in the example:


To answer the other questions, type “Y” and go on. In the result, the test database and any anonymous users are removed, the root logins are disabled, the new rules are loaded, and so MySQL will start working while taking into account all your changes.
It’s necessary to mention, that starting with MySQL 5.7 and any newer versions, the root user is authenticated with a plugin instead of using the password. Use of a plugin provides greater security.
Now everything is set up, and it’s time to enter “exit”:
![]()

And we move to the final part of the stack installation.
PHP installation
With PHP the code is processed, the scripts are run, the content is displayed dynamically, and the information may be gathered through connections with databases.
Use the system apt once more, but now with the help of already installed database and server:
![]()

![]()

Everything should be clear and easy. Quite frequently it’s obligatory to change the way the server shows the requested files. Initially, the html files are shown.


But we need it to serve PHP files first of all. It should be seen in the following way:


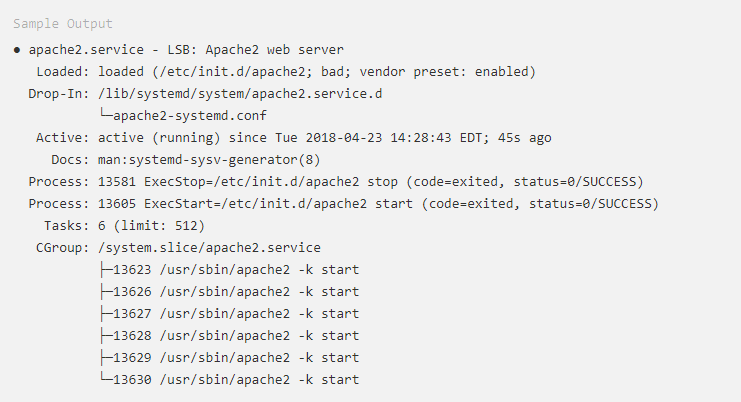
After saving the file, close it. To make the server recognize the changes you have to restart it.

To close it, type “Q”.
To provide PHP with a bigger number of functions we should add the modules. To see all the variety of commands, libraries, and other modules move the received results into “less.”


Look through the list by scrolling, or type “Q” to exit.
Below you may get general information about the modules ready for installation:
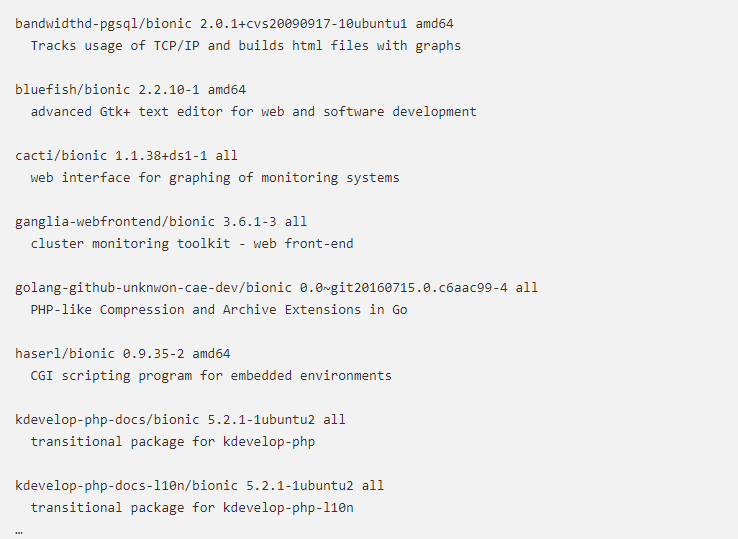

To learn more detailed description of the packages serve the internet. In case you decided to install any of them you must use “apt install” as a crucial command.
![]()

In this example, the chosen package is called “php-cli”.
Congratulations! Your stack is ready.
Install WordPress on Ubuntu: tutorial
Preparation
It’s necessary to do some preparations.
First of all, make a file for configuration. You may name it, for instance, “WordPress.configuration”. It will be a reproduction of the existing default file, which is also responsible for configuration.
Secondly, make the directory as shown below:


Save all the editions.
To use the options of permanent links enter the next command:
![]()

The entire configuration may be tested by means of the following step:
![]()

Verify if the text “Syntax OK” appears. You can ignore all the other messages: they don’t affect the installation.
Using this command you may restart the server to verify if the system works with your changes.
![]()

Installation and configuration
The location may be changed to the directory and then you can begin to download WordPress. Here is how to do it:
![]()

![]()
Unpack the file in the following way:
![]()

Now the next file may be created:
![]()

Save it and give it another name as shown below:
![]()

You’ll need a new folder located at the following address:
![]()
Our initial configuration is finished and the download root will be supplemented.
![]()

To verify the correctness of the previous actions the “owners” of the files in WordPress must be renamed to the “www-data”. This will let you use the server. Follow the next command:
![]()

Don’t forget that permission must be corrected like:
![]()

![]()

The WordPress “salt” is required to perform the beginning of the configuration. Here’s how it should look:
![]()

All the results will differ from each other and each result will include salt values. Copy and add the result you receive to the following file:
![]()

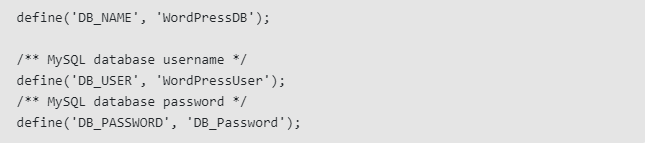
Change the mentioned values in the file and save it. In this file above there are some configuration tools. Change the “DB_....” on the values you’ve got:

The “FS” method may also be added as well:
![]()

Save the changes.
The backend is set up. Access to WordPress may be performed by typing in the URL and your IP address.
All further actions will be similar to the common WordPress setup. Firstly, you’ll be asked to choose a language. Secondly, you should choose a strong password and user name.
At the end, press “Install” to finish the setup.
Best Plugins For A New WordPress Site [Free Ebook]
By clicking the button you agree to the Privacy Policy and Terms and Conditions.
Read Also
How to Install Elementor WordPress Template?
How to Update WordPress Theme in a Secure Way?