How to Create an Attractive Image Grid, Masonry or Justify Layout with JetElements Images Layout Widget for Elementor?
They say that if your pictures are beautiful and sharp you don’t need to spend extra efforts trying to improve the looks of your gallery. Nothing can mess up the look of your website if you take some really great photos, right? If you nodded in agreement reading that sentence I have some bad news for you. An unattractive gallery layout could actually ruin appearance of your web page thus spoil the first impression of the visitor. To avoid such troubles – think carefully when choosing the type of gallery appearance. Image layouts are like clothes on a woman – she is beautiful without them, but a proper dress could make her look like a celebrity.
The best tool to not only add grid, masonry, or justify images gallery to the website but also to quickly shift them and decide which one is better for your design is Elementor Page Builder. If you haven’t used it before – you should go through this article with a detailed review of Elementor Builder. Long words short – Elementor is a huge toolbox that allows you to customize your website appearance in real time, monitoring the changes just as you implement them. The plugin will help you add image grid, masonry, or justify layout is JetElements. It's an extension created especially for Elementor and it adds a good number of instruments to its customization menu.
[tweet_box]Create an attractive image grid with JetElements #WordPress #plugin[/tweet_box]
So, it’s time to get back to the images layouts. The “Images Layout” widget of JetElements plugin has an intuitively understandable interface, so you won’t have any trouble using it. Come on, let me show you.
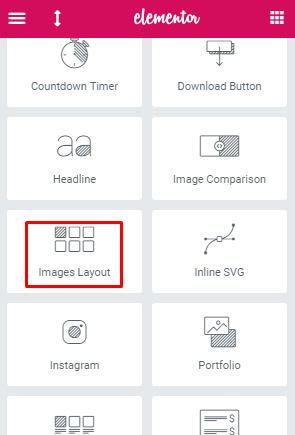
First of all, go to the WP admin dashboard, open the “Pages” tab, and click “Edit with Elementor” button on the page you want to put some great image layout on. In the Elementor menu choose the JetElements section and find the “Images Layout” widget.
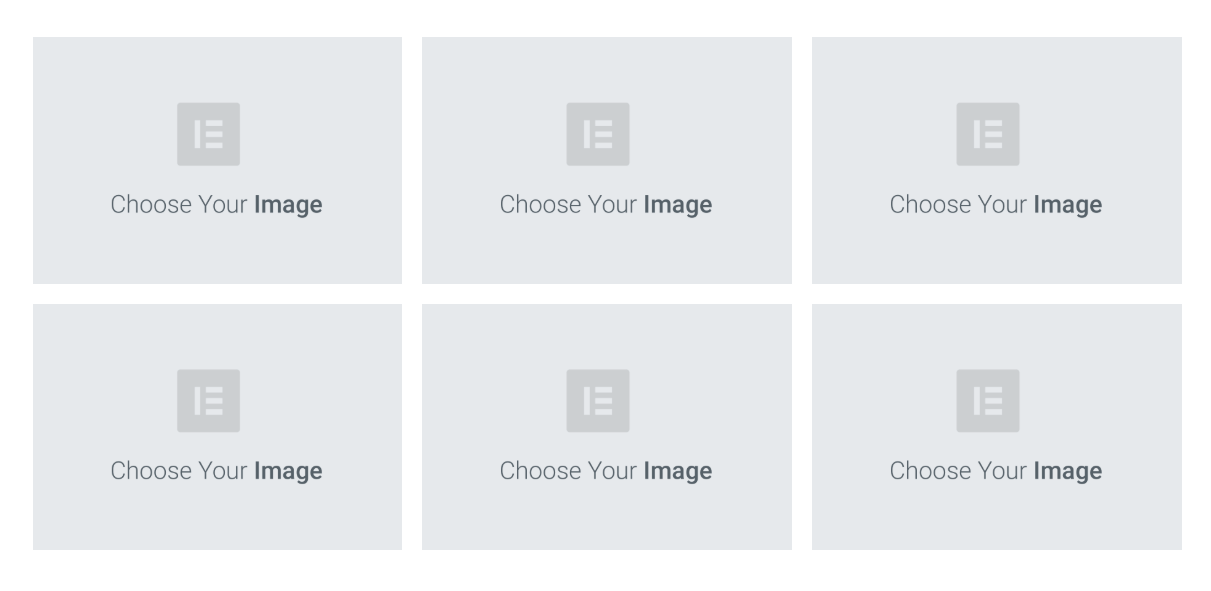
Drag it and drop it to the work field (yeah, it’s just that simple). Basically, this element looks like this:
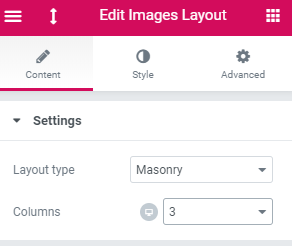
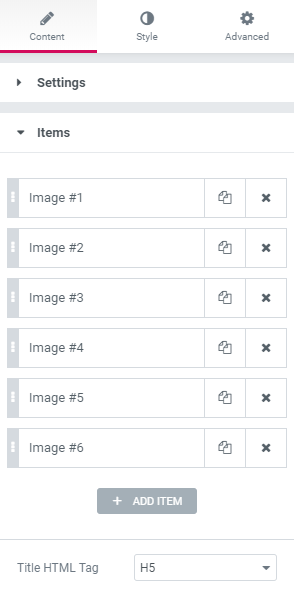
In the “Content” tab of the menu, there are two sections: “Settings” and “Items”. In the first one, you can change the number of columns displayed on the page. The type of the layout is also changed right here. In the “Items” section you can add images to the layout.
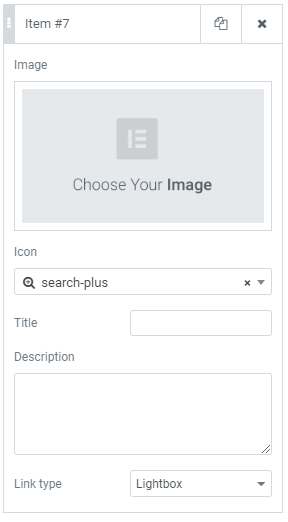
Click on the item and add picture, icon, title, description and link. You can watch the changes in the layout at just the same moment you do it.
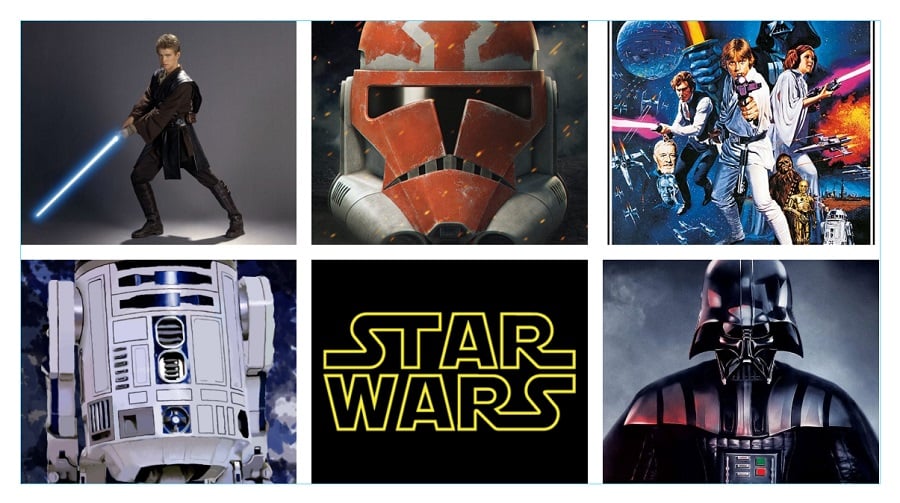
When you’ve finished adding images it is time to play a little with the layouts. Here’s what the grid image layout looks like. All the pictures are cut to a similar size and placed in accurate rows. The grid is the strictest and most official layout of all.
Masonry is a little messier than the grid. The pictures have a similar width, but height is proportional to the real size of the picture.
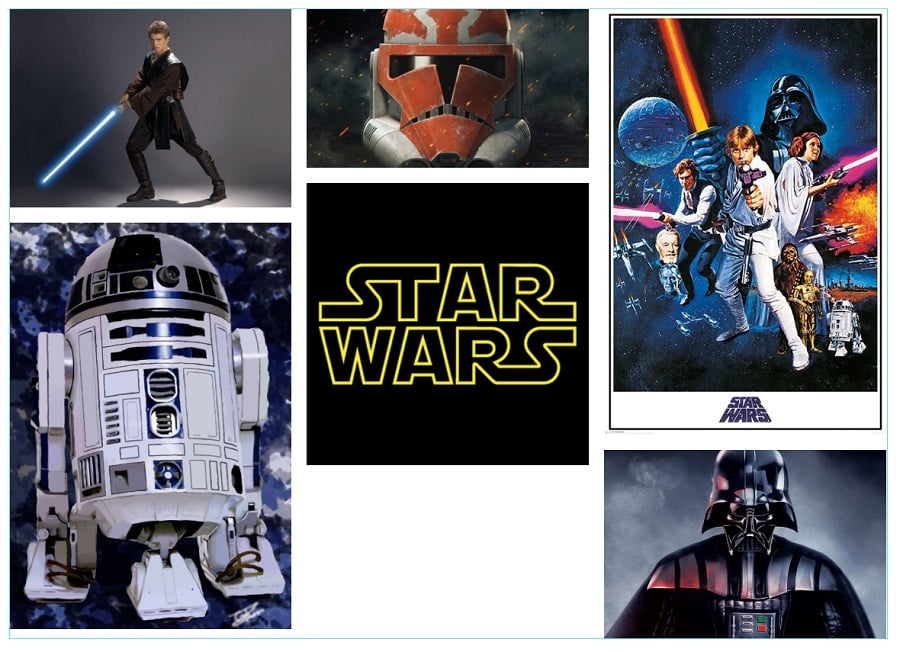
Justify is similar to masonry, just vice versa. All the pictures have the same height, but the width is proportional to the original variant.
If you still don’t catch something – you should watch our video about adding a grid, masonry, or justify image layout to the page. We show the whole process with the tiniest details, so you will definitely be able to repeat all the actions.
I will be pleased if this short tutorial is useful for you. If there are any questions – please, leave them in the comment section below and, of course, all comments are welcome!

Read Also
Create Justified Gallery Layout with Elementor – Elementor Tutorial
How To Create And Shape Up Your Portfolio With Elementor Builder
Elementor From A to Z: Sheer Selection Of “How To” Tutorials
Top 50 WordPress Elementor Business Themes
Don’t miss out these all-time favourites
- The best hosting for a WordPress website. Tap our link to get the best price on the market with 82% off. If HostPapa didn’t impress you check out other alternatives.
- Monthly SEO service and On-Page SEO - to increase your website organic traffic.
- Website Installation service - to get your template up and running within just 6 hours without hassle. No minute is wasted and the work is going.
- ONE Membership - to download unlimited number of WordPress themes, plugins, ppt and other products within one license. Since bigger is always better.

A passionate WordPress monster since 2018. Loves professionally built website templates, is Elementor Page Builder fan and becomes extremely curious when it comes to trying some new site creation tools. Quora account
Get more to your email
Subscribe to our newsletter and access exclusive content and offers available only to MonsterPost subscribers.

Leave a Reply
You must be logged in to post a comment.