Keynote Crop Image Tricks: How to Crop Images in Keynote
- A Few Words about Keynote Software
- How to Work with Images in Keynote
- How to Crop (Mask) Images in Keynote
- How to Crop Images in Keynote into Circles
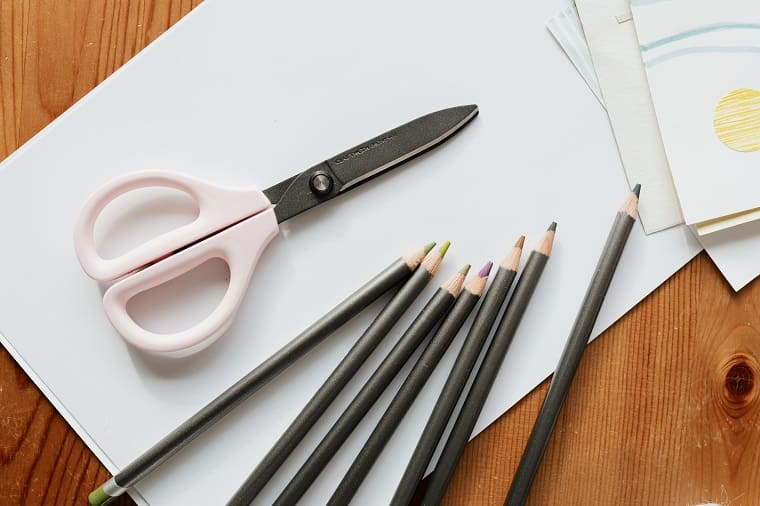
When it comes to presentations, whether they are made in Keynote or PowerPoint, there is a golden rule: pictures are always better than text slides. The explanation is simple. The human brain processes visual information more efficiently than text. So, our piece of advice is, if you want your presentation to leave a mark in the memory of your audience, include suitable imagery. But, here's the deal. When working on a Keynote presentation, you may find the image editing process somewhat challenging. Even if you have purchased high-quality Keynote templates with a set of images, you may need to crop some of them or alter them to be shaped differently. Luckily for you, we have prepared a few useful tutorials on Keynote crop image processes. The whole thing shouldn’t take you more than a few minutes. You will find all the necessary tips and tricks on how to insert, rotate, and crop images in Keynote. Keep reading - the best part is waiting for you below.
A Few Words about Keynote Software

Keynote is a presentation software application created by Apple Inc. The product allows users to create and edit beautiful presentations straight from their iPhones, iPads, and MacBooks. The software is a component of Apple’s iWork productivity suite and a companion application to Pages and Numbers. Keynote is similar to PowerPoint but unlike the latter, it is designed exclusively for Mac users. The interface of Keynote is user-friendly and stylish; it combines all the necessary features so that even a complete beginner can create stunning presentations in no time.
How to Work with Images in Keynote

We have to warn you - working with images in Keynote is not going to be easy... Who are we kidding? It is going to be super easy! Even if you have zero or little experience using this software application, adding, editing, cropping, and rotating images in Keynote will be a piece of cake. So, here are a few useful Mac Keynote tutorials.
Adding or Changing an Image in your Keynote Presentation
In this quick tutorial, we’re going to show you how to add or change an image in Keynote. You’ll learn how to manipulate which image is shown on the slide when you are using a default slide template.
- First, launch your Keynote software.
- Pick a template you like. You will find a number of slides with default pictures on them.
- There are two ways you can change a default picture.
- If you look in the bottom right-hand corner of the picture on the slide, you will find a small Media button there. If you click it, you will get access to the Image Gallery. It allows you to browse through different photos that you already have stored in iPhoto on your Mac.
- In case you don’t want to use the iPhoto option, there’s another way. All you have to do is to find an image you want on the web. Make sure you have chosen an image that copyright allows you to use, click on that image, and then drag-and-drop it onto the image box on the slide. Voila, it puts in the image you want.
Not too difficult, huh?
How to Rotate an Image in Keynote
- Insert images into a Keynote presentation.
- Select an image by clicking on it first and then go to the command key.
- At the same time, you need to move your mouse cursor to a corner of the image. You will see a Rotation icon appearing as you move the cursor.
- Click on the icon and drag it to rotate the image the way you want it.
This is how to rotate an image in Keynote. You can rotate backgrounds in the same way.
How to Crop (Mask) Images in Keynote
In this short tutorial, we’re going to work with masking images in Keynote.
- Launch Keynote and select the type of template you want to work with.
- Insert an image into the slide of your Keynote presentation by opting for one of the ways described above. You can get rid of any unnecessary text placeholders.
- Let’s suppose you don’t want to use the whole image but only a part of it. Of course, you have to know how to crop an image in Keynote. You will need to navigate to the Menu Bar and click on the Format tab.
- After this is done, choose Mask. The transparent mask will be shown over the image.
- By default, you will be provided with a rectangular mask.
- Now you can resize the image and/or the mask until you are pleased with the result. You have full control over the way the image is cropped since you can maneuver and resize both the image and the mask by means of the cursor and resizing tools.
- The image will be cropped in accordance with the mask location after you double-click somewhere outside the image.
This is how to crop an image in Keynote in just a few steps.
How to Crop Images in Keynote into Circles
I don’t know about you, but I personally like all those cool brochures, leaflets, and presentations with nicely-designed circular images. They look stylish and modern. Have you ever wondered how these images are cropped into circles? Of course, you have. Otherwise, you wouldn't be reading this article. Okay, so let's get to the point. It is time to show you how to crop images in Keynote using different shapes–circles in particular.
- Start off with launching the Keynote software on your computer, tablet, or phone.
- Pick an appropriate template for your presentation.
- Find a picture you would like to use and drag-and-drop it onto the slide.
- Now you need to navigate to the Menu Bar, click on Insert, then Shape, and pick a shape to mask your image with. If you want the image to be circular, pick Circle. Make the shape any size that you need. It is also helpful to set the opacity to 50%.
- When you are satisfied with the size of the shape, select the foreground image, hold the Shift key and click on the background image.
- After that is done, go to the Menu bar, pick Format, then Image, and then choose Mask with Selection. Click Done. That’s masking using the selected shapes.
The best thing is, you can still resize the image, move it around the slide, etc.
Now that you know how to crop in Keynote, how to add and edit pictures, and how to rotate them, working on your presentation will be a lot easier.
FAQ: keynote crop image
In case you want to get rid of the background when formatting an image in Keynote, you can use something cool called Instant Alpha. This feature can be found within your Keynote toolbar. If it is not there, you can right-click, go to Customize Toolbar, and find Instant Alpha in the list of features. To remove the background from the image in Keynote, you just click on Instant Alpha and move your mouse cursor over the areas which need to be deleted.
To save a Keynote image as a JPEG image file, you first need to pick a slide you want to save. Go to File – Export – Images. The Export Your Presentation menu will pop up. Choose what slide needs to be saved by typing its number. By default, the format will be JPEG (high-quality), but you can change that too. After that, click Next and select a folder where you want to save the file. Click Export. This is how easy it is to export images from Keynote.
Read Also
Is There Keynote for Windows? 7 Alternative Tools [Besides PowerPoint]
Google Slides vs PowerPoint vs Keynote: What Presentation Software to Choose?
Keynote 101: How to Create a Presentation? Keynote Dimensions & Keynote slide size

Hi! I'm Boryslava, a freelance SEO copywriter and content writer. Enjoy reading, running and learning new things. A big fan of Star Wars saga and corgis. LinkedIn
Get more to your email
Subscribe to our newsletter and access exclusive content and offers available only to MonsterPost subscribers.

Leave a Reply
You must be logged in to post a comment.