PowerPoint Borders: Why Do You Need Them and How to Add
- Interesting ideas for using PowerPoint borders
- How to add a border using a shape outline
- How to add a border using clipart
- How to add a border using Bing image search
- How to add a border using a background image
Gilbert Keith Chesterton said, “Art is limitation.” The most beautiful part of every picture is the frame.
This article will focus on these frames (borders, frameworks, bounds) in the PowerPoint program: how to add them correctly, in what ways it is possible, what design purpose they have and some examples and sorts of recommendations for use.
You must admit that frameless slides look as if they are filled with “air” or as if they are breathing. For example, the Google start page. But if you make a request on the internet for best start pages, then you will see logos separated by visually simple frames:

Therefore, with the help of a frame, you focus people’s attention on your presentation and some particular points. This can complement the design and the general concept of your work.
We suggest starting with some use cases and some design ideas for your slides.
Interesting ideas for using PowerPoint borders
Of course, there are many options for using or even not using borders in slides. It all depends on your imagination, the main idea, purpose, audience for which everything is intended, colors, and the design of your company. Therefore, everything looks harmonious and tasteful. After all, tastes change but the bad taste never changes. Universal solutions will be:
- Use direct lines, especially for business presentations, online training, some courses or startups. Curved lines, flowers, and ornaments will not be able to convey the atmosphere very well.
- Avoid complex designs at your borders. This can distract from the main topic and testify to a lack of professionalism.
- The distance from the borders to the contents of the slide should be the same on all sides.
- Use lines that do not cover the entire slide. For example, your border can only be on two sides of the presentation instead of all four, or it can form a corner. It will be very original. For example: Business Star PowerPoint Template

- It all depends on what is “presented” and before whom. Someone needs a form and someone needs content. In some cases, white background and black text are sufficient.
- Borders can be used, for example, only on head slides, thereby dividing the entire flow of information into sections into topics.
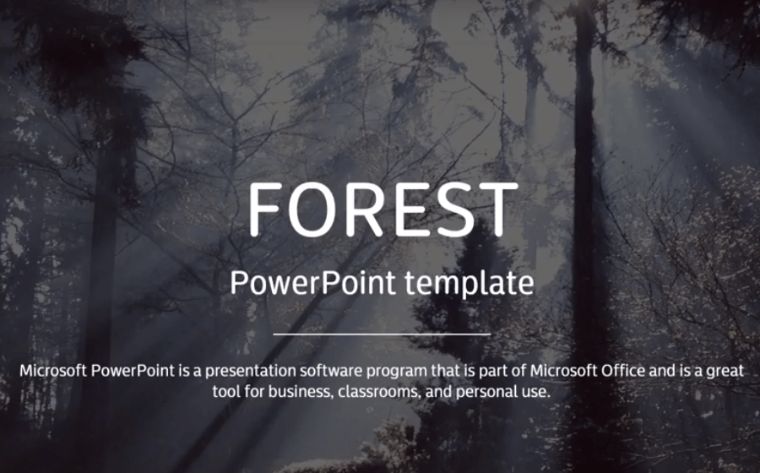
- Make the image transparent in PowerPoint. This is very fashionable right now. For example: Forest- PowerPoint Template. Further in the article, we will tell you in more detail how to add such borders.

- If you do not want to bother, use a ready-made template. For example, one of the 3,164 that are offered on our website.

When we figured out a bit about the slide frames and options for their use, let's look at how to add a border to PowerPoint. There are several options that are described below.
How to add a powerpoint borders using a shape outline
This method is very simple and is available for all versions of PowerPoint.
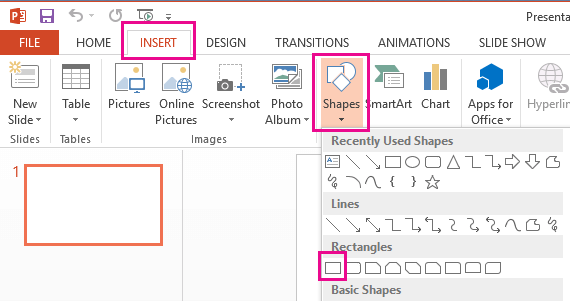
First, in the top menu, go to the Insert tab, and then click on “shapes”. Select the shape of the rectangle if you want your border to fit the size of the slide:
Next, put the shape in the right place on the slide. To draw the shape of the desired size, place the cursor in the upper left corner. While holding the left mouse button, drag the cursor to the lower right corner. The “Format” tab will be available on the ribbon after selecting a form by clicking on it.

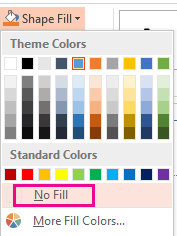
Now when you have the correct border size, it would be logical to exclude the background color from the shape. To do this, you will need to click on the “Shape Fill” button on the “Format” tab, and then select the “Fill out without form” command in the drop-down menu.
By default, the installed rectangular shape has a thin border, but you can make it thicker if you want. On the “Format” tab, click the “Shape Outline” button. Select “Weight” from the drop-down menu, and then select the thickness for your border. If you want an even thicker border, then in this Shape Outline drop-down menu, click the More Lines command to open the Shape Format panel. In the “Line” section of this panel, you can adjust the “Width” setting as you like by entering the size of the point or by clicking the up and down arrows.
To add a frame to other slides, you will need to select your form and click the “Copy” button on the “Home” tab (or just press Ctrl + C). Switch to another slide and then click the “Paste” button (or press Ctrl + V).
How to add a powerpoint borders using clipart
To use this method, you will have to upload images to the gallery by yourself, because since 2013 there has been no clip library in PPT. All this is very simple and intuitive for any PC user.
First, go to the Insert tab in the Illustrations group. Then click on the Clip art section:
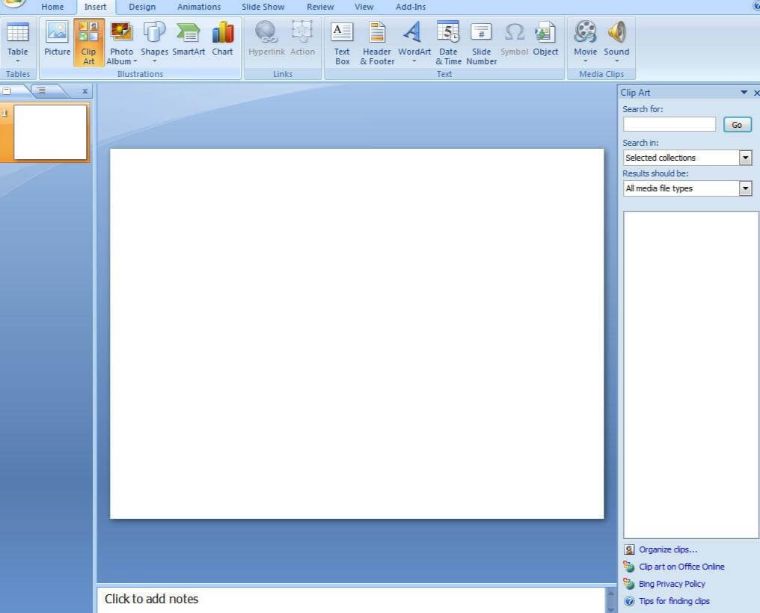
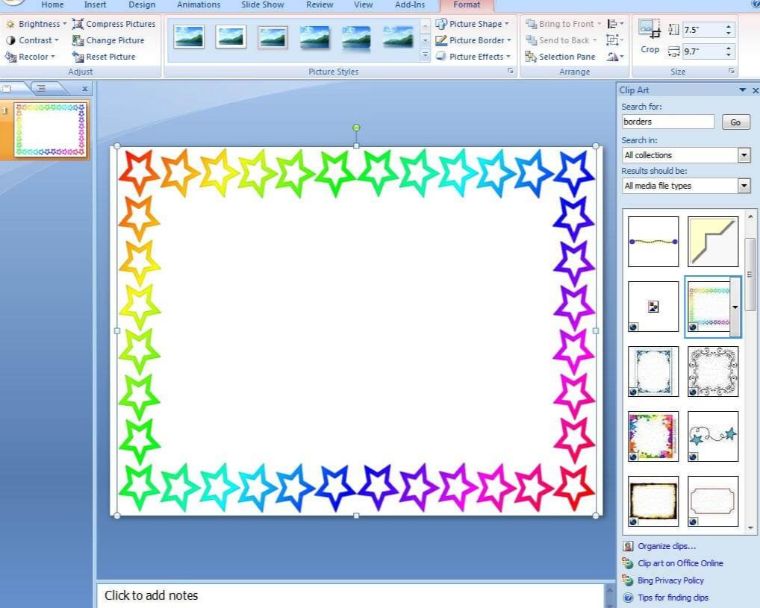
In the clip art taskbar, you can search for borders. Then click Go. Browse the available borders and double-click on it when you find the right one.
How to add a powerpoint borders using Bing image search
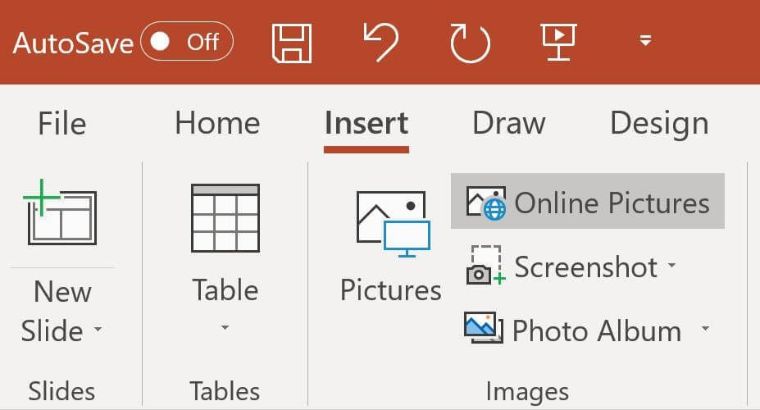
Instead of adding a simple shape outline for the border, you can also search for a more beautiful image from the internet. For this method to work, you insert an image with the borders already set in Bing Image Search. Go to the “Insert” tab and select “Online Images”:
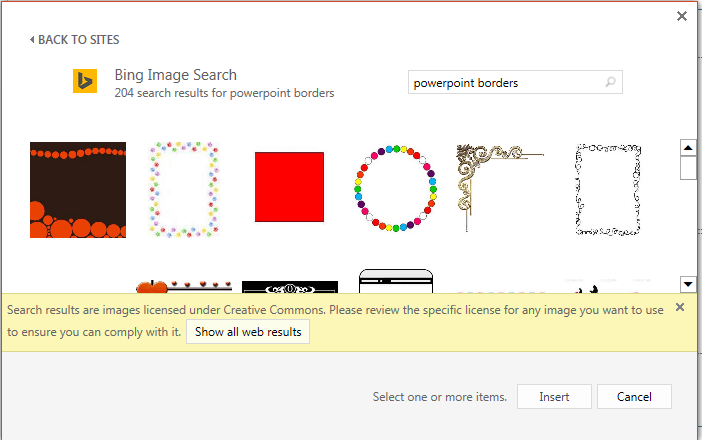
Enter a search phrase, such as “line borders” or “floral borders,” in the Bing image search box, and then click Search. When you see a frame that you like there, click on it, and then click “Insert” to add it to the slide.
Everything is ready for your new borders!
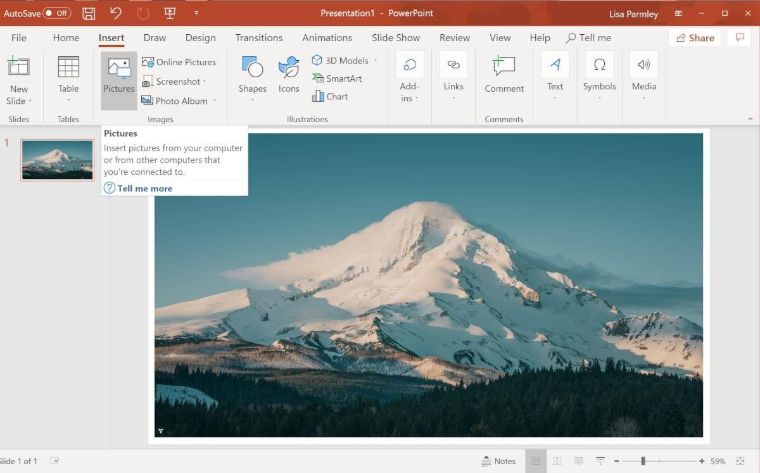
How to add a border using a background image
This is a very popular and stylish method of using borders today. To do this, you need to insert a background image to which you then apply a frame. You can embed images from anywhere in PowerPoint (via the Insert tab, then by clicking on Images). Whether it is an existing gallery, a computer image, from a flash drive or just from the internet. Just select a picture and PowerPoint will do the rest for you. An option is to change the image size to leave a little bit of translucent slide background:
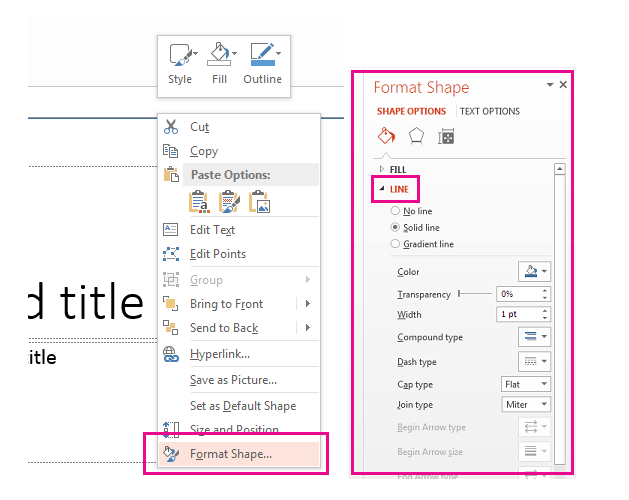
Select an image, then right-click to open the pop-up menu. Click on “Image format”. After you click on the link “Image format”, you will see a pop-up taskbar in which you can configure almost everything you want while working with the image:
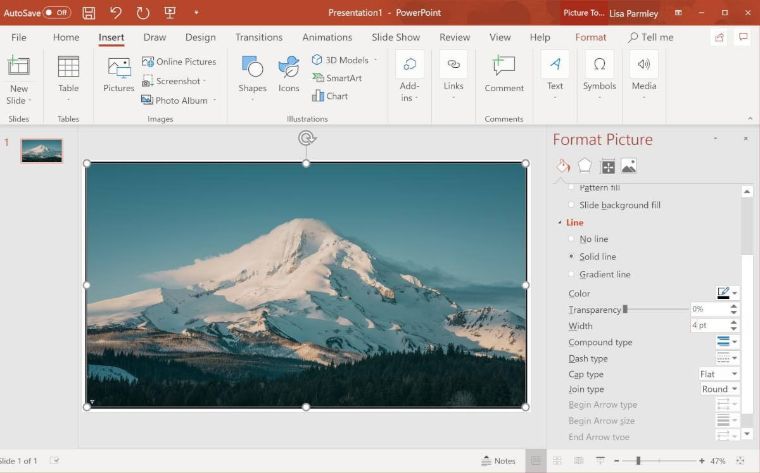
In this example, this is a solid line for the border, a 4-point weight for the line, and black for the color of the line. You can format the line around the image as you like, including dashed or dotted lines.
In general, if you use a background image on a slide, and all you need is a white frame around it, you do not even need to add a frame. You can resize the background image so that it is slightly smaller than the slide. This creates the illusion that there is a white frame around your slides.
Often, if the projector is used in a presentation for the display, then it will be displayed on a white wall, and the whole background (the role of which is now played by the image) will be this frame. This way you will precisely concentrate the attention of the audience on your slides.
If you plan to use the same frame for all your slides, you can add this border to your PowerPoint Slide Master.
All people have a different view on the “frames”. In a broad sense, frames are used to indicate boundaries, giving the topic clarity and certainty. However, someone may consider the borders restrictive and not want to use the framework anywhere. And someone else may believe that setting the limits of the borders conveys freedom. Do not be afraid of the frames; just use them “tastefully.” We wish you an endless source of inspiration for your presentations!
PowerPoint Borders FAQ
Add or change a table border. Select the table cells that you want to add or change the table border for. Under Table Tools, on the Design tab, in the Draw Borders group, do one or more of the following: To change the color of the border, click the arrow next to Pen color, and then click the color that you want.
To add borders to a table:
1. Select the cells you want to add a border to.
2. From the Table Tools Design tab, select the desired Line Style, Line Weight, and Pen Color.
3. Click the Borders drop-down arrow.
4. From the drop-down menu, select the desired border type.
5. The border will be added to the selected cells.
The top reason is for design impact. Borders can make your presentation look sharp and refined.
Here's how:
1. Borders can help your slides look more organized.
2. If done right, they add design appeal. This is especially true for thin borders.
3. Borders give definition
Images are great attention getters! Create a border by using an image to make your slide standout. Online you can find a lot of images of borders to choose from, to give your presentation a unique and amazing look.
Read Also
PowerPoint Design: Basis and 2020 Trends
How to Insert a YouTube Video into a PowerPoint Presentation (Using Different PowerPoint Versions)
Choosing and Customizing a Fall PowerPoint Background Template

The writer could change the world with a word. I don't pretend I really change the world but if you found my articles useful - I will be really glad.
Get more to your email
Subscribe to our newsletter and access exclusive content and offers available only to MonsterPost subscribers.

Leave a Reply
You must be logged in to post a comment.