Elementor Tip: Pie Chart Circle Progress on WordPress with Elementor Page Builder
You are the lucky one if you decide to create a WordPress website with the help of Elementor. This page builder offers an impressive set of widgets that increases the functionality of the website. Plus, different widgets contribute to the interaction between you and your visitors.
With the help of such elements, you can share useful information about your projects, company, employees, special offers, etc. Furthermore, the choice of widgets is wide enough to use them for many purposes.
For instance, you can add different icons, buttons, tabs, counters, alerts, images, videos, audio files, and more. In general, Elementor Page Builder offers its users choices from among 28 widgets. By the way, you can also add a progress bar to let your visitors know the state of the project, for example. In fact, you can use progress bars for any purpose, just to visualize the progression of a certain project, action, operation, etc.
In this article, you will find out how to add a pie chart circle progress with Elementor Page Builder. So, check out this tutorial to add this graphic control element to your site!

Step 1. Download JetElements Plugin and open Elementor
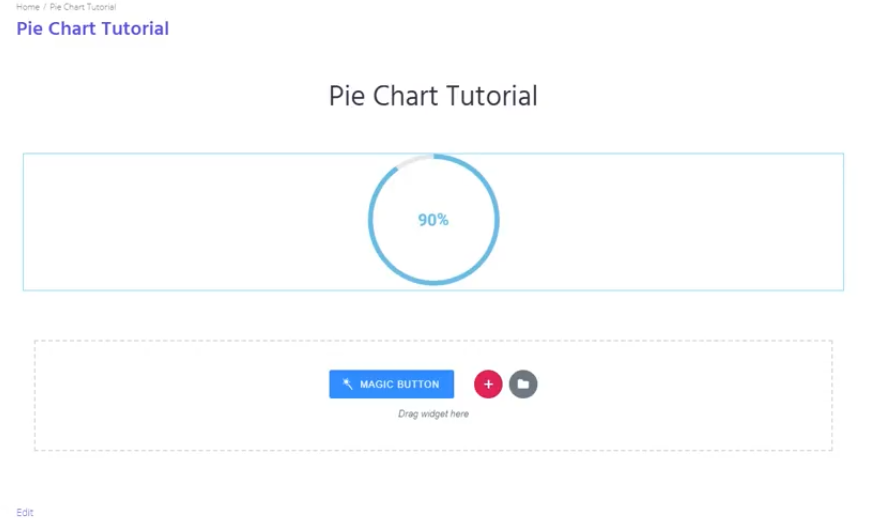
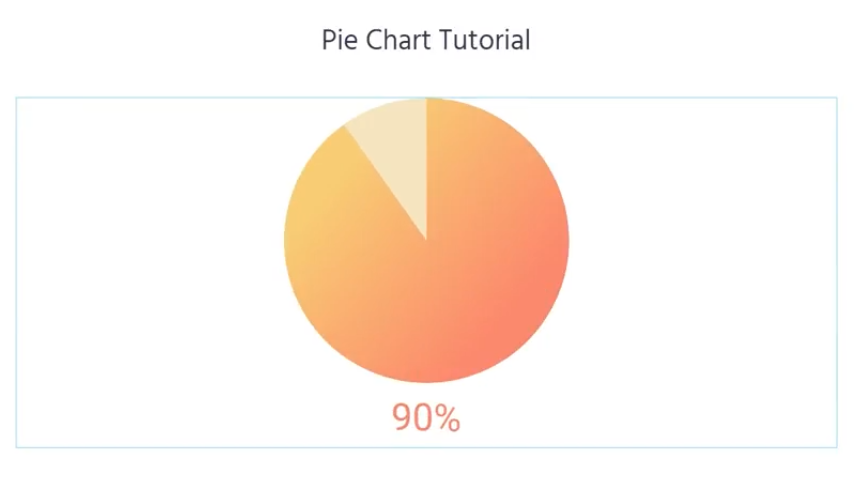
By the end of the article, you will be able to create something like this:
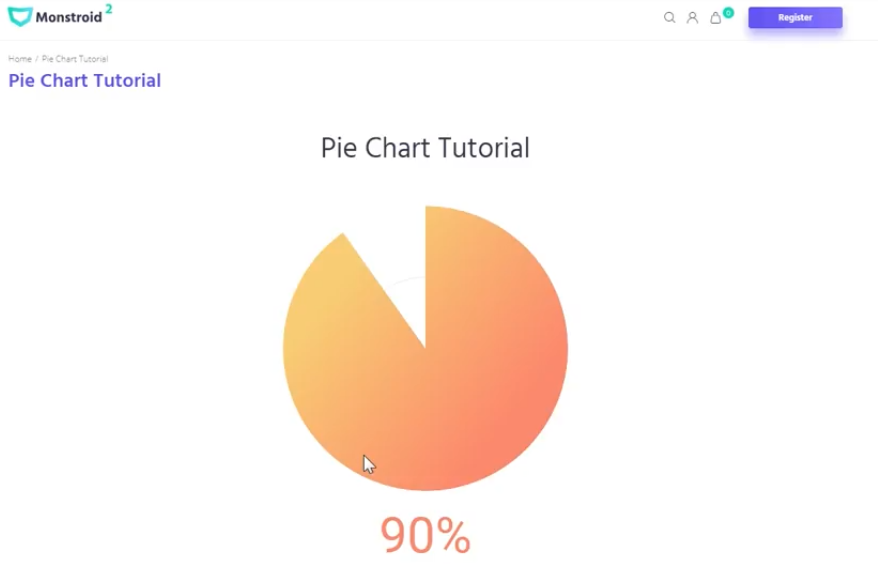
In fact, Elementor is so easy to use that you will definitely be able to create a pie chart in a matter of minutes. Start the clock!
You don’t have to leave Elementor to create a chart. Still, for this purpose, you will need a JetElements plugin. You can purchase this add-on here.
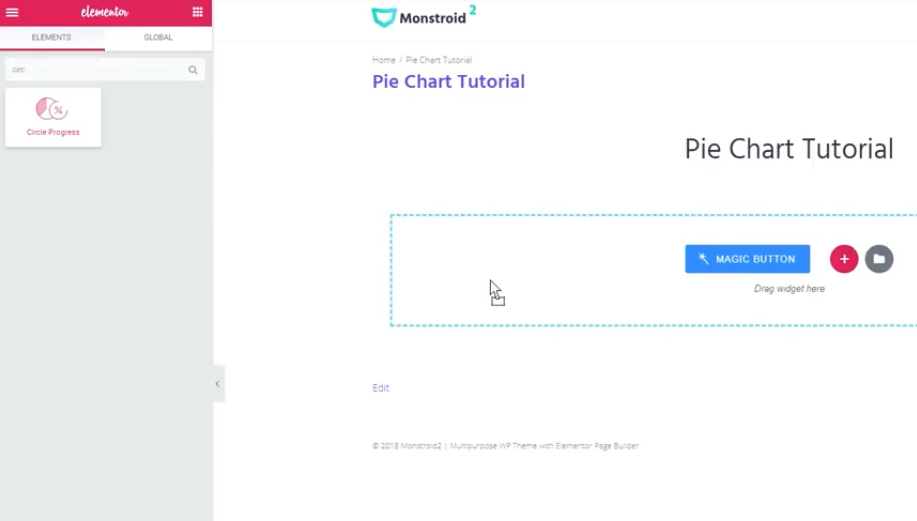
So, as the first step, you should open Elementor and go to the Elements section.
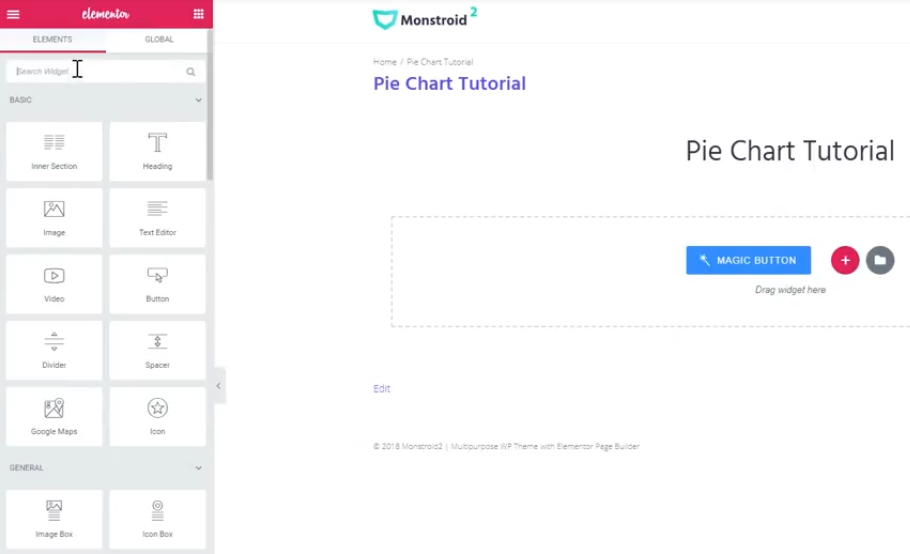
There, you will find a Circle Progress widget. It goes along with a JetElements plugin.
Elementor Page Builder is quite a universal tool that allows building content of any complexity. In conjunction with Jet plugins, it aims to add advanced functionality to your site. Now, it has become possible to get all the tools under the hood of a single bundle with ONE by TemplateMonster. This is an ultimate subscription service offering more than 8,500 items from plugins and extensions to templates and graphics.
The subscription will cost you $19 per month. It is much less than purchasing the web products separately, isn’t it? However, we can’t leave you without a pleasant additional bonus. Everyone following MonsterPost blog can take a chance to save 5% on subscription applying promo code BecomeThe1.
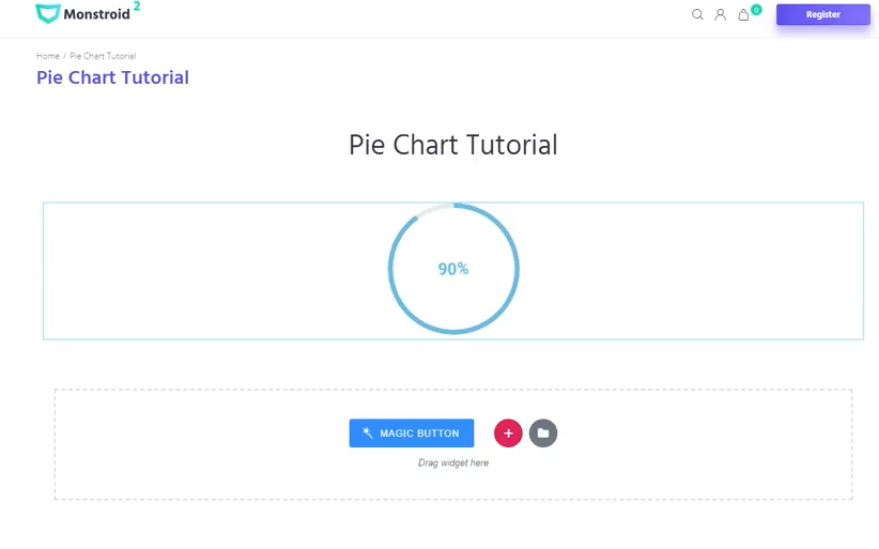
Step 2. Customize the Content Settings
When you click to the Circle Progress widget, you will see this picture.
On the left side of the page, you will see the window where you can change the values of the chart. It is divided into three sections where you can work with Content, Style, and Advanced Features. For instance, you can choose the progress values type or change the current percent. With its help, the progress chart will always be updated.
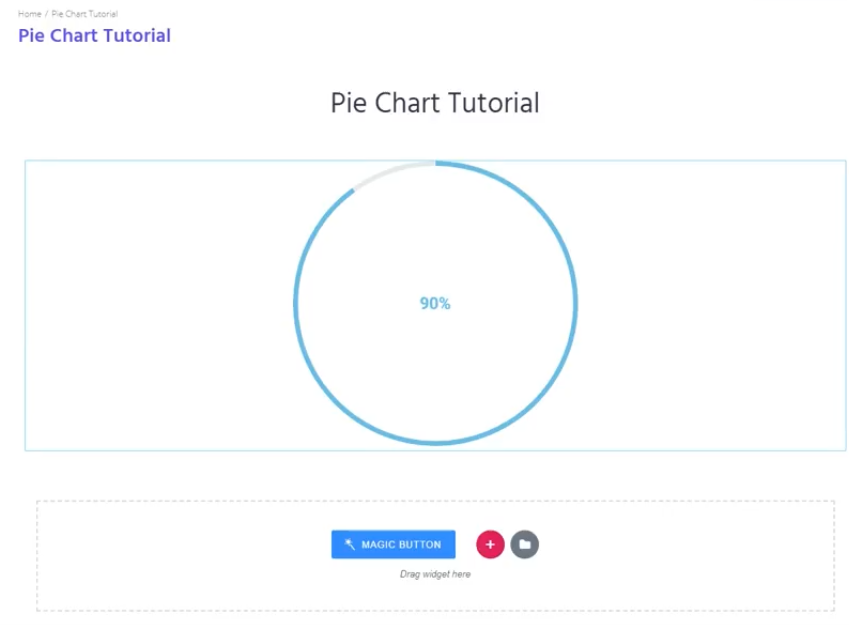
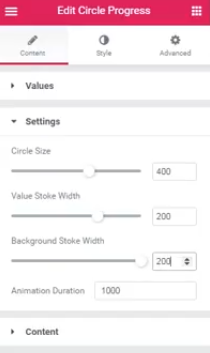
In the Settings, you can change the circle size, value stroke width, background stroke width, and animation duration. See how the circle will look like if you replace the number 185 to 400 in the Circle Size field:
Now, I change the size to 400:
The value stroke width on both of the images is 7. Now, I will make it two times fewer than the circle size – 200. Plus, I will set a zero background because we don’t need it right now:
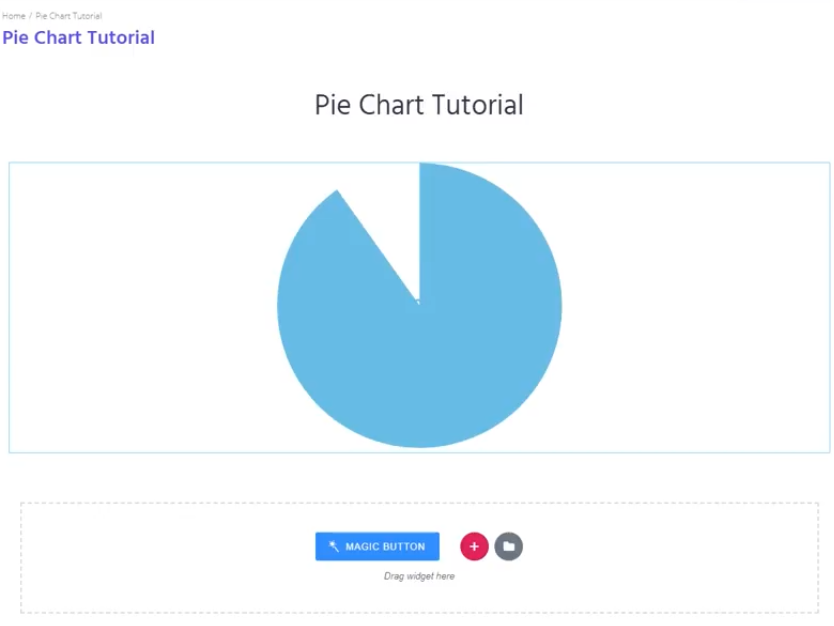
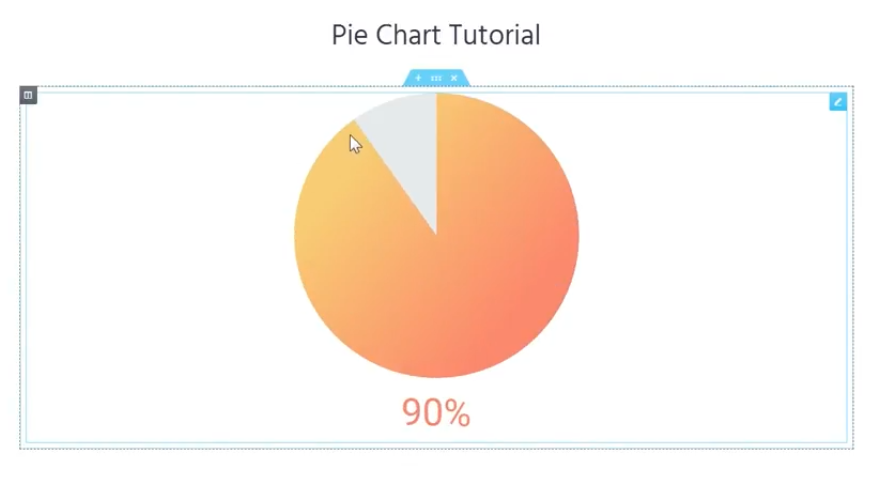
The Content Settings are for the percent and the title. You can set the title and the subtitle. The percent can be inside or outside the circle. I changed the percent position to the outside one because on the image above you can’t see anything:
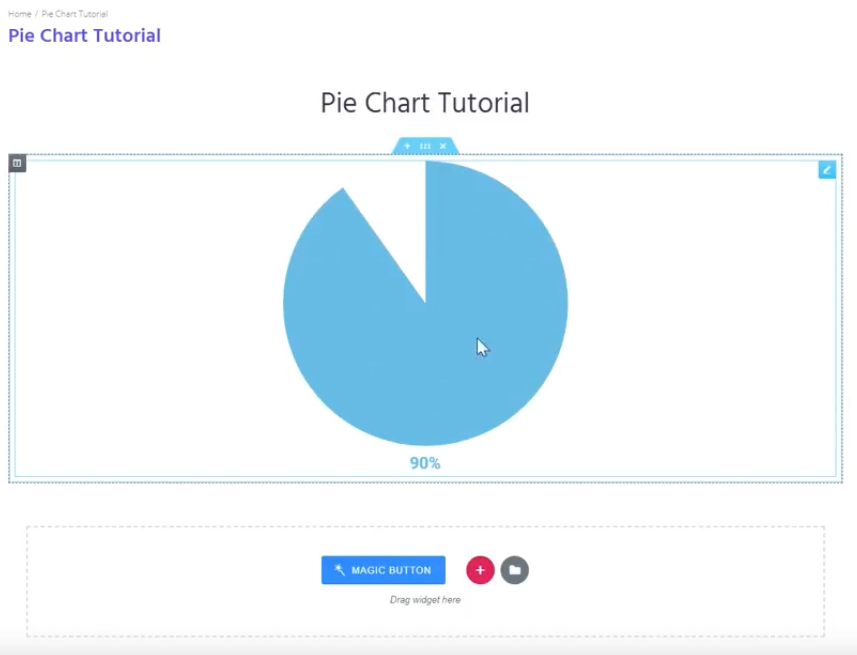
This is a basic pie chart. You can make it fancy if you move to the Style section.
Step 3. Make up a Style for your Pie Chart
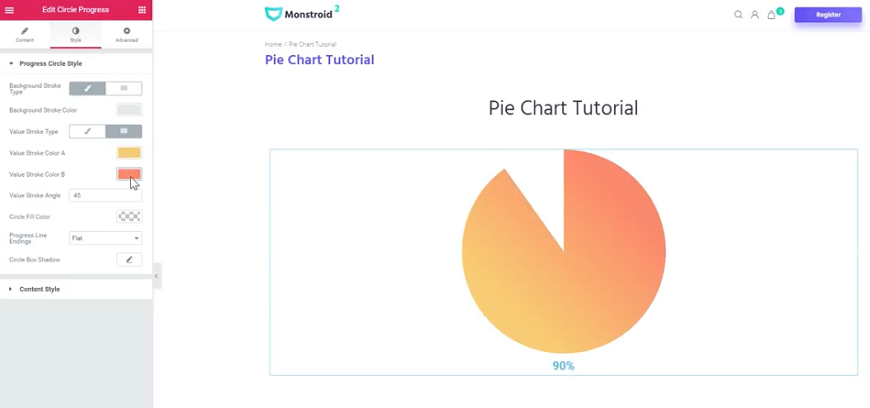
Now, it’s time to make the chart suitable for the style of your site. Firstly, you can change the color of the chart. For this purpose, you should click to the Value Stroke Type. The color can be only one choice or you can make the chart into a gradient and combine two colors.
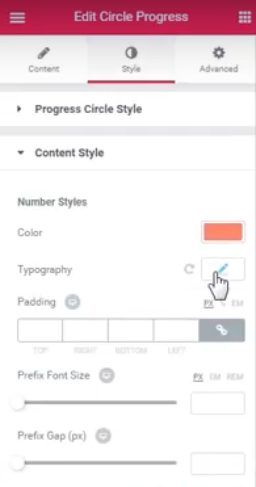
You can also customize the content style. It’s possible to change the style of titles, subtitles, and percent. You can work with the color, typography, padding, and change the prefix and suffix settings.

You can also set a background for your chart. You should come back to the Content Settings (Step 1) and replace 0 background with another number, e.g. 200.
You will get this:
Then you should go to the Style section. There, you can customize the background stroke type and color.
As a result, you will get this:
Step 4. Enjoy!
Good job! Your pie chart is ready. This one was created in 5 minutes but if you spend a little bit more time, you can create a unique masterpiece for your website 🙂
Everything is super easy with Elementor and the result is worth a few minutes of your time!
If you need more tutorials, just keep up with the updates on MonsterPost and get useful information regularly!

Read Also
Elementor From A to Z: Sheer Selection Of “How To” Tutorials
How To Create And Shape Up Your Portfolio With Elementor Builder
How to Set Up Blog Post Lists with Elementor Page Builder
How to Manage Countdown Timer Module in Elementor WordPress Themes
Don’t miss out these all-time favourites
- The best hosting for a WordPress website. Tap our link to get the best price on the market with 82% off. If HostPapa didn’t impress you check out other alternatives.
- Monthly SEO service and On-Page SEO - to increase your website organic traffic.
- Website Installation service - to get your template up and running within just 6 hours without hassle. No minute is wasted and the work is going.
- ONE Membership - to download unlimited number of WordPress themes, plugins, ppt and other products within one license. Since bigger is always better.

A freelancer, who is nuts about traveling, art, and learning foreign languages. Excited about exploring new cultures. Particularly jazzed about conveying ideas with words in an outstanding way. Instagram
Get more to your email
Subscribe to our newsletter and access exclusive content and offers available only to MonsterPost subscribers.

Leave a Reply
You must be logged in to post a comment.